
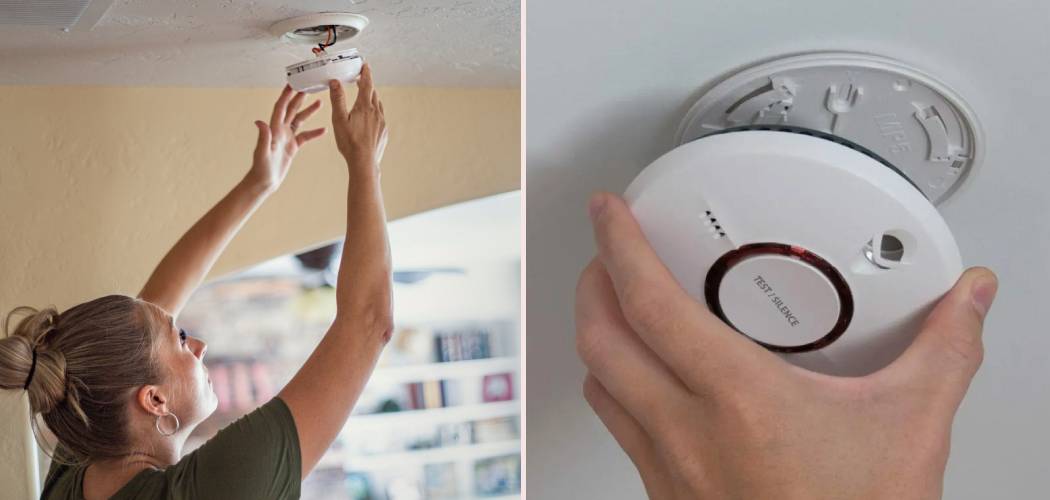
A chirping smoke detector is often the first thing that comes to mind when we think about alarm maintenance. While changing the batteries is crucial, it’s only one part of keeping these life-saving devices in top working order. Dust, cobwebs, and even tiny insects can interfere with a smoke detector’s sensors, potentially causing it to fail during an emergency or trigger frustrating false alarms. Learning how to clean a smoke detector is a simple, quick task that provides immense peace of mind.
Regular cleaning ensures the sensors are unobstructed and ready to detect the earliest signs of a fire. It’s a fundamental aspect of home safety that complements your routine battery checks. By taking just a few minutes every six months, you can significantly improve the reliability of your alarms and protect what matters most. This guide will walk you through everything you need to know, from the tools you’ll need to the best techniques for a thorough cleaning.

Step-by-Step Guide to Cleaning Your Smoke Detector
Cleaning your smoke detectors is a straightforward process. Before you begin, it’s a good idea to let your family members know you’ll be working on the alarms. This can prevent any surprises if an alarm accidentally sounds while you’re handling it. Gather a sturdy step stool or ladder, a vacuum with a soft brush attachment, and a microfiber cloth.
Step 1: Check the Manufacturer’s Instructions
Before you do anything else, take a moment to look up the specific model of your smoke detector. Manufacturers often provide detailed cleaning and maintenance instructions in the user manual or on their website. These guidelines are your best source of information, as they are tailored to the specific components and design of your device.
Some models may have unique features or disassembly instructions that aren’t universal. Following the manufacturer’s advice helps you avoid accidentally damaging the unit or voiding its warranty. If you no longer have the physical manual, a quick search online with the model number should provide you with a digital version. This is a critical first step in proper smoke alarm maintenance.
Step 2: Power Down the Unit Safely
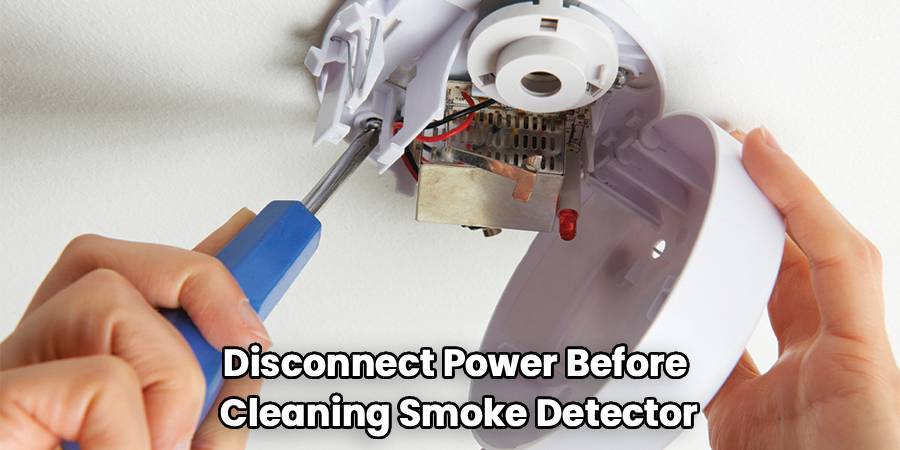
Safety first. Never attempt to clean a smoke detector while it is still connected to a power source. For battery-operated models, this is as simple as opening the cover and removing the batteries. Set them aside so you don’t mix them up if you plan to reuse them.
For hardwired models, you’ll need to go to your home’s circuit breaker panel. Find the breaker that controls the circuit your smoke alarms are on and switch it to the “OFF” position. Hardwired units almost always have a backup battery, so you will need to remove that as well. Once you’ve disconnected all power, you can safely proceed with the cleaning process.
Step 3: Remove the Smoke Detector Cover
Most smoke detectors have a cover that can be removed for cleaning. This is usually done by gently twisting the main body of the detector counter-clockwise. You might feel a slight click as it unlocks from the mounting base attached to the ceiling or wall. Some models may have small tabs you need to press to release the cover.
Be gentle during this step to avoid breaking any plastic clips. Once the cover is off, you’ll have direct access to the sensing chamber, which is the most important part to clean. If the cover doesn’t seem to come off with gentle twisting or pressure, re-check your user manual. Do not try to force it, as some models are not designed to be taken apart.
Step 4: Clean the Interior with a Vacuum
With the cover removed, you can now see the inside of your smoke alarm. The sensing chamber is a small, screened area where the device detects smoke particles. Over time, this chamber can accumulate dust, debris, and even small insects, which can block the sensors.
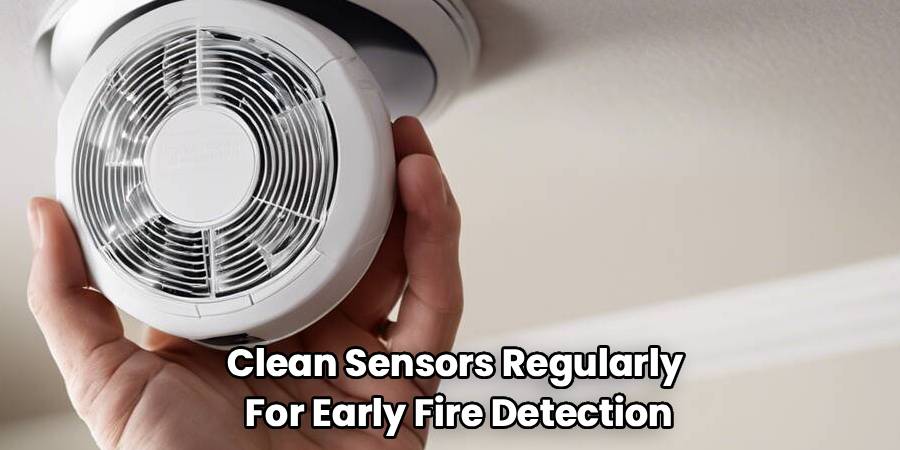
The most effective way to clean this area is with a vacuum cleaner using a soft brush attachment. Gently vacuum around and inside the sensing chamber to suck up any loose particles. Be thorough but careful not to touch the delicate sensor components directly with the vacuum nozzle. This single action is one of the most effective smoke detector cleaning tips for preventing false alarms.
Step 5: Wipe Down the Cover and Exterior
Now, turn your attention to the cover you removed. Use a clean, dry microfiber cloth to wipe down both the inside and outside of the cover. Pay close attention to the vents, as dust often collects in these slots. A microfiber cloth is ideal because it traps dust effectively without leaving behind fibers.
It is critical that you avoid using any water, cleaning solutions, or chemical sprays. Liquids can damage the sensitive electronic components inside the alarm and may leave a residue that attracts more dust. For stubborn smudges on the exterior casing, you can slightly dampen a corner of your cloth with plain water, but ensure the cover is completely dry before reassembly. This is a crucial part of cleaning smoke alarms safely.
Step 6: How To Clean A Smoke Detector With Compressed Air
For an even deeper clean, you can use a can of compressed air. This is especially useful for dislodging fine dust particles from areas your vacuum couldn’t reach. Hold the can upright and use a few short bursts of air to blow dust out of the sensing chamber and vents.
When using compressed air, keep the can about 6-10 inches away from the detector to prevent the powerful blast from damaging the sensors. Also, be mindful that some compressed air products can release a bit of moisture, so use short bursts rather than a long, sustained spray. This technique is an excellent part of a comprehensive smoke detector cleaning guide.

Step 7: Reassemble and Repower the Device
Once you are satisfied that the unit is clean and completely dry, it’s time to put it back together. Snap or twist the cover back into place until it locks securely. If you are using the same batteries, reinsert them now. However, cleaning is the perfect opportunity to install fresh batteries. It’s a good habit to replace them every six to twelve months regardless of chirps.
For hardwired units, reconnect the backup battery first, then reattach the unit to its mounting base. Go back to your circuit breaker and flip the switch back to the “ON” position.
Step 8: Test Your Smoke Detector
This final step is non-negotiable. You must test your smoke detector to confirm it is working correctly after cleaning. Press and hold the “Test” button on the unit. You should hear the loud, piercing alarm sound. If the alarm sounds, it means the device has power and its internal circuitry is functioning.
If the alarm does not sound, double-check your power source. Did you reinsert the batteries correctly? Is the circuit breaker fully on? If you’ve checked the power and it still doesn’t work, the unit may be faulty or at the end of its life and should be replaced immediately. Testing gives you the confidence that your smoke detector is ready to protect you.
Frequently Asked Questions
Here are answers to some common questions people have about maintaining smoke detectors.
How often should I clean my smoke detectors?
As a general rule, you should clean your smoke detectors at least once every six months. However, if you live in a particularly dusty environment—such as a home undergoing renovations or in an area with a lot of dust or pollen—you may want to clean them more frequently, perhaps every three to four months. A great way to remember is to schedule the cleaning for when you change your clocks for daylight saving time, the same time many people change their batteries.
Can dust really cause a false alarm?
Yes, absolutely. Dust, pollen, and other airborne particles can accumulate in the sensing chamber of a smoke detector. The sensors are designed to detect tiny particles in the air, and they can’t distinguish between smoke particles and a clump of dust. When enough debris builds up, it can refract the light beam or disrupt the ionization flow inside the chamber, tricking the alarm into thinking there is a fire. This is one of the leading causes of nuisance false alarms.
What should I do if my alarm keeps chirping after cleaning?
A persistent chirp usually indicates a low battery. If you’ve just cleaned the unit and installed a fresh, high-quality battery, the chirping might be due to a residual charge issue. Try disconnecting the power and battery, then press and hold the test button for about 15-20 seconds to fully drain any remaining power from the capacitor. Then, reinstall the battery and power. If it still chirps, check the battery again to ensure it’s not a dud. If all else fails, the detector itself might be malfunctioning or have reached its expiration date (usually 10 years) and needs to be replaced.
Is it safe to paint a smoke detector?
No, you should never paint a smoke detector. Paint can clog the vents and the sensing chamber, rendering the alarm useless. It will completely block the path for smoke to enter the device, preventing it from detecting a fire. If you need the smoke detector to match your ceiling color, you should look for models that come in different colors from the manufacturer. Most safety organizations explicitly warn against painting or decorating smoke alarms in any way.
Conclusion
Knowing how to clean a smoke detector is an essential skill for every homeowner, and it’s a task that delivers an incredible return on investment for just a few minutes of your time. By regularly cleaning your alarms, you are doing more than just preventing annoying false alarms; you are ensuring the device is reliable and ready to function when you need it most. This simple maintenance can dramatically improve the safety of your home.
Integrate this task into your regular home maintenance schedule. Pair it with your semi-annual battery replacement to create a simple, memorable routine. A clean, tested smoke detector is a quiet guardian, and taking care of it is one of the most effective steps you can take to protect your home and loved ones.