
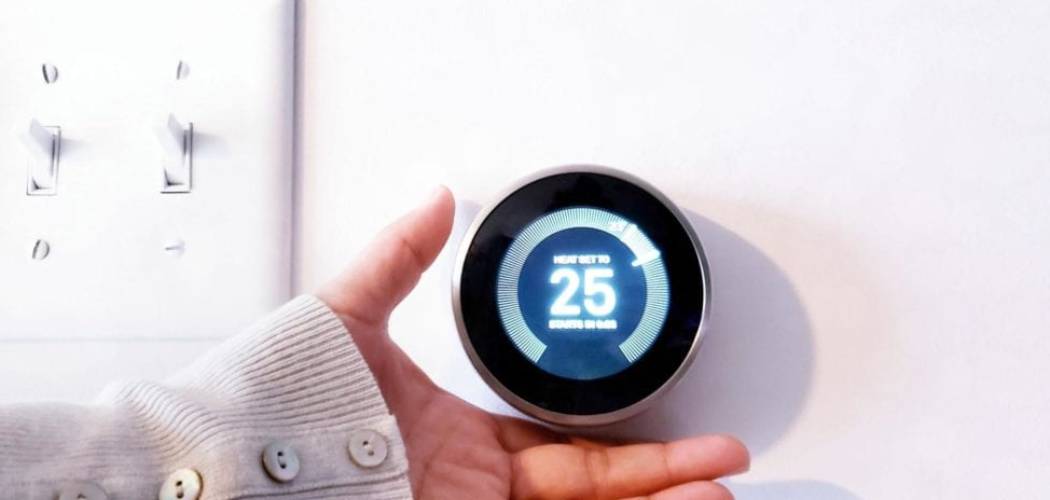
Setting your home temperature correctly involves pressing a few buttons to match your daily schedule and comfort needs. Learning how to set a digital thermostat might feel intimidating at first, but modern devices make it straightforward. These controls manage your heating and cooling systems to maintain a stable indoor environment. A properly configured system keeps your home comfortable while preventing your equipment from working too hard.
Taking a few minutes to understand the basic controls will help you manage your living space efficiently. You do not need technical expertise to get started. This guide will help you safely adjust your temperature settings, program a basic schedule, and ensure your system runs smoothly.
Why This Task Matters
Knowing how to manage your climate controls is an essential part of home ownership and everyday living. The most common reason is comfort, but proper temperature management goes much deeper than that. When you set your system correctly, you prevent your furnace or air conditioner from short-cycling, which reduces wear and tear on expensive equipment.
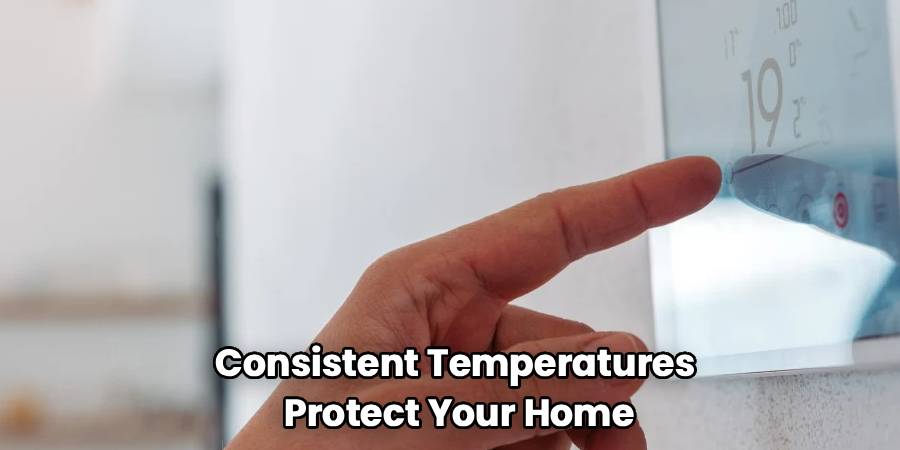
Consistent temperatures also protect your home from sudden extremes. During winter, maintaining a steady baseline prevents pipes from freezing and bursting inside your walls. In the summer, managing indoor humidity through consistent cooling helps prevent mold growth. Understanding these basic controls also allows you to recognize when something stops working properly. Taking charge of your climate system ensures a safer, more stable environment for your family while keeping your equipment running efficiently for years.
Tools or Materials You May Need
You usually do not need heavy tools to adjust your home temperature settings. Keep things simple and gather only what you need to read the screen and verify your system operates safely.
- Your device’s user manual (either a physical copy or a digital download on your phone)
- A small flashlight to clearly see the screen or buttons in a dim hallway
- Fresh AA or AAA batteries, depending on your specific model
- A clean microfiber cloth to gently wipe dust off the screen
These basic items will help you navigate the menus and ensure the unit has the power it needs to function correctly. A small step stool is an optional item if the wall unit is mounted slightly too high to read comfortably.
Before You Begin
Start with the safest and simplest check. Before touching any buttons, look at the screen to see if it displays a low battery warning. If the screen is completely blank, your device might need new batteries or there may be a power issue.
Before you begin, make sure your hands are clean and dry. Check the surrounding wall area for any loose wires, scorch marks, or physical damage. If you notice exposed wiring, burning smells, or spark marks near the plastic casing, do not touch the unit. For safety, turn off power to your heating and cooling system at the breaker box before investigating any physical damage further.
Step-by-Step Guide to How to Set a Digital Thermostat
Step 1 – Check the Power and Display
The first action involves making sure the device is active and responsive. Look directly at the display screen. You should see the current room temperature clearly visible. Many modern units feature a touch screen that wakes up when you tap it gently. Older digital models rely on physical buttons below or beside the screen.
Press any button once to see if the backlight turns on. If the screen remains blank, check the battery compartment. Most faceplates pull straight off the wall to reveal the battery slots. Replace any old batteries with fresh ones. A clear, responsive display indicates the unit is ready for your input. If the screen stays dark after replacing the batteries, you may have a tripped breaker or a power issue.
Step 2 – Select the Heating or Cooling Mode
Once the screen is active, you need to tell the system what you want it to do. Look for a button or menu option labeled “System” or “Mode.” Press this button to cycle through the available options. You will typically see choices for Heat, Cool, Auto, and Off.
Select “Heat” if you want to warm the room, or “Cool” if you want to lower the temperature. The “Auto” function switches between heating and cooling automatically to maintain a specific range. Choose the mode that matches your current seasonal needs. Give the system a moment to register your choice. You might hear a quiet click from the wall unit. This sound confirms the device is communicating with your primary heating or cooling equipment.
Step 3 – Set the Fan Operation
Managing your fan correctly helps circulate air throughout your home safely. Locate the button or screen icon marked “Fan.” You usually have two main choices here: “Auto” and “On.” Setting the fan to “Auto” means the blower will only run when the furnace or air conditioner actively runs. This is the safest and most efficient setting for everyday use.

Choosing “On” forces the fan to blow continuously, even when the system is not actively heating or cooling the air. While continuous circulation can filter the air more frequently, it uses more electricity and wears out the blower motor faster. Start with the safest and simplest check by ensuring your fan remains set to “Auto” unless you have a specific reason to circulate the air continuously.
Step 4 – Adjust the Target Temperature
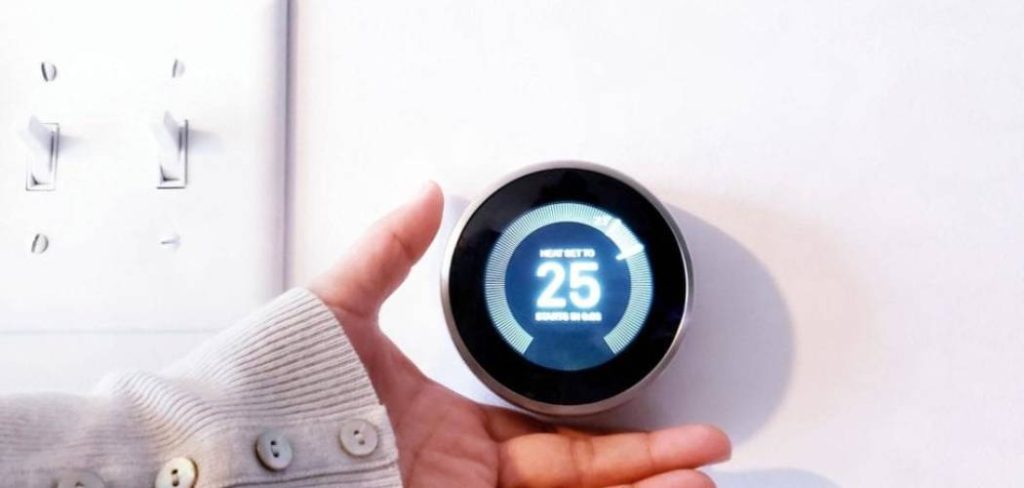
Now you can decide how warm or cool you want your home to be. Look for the up and down arrows on the keypad or touch screen. Pressing the up arrow raises your target temperature, while the down arrow lowers it.
As you press these buttons, you will notice a number flashing on the screen. This flashing number is your new setpoint. Adjust this number until you reach a comfortable setting. Once you stop pressing the arrows, the screen will eventually stop flashing and return to displaying the current room temperature. Within a few minutes, you should hear your furnace or air conditioner turn on. The system will continue running until the room reaches the exact target temperature you just selected.
Step 5 – Program a Basic Schedule
Many digital units allow you to set different temperatures for different times of the day. Look for a button labeled “Program,” “Schedule,” or “Set.” Pressing this will enter the scheduling menu. You will typically see options for weekdays and weekends.
The interface will prompt you to set a wake time and an accompanying temperature. You will repeat this process for when you leave the house, when you return, and when you go to sleep. Use the arrow keys to adjust the times and temperatures for each period. A well-planned schedule prevents your system from running unnecessarily when no one is home. If this does not work, try the next step by consulting your user manual, as scheduling menus vary heavily between different manufacturers.
Step 6 – Hold or Override the Schedule
Sometimes you need to change the temperature temporarily without erasing your entire saved schedule. If you feel too cold or too warm, simply press the up or down arrows to change the setpoint. Most digital units will place a “Temporary Hold” on the schedule automatically.
This means the new temperature stays active until the next programmed time block begins. If you want to maintain a single temperature indefinitely, look for a “Hold” button. Pressing this applies a permanent override, ignoring your saved schedule completely. The screen will usually display the word “Hold” to confirm this setting. To return to your normal schedule, press the “Run,” “Cancel,” or “Resume” button. This feature gives you immediate control.
Step 7 – Lock the Keypad for Safety
Preventing accidental changes is an important step for household safety. Many digital units feature a security lockout function. This stops young children or guests from accidentally pushing the temperature to an unsafe extreme.
Check your user manual for the specific locking procedure. It usually involves holding down a combination of buttons for several seconds. A small padlock icon will appear on the display once the security feature activates. When the device is locked, pressing the standard arrows will not change the climate settings. To unlock the device, repeat the original button combination. Using the keypad lock ensures your home stays at a safe, consistent temperature when you are away from the wall unit.
Common Mistakes to Avoid
Beginners often make simple errors when handling their home climate controls. A frequent mistake is setting the temperature extremely high or low in an attempt to heat or cool the room faster. Your furnace and air conditioner operate at a fixed speed. Pushing the target to ninety degrees will not warm the room any quicker than setting it to seventy degrees; it will only force the system to run longer and waste energy.
Another common error involves ignoring dead batteries. When the display starts flashing a low battery warning, replace them immediately. Allowing the batteries to die completely can cause your heating system to shut down during freezing weather, leading to burst pipes and severe water damage inside your walls.
Finally, many people place heat-generating devices near the wall unit. Putting a lamp, television, or space heater directly under the sensor gives it a false reading. The device will register the room as much warmer than it actually is, causing your air conditioner to run constantly or your furnace to shut off too early. Keep the area around the wall unit completely clear so it measures the true ambient air safely and accurately.
Safety Warnings
Handling any device connected to your home’s electrical and HVAC system requires caution. Always look closely before touching the wall unit. If you see loose wires, cracks in the plastic, or dark scorch marks, step away immediately. Never attempt to remove the baseplate from the wall while the power is active. For safety, turn off power at the main electrical panel before attempting to clean inside the casing or reattach a loose faceplate.
Pay attention to strange smells or sounds. If adjusting the settings causes a burning plastic odor or loud grinding noises from your vents, turn the system off immediately. These signs indicate a severe malfunction within the furnace or air conditioner. Do not continue trying to force the system to run. Operating damaged climate equipment poses a significant fire hazard.
When to Call a Professional
Most basic adjustments are safe for beginners, but certain issues require certified help. Call a professional if your screen remains blank even after you install fresh batteries and confirm the breaker is on. This usually points to damaged wiring or a blown fuse inside the main furnace control board.
You should also seek expert help if the system repeatedly ignores your inputs. For example, if you set the system to heat but cold air blows constantly, the internal relays may be failing. Never try to splice wires, bypass safety switches, or dismantle the wall mount if the manufacturer instructions seem unclear. A licensed technician can diagnose the communication failure safely and correctly.
Expert Tips
To keep your climate system running smoothly, establish a routine for checking your wall unit. Change the batteries once a year, even if the low battery indicator has not turned on yet. Pick a memorable date, like the start of daylight saving time, to build a reliable habit.
Keep the display screen clean using a dry microfiber cloth. Avoid spraying liquid glass cleaners directly onto the plastic, as moisture can seep behind the buttons and damage the internal circuit board. Gently wiping away household dust ensures the internal temperature sensor can read the room accurately.
Finally, learn the model number of your device. Write it down and tape it inside a nearby utility closet. Having the exact model number makes it much easier to find the correct instruction manual online if you ever misplace the physical copy.
Frequently Asked Questions
Why does my screen keep going blank?
A blank screen usually means the device lacks power. The most common reason is dead batteries inside the faceplate. Start by replacing them with fresh ones. If the device receives power directly from the wall, a tripped circuit breaker or a blown fuse in your furnace could be causing the interruption.
What does the blinking snowflake or flame mean?
A blinking icon indicates a built-in safety delay. Modern systems wait a few minutes before turning on the compressor to prevent mechanical damage from short-cycling. Wait five minutes without pressing any buttons. The blinking should stop, and your heating or cooling system will turn on normally.
How do I switch my system from Celsius to Fahrenheit?
Most units allow you to change the temperature scale through the main settings menu. Press the menu or setup button, then use the arrows to scroll until you find the temperature scale option. Select Fahrenheit or Celsius, then press “Save.” If exact instructions vary by brand, consult your manual.
Can I clean the inside of my digital thermostat?
You can gently clean the inside, but you must be careful. For safety, turn off power to the HVAC system first. Pull off the faceplate and use a soft, dry brush or a can of compressed air to remove dust. Never use water or harsh chemical cleaners on the internal components.
Why is my room temperature different from the setting?
It takes time for your heating or cooling system to change the entire room’s climate. If the system is actively running, be patient. However, if the room temperature never reaches your target, you may have a dirty air filter, a drafty window nearby, or an issue requiring professional maintenance.
Conclusion
Taking control of your home climate is a simple process once you understand the basic functions. By checking your power source, selecting the right mode, and adjusting your fan settings, you protect your heating and cooling equipment from unnecessary strain. Remember to keep the surrounding area clear and replace the batteries promptly when the warning light appears. Learning how to set a digital thermostat gives you the ability to maintain a stable, comfortable environment for your entire household safely.
Start by trying a simple temperature adjustment today. Review your user manual to explore scheduling features when you feel ready. If you ever encounter wiring issues, blank screens, or strange smells, prioritize your safety and contact a certified technician. Your home climate system is built to keep you secure and comfortable, and managing it safely is the best way to ensure it lasts for years.