

Your garage door opener is a modern convenience that feels like magic. With the simple press of a button, a heavy door glides open, protecting you from the elements and welcoming you home. But what happens when that magic button stops working or, worse, when a neighbor’s remote starts opening your door? This is often a sign that you need to adjust your garage door’s frequency.
While the concept might sound technical, understanding the basics is key to securing your home and ensuring your system works flawlessly. If you’ve ever wondered about the process of how to change the frequency on a garage door, you’ve come to the right place. This guide will walk you through everything you need to know, from why it’s important to the exact steps for getting it done.
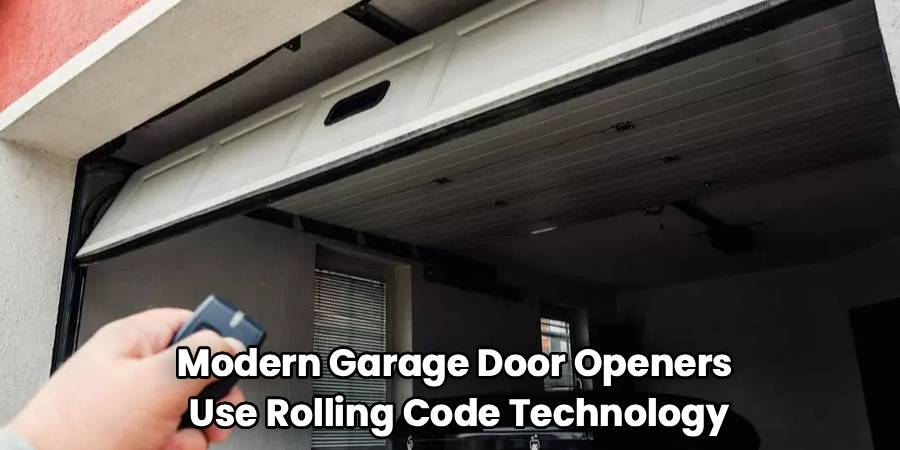
Most modern garage door openers use rolling code technology, which automatically changes the access code every time you use your remote. This is a significant security upgrade from older models that used fixed codes set by small internal switches called DIP switches. If your opener is an older model, changing the frequency is a crucial security measure to prevent unauthorized access. For newer models, resetting the connection between your remote and the opener can resolve interference issues from other radio signals. Whatever your reason, adjusting the frequency is a straightforward task that boosts your home’s security and gives you peace of mind.
Step-by-Step Guide: How To Change The Frequency On A Garage Door
Changing your garage door’s frequency or resetting its codes can vary depending on whether you have an older system with DIP switches or a modern unit featuring a “Learn” button. Both methods are straightforward with a little guidance. Have a small stepladder handy for safe motor unit access, plus your owner’s manual if available.
Step 1: Identify Your Garage Door Opener Type
Begin by examining the motor unit mounted on your garage ceiling. If you spot a row of small, numbered toggle switches (usually 8 to 12), you have an older, fixed-code opener that uses DIP switches.
If not, look for a single button labeled “Learn,” “Set,” or “Program.” This button is often a distinct color and may be found under the opener’s light cover. Its presence signals a modern, rolling code system. Determining your opener type is essential, as the subsequent process depends on it.
Step 2: Clear Old Codes or Frequency Settings
For openers with a “Learn” button, erase all previous remote codes by pressing and holding the button for 6–10 seconds. Release when the indicator light blinks or turns off, confirming that the codes are wiped and old remotes will no longer work.
With DIP switch models, there’s no code memory to erase. Instead, you’ll create a new code by flipping the switches into a unique pattern in both the opener and remote.
Step 3: Set a New Code or Frequency
For DIP switch systems: Open your remote’s casing. Inside, you’ll find a set of switches matching those on the opener. Use a pen or small screwdriver to set a new, random up-down combination. Mirror this exact pattern on the opener’s switches using your stepladder. Make sure every switch matches. Complete this for each remote you use.
Step 4: Program a Remote on Rolling Code (Learn Button) Models
Now it’s time to program your remote to the opener with the new frequency:
- Briefly press and release the “Learn” button on the garage door opener. The indicator light should illuminate or start blinking, signaling the unit is ready to learn.
- Within about 30 seconds, press and release the button on your remote you want to use for the door.
- Watch for the opener’s lights to flash or listen for a “click”—this means the programming is successful.
- Test by pressing the remote button again to verify it operates the door. If you have more remotes or a wireless keypad, repeat these steps for each.
This step is crucial for anyone wanting to know exactly how to change the frequency on a garage door using a rolling code system.
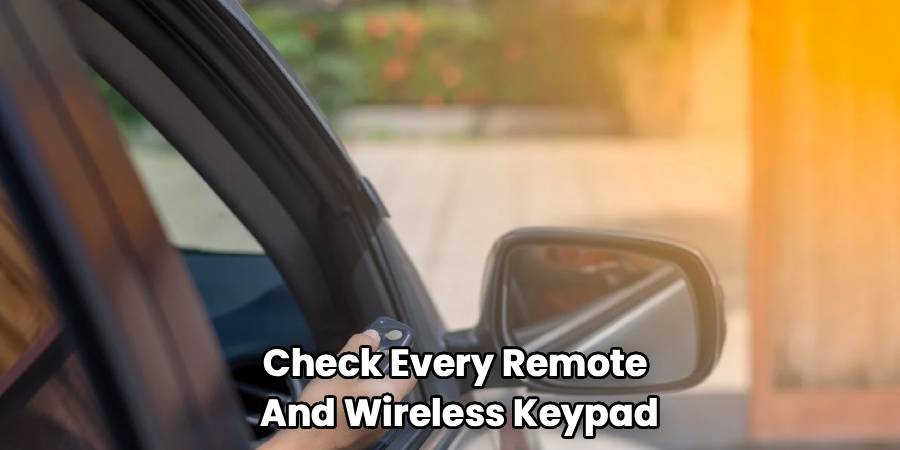
Step 5: Test All Remotes and Keypads
To wrap up, check every remote and wireless keypad you reprogrammed. Make sure they all open and close the door smoothly. Test from inside and outside your garage to ensure a good range. If any remote doesn’t work, repeat its programming or check its battery. After confirming all devices function properly, your garage is now secure and operating as intended.
The final step is to test everything to ensure it works correctly. Stand inside your garage and test each remote control and any wireless keypads you reprogrammed. Make sure they all open and close the door as expected. It’s also a good idea to test the range of your remotes from outside the garage. If a remote doesn’t work, try repeating the programming steps for that specific device. Sometimes, the battery in the remote may be weak, so replacing it can solve connection issues. Once all your devices are working properly, you have successfully secured your garage door system.
Frequently Asked Questions
Navigating the technical side of your garage door can bring up a few questions. Here are answers to some common queries about garage door frequencies.
Can I change my garage door frequency myself?
Absolutely. For most homeowners, changing the garage door frequency or reprogramming the remotes is a simple DIY task that requires no special tools or technical expertise. Modern systems with “Learn” buttons are designed to be user-friendly, and the process typically takes only a few minutes. Even older DIP switch systems are manageable as long as you can safely access the motor unit and carefully match the switch patterns.
Why did my garage door open by itself?
This unnerving event is often caused by radio frequency (RF) interference. Your neighbor might have a garage door opener that operates on a similar frequency, especially if you both have older, fixed-code models. Other devices, like radio transmitters or even certain electronics at a nearby military base, can also emit signals that interfere with your opener. Changing your code or frequency is the best solution to prevent this from happening again.
What is the difference between frequency and code?
Frequency refers to the radio wave your remote uses to communicate with the opener, measured in megahertz (MHz). Common frequencies include 315 MHz, 390 MHz, and 433.92 MHz. The code is the digital signal sent over that frequency, which tells the opener to activate. In older systems, this code was fixed. In modern systems, rolling code technology creates a new, encrypted code with every use, making it virtually impossible for someone to capture and reuse your signal.

How often should I change my garage door code?
For modern rolling code openers, you don’t need to change the codes as a regular maintenance task. The system does it for you automatically every time you use it. However, you should clear the memory and reprogram your remotes any time a remote is lost or stolen. For older DIP switch systems, it’s a good security practice to change the code annually or if you suspect someone may have gained access to your code.
Do all garage door remotes work on the same frequency?
No, they do not. Different manufacturers use different frequencies. For example, older models from the 1990s often used 390 MHz, while many newer models from LiftMaster, Chamberlain, and Craftsman use 315 MHz. Universal remotes are designed to work with a wide range of frequencies and brands, but you must program them for your specific opener model. When buying a replacement remote, always ensure it is compatible with your opener’s brand and frequency.
Conclusion
Knowing how to change the frequency on a garage door is a valuable skill for any homeowner, enhancing both the security and reliability of your system. Whether you are updating an old DIP switch system to a more secure code or simply resolving interference issues by reprogramming a modern rolling code opener, the process is straightforward and empowering. By clearing old codes and syncing your remotes to a new, secure signal, you prevent unauthorized access and ensure that your opener responds only to your commands. Taking a few minutes to complete these steps provides lasting peace of mind, knowing that one of your home’s largest entry points is safe and secure.