
A garage is much more than just a place to park your car. For many, it’s a workshop, a storage area, or even a home gym. But if your garage door isn’t properly sealed, it can be a major source of energy loss, a gateway for pests, and a weak point against the elements. A drafty, damp garage is not just unpleasant; it can damage your belongings and drive up your utility bills.
Learning how to seal garage door openings is a practical DIY project that offers significant benefits, from improved energy efficiency to a cleaner, more comfortable space. This guide will walk you through everything you need to know to create a tight seal, protecting your garage from whatever mother nature throws its way.

Step-by-Step Guide to Sealing Your Garage Door
Sealing your garage door is a manageable project that can be completed in an afternoon. The process involves inspecting the existing seals and replacing worn-out components. With the right tools and a little patience, you can significantly improve the barrier between your garage and the outside world. Let’s break down the process into clear, actionable steps.
Step 1: Inspect Your Existing Seals
Before you buy any materials, you need to understand what you’re working with. A thorough inspection will reveal where the air leaks, water intrusion, and pests are coming from. Open your garage door and then close it. Turn off the lights inside the garage during the daytime and look for any slivers of light coming in around the edges.
Pay close attention to these four key areas:
- The Bottom: Look at the rubber or vinyl seal that runs along the bottom edge of the door. Is it cracked, brittle, torn, or compressed flat? If it doesn’t create a solid connection with the floor when the door is closed, it needs replacement.
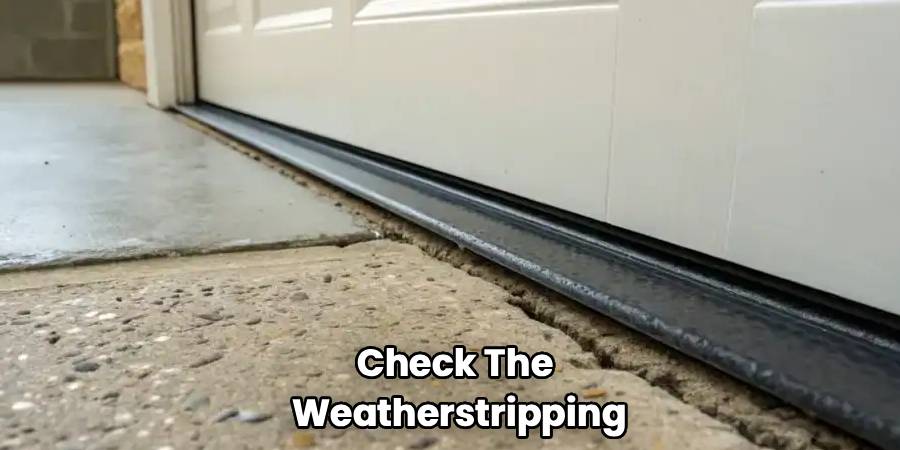
- The Sides: Check the weatherstripping that runs along the vertical sides of the garage door frame (the jambs). This material can become worn, warped, or detached over time, creating gaps.
- The Top: Inspect the seal along the top edge of the door or the top of the door frame (the header). Similar to the side seals, this strip can degrade and pull away.
- The Threshold: Look at the garage floor where the door meets it. Is the concrete uneven or cracked? An uneven surface can prevent even a new bottom seal from working effectively.
Make a list of every component that shows signs of wear and tear. This will be your shopping list for the next step.
Step 2: Gather Your Tools and Materials
With your inspection complete, it’s time to gather everything you need. Your local home improvement store will have a dedicated section for garage door seals and weatherstripping.
Materials You Might Need:
- Garage Door Bottom Seal: These come in various shapes (J-type, T-type, U-shaped) and materials (rubber, vinyl). You must purchase a seal that is compatible with the channel or track on the bottom of your specific garage door. Take a small piece of your old seal with you to ensure you get the right match. Buy a length that is slightly longer than the width of your door.
- Garage Door Top and Side Seal (Weatherstripping): This is often sold in kits that include enough material for the top and both sides of a standard garage door. It’s typically made of vinyl or PVC and attaches to the door stop molding.
- Garage Door Threshold Seal: If your floor is uneven or you want an extra layer of protection against water, a threshold seal is an excellent addition. This heavy-duty rubber strip is glued to the concrete floor, creating a raised barrier. You’ll also need a strong adhesive caulk designed for this purpose.
- Additional Fasteners: Depending on the type of seals you buy, you may need new galvanized or stainless steel nails or screws.
Tools You’ll Need:
- Tape measure
- Utility knife or heavy-duty scissors
- Pry bar or flathead screwdriver
- Pliers
- Hammer or drill/driver
- Safety glasses
- Work gloves
- Cleaning rags
- Degreaser or all-purpose cleaner
- Caulk gun (if installing a threshold seal)
Step 3: Replace the Garage Door Bottom Seal
The bottom seal takes the most abuse and is often the first to fail. Replacing it is one of the most effective ways to weather-seal your garage door.
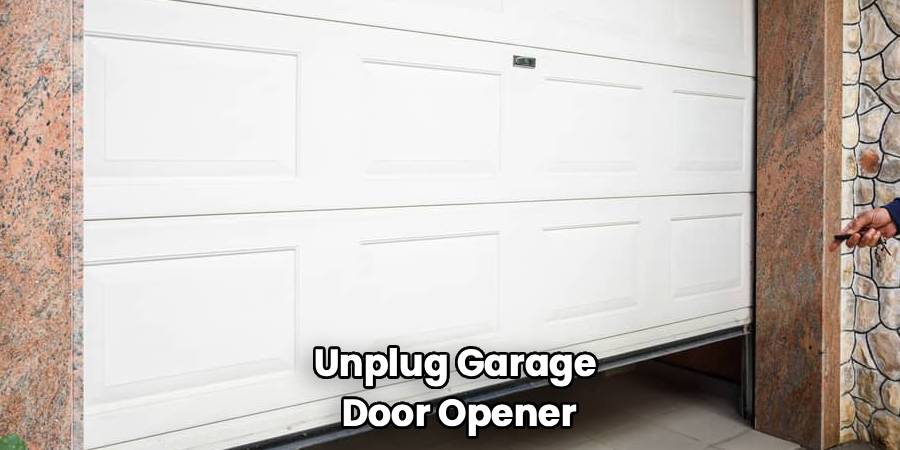
- Open the Garage Door: Raise the door high enough to work on the bottom edge comfortably. For safety, unplug the garage door opener and secure the door in place with locking pliers or C-clamps firmly attached to the tracks just below the bottom roller.
- Remove the Old Seal: The bottom seal is held in a track or retainer. Using pliers, you can typically slide the old seal out from one end. If it’s stubborn, you may need to use a utility knife to cut it away or a pry bar to gently open the retainer channel.
- Clean the Retainer: Once the old seal is out, use a rag and cleaner to wipe out the entire track. Remove any old lubricant, dirt, or debris that has accumulated. A clean track will make installing the new seal much easier.
- Install the New Seal: To make the new rubber or vinyl seal more pliable, let it sit in the sun for a while. You can also lubricate the track with a bit of dish soap. Starting at one end, carefully feed the new seal into the retainer channels. It helps to have a second person to help guide it along. Slide it all the way through to the other side.
- Trim the Excess: Once the seal is in place, use your utility knife to trim any excess material, leaving about an inch of overhang on each side. You can tuck this extra bit back into the end of the seal to prevent it from shifting over time.
Step 4: Install the Garage Door Top and Side Seal
The weatherstripping on the top and sides of the door frame provides a crucial barrier against wind and rain.
- Close the Garage Door: You’ll need the door closed to properly position the new weatherstripping.
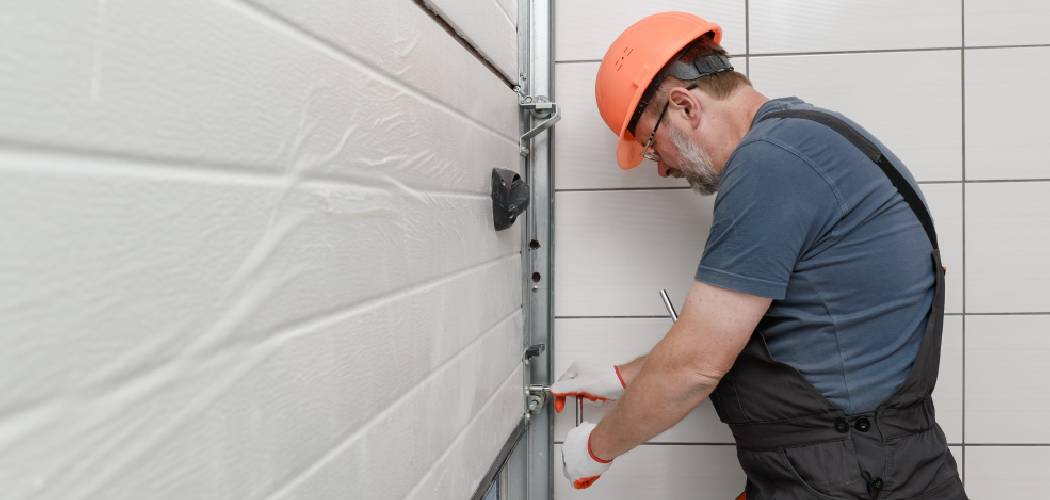
- Remove the Old Strips: Use a pry bar to carefully remove the old, worn weatherstripping from the door stop molding on the sides and top of the frame. Be gentle to avoid damaging the wood or vinyl molding underneath. Pull out any remaining nails with pliers.
- Measure and Cut: Measure the height of each side of the door frame and the width of the top. Cut your new weatherstripping pieces to these lengths using a utility knife. For the side pieces, it’s best to make a 45-degree angle cut at the top where they will meet the top piece for a cleaner, tighter fit.
- Attach the New Strips: Start with one of the side pieces. Position the strip against the outside of the door jamb so that its flexible flap presses lightly against the face of the garage door, creating a seal. You don’t want it to be too tight, as this can interfere with the door’s operation. Secure the strip in place with galvanized nails or screws every 10-12 inches. Repeat the process for the other side and then for the top piece.
How To Seal Garage Door With a Threshold
Installing a threshold seal is an optional but highly recommended step, especially if you have issues with water pooling or an uneven concrete floor. This step is a key part of learning how to seal a garage door for maximum protection.
- Position and Mark: Close the garage door. Place the threshold seal on the floor behind the door, with the raised edge pressing firmly against the inside of the garage door bottom seal. This ensures a tight fit. Use a pencil to trace a line along both the front and back edges of the threshold onto the concrete floor.
- Clean the Area: Open the garage door and move the threshold aside. Thoroughly clean the marked area on the concrete with a degreaser and a wire brush. The floor must be completely clean, dry, and free of any dust, oil, or debris for the adhesive to bond properly.
- Apply the Adhesive: Load your caulk gun with the recommended adhesive. Apply a few thick, zigzagging beads of adhesive to the floor between your marked lines.
- Set the Threshold: Carefully place the threshold seal onto the adhesive, aligning it with your pencil marks. Press down firmly along its entire length to ensure it bonds well with the concrete and that the adhesive spreads out evenly underneath.
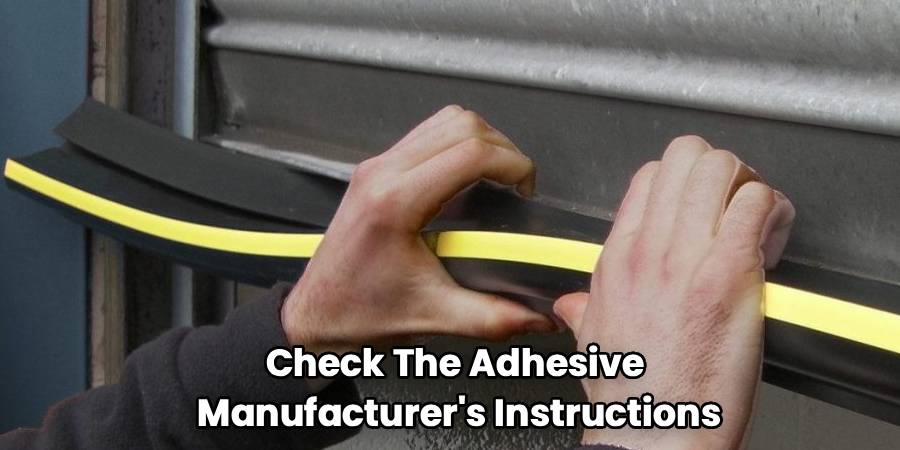
- Let It Cure: Close the garage door so it rests on top of the new threshold. This will hold it in place while the adhesive cures. Check the adhesive manufacturer’s instructions for the recommended curing time. Do not drive over the threshold until it is fully cured, which can take 24 hours or more.
Frequently Asked Questions
What is the best material for a garage door seal?
Rubber is generally considered the best material for garage door seals, especially for the bottom seal. It remains more flexible in cold temperatures compared to vinyl, which can become stiff and brittle. For side and top weatherstripping, high-quality PVC or vinyl is durable and effective.
How often should I replace my garage door weatherstripping?
You should inspect your seals at least once a year. Depending on your climate and the material’s quality, a garage door bottom seal may last for a few years, while side and top seals can last much longer. Replace any seal that is cracked, torn, brittle, or no longer making effective contact with the door or frame.
Can I seal my garage door myself?
Absolutely. Sealing a garage door is a very accessible DIY project for most homeowners. The steps are straightforward, and the tools required are common household items. The most important part is buying the correct type of replacement seal for your specific door model.
How much does it cost to seal a garage door?
The cost is relatively low, making it a high-return home improvement project. A replacement bottom seal can cost between $20 and $50. A full kit for the top and sides is often in the $30 to $60 range. A threshold seal might cost between $50 and $100, depending on the length. Compared to the cost of professional installation or the long-term savings on energy bills, it’s a very worthwhile investment.
Conclusion
Knowing how to seal garage door components is a valuable skill for any homeowner, providing a direct path to a more energy-efficient and protected space. By replacing a worn garage door bottom seal, installing fresh weatherstripping on the top and sides, and adding a garage door threshold seal, you create a formidable barrier against drafts, water, dust, and pests. This weekend project not only enhances the comfort and cleanliness of your garage but also helps protect your belongings and lower your energy consumption. With a well-sealed garage door, you can have peace of mind knowing your home’s largest moving part is secure and efficient.