
Your garage door is likely the largest moving object in your home. It’s a complex system of cables, pulleys, rollers, and springs working together to lift and lower a heavy door safely. The most critical components in this system are the tension springs. They do the heavy lifting, counterbalancing the door’s weight so the opener can move it with minimal effort.
When a spring breaks, the door becomes incredibly heavy and often impossible to open. Understanding the process of how to install garage door tension springs is essential for any homeowner looking to tackle this challenging but manageable repair. This guide will walk you through the entire process, emphasizing safety and precision to ensure your garage door operates smoothly and reliably.
A Step-by-Step Guide to Installation
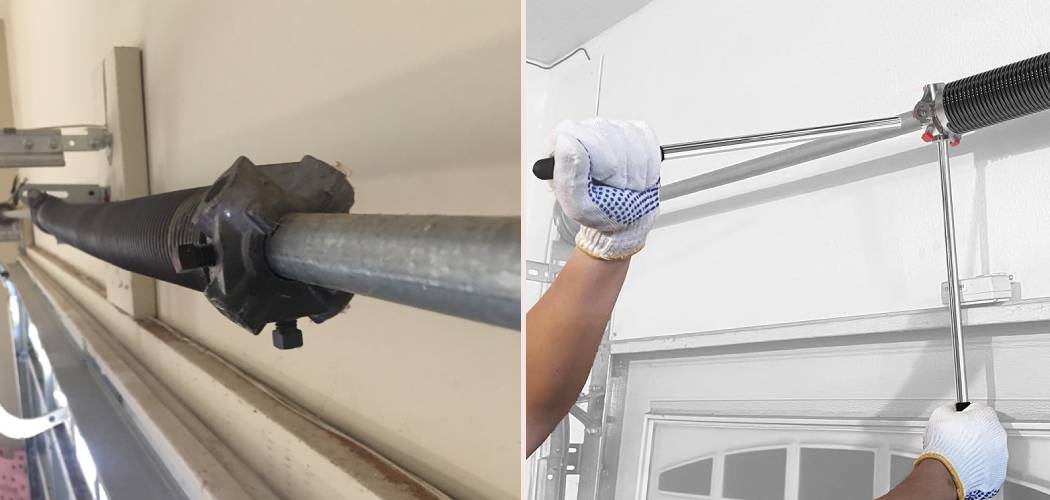
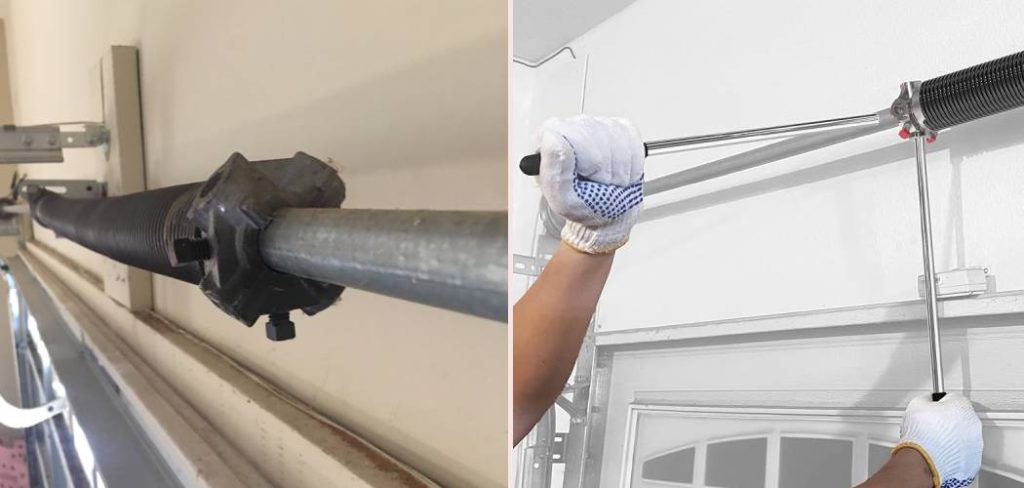
Replacing garage door springs is a task that demands careful attention to detail and a strong focus on safety. Before you begin, it’s crucial to identify which type of spring system your door uses. The two main types are torsion springs and extension springs. Torsion springs are mounted on a metal bar above the garage door opening.
Extension springs are located on either side of the door, stretching along the horizontal tracks. This guide will cover both types, as the installation process differs significantly between them. Remember, this project involves components under extreme tension. Always prioritize your safety above all else.
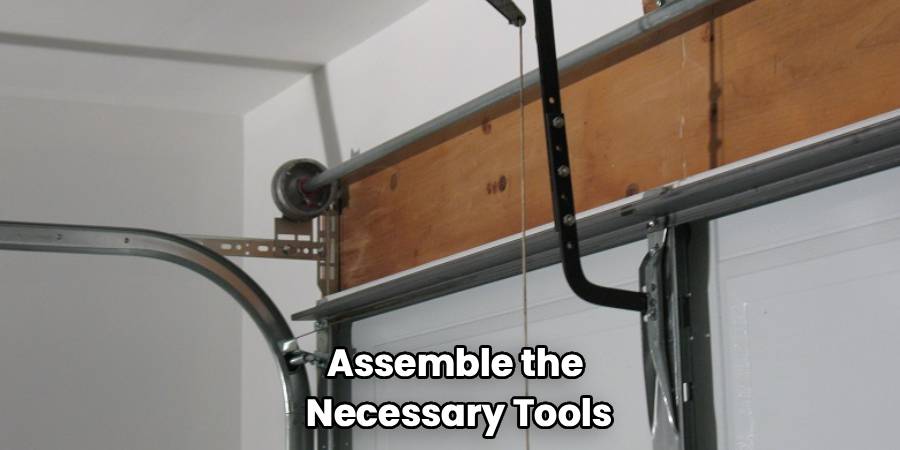
Step 1: Gather Your Tools and Safety Gear
Before you even think about touching the springs, your first step is to assemble the necessary tools and personal protective equipment (PPE). Having everything ready will make the job smoother and safer. For this project, you will need:
- Safety glasses and heavy-duty gloves
- A sturdy ladder or step stool
- Winding bars (for torsion springs) – Never use screwdrivers or other makeshift tools
- An adjustable wrench and a socket wrench set
- Locking pliers or C-clamps
- A measuring tape
- A marker or masking tape
Proper safety gear is non-negotiable. The springs are under immense tension, and a mistake can lead to serious injury. Safety glasses will protect your eyes from flying debris, and gloves will protect your hands from sharp edges and grease.
Step 2: Identify and Purchase the Correct Replacement Springs
You cannot simply buy any garage door spring. The replacement must be an exact match for the old one. The wrong spring can cause the door to open too quickly, close too hard, or put excessive strain on your garage door opener, leading to premature failure.
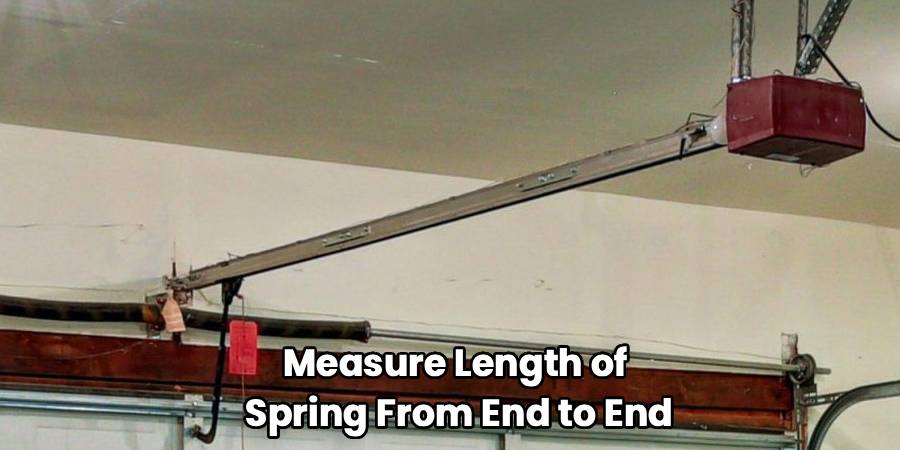
For torsion springs, you need to measure the wire size, the inside diameter of the spring, and the overall length of the spring in its unwound state. You will also need to know the “wind” of the spring (left-hand or right-hand). Looking at the end of the spring, a right-hand wind will have an end that points up on the right, and a left-hand wind will point up on the left. Most residential doors have one of each.
For extension springs, you will need to measure the length of the spring from end to end (when relaxed) and weigh your garage door to determine the correct strength. The strength is often indicated by a color code on the end of the spring. Be sure to replace both extension springs at the same time, even if only one is broken. This ensures the door remains balanced.
Step 3: Secure the Garage Door
This is a critical safety step. Before you begin working on the springs, the garage door must be fully in the down position and secured. Disconnect the automatic garage door opener by pulling the red emergency release cord. This prevents anyone from accidentally trying to operate the door while you are working.
Next, place a set of locking pliers or a C-clamp securely onto the vertical track just above one of the bottom rollers. This acts as a physical stop, preventing the door from unexpectedly flying open once the spring tension is released or applied. Do this on both sides for extra security. Double-check that the door cannot be manually lifted before proceeding.
Step 4: Release Tension from the Old Springs
This is where the process diverges based on your spring type.
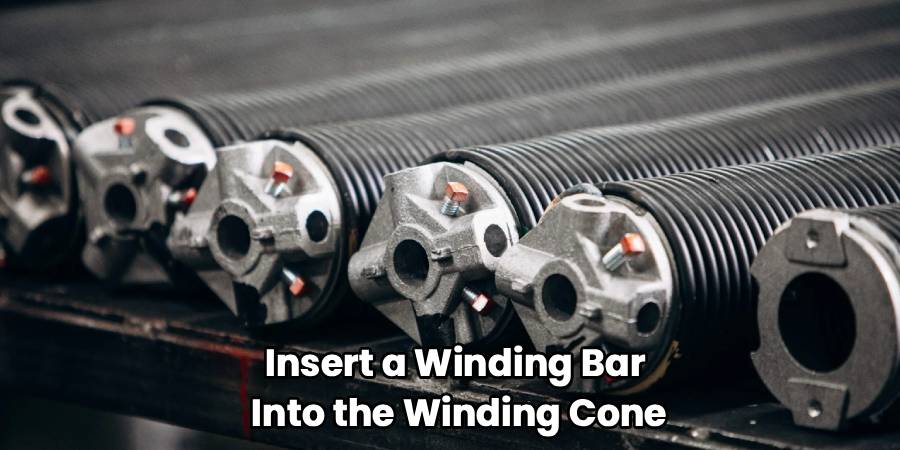
For Torsion Springs: This is the most dangerous part of the job. Locate the winding cone at the end of the spring. It will have four holes. Insert one winding bar firmly into a bottom hole. Hold it securely, making sure you have a solid grip and stable footing. While holding the first bar, use your other hand to loosen the two set screws on the winding cone. The tension of the spring will now be held entirely by the winding bar.
Slowly and carefully, allow the bar to move up, releasing the tension in quarter-turn increments. Use the second winding bar to leapfrog the first, inserting it into the next available hole before removing the first one. Continue this process until the spring is completely unwound and you feel no more tension.
For Extension Springs: The process is simpler and generally safer. With the door in the down position, the extension springs have minimal tension. First, detach the safety cable that runs through the spring. Then, simply unhook the spring from the track hanger and the pulley assembly. Since you are replacing both, you can repeat the process on the other side.
Step 5: How to Install Garage Door Tension Springs: The Installation
With the old springs removed, it’s time to install the new ones.
For Torsion Springs: Slide the new spring onto the torsion tube, making sure the stationary cone is on the correct side (typically against the center bracket) and the winding cone is on the outside. Reconnect the cables to the cable drums, ensuring they are seated correctly in their grooves. Now, you will reverse the unwinding process. Insert a winding bar into the winding cone and begin turning it upwards to add tension.
The number of turns required depends on the height of your garage door. A standard 7-foot door usually needs about 30 quarter-turns (7.5 full rotations), while an 8-foot door needs around 34 quarter-turns (8.5 full rotations). Follow the manufacturer’s specific instructions. Once the correct tension is applied, tighten the set screws on the winding cone firmly against the torsion tube.
For Extension Springs: The core of the task is here. Attach one end of the new spring to the track hanger or mounting point at the back of the garage. Thread the safety cable through the new spring before you attach the other end. This is a vital safety feature that will contain the spring if it breaks.
Stretch the spring and attach the other end to the pulley fork or eye bolt connected to the horizontal track’s cable. Reconnect the lifting cable to the bottom bracket of the door, ensuring it runs properly through the pulley. Repeat for the other side.
Step 6: Test and Adjust the Door Balance
Once the new springs are installed, you need to test the door’s balance. Remove the locking pliers or C-clamps from the tracks. Manually lift the door to about halfway up and let go. A perfectly balanced door should stay in place. If it drifts down, you need to add more tension to the springs. If it flies up, you have too much tension and need to carefully release some.
For torsion springs, this means adding or removing quarter-turns with the winding bars. For extension springs, you can adjust the tension by moving the S-hook to a different hole on the track hanger. Make small adjustments at a time until the door is perfectly balanced.
Step 7: Reconnect the Opener and Final Checks
After you have confirmed the door is balanced, reconnect the garage door opener. Run the opener through a full open and close cycle. Watch the door’s movement closely. It should travel smoothly without any jerking or straining. Listen for any unusual noises. Check all nuts and bolts one last time to ensure they are tight. Clean up your tools, and your installation is complete.
Frequently Asked Questions
Can I install just one garage door spring?
It is highly recommended to replace both springs at the same time. Springs are rated for a certain number of cycles (one cycle is one opening and closing of the door). Since both springs were installed at the same time, they have endured the same amount of wear. If one has broken, the other is likely near the end of its lifespan and will probably fail soon. Replacing both ensures the door remains properly balanced and saves you from repeating the repair in the near future.
Is it safe to open a garage door with a broken spring?
No, you should not attempt to open a garage door with a broken spring, especially using the automatic opener. The springs are what carry the majority of the door’s weight. Without their support, the door becomes extremely heavy. Trying to lift it with the opener can strip the gears, burn out the motor, or damage other components. Manually lifting it is also dangerous and can cause injury. Keep the door closed and do not use it until the spring is replaced.
How much does it cost to have garage door springs professionally installed?
The cost can vary widely depending on your location, the type of springs you need, and whether it’s a standard or emergency service call. Generally, you can expect the cost for a professional to replace your garage door springs to range from a few hundred to several hundred dollars. This price typically includes the cost of the springs themselves and the labor. While a DIY installation saves on labor costs, remember to factor in the price of tools like winding bars if you don’t already own them.
How long do garage door springs last?
The lifespan of a garage door spring is measured in cycles. A standard builder-grade spring is typically rated for about 10,000 cycles. If you use your garage door four times a day, this equates to a lifespan of roughly 7 years. You can purchase high-cycle springs that are rated for 25,000, 50,000, or even 100,000 cycles, which will last significantly longer but come at a higher initial cost.
Conclusion
Successfully completing a project on how to install garage door tension springs is a rewarding experience that can save you money and give you a deeper understanding of how your home works. However, it is a task that must be approached with the utmost respect for the power stored in the springs.
By following the steps outlined in this guide, gathering the right tools, and prioritizing safety above all else, you can confidently and competently complete this repair. If at any point you feel unsure or unsafe, do not hesitate to call a professional garage door technician. A functioning and balanced garage door is crucial for the safety and convenience of your home.