

A cracked or shattered garage door window can be more than just an eyesore; it can compromise your home’s security and energy efficiency. While it might seem like a job reserved for professionals, with the right tools and a bit of patience, replacing a garage door window is a project many homeowners can tackle themselves.
This guide is designed to walk you through the process, making it feel less like a daunting task and more like an empowering home improvement project. Understanding how to replace garage door window glass not only saves you money but also gives you the satisfaction of maintaining your home. Whether you’re dealing with a baseball-related accident or simple wear and tear, you can restore your garage door’s look and function.

Step-by-Step Guide to Your Garage Door Window Replacement
Before you begin, safety is paramount. Make sure you disconnect your garage door opener to prevent it from being activated while you work. It’s also a good idea to have a friend or family member help you, as handling glass and door sections can be tricky alone. Gather all your tools and materials beforehand to ensure a smooth workflow from start to finish.
Step 1: Gather Your Tools and Materials
Having everything you need within reach will make the process much smoother. You don’t want to be running to the hardware store mid-project. Here’s a comprehensive list of what you’ll likely need:
- Safety Gear: Thick work gloves and safety glasses are non-negotiable. Broken glass is sharp, and eye protection is crucial.
- Measurement Tools: A reliable tape measure is essential for getting accurate dimensions for your new window pane.
- Prying Tools: A putty knife, a flathead screwdriver, or a small pry bar will be needed to remove the old window frame and sealant.
- Cleaning Supplies: A utility knife for cutting away old sealant, a cloth, and a glass cleaner or a solution of vinegar and water will help you prepare the frame for the new glass.
- Replacement Materials:
- The New Window: This could be a single pane of glass, an acrylic (Plexiglas) sheet, or a sealed double-pane unit, depending on your door’s design. Ensure it’s the correct thickness.
- Glazing Compound or Sealant: You’ll need high-quality, exterior-grade silicone caulk or glazing compound to secure the new window and make it weatherproof.
- Caulking Gun: If you’re using a tube of sealant.
- A Helper: An extra pair of hands is incredibly valuable for safely handling the glass and door section.

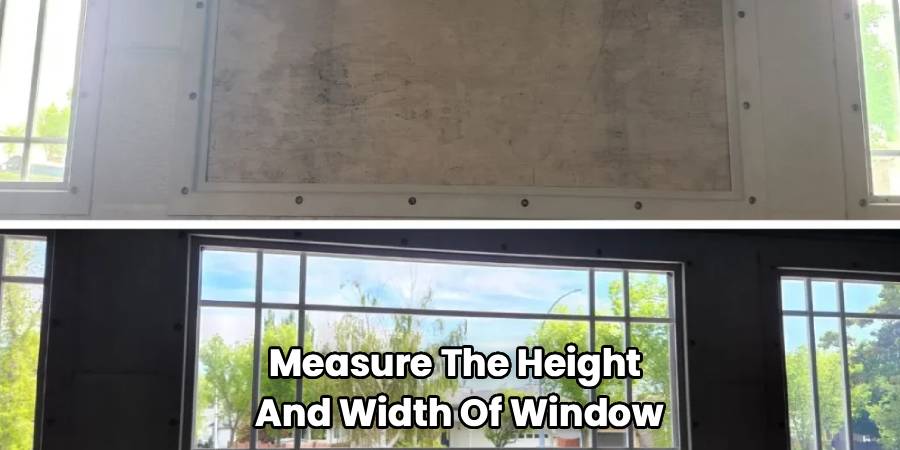
Step 2: Measure for the New Glass
Accurate measurements are the foundation of a successful DIY garage door window replacement. If you measure incorrectly, your new pane won’t fit, and you’ll be back at square one. If the old glass is still mostly intact, you can measure it directly. If it’s completely shattered, you’ll need to measure the opening in the frame itself.
Measure the height and width of the window opening from inside the plastic or vinyl frame that holds the glass. Take each measurement at least twice to ensure accuracy. It’s wise to measure from edge to edge of the opening. When ordering your new glass, subtract about 1/8 inch from both the height and width. This small gap provides a bit of wiggle room, making installation easier and allowing for the glass to expand and contract with temperature changes without cracking. Also, be sure to measure the thickness of the old glass or the width of the channel it sits in to order the correct replacement.
Step 3: Remove the Old Window Frame and Glass
This is where your safety gear becomes critical. Start by putting on your work gloves and safety glasses. The process for removing the frame will vary slightly depending on your garage door’s manufacturer. Most modern garage doors use a plastic or vinyl frame that snaps together.
Look for screws holding the interior and exterior frame pieces together. These are usually located on the interior side of the door. Use a screwdriver or drill to carefully remove them. If there are no screws, the frame is likely a snap-in model. In this case, you will need to gently pry the interior frame away from the door using a putty knife or flathead screwdriver. Work your way slowly around the perimeter, applying steady pressure to release the clips holding it in place. Be careful not to apply too much force, as you don’t want to crack the plastic frame itself, which you will need to reuse.
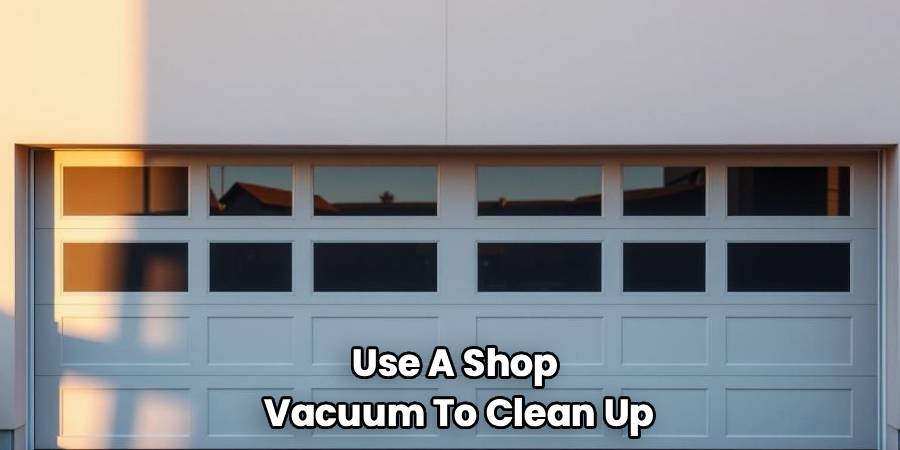
Once the interior frame is off, the broken glass can be removed. If the glass is shattered, carefully pick out the larger pieces first. Use a shop vacuum to clean up any smaller shards from the frame and the floor. If the glass is just cracked but holding together, you and your helper can carefully push it out from the inside.
Step 4: Clean the Frame and Opening
With the old glass gone, you’ll likely see leftover bits of old sealant or glazing compound stuck to the frame. It’s essential to remove all of this residue to ensure the new sealant creates a perfect, watertight bond.
Use your putty knife or a utility knife to scrape away the old caulk. Be thorough. Any remaining material can prevent the new window from sitting flush and sealing properly. After scraping, use a cloth with a cleaning solution to wipe down the entire frame, removing any dust, dirt, or oils. A clean surface is key to a professional-looking and long-lasting repair. Let the frame dry completely before moving on to the next step.
Step 5: How To Replace Garage Door Window Glass and Seal It
Now it’s time to install your new pane. This is the central part of the process and requires a careful touch. Begin by applying a thin, continuous bead of your new silicone caulk or glazing compound to the channel on the exterior window frame where the glass will sit. Don’t apply too much; you just need enough to create a seal.
With your helper, carefully lift the new glass pane. Center it in the opening and gently press it into the bead of sealant. The glass should be snug against the exterior frame. If you’re working alone, you can use suction cup handles to make positioning the glass easier and safer.
Once the glass is in place, you can apply another thin bead of sealant around the edge of the glass on the interior side. This “sandwiches” the glass in sealant, providing a robust, weatherproof barrier. Be neat and consistent with your application for the best results.
Step 6: Reinstall the Interior Window Frame
The final step is to secure the new window by reattaching the interior frame. Align the interior frame piece over the opening and press it firmly into place. If your frame uses screws, line up the screw holes and reinsert the screws. Tighten them until they are snug, but be careful not to overtighten, as this can crack the plastic frame or put too much pressure on the new glass.
If you have a snap-in frame, press it firmly around the perimeter until you hear or feel the clips engage. It should sit flush against the garage door’s surface. After the frame is reinstalled, use a damp cloth or a paper towel to wipe away any excess sealant that may have squeezed out from around the edges of the frame or the glass. This will give your project a clean, professional finish. Allow the sealant to cure completely according to the manufacturer’s instructions, which typically takes at least 24 hours. During this time, avoid operating the garage door.
Frequently Asked Questions
Can I replace a single garage door window myself?
Absolutely. For most homeowners with basic DIY skills, replacing a single window pane in a garage door is a very manageable project. The key is to prioritize safety, take accurate measurements, and work patiently. The snap-in plastic frames used on many modern steel garage doors are designed for relatively simple removal and reinstallation. Following a clear, step-by-step guide makes the task much less intimidating.
What kind of glass should I use for a garage door window?
The type of glass or material you choose depends on your priorities, such as safety, insulation, and budget. Tempered glass is a popular choice because it’s four to five times stronger than standard glass and shatters into small, dull-edged pieces, reducing the risk of injury. Laminated glass is another safe option. For better insulation, you can opt for a double-pane insulated glass unit. If you’re looking for a budget-friendly and shatter-resistant alternative, acrylic (Plexiglas) or polycarbonate sheets are excellent choices. They are lighter than glass and very durable.
How much does it cost to replace a garage door window?
The cost can vary widely. A DIY replacement is the most cost-effective option. The main expense will be the replacement pane itself, which can range from $20 for a simple acrylic sheet to over $100 for a custom-sized, insulated, or tempered glass unit. If you hire a professional, you can expect to pay anywhere from $150 to $500 or more, depending on the complexity of the job, the type of glass, and labor rates in your area.
How do I prevent my garage door windows from breaking again?
While accidents happen, you can take steps to minimize the risk. If balls and toys are a common hazard, consider installing impact-resistant polycarbonate panels instead of glass. These are virtually unbreakable. For security, installing a decorative security film can make the glass harder to break. Regular maintenance, including checking that the door is balanced and operating smoothly, can also prevent stress fractures caused by excessive vibration.
Conclusion
Finishing your project and learning how to replace garage door window glass not only enhances your home’s curb appeal but also bolsters its security and insulation. By following these steps carefully, you’ve completed a significant home repair that saves you money and gives you a valuable new skill. Remember that taking your time, prioritizing safety, and being meticulous with measurements and cleaning are the keys to a result that looks professional and stands the test of time. Now you can stand back and admire a job well done, knowing your garage door is once again whole and secure.