
There is nothing quite as annoying as pulling into your driveway at night and having to stumble to your front door in pitch-black darkness, only to have the security light flick on after you’ve already unlocked the door. Conversely, nobody wants to be the neighbor with the spotlight that triggers every time a moth flies past the garage. Finding that sweet spot where your lights are helpful but not hyperactive is an art form.
If you’ve recently installed a new fixture or moved into a home with existing security lighting, figuring out how to set a motion sensor light properly is usually high on the to-do list. It sounds simple enough—turn a few dials, flip a switch—but getting it just right requires a little patience and understanding of how these sensors actually “see” the world.
Whether you are looking to save energy, deter potential intruders, or just avoid tripping over the garden hose, this guide covers everything you need to know. We will walk through the specific dials, the “walk test” ritual, and the common pitfalls that cause false alarms. By the end, you’ll be an expert on motion detector light setup and customization.

Understanding the “Why” and “How”
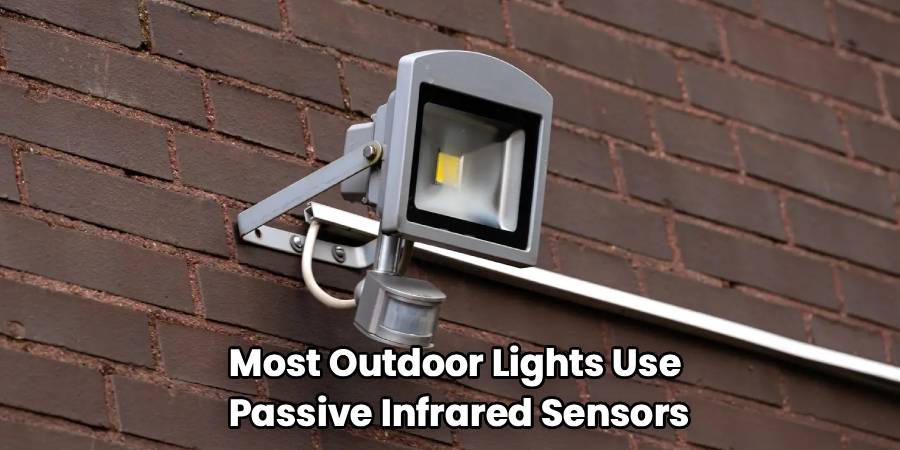
Before we grab the ladder, it helps to understand what we are actually adjusting. Most outdoor lights use Passive Infrared (PIR) sensors. These don’t “see” movement in the way a camera does; they detect rapid changes in infrared energy (heat). When a person (or a large dog, or a warm car engine) moves across the sensor’s field of view, it detects a heat spike and trips the switch.
However, heat isn’t the only factor. You likely have two or three adjustable settings on your unit:
- Sensitivity (Range): How far away the sensor looks for heat.
- Time (Duration): How long the light stays on once triggered.
- Lux (Daylight): How dark it needs to be outside before the sensor becomes active.
When you are installing motion-activated outdoor lights, these default factory settings are rarely perfect for your specific driveway or backyard. They might be set to “Test” mode, or cranked up to maximum sensitivity, which is why your light might be triggering for cars passing two streets away.
Step-by-Step Guide on How To Set A Motion Sensor Light
Getting your settings dialed in is a process of trial and error. You cannot simply set it and forget it immediately; you have to see how the light reacts to your specific environment.
Here is your comprehensive walkthrough to getting it right.
Step 1: Safety and Preparation
First things first: safety. If you need to adjust small dials located high up on a fixture, ensure you have a sturdy ladder. If you are doing a fresh outdoor motion sensor light installation, make sure the power is turned off at the breaker. Even if you are just tweaking settings, it is smart to clean the sensor lens gently with a soft cloth. Spider webs, dust, and hard water stains can mess with the sensor’s ability to detect heat accurately.
Step 2: Put the Light into “Test Mode”
Most modern fixtures have a specific “Test” mode. This is crucial for the setup process. Usually, the “Time” dial has a setting literally labeled “Test.”
When you switch this on, the light will turn on immediately when it detects motion, regardless of whether it is day or night, and it will turn off very quickly (usually after 5–10 seconds). This allows you to walk around your yard and trigger the light repeatedly without waiting minutes for it to turn off each time. If your unit doesn’t have a specific “Test” mark, simply turn the “Time” dial to the minimum possible setting.
Step 3: Establish the Detection Zone
Now begins the “Walk Test.” This is where you physically map out where the sensor is looking.
- Aim the sensor head downward slightly. You generally want it covering the area about 10 to 40 feet in front of the fixture.
- Walk in an arc across the front of the light. Note exactly where you are standing when the light clicks on.
- If the light doesn’t turn on until you are practically waving at it, or if it turns on when you are 50 feet away in the neighbor’s yard, you need to adjust motion light sensor settings specifically regarding sensitivity.
Step 4: Adjusting Sensitivity (Range)
This is usually the trickiest dial. If you set it too high, blowing leaves or distant traffic will trigger it. Set it too low, and it won’t see you until you are at the door.
- To reduce range: Turn the sensitivity dial toward the minimum (often marked with a minus sign).
- To increase range: Turn it toward the maximum.
Keep walking back and forth, making small adjustments. The goal is to catch movement at the entry points—the start of the driveway or the gate—without catching movement on the sidewalk or street.

Step 5: How To Set A Motion Sensor Light for Dusk-to-Dawn Operation
Once you are happy with the range, you need to tell the light when to work. This is handled by the “Lux” or “Photocell” setting.
This dial determines how dark it needs to be for the motion sensor to arm itself.
- Sun Symbol: If you turn it toward the sun icon, the light will activate even during the day (mostly used for testing).
- Moon Symbol: If you turn it toward the moon, the light will only work when it is pitch black.
For most homes, you want this dial somewhere in the middle or slightly toward the moon side. If you set it too far toward “dark,” the light won’t work at twilight when you might need it most. If you set it too far toward “light,” you’ll be wasting electricity on overcast afternoons.
Wait until the evening, right at the time of day you would want the light to start working (usually dusk). Rotate the Lux dial until the light activates. That is your baseline.
Step 6: Setting the Timer Duration
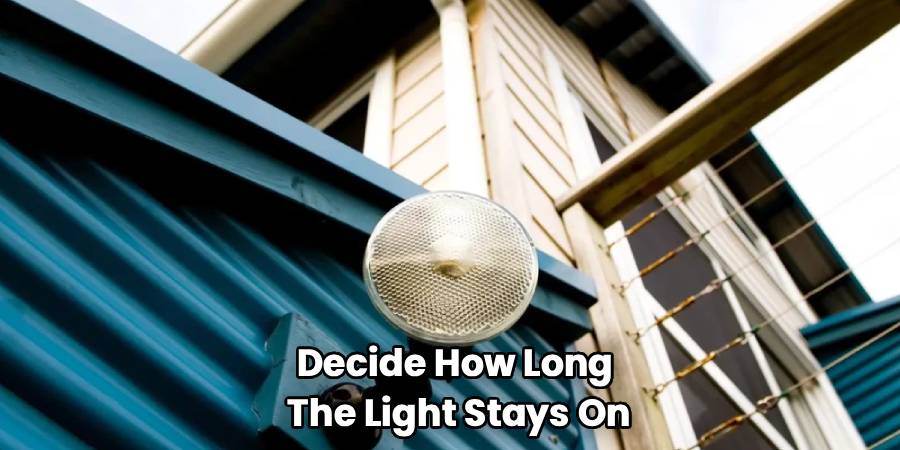
Now that the sensor knows where to look and when to wake up, you need to decide how long the light stays on. This is your motion light timer settings.
Switch the unit out of “Test” mode. You will usually have options ranging from 1 minute to 10 or 20 minutes.
- 1–3 Minutes: Best for driveways and walkways where you just need light to get from the car to the house.
- 5–10 Minutes: Better for backyards where you might be letting a dog out or taking out the trash and need consistent light for a task.
Step 7: Final Positioning check
Sometimes the issue isn’t the dial; it’s the angle. If you are struggling with motion sensor sensitivity settings and just can’t get it right, look at the physical sensor head.
PIR sensors are most sensitive to movement across their field of view, not movement directly toward them. If the sensor is pointed straight out at the driveway, and you walk straight toward it, it might not trigger until you are close. Try angling the sensor head slightly to the side so that your approach cuts across its “vision.”
During this phase, keep in mind that understanding how to set a motion sensor light involves checking for heat interference. Ensure the sensor isn’t pointed at a dryer vent, a chimney, or an air conditioning unit. These blasts of hot air will fool the sensor into thinking a person is moving nearby.
Frequently Asked Questions
Even with a perfect setup, motion lights can be finicky. Weather, power surges, and aging electronics can cause odd behaviors. Here are the most common questions we see when homeowners are trying to program motion sensor lights.
Why won’t my motion light turn off?
This is the most common complaint. If your light is stuck in the “ON” position, it has likely been accidentally switched into “Manual Mode.”
Many motion lights have a feature where, if you flip the indoor wall switch off and on quickly (usually within a second), the light overrides the sensor and stays on permanently. To fix this, you need to reset motion sensor light logic. Simply turn the switch off for at least 30 seconds (some electricians recommend a full minute). Then turn it back on. This should reboot the internal computer and return it to auto-sensing mode.
Why is my light blinking on and off repeatedly?
This is often caused by “reflection feedback.” The light turns on, and the bright reflection from a nearby white wall, window, or even the ground hits the photocell (Lux sensor). The sensor thinks it is daytime, so it turns the light off. Once it’s off, it’s dark again, so the motion sensor reactivates, detects you, and turns the light on.
To fix this, adjust the angle of the lamp heads so they aren’t shining near the sensor, or lower the sensitivity.
Can I adjust the sensor to ignore my dog?
It is difficult to completely ignore a large dog because they emit a lot of heat, just like a human. However, you can try “masking” the sensor. Some high-end models come with little plastic blinders you can snap onto the lens. These blinders block specific parts of the view.
For example, if you place a blinder on the bottom half of the lens, the sensor won’t “see” the ground immediately below it (where the dog is) but will still detect a taller human walking further out.
What is the difference between active and passive sensors?
We have mostly discussed Passive Infrared (PIR) here, which detects body heat. There are also “Active” sensors (often microwave or ultrasonic) that send out pulses of energy and measure the reflection.
Active sensors are much more sensitive and can even detect motion through thin walls or around corners. However, for standard residential use, they are often too sensitive, triggering for blowing leaves or rain. If you are troubleshooting motion sensor lights that seem to go off for no reason, check if you accidentally bought a microwave sensor—they are notoriously difficult to use outdoors.
My light stopped working after a storm. What do I do?
First, check your breaker. If the breaker is fine, the bulb might have blown. If it’s an LED integrated unit, a power surge may have fried the driver.
Try the “hard reset” mentioned earlier (power off for a minute). If that fails, get a ladder and inspect the sensor lens for water ingress. If you see moisture inside the plastic lens, the seal has failed, and the unit likely needs replacing.
Conclusion
Now that you know how to set a motion sensor light, you can enjoy a home exterior that is both secure and welcoming. Proper lighting setup is one of the most effective, low-cost security upgrades you can make, but it only works if the calibration matches your lifestyle.
Remember that this isn’t necessarily a “one-time” job. As seasons change, you might find that the angle of the sun affects your Lux settings, or that winter winds moving your trees require a sensitivity adjustment. Don’t be afraid to get back on the ladder and tweak the dials. A well-tuned light should be invisible to you—simply working when you need it and staying dark when you don’t. With these tips, you can stop waving your arms frantically in the dark and start trusting your home to light the way automatically.