

Securing your front door is one of the smartest steps you can take to protect your home. If you want a reliable security upgrade without complicated electrical work, learning how to install Ring Battery Doorbell Plus is the perfect solution.
This smart device gives you a clear view of your porch, alerts you to visitors, and lets you speak to delivery drivers from anywhere. Setting it up is a simple process that requires minimal technical knowledge and only basic hand tools. You do not need to be an expert electrician to get it running safely and securely.
This guide will walk you through the safest, most efficient way to mount and activate your new video doorbell so you can monitor your home with confidence.
Why This Task Matters
Upgrading your home security provides peace of mind and keeps your property safe. Your front door is the primary entry point for guests, deliveries, and potential intruders. A video doorbell acts as a reliable first line of defense, letting you monitor activity clearly at all hours.
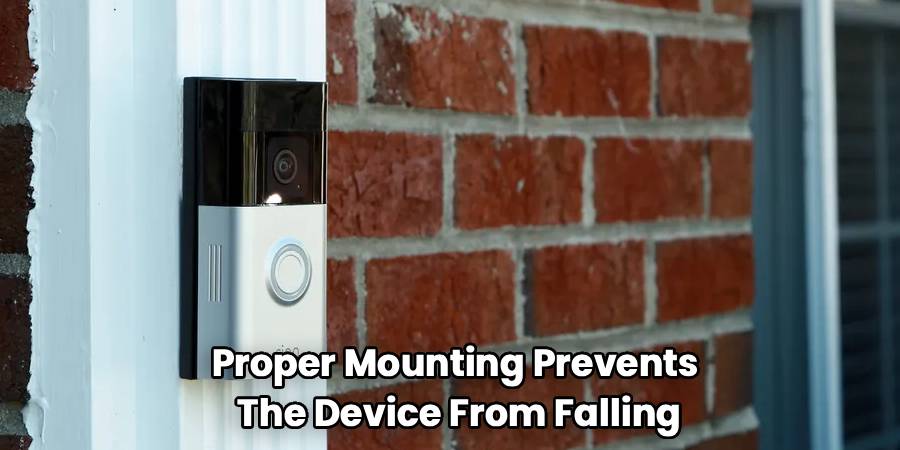
When you install this device correctly, you ensure the camera captures the best possible angle of your entryway. Proper mounting prevents the device from falling or being easily tampered with. It also guarantees that the motion sensors work accurately without sending unnecessary alerts every time a car drives past your house.
Taking the time to complete this task the right way prevents frustrating connectivity issues and hardware damage later. By following a structured approach, you ensure your security system operates exactly as intended from day one.
Tools or Materials You May Need
You will only need a few basic items to complete this project. The manufacturer includes most of the essential hardware right in the box.
Gather these items before you start:
- Fully charged doorbell battery (included in the box)
- Mounting bracket and faceplate (included in the box)
- Screws and wall anchors (included in the box)
- Specialty security screwdriver (included in the box)
- Power drill with a 1/4-inch masonry bit (if mounting on brick, stucco, or concrete)
- Standard Phillips-head screwdriver
- A smartphone or tablet with an active internet connection
For convenience, keep a small level nearby to ensure your mounting bracket sits perfectly straight on the wall.
Before You Begin
Before you begin, make sure you have everything laid out on a clean, flat surface. Verify that you have the correct doorbell model by checking the packaging.
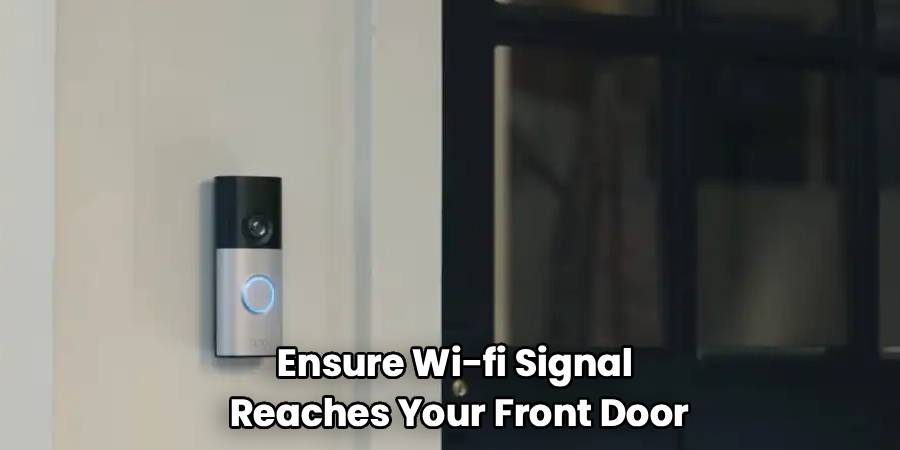
Start with the safest and simplest check. Ensure your home Wi-Fi signal reaches your front door. You can do this by taking your smartphone to your porch and checking the wireless connection strength.
If you plan to remove an existing wired doorbell, you must go to your breaker box and turn off the power to that specific area. Working with active electrical wires, even low-voltage ones, can be dangerous. For safety, turn off power before you touch any exposed wiring.
Step-by-Step Guide to How to Install Ring Battery Doorbell Plus
Step 1 – Charge the Battery Fully
Start with the safest and simplest action. Before you mount anything, you must charge the battery completely. Connect the provided charging cable to the battery pack and plug it into a standard USB wall charger.
You will see indicator lights on the battery. A red and green light means the unit is currently charging. When the battery reaches a full charge, only the solid green light will remain illuminated.
This charging process can take several hours, depending on the power output of your charger. Rushing this step often leads to setup failures during the app configuration. Wait for the green light to ensure your device has the power it needs for a smooth setup.
Step 2 – Download the Ring App and Create an Account
While the battery charges, prepare your smartphone or tablet. Open your device’s app store, search for the official Ring application, and download it.
Once the app installs, open it and follow the on-screen prompts to create a new user account. If you already have an account for other smart cameras, simply log in using your existing credentials.
The application will guide you through the digital setup process. Tap the option to set up a new device, select the video doorbell category, and scan the QR code located on the back of your doorbell. This links the specific hardware to your personal account securely and safely.
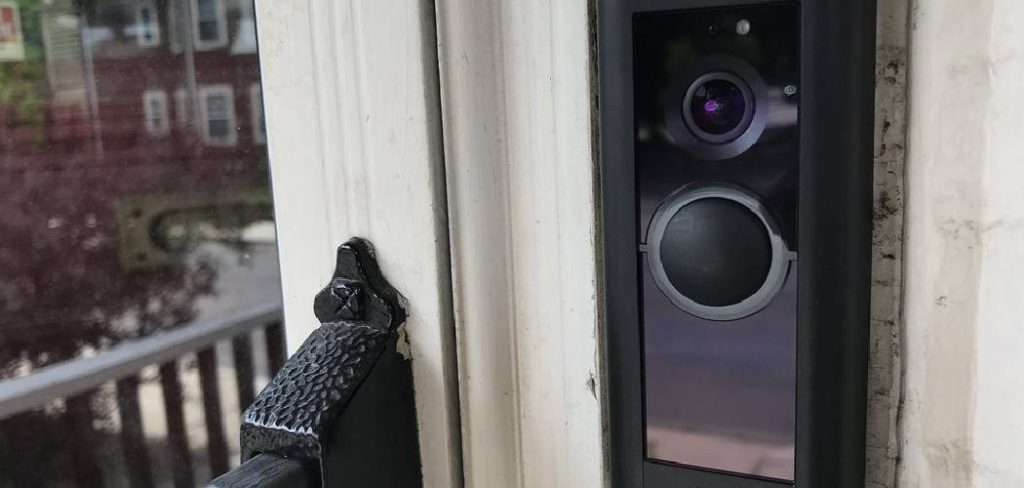
Step 3 – Find the Best Mounting Location
Choosing the right spot on your wall or doorframe is critical for good security footage. You want the camera to capture faces and packages clearly without catching too much street traffic.
The ideal mounting height is approximately 48 inches (four feet) above the ground. At this specific height, the camera provides the best field of view for both tall visitors and boxes left on the ground.
Hold the doorbell flat against your chosen spot. Look at the live video feed on your smartphone to check the angle. If the view looks obstructed by a wall or staircase, you may need to use a corner wedge kit to angle the camera appropriately.
Step 4 – Remove Your Old Doorbell (If Applicable)
If you are replacing a traditional doorbell, you must remove the old hardware safely. Double-check that you have turned off the electricity at your main circuit breaker. Press the old doorbell button to confirm no sound plays.
Use your standard screwdriver to remove the screws holding the old doorbell in place. Gently pull the old unit away from the wall to expose the two small wires connected to the back.
Carefully loosen the terminal screws and unhook the wires. Bend the wires slightly so they do not slip back into the wall hole. If you notice frayed or damaged wiring, stop immediately. Damaged wires pose a fire hazard and require professional attention.
Step 5 – Mark the Mounting Holes
Take the included mounting bracket and place it flat against your wall at the four-foot mark. Use your small level to ensure the bracket sits perfectly straight.
Take a pencil and mark the wall through the four mounting holes on the bracket. These pencil marks will show you exactly where to drive your screws or drill your anchor holes.
If you are connecting the device to existing doorbell wires, pull those wires gently through the large hole in the center of the mounting bracket before you make your pencil marks. This ensures the wires align properly with the back of the new doorbell once everything is secured.
Step 6 – Install the Wall Anchors
If you are mounting the device on wood or vinyl siding, you can skip this step and drive the screws directly into the wall. However, if you are installing the doorbell on brick, stucco, or concrete, you must use the provided wall anchors.
Attach the 1/4-inch masonry bit to your power drill. Carefully drill holes into the wall directly over your pencil marks. Keep the drill steady and straight to ensure the holes are uniform.
Once you have drilled the holes, gently push the plastic wall anchors into them. If they feel tight, lightly tap them in with the handle of your screwdriver until they sit flush with the wall surface.
Step 7 – Secure the Mounting Bracket
Hold the mounting bracket against the wall, aligning it with your pilot holes or wall anchors. Insert the provided mounting screws into the holes and tighten them using your standard screwdriver.
Drive the screws in firmly, but do not overtighten them. Overtightening can warp the plastic bracket, which makes it difficult to snap the doorbell securely into place later.
If you are using existing doorbell wires, loosen the two terminal screws on the bracket. Wrap one wire around each screw and tighten them down securely. It does not matter which wire goes to which screw, as long as they do not touch each other.
Step 8 – Insert the Battery and Attach the Doorbell
With the bracket securely on the wall, it is time to attach the main unit. Slide the fully charged battery into the bottom of the doorbell until it clicks firmly into place.
Position the doorbell slightly above the mounting bracket. Gently push the device into the bracket and slide it downward until it locks together. You should feel it seat properly against the wall.
Check the edges to ensure the doorbell sits flush against the mounting bracket. If it feels loose or wobbly, slide it back up, remove it, and check that your mounting screws are fully tightened. A loose doorbell can compromise your home security.
Step 9 – Secure the Faceplate and Test the Device
Snap the decorative faceplate onto the front of the doorbell. It should click into place easily. Now, locate the star-shaped security screw provided in your hardware kit.
Use the specialized security screwdriver to drive the security screw into the small hole at the bottom of the doorbell. This screw prevents anyone from removing the battery or stealing the device.
Finally, test the system. Press the doorbell button and wait for the chime. Open your mobile app and check the live video feed. Walk in front of the camera to ensure you receive a motion alert. Your installation is now completely finished.
Common Mistakes to Avoid
The most common reason for installation trouble is failing to check the Wi-Fi signal before mounting the device. Beginners often secure the bracket to the wall only to realize the internet connection does not reach the porch. Always test the video feed near your door before drilling any holes. If the signal drops, you will likely experience delayed alerts and choppy video footage.
Another frequent error involves mounting the doorbell entirely too high. Many people naturally place it at eye level. However, a video doorbell functions best at roughly four feet off the ground. Placing it higher forces the motion sensors to miss packages left on the mat and triggers false alerts from passing vehicles.
Finally, beginners sometimes force the security screw into the bottom of the device using the wrong tool. You must use the star-shaped screwdriver provided in the box. Using a flathead or standard Phillips screwdriver strips the screw. Once a security screw strips, you cannot remove the device to charge the battery without damaging the hardware. Take your time and use the right tools.
Safety Warnings
Always respect the risks involved when dealing with ladders, power tools, and home wiring. If you plan to connect your new device to existing doorbell wires, you must flip the circuit breaker to the off position. Even though doorbell wires carry low voltage, they can still cause a painful shock or short-circuit your new device if mishandled.
Never use a battery that appears swollen, dented, or damaged in any way. A compromised lithium-ion battery poses a severe fire hazard. Keep the battery away from direct heat sources while charging indoors.
When drilling into masonry or concrete, wear safety glasses to protect your eyes from sharp dust and flying debris. Stand on a stable surface and do not lean excessively while operating a power drill.
When to Call a Professional
Call a professional if you discover exposed, frayed, or crumbling wires when you remove your old doorbell. Do not attempt to tape or splice damaged electrical wiring yourself, as this creates a serious fire hazard inside your walls.
You should also seek help if your home has an unusual masonry exterior, such as natural stone, that makes drilling difficult and unsafe. A licensed handyman or electrician has the proper masonry tools to prevent cracking your home’s exterior. Additionally, if the mobile app repeatedly fails to connect after multiple attempts, reaching out to the manufacturer’s technical support team is your safest option.
Expert Tips
To extend your battery life, spend some time fine-tuning the motion zones in your mobile application. By blocking out the street and focusing only on your walkway, the camera will not wake up every time a car drives by. This simple adjustment saves massive amounts of battery power over a month.
If your porch has stairs or sits on a steep incline, consider using a wedge kit. These angled plastic mounts tilt the camera downward, ensuring you capture faces instead of just the tops of heads.
Keep a spare, fully charged battery inside your home. When your doorbell battery runs low, you can swap it out instantly instead of leaving your front door unmonitored for several hours while the original battery charges.
Frequently Asked Questions
Do I need existing wires to use this doorbell?
No, you do not need existing wires. This device runs completely on its rechargeable battery pack. You can mount it anywhere on your front door or porch without worrying about electrical connections. If you do have wires, you can connect them to trickle-charge the battery.
How long does the battery take to charge?
The battery usually takes between six and eight hours to charge completely. The exact time depends on the power output of the USB wall adapter you use. Wait until only the solid green light shows on the battery before you insert it into the device.
Can I install this device on a narrow doorframe?
Yes, you can install the device on a narrow frame, but you need to check the dimensions first. If your doorframe is thinner than the doorbell, you might need to purchase a specific corner kit or mount the bracket directly onto the adjacent siding for better stability.
What should I do if the app cannot find my device?
If this does not work, try the next step by moving your wireless router closer to the front door. Sometimes thick exterior walls block the wireless signal. You can also press the orange setup button on the back of the doorbell to restart the pairing process.
Is the video doorbell weather resistant?
Yes, the device is designed to withstand normal outdoor weather conditions, including rain, snow, and heat. However, it is not entirely waterproof. Do not submerge the device or spray it directly with a high-pressure hose when you are cleaning your porch.
Conclusion
Setting up your home security system does not have to be stressful or dangerous. By following this guide on how to install Ring Battery Doorbell Plus, you can confidently upgrade your entryway without the need for complicated wiring or expensive contractors. Taking the time to properly charge the battery, check your network signal, and secure the mounting bracket will result in a reliable security system that works for years.
Your front door is now securely monitored, giving you direct control over who approaches your home. Remember to keep the device software updated through the app and adjust your motion settings to preserve battery life. Take the safest next step by walking to your porch and testing your new camera feed to ensure everything looks perfect.