
Your garage door is one of the largest moving parts of your home. It’s a massive, uninsulated hole in your wall that can let cold air in during the winter and hot air in during the summer. This not only makes your garage uncomfortable but also drives up your energy bills as your HVAC system works overtime. Learning how to insulate garage door panels is a straightforward project that can significantly improve your home’s energy efficiency and comfort. This guide will walk you through everything you need to know, from picking the right materials to the final installation.

Understand Garage Door Insulation Basics
Before you start any project, it’s helpful to understand the fundamentals. Garage door insulation works by creating a thermal barrier that slows the transfer of heat. In the winter, it keeps the warm air inside your garage from escaping. In the summer, it prevents the sun’s heat from turning your garage into an oven.
The effectiveness of insulation is measured by its R-value. The “R” stands for resistance to heat flow. A higher R-value means better insulation. For garage doors, the R-value you need depends on your climate and how you use the space. A garage in a mild climate might only need an R-value of 4 to 6, while one in a very cold region could benefit from an R-value of 12 or higher.
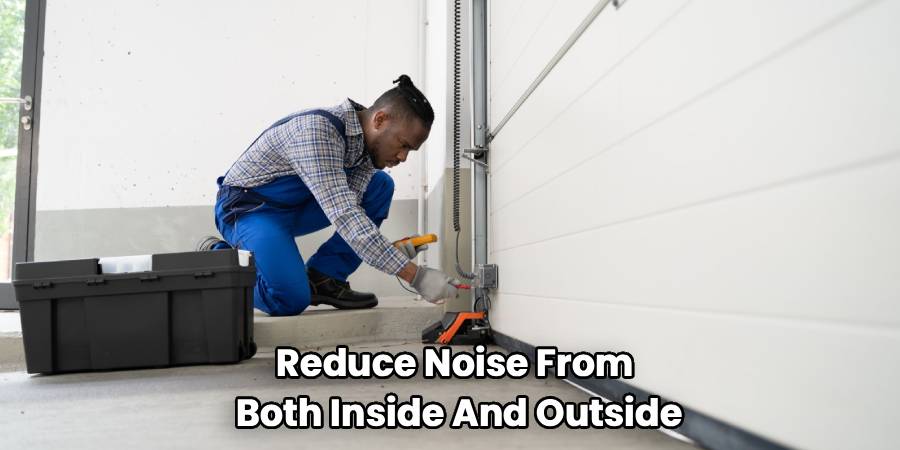
Beyond temperature control, insulation provides other benefits. It can significantly reduce noise from both inside and outside the garage. The added rigidity also makes the door more durable and less prone to rattling or denting. If you use your garage as a workshop, gym, or playroom, insulation transforms it into a more functional, year-round space.
Pros and Cons of Insulation Materials
There are several types of insulation materials suitable for garage doors, each with its own set of advantages and disadvantages. Choosing the right one depends on your budget, DIY comfort level, and performance goals.
Rigid Foam Panels (Polystyrene or Polyisocyanurate)
Rigid foam panels are a popular choice for DIY garage door insulation. They come in large sheets that you can cut to fit your door’s panels.
- Pros: These panels are lightweight, easy to handle, and relatively inexpensive. Polystyrene (EPS or XPS) offers a decent R-value for its cost. Polyisocyanurate (“polyiso”) panels have a higher R-value per inch, providing better insulation without adding much thickness. They create a clean, finished look.
- Cons: Cutting the panels to the exact size can be tedious and requires precision. If not fitted properly, gaps can reduce their effectiveness. The R-value, while good, may not match that of professionally injected foam.
Reflective Foil Insulation (Radiant Barrier)
This type of insulation looks like a roll of metallic bubble wrap. It works by reflecting radiant heat rather than absorbing it.
- Pros: Reflective foil is very lightweight, easy to cut, and simple to install, often with just tape or adhesive. It is particularly effective in hot, sunny climates where the primary goal is to block solar heat gain. It’s also one of the most affordable options.
- Cons: Reflective foil has a lower R-value compared to foam boards, making it less effective against conductive heat loss in cold climates. For it to work properly, it needs an air gap between the foil and the garage door panel.
Spray Foam Insulation
Spray foam comes in two main types: closed-cell and open-cell. It’s applied as a liquid and expands to fill the cavity, creating a perfect air seal.
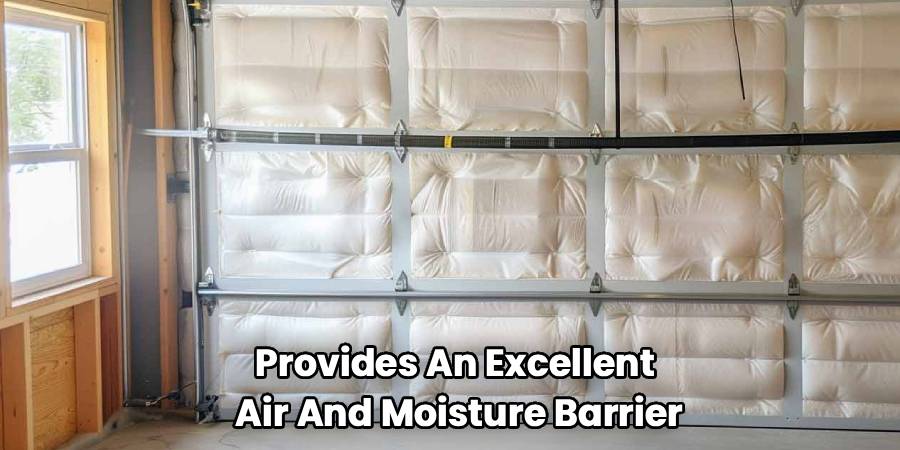
- Pros: Spray foam offers the highest R-value per inch and provides an excellent air and moisture barrier. It gets into every nook and cranny, eliminating gaps. It also adds significant structural strength to the door panels.
- Cons: This is not a typical DIY project for a garage door. It can be messy and requires special equipment and safety gear. Over-applying the foam can cause the door panels to warp or interfere with the door’s operation. This method is best left to professionals or used with extreme caution.
Batt Insulation (Fiberglass)
This is the fluffy, pink or yellow insulation you often see in attics and walls. It can be used for garage doors, but it’s not the most common choice.
- Pros: Fiberglass batt insulation is readily available and relatively inexpensive. It has a good R-value.
- Cons: Fiberglass can absorb moisture, which can lead to mold and reduce its insulating properties. It can also be irritating to the skin and respiratory system during installation. The fibers can sag or fall out over time if not properly secured, and it doesn’t provide the clean, finished look of foam panels.
Tools and Materials You’ll Need
Gathering all your tools and materials before you begin will make the installation process much smoother. Here’s a general list for a typical project using rigid foam panels:
Materials:
- Insulation Kit or Rigid Foam Panels: You can buy a pre-made kit designed for a standard garage door or purchase 4×8-foot sheets of foam board from a home improvement store.
- Adhesive: A strong construction adhesive suitable for foam board is essential. Some kits come with self-adhesive pins.
- Weatherstripping: New vinyl or rubber weatherstripping for the bottom and sides of the door.
- Foil Tape: To seal the seams between insulation panels.
Tools:
- Tape Measure: For accurate measurements of each door panel.
- Utility Knife: With plenty of sharp, new blades for cutting the foam.
- Straightedge or T-Square: A long metal ruler will help you make clean, straight cuts.
- Caulking Gun: For applying the construction adhesive.
- Permanent Marker: For marking your cut lines on the foam.
- Safety Glasses: To protect your eyes from debris and adhesive.
- Gloves: To protect your hands during cutting and installation.
- Cleaning Supplies: A cloth and a degreasing cleaner to prep the door surface.
Step‑By‑Step: How To Insulate a Garage Door
With your materials gathered, you’re ready to begin. This step-by-step guide will show you how to insulate a garage door using rigid foam panels, one of the most effective DIY methods. Set aside a few hours for this project.
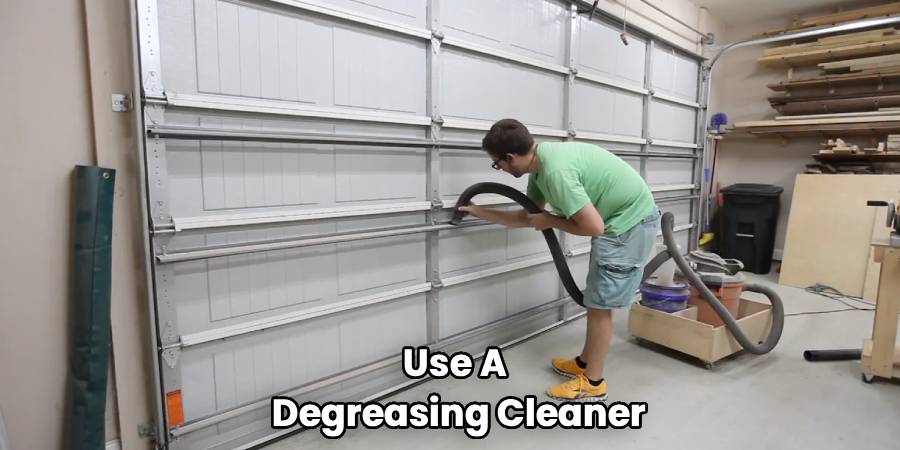
Step 1: Clean and Prepare the Garage Door
Start with a clean slate. Open your garage door and use a degreasing cleaner and a rag to thoroughly wipe down the inside surfaces of each panel. Dirt, grease, and cobwebs can prevent the adhesive from sticking properly. Let the door dry completely. While you’re at it, inspect the existing weatherstripping around the sides and bottom of the door. If it’s cracked, brittle, or compressed, now is the perfect time to replace it.
Step 2: Measure Each Door Panel
Do not assume all panels are the same size. Using your tape measure, carefully measure the height and width of the recessed area of each individual panel you plan to insulate. It’s a good idea to measure each one and write down the dimensions. Pay attention to any hinges or support braces, as you’ll need to cut the insulation to fit around them.
Step 3: Cut the Insulation Panels
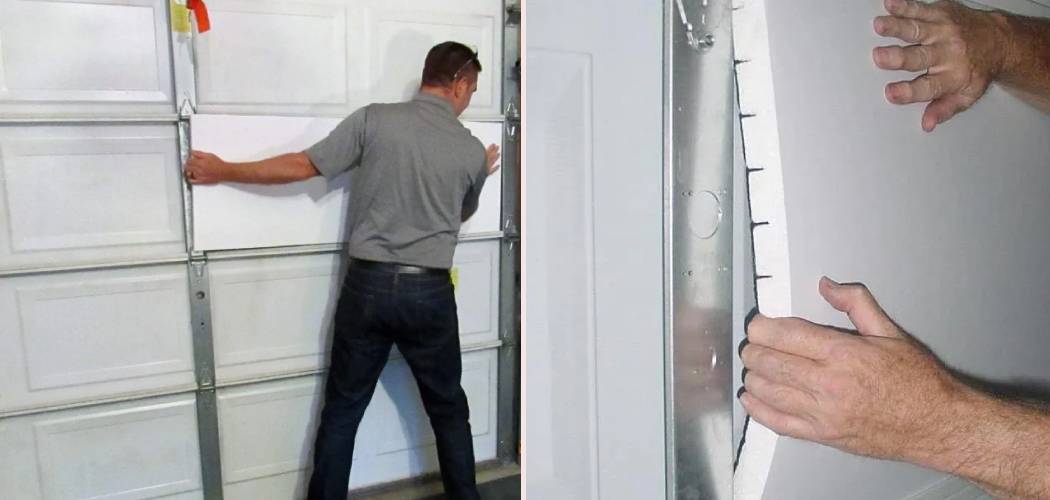
Transfer your measurements to the foam board using a permanent marker and a straightedge. For the cleanest cuts, use a sharp utility knife. It may take several passes to cut completely through the foam. Take your time to ensure your cuts are straight and accurate. A snug fit is key to effective insulation, so it’s better to cut the panel slightly larger and trim it down than to cut it too small.
How to insulate garage door panels correctly.
To ensure a proper fit, dry-fit each cut piece into its corresponding door panel before applying any adhesive. It should fit snugly without bending or buckling. If it’s too tight, trim the edges slightly. If there are small gaps, don’t worry—you can seal them later with foil tape or caulk.
Step 4: Secure the Insulation
Once you have a good fit, it’s time to attach the panels. Apply a generous amount of construction adhesive to the back of the foam panel in a zigzag or “S” pattern. Be careful not to apply it too close to the edges to avoid squeeze-out. Firmly press the panel into place on the garage door, holding it for a minute to ensure a good bond. Repeat this process for all panels. If your kit uses retaining pins, follow the manufacturer’s instructions for placement.
Step 5: Seal the Seams and Test the Door
After all the panels are installed, use foil tape to cover the seams between the foam panels and the metal frame of the door. This creates an air-tight seal and gives the project a finished look. Allow the adhesive to cure completely according to the manufacturer’s directions (usually 24 hours). Once cured, manually open and close the garage door a few times to make sure it moves smoothly and is still balanced. The added weight of the insulation may require you to adjust the garage door opener’s springs.
Extra Ways To Boost Garage Efficiency
Insulating the door is a huge step, but don’t stop there. To create a truly energy-efficient garage, look at the whole picture.
- Weatherstripping: The seal at the bottom of your garage door and the vinyl stripping along the sides and top are crucial. Replace any that are worn, cracked, or flattened to eliminate drafts.
- Windows: If your garage door has windows, they can be a source of significant heat transfer. Consider applying an insulating window film or ensuring they are double-paned.
- Walls and Ceiling: If your garage is attached to your home, insulating the shared walls and the ceiling is just as important as the door. Use batt or spray foam insulation between the studs and cover it with drywall to create a complete thermal envelope.
- Seal Gaps and Cracks: Use caulk or expanding foam sealant to fill any gaps around windows, doors, vents, and where plumbing or electrical lines enter the garage.
Safety Tips and Common Mistakes
While insulating a garage door is a safe project for most DIYers, it’s important to be mindful of a few things.
- Garage Door Springs: The springs on your garage door are under extreme tension and can be very dangerous. The added weight from insulation may require the springs to be re-tensioned. This is a job for a professional. If your door feels heavy or doesn’t stay open after insulation, call a garage door technician.
- Wear Protective Gear: Always wear safety glasses to protect your eyes from debris and gloves to protect your hands from cuts and adhesives.
- Proper Ventilation: If you are using strong adhesives or sealants, ensure your garage is well-ventilated.
Common mistakes to avoid include using the wrong adhesive (one that eats away at foam), cutting panels inaccurately, and forgetting to clean the door surface first. Take your time and double-check your measurements to ensure a professional-looking and effective result.
When To Call a Professional
There are certain situations where a DIY approach might not be the best choice. Consider calling a professional if:
- Your door is old or damaged: Insulating a warped, dented, or malfunctioning door is putting a bandage on a bigger problem. It might be more cost-effective to replace it with a modern, factory-insulated door.
- You need to adjust the springs: As mentioned, adjusting garage door springs is dangerous work and should only be performed by a trained technician.
- You want the highest R-value: A professionally installed, pre-insulated door with a polyurethane core will almost always offer superior performance compared to a DIY kit.
- You lack the time or tools: A professional can complete the job quickly and efficiently, with guaranteed results.
Frequently Asked Questions
How much does it cost to insulate a garage door?
The cost varies widely. A DIY kit can range from $50 to $200. Using rigid foam sheets might cost slightly more. Professional installation of a new, pre-insulated door can cost anywhere from $1,000 to $4,000 or more, depending on the size, style, and R-value.
Will insulating my garage door make a big difference?
Yes. An insulated garage door can keep your garage 10-20 degrees warmer in the winter and cooler in the summer. This reduces energy consumption, protects items stored in the garage from extreme temperatures, and makes the space more comfortable.
Can I insulate any type of garage door?
Most metal (steel or aluminum) and wood garage doors can be insulated. However, some older wood doors or vinyl doors may not be suitable candidates. Flat-panel doors are the easiest to insulate. Doors with complex decorative patterns can be more challenging.
Conclusion
Knowing how to insulate garage door panels is a valuable skill for any homeowner looking to improve comfort and reduce energy costs. Whether you choose a simple DIY kit or opt for a complete replacement, the benefits of a well-insulated garage are undeniable. It’s a weekend project that pays for itself through lower utility bills and creates a more usable, pleasant space for your hobbies, storage, and vehicles. By following these steps and paying attention to detail, you can successfully complete this upgrade and enjoy a more efficient home for years to come.