
A smoke detector is one of the most important safety devices in your home. It’s a small, unassuming piece of plastic that sits on your ceiling or wall, quietly standing guard. But for it to protect you and your family effectively, it needs to be in perfect working order. This is why understanding the simple process of how to test smoke detector is not just a good habit—it’s a critical part of home safety. A functioning smoke alarm can double your chances of surviving a house fire, yet many people overlook this simple maintenance task.
Testing your smoke detector takes only a few minutes, but those minutes could be the most important you spend on home maintenance all year. It’s a task that is easy to forget in the hustle and bustle of daily life, but its importance cannot be overstated. This guide will walk you through everything you need to know, from the basic steps to understanding the different types of alarms and what their beeps and chirps really mean. Think of this as a friendly conversation about keeping your loved ones safe. We will cover the entire process, ensuring you feel confident and prepared.
A Step-by-Step Guide to Testing Your Smoke Detector
Testing your smoke alarm is a straightforward process. Before you begin, it’s a good idea to let your family members know you’ll be testing the alarms. They can be incredibly loud, and a little warning can prevent unnecessary panic. You might also want a stepladder or a sturdy chair to safely reach your detectors. Having a broom handle can also be useful for pressing the test button on high ceilings. Finally, grab a pen and paper or your phone to note the date you tested each alarm. This helps you stay on a regular maintenance schedule.
Step 1: Notify Your Household
This first step is more of a courtesy, but it’s an important one. The sound of a smoke alarm is designed to be jarring and impossible to ignore. It can be frightening for children, startling for pets, and just plain annoying for everyone else if they aren’t expecting it. Simply say, “I’m going to test the smoke alarms now, so you’ll hear a loud noise for a few minutes.” This small gesture prevents confusion and ensures that when the alarm sounds for real, everyone knows to take it seriously. If you live in an apartment building with a centralized system, it may be wise to inform your property manager or neighbors, especially if your system is linked to others.
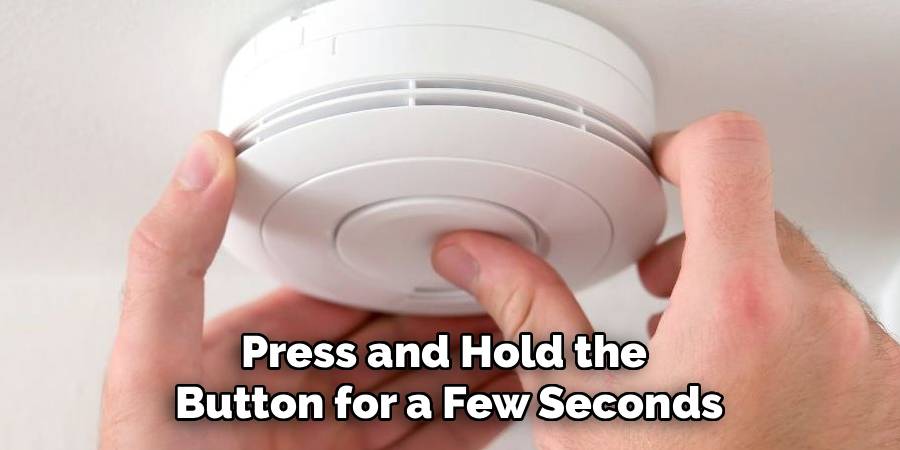
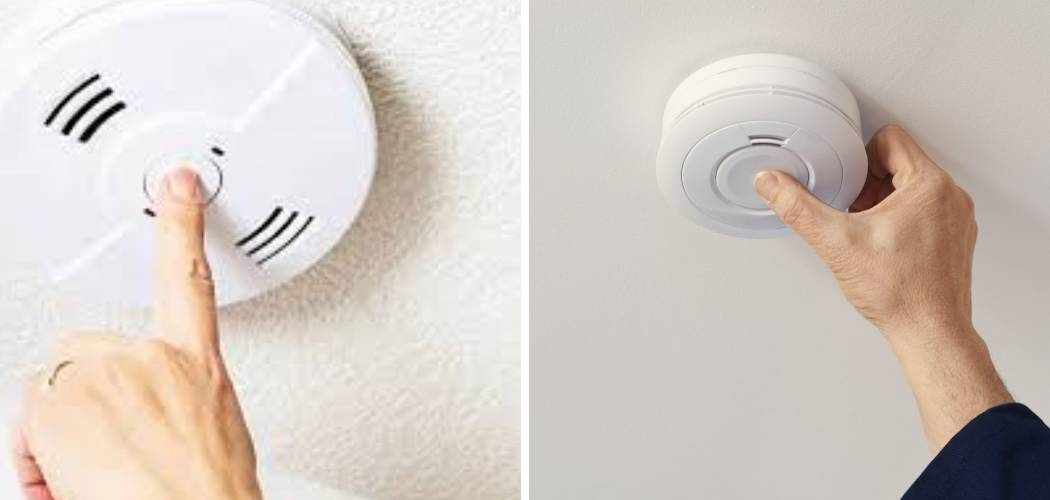
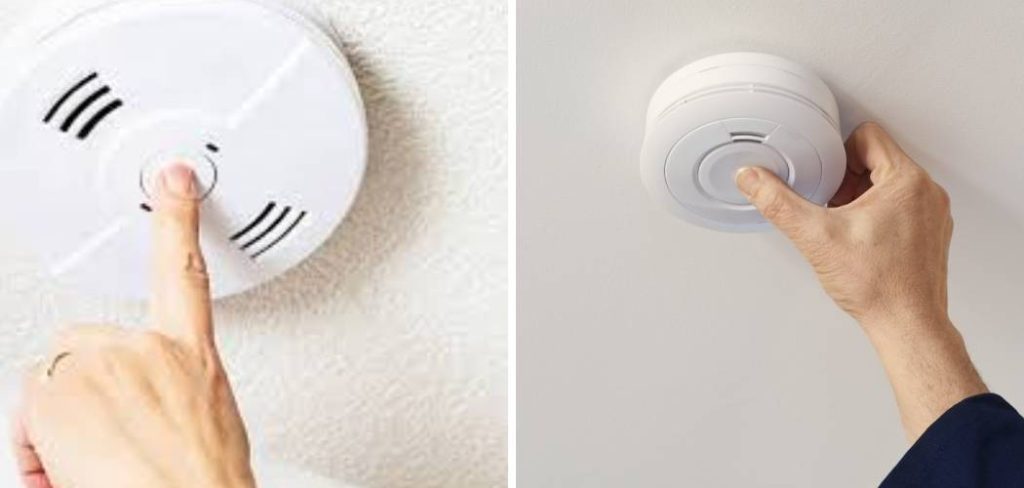
Step 2: Press and Hold the Test Button
Every smoke detector is equipped with a test button, usually located prominently on the face of the unit. Press and hold this button for a few seconds. You should be rewarded with a piercing, high-pitched alarm. If the alarm sounds, congratulations—the battery, speaker, and internal circuitry are all working as they should. You can release the button, and the sound will stop.
If you press the button and hear nothing, it’s a clear sign that something is wrong. The most common culprit is a dead battery. If you have another person with you, this is a great time for a team effort. One person can stand further away in the house to confirm the alarm is loud enough to be heard from all areas, especially bedrooms. An alarm that isn’t loud enough to wake you from sleep is not doing its job.
Step 3 – Check the Power Source
If the test button fails to produce a sound, the next logical step is to check the power source. Most smoke detectors are powered in one of three ways: a 9-volt or AA battery, a non-removable 10-year lithium battery, or hardwired into your home’s electrical system with a battery backup.
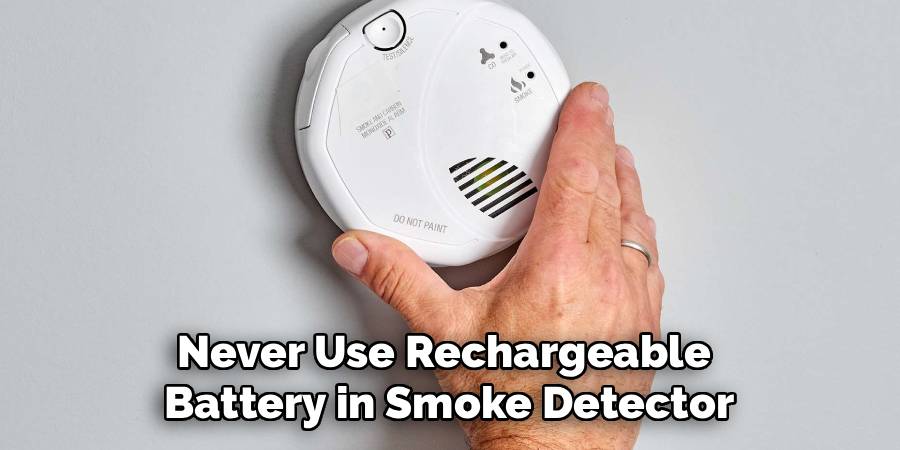
For battery-powered units, open the cover and replace the battery with a fresh one. It’s crucial to use the exact type of battery recommended by the manufacturer. Never use a rechargeable battery in a smoke detector. Once you’ve installed the new battery, close the cover and perform the test button check again. If it works, you’ve solved the problem. Make a note to replace these batteries at least once a year. A good rule of thumb is to change them when you change your clocks for daylight saving time.
For hardwired units, the process is similar. These detectors are connected to your home’s electrical system but have a backup battery for power outages. If the test fails, the backup battery is likely dead. Open the battery compartment, replace the battery, and re-test. If the alarm still doesn’t sound, there might be an issue with the electrical connection. You might need to check your circuit breaker to ensure the power is on. If it is, and the alarm still won’t work, it may be time to call an electrician or replace the unit.
For alarms with 10-year sealed batteries, you cannot replace the battery. If one of these units fails the test, the entire detector must be replaced immediately.
Step 4: Verify the Expiration Date
Many people are surprised to learn that smoke detectors have a limited lifespan. Over time, the sensors inside them become less sensitive and may fail to detect smoke. Every smoke detector manufactured in the last decade or so has a date of manufacture printed on the back. The general rule from the National Fire Protection Association (NFPA) is to replace all smoke alarms every 10 years.
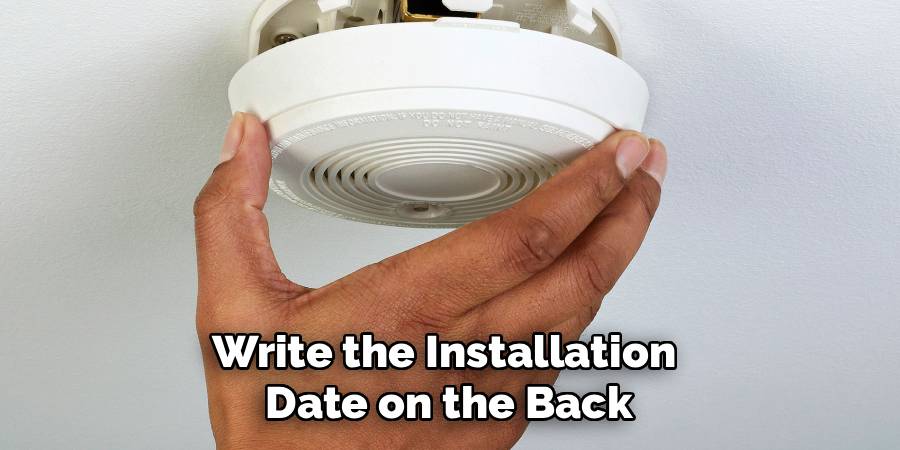
Take the detector down from the ceiling or wall and look for the date. If it’s more than 10 years old, it’s time for a new one, even if it seems to be working correctly. The sensor’s effectiveness degrades over time, and you don’t want to gamble with your family’s safety. When you install a new detector, use a permanent marker to write the installation date on the back. This will make it easy to know when it’s time for the next replacement. This simple check is a crucial part of the overall process of how to test smoke detector systems in your home.
Step 5: Clean Your Smoke Detectors
Dust, cobwebs, and even small insects can interfere with a smoke detector’s sensor, potentially causing it to fail in an emergency or trigger frustrating false alarms. A regular cleaning is an essential part of maintenance. You should aim to clean your detectors at least once a year, or more often if you live in a particularly dusty environment.
To clean your detector, gently vacuum the outside vents using the soft brush attachment of your vacuum cleaner. This will remove any dust or debris that has accumulated. You can also use a can of compressed air to blow out the vents. Afterward, wipe down the exterior of the unit with a soft, dry cloth. Never use water, detergents, or any cleaning solvents, as they can damage the internal components and the sensor. A clean smoke detector is a more reliable smoke detector.
Frequently Asked Questions
Here are answers to some of the most common questions people have about testing and maintaining their smoke detectors.
How often should I test my smoke detectors?
The National Fire Protection Association (NFPA) recommends testing your smoke alarms at least once a month. This might sound frequent, but it’s a quick and easy task that provides immense peace of mind. A monthly check ensures that the batteries are still working and that the internal components are functioning correctly. Set a recurring reminder on your phone or calendar for the first of every month. Making it a consistent habit is the best way to ensure it always gets done. Regular testing is the most important part of home fire safety.
What’s the difference between ionization and photoelectric smoke alarms?
There are two main types of smoke detection technology: ionization and photoelectric. Ionization alarms are generally more responsive to the small particles produced by fast, flaming fires. Photoelectric alarms are typically better at detecting the larger particles produced by slow, smoldering fires.
Because you can’t predict what kind of fire might start in your home, the best recommendation is to use a combination of both. You can either install separate ionization and photoelectric alarms or use dual-sensor units that combine both technologies into a single device. The U.S. Fire Administration recommends having both types of technology in your home for the most comprehensive protection.
Why is my smoke detector chirping?
That intermittent, annoying chirp is your smoke detector’s way of telling you something needs attention. The most common reason for chirping is a low battery. It’s a pre-warning signal, different from the full-blown alarm, designed to prompt you to replace the battery before it dies completely.
However, a low battery isn’t the only cause. Sometimes, a chirp can indicate that the alarm is nearing the end of its 10-year lifespan. It can also be caused by dust in the sensor, extreme temperature fluctuations, or a malfunction. If you’ve replaced the battery and the chirping continues after a few minutes, try cleaning the unit. If that doesn’t solve it, check the expiration date. If all else fails, it’s safest to replace the entire detector.
Where should smoke detectors be installed in my home?
Proper placement is just as important as regular testing. The NFPA has clear guidelines for smoke alarm placement. At a minimum, you should have one smoke detector on every level of your home, including the basement. You should also install one inside each bedroom and in the hallway outside of sleeping areas.
For best results, mount alarms on the ceiling in the center of the room, at least four inches away from any walls or corners. If you must mount it on a wall, place it high up, between 4 and 12 inches from the ceiling. Avoid placing them near kitchens, bathrooms, or laundry rooms, as steam and cooking fumes can trigger false alarms. Also, keep them away from windows, doors, and air vents where drafts could interfere with their ability to detect smoke.
Conclusion
Knowing how to test your smoke detector is a fundamental skill for any homeowner or renter, providing the confidence that your first line of defense against a fire is ready to act. Regular testing, cleaning, and timely replacement are simple actions that have a profound impact on the safety of your home and the well-being of everyone inside it. It’s a responsibility that takes only a few minutes each month but offers priceless peace of mind.
Don’t put it off. Take a moment today to check your smoke alarms. Ensure they are clean, powered, and within their service life. By integrating this simple routine into your home maintenance schedule, you are taking a powerful and proactive step to protect what matters most. A working smoke detector is a silent guardian, and by ensuring it’s always ready, you are prepared for the unexpected.