
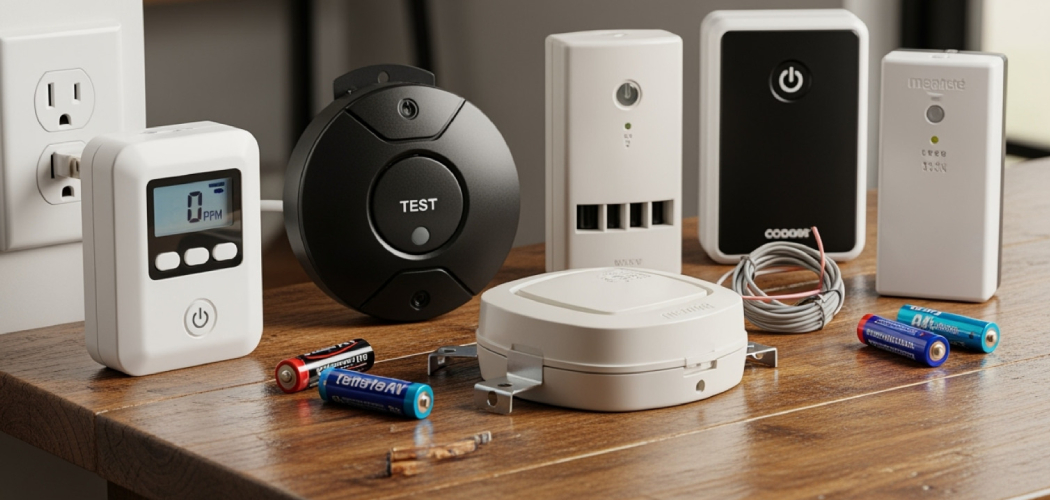
Knowing how to handle your home’s safety devices is a crucial part of being a responsible homeowner. A smoke alarm is your first line of defense against a fire, and regular maintenance is essential for it to function correctly. This often involves changing the batteries or cleaning the unit.
While it may seem intimidating, learning how to open First Alert smoke alarm models is a straightforward process. This guide will provide clear, easy-to-follow instructions to help you confidently access your smoke alarm for routine upkeep, ensuring your home and loved ones remain protected. We’ll walk through every step, from identifying your alarm type to safely closing it back up.
Why You Need to Open Your Smoke Alarm
Understanding the reasons for opening your smoke alarm can motivate you to perform regular checks. The most common reason is to replace the batteries. Most models will chirp intermittently when the battery is low, a signal that it’s time for a change. Beyond battery replacement, dust and small debris can accumulate inside the alarm’s sensing chamber over time. This buildup can interfere with its ability to detect smoke, potentially causing false alarms or, worse, failing to alert you during a real fire. Periodically opening the unit to gently clean it with a soft brush or compressed air ensures its sensors remain clear and effective, maintaining the device’s reliability and your peace of mind.
10 Step-by-Step Guide on How to Open First Alert Smoke Alarm
Step 1: Gather Your Necessary Tools
Before you begin, gathering a few simple tools will make the process much smoother. You will need a sturdy stepladder to safely reach the alarm on your ceiling or wall. It’s also wise to have a replacement battery on hand; most First Alert alarms use a 9V battery, but check your specific model’s requirements to be sure.
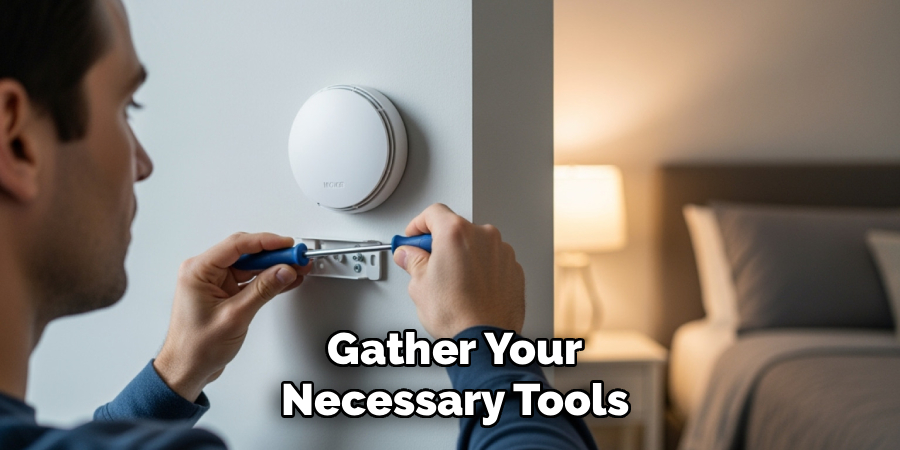
A small flathead screwdriver or even a butter knife can be helpful for prying open the battery compartment, which sometimes has a tight-fitting tab. Finally, have a can of compressed air or a soft brush ready for cleaning the inside of the alarm. Having everything you need within reach will prevent you from having to go up and down the ladder multiple times.
Step 2: Ensure Power is Turned Off (For Hardwired Alarms)
Your safety is the top priority. If you have a hardwired smoke alarm, which is connected directly to your home’s electrical system, you must turn off the power before proceeding. Locate your home’s main circuit breaker panel. Find the breaker that corresponds to the room or area where the smoke alarm is located. If the breakers are not clearly labeled, you may need to turn off the main power to be completely safe. This step is critical to prevent the risk of electric shock. For battery-only models, you can skip this step, as they are self-contained and not connected to your home’s electrical wiring.
Step 3: Detach the Alarm from its Mounting Bracket
Once you are safely positioned on your stepladder, you can remove the smoke alarm from its mounting bracket. Most First Alert alarms are designed to be removed with a simple twisting motion. Grip the alarm firmly with both hands and rotate it counterclockwise. It should only take a quarter-turn or so before it detaches from the bracket. Be prepared to support its weight as it comes loose. For hardwired units, you will see a wiring harness connecting the alarm to the ceiling. This connection will prevent the alarm from falling, but be gentle so you don’t damage the wires.
Step 4: Disconnect the Wiring Harness (For Hardwired Alarms)
If you are working with a hardwired model, the next step is to disconnect the wiring harness. This harness is a small plastic plug that connects the alarm to the electrical wires in your ceiling. It usually has a small clip or latch on the side that you need to squeeze to release it. Gently squeeze the sides of the plug and pull it away from the alarm. The alarm should now be completely free from the ceiling, allowing you to work on it more easily. Handle the wires and the harness with care to avoid causing any damage. This step is a key part of knowing how to open First Alert smoke alarm models that are integrated into your home’s electrical system.
Step 5: Locate and Open the Battery Compartment
With the alarm in your hands, turn it over to find the battery compartment. The location and design of the compartment can vary between models. On many units, it is a small, hinged door on the back or side. You might see a small tab or slot designed to help you pry it open.
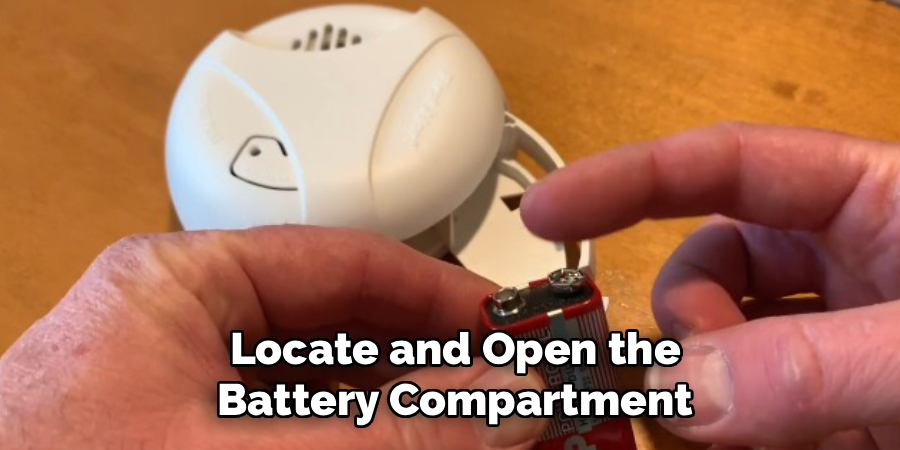
You can often open it with your thumbnail, but if it is stubborn, a small flathead screwdriver can be used to gently lift the tab. Apply steady, gentle pressure to pop the door open. Some newer models have a sliding drawer that you simply pull out. Take a moment to examine your device to identify the correct mechanism.
Step šest: Remove the Old Battery
Once the battery compartment is open, you can remove the old battery. For standard 9V batteries, you will see two terminals, one positive (+) and one negative (-), that snap onto the connectors inside the alarm. Gently pull the battery away from these terminals to disconnect it. It may be a snug fit, so a slight wiggling motion can help. Some models use AA batteries, which are typically held in place by springs. In this case, simply push against the spring on one end and lift the batteries out. Always dispose of old batteries properly according to your local regulations; they should not be thrown in the regular trash.
Step 7: Clean the Interior of the Smoke Alarm
Now that the alarm is open and the battery is removed, it’s an excellent opportunity to clean it. Dust, cobwebs, and insects can accumulate inside the sensing chamber and affect the alarm’s performance. Use a can of compressed air to blow out any debris from the vents and the internal chamber. Alternatively, you can use a vacuum with a soft brush attachment to gently clean the interior. Avoid using water or cleaning solvents, as these can damage the sensitive electronic components. A clean alarm is a more reliable alarm, so this maintenance step is highly recommended.
Step 8: Install the New Battery and Close the Compartment
It’s time to install the new battery. Pay close attention to the positive (+) and negative (-) polarity markings inside the battery compartment and on the battery itself. Align them correctly and snap the new battery into place. If you are inserting AA batteries, make sure they are oriented correctly according to the diagrams inside the compartment. Once the battery is secure, close the compartment door. It should click shut, indicating it is properly latched. Most First Alert alarms will not close if a battery is not installed, which is a built-in safety feature. This step completes the core process of how to open a First Alert smoke alarm for battery replacement.
Step 9: Reattach the Alarm and Restore Power
With the new battery installed, it’s time to put everything back together. If you have a hardwired unit, reconnect the wiring harness by pushing the plug firmly back into its socket until it clicks. Next, align the alarm with the mounting bracket on the ceiling. Place it against the bracket and turn it clockwise until it locks securely into place. Once the alarm is reattached, you can go back to your circuit breaker panel and turn the power back on. The alarm may beep once or a green LED may light up to indicate that it is receiving power and operating correctly.
Step 10: Test the Smoke Alarm
The final and most important step is to test the alarm to ensure it is working properly. Locate the “Test” button on the face of the unit. Press and hold it for a few seconds. You should hear a loud, piercing alarm sound.
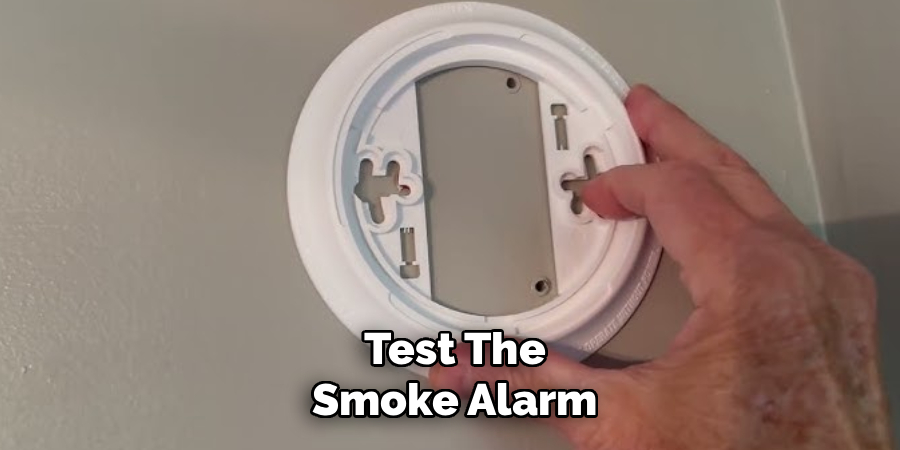
This confirms that the battery, electronics, and siren are all functioning as they should. The National Fire Protection Association recommends testing your smoke alarms at least once a month. This simple action provides the assurance that your device is ready to protect you in an emergency.
Replace Batteries as Needed
If your smoke alarm is battery-operated or has a backup battery, it is crucial to replace the batteries regularly. Most smoke alarms will emit a chirping sound when the batteries are low, indicating the need for replacement. To change the battery, open the battery compartment, remove the old battery, and insert a new one while ensuring proper alignment of the terminals. It is generally recommended to replace the batteries at least once a year or as specified by the manufacturer. This ensures your smoke alarm remains reliable and ready to detect any danger.
Frequently Asked Questions (FAQ)
Why Is My First Alert Alarm Chirping?
A consistent, single chirp every 30 to 60 seconds typically indicates a low battery. This is the most common reason for chirping and serves as a signal that the battery needs to be replaced soon. If you have replaced the battery and the chirping continues, it could be due to a residual charge in the unit. Try holding the test button for 15 seconds to clear it. If it persists, the alarm may be at the end of its life and need replacement.
How Often Should I Replace the Batteries in My Smoke Alarm?
You should replace the batteries in your smoke alarms at least once a year, even if they are not chirping. A good way to remember is to change them when you change your clocks for daylight saving time. For alarms with a sealed 10-year battery, you do not need to replace the battery. Instead, the entire unit should be replaced after 10 years. Regular replacement ensures your alarm is always ready.
Can I Use a Rechargeable Battery in My Smoke Alarm?
It is strongly recommended that you do not use rechargeable batteries in smoke alarms. Most manufacturers, including First Alert, advise against it. Rechargeable batteries may lose their charge more quickly over time and may not provide the reliable, long-lasting power required for a life-saving device. Always use the battery type specified in your alarm’s user manual, which is typically a new, high-quality 9V or AA alkaline battery.
What Is the Lifespan of a First Alert Smoke Alarm?
Smoke alarms do not last forever. The National Fire Protection Association (NFPA) recommends replacing all smoke alarms, including hardwired models, every 10 years. Over time, the sensors inside the alarm can become less sensitive. Most alarms have a manufacturing date printed on the back. If your alarm is more than 10 years old, it is time to replace the entire unit to ensure you have reliable protection.
What Do Different Colored Lights on My Alarm Mean?
The indicator lights on your First Alert alarm provide important status information. A steady green light typically means the alarm is receiving AC power (on hardwired models). A flashing red light about once a minute indicates the alarm is functioning properly on battery power. A rapid red flash can signal an alarm condition. Refer to your user manual for the specific meanings of the light patterns for your model, as they can vary.
Conclusion
Maintaining your smoke alarm is a simple yet vital task for home safety. By following these steps, you can confidently manage the upkeep of your device. You now have the knowledge to change batteries, clean the unit, and ensure everything is in working order. From turning off the power for hardwired models to testing the alarm after reinstallation, each step contributes to a safer living environment. Mastering how to open First Alert smoke alarm devices empowers you to take an active role in your home’s fire protection strategy. Make it a regular habit, and rest easier knowing your first alert system is ready to protect you.

About
Robert D is a distinguished figure in the world of Safety Systems and Risk Management, with a decade of expertise creating innovative and sustainable workplace solutions. His professional focus lies in merging traditional safety protocols with modern digital monitoring techniques, fostering environments that are both practical and hazard-conscious. As the lead author of SafetyRift, Robert delves into the art and science of risk mitigation, inspiring safety officers and industry professionals alike to bridge the gap between compliance and culture.
Education
RMIT University (Melbourne, Australia)
Associate Degree in Design (Industrial Safety)
-
Focus on sustainable safety infrastructure, industry-driven risk assessments, and practical implementation.
-
Gained hands-on experience with traditional hazard identification and digital monitoring tools, such as IoT safety sensors and predictive analytics software.
Nottingham Trent University (United Kingdom)
Bachelor’s in Occupational Health and Safety (Honors)
-
Specialized in systemic design with a focus on blending human behavior psychology with modern safety production techniques.
-
Participated in industry-wide projects, working with global logistics and manufacturing firms to gain real-world insights into large-scale safety deployments.
Publications and Impact
In SafetyRift, Robert shares his insights on safety design processes, protective materials, and strategies for efficient, accident-free production. His writing bridges the gap between foundational safety knowledge and modern industrial needs, making it a must-read for both budding safety coordinators and seasoned risk management professionals.
