
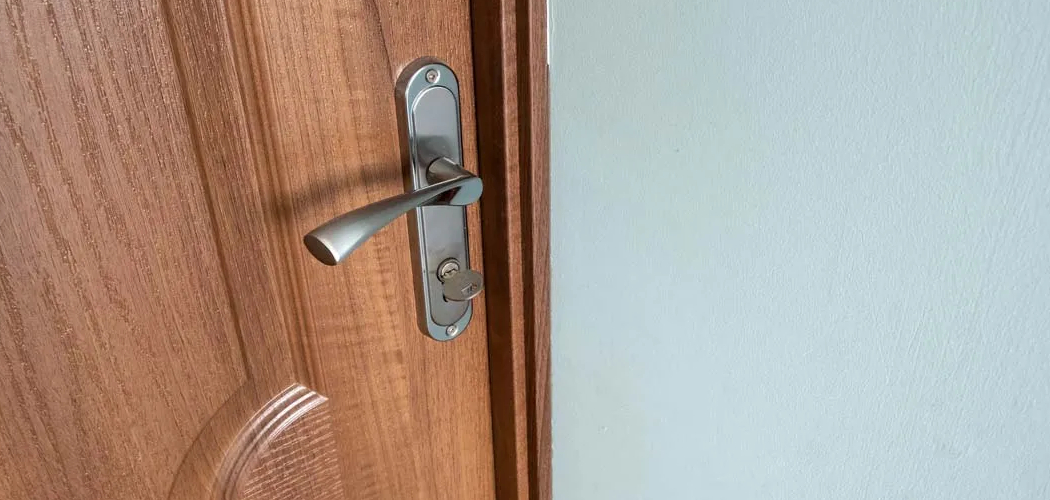
Securing your personal space is a fundamental aspect of comfort and privacy in any home. Whether you have roommates, children who forget to knock, or simply want an extra layer of peace of mind, adding security to your interior doors is a practical solution. The process might seem intimidating if you have never picked up a screwdriver before, but it is actually a straightforward project that most beginners can handle in under an hour.
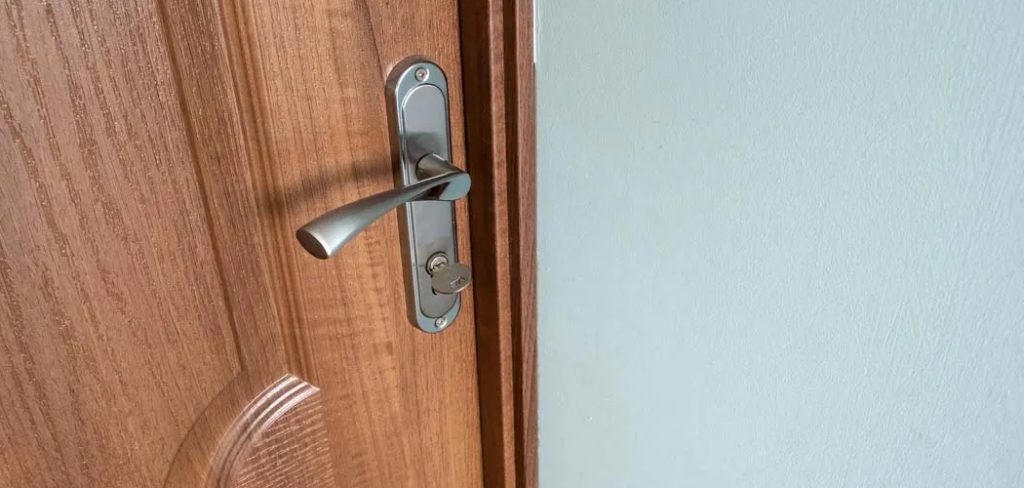
You do not need expensive power tools or professional carpentry skills to get the job done right. Learning how to install a lock on a bedroom door empowers you to take control of your environment quickly and affordably. By following a clear set of instructions, you can transform a standard passage knob into a secure locking mechanism that ensures your privacy remains intact whenever you need it most.
Why Adding Privacy Matters for Your Bedroom
Creating a personal sanctuary is essential for mental well-being and relaxation. A bedroom should be a place where you can unwind without the constant worry of unexpected interruptions. Upgrading your door hardware is often the most effective way to establish these boundaries respectfully and securely. Beyond simple privacy, there are safety considerations to keep in mind.
In shared living situations, securing valuables or sensitive documents inside your room adds a necessary layer of protection. Furthermore, installing a proper locking mechanism can increase the overall functionality of your home. It signals to others that a space is occupied or off-limits, reducing awkward encounters and fostering a sense of respect among household members. This simple home improvement task offers immediate benefits that go far beyond just turning a key; it provides the assurance that your personal space is truly your own.
8 Step-by-Step Guide on How to Install a Lock on a Bedroom Door
Step 1: Gather the Necessary Tools and Materials
Before you begin removing any hardware, it is crucial to have everything you need within arm’s reach to avoid frustration later. You will need a new privacy or keyed entry knob set, which typically comes with all the necessary screws, a latch assembly, and strike plate. For tools, grab a Phillips-head screwdriver, as most door hardware uses this standard drive type. A flathead screwdriver can also be helpful for prying off old faceplates.
If you are drilling a new hole rather than replacing an existing knob, you would need a power drill and a hole saw kit, but for this guide, we assume you are replacing standard hardware. Having a tape measure handy helps ensure your new lock fits the existing measurements of your door. Preparing your workspace by laying down a cloth to catch wood dust or dropped screws is also a smart move for easy cleanup.
Step 2: Remove the Old Doorknob and Latch
The first physical action you will take is removing the existing hardware that is currently on your door. Start by locating the exposed screws on the interior side of the doorknob plate. Using your Phillips-head screwdriver, turn these screws counterclockwise until they are completely loose and can be pulled out. Once the screws are removed, the two halves of the doorknob should easily pull apart from the door.
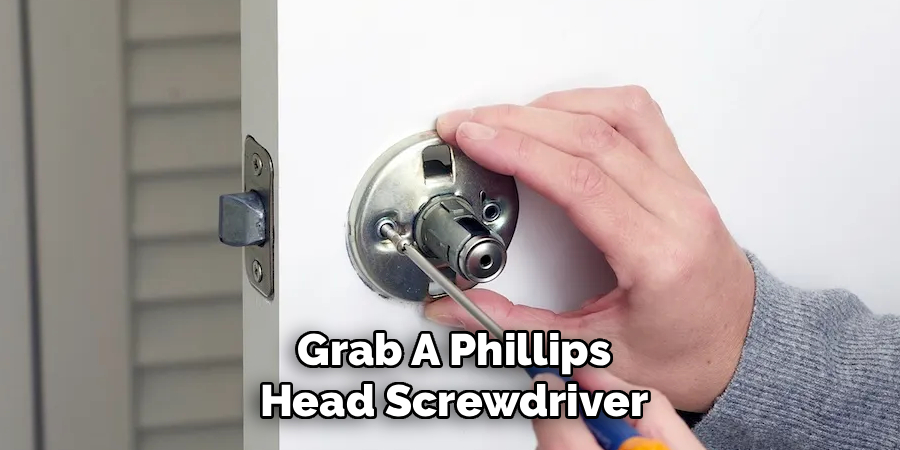
One side will slide out one way, and the other side will come out the opposite way. Next, look at the edge of the door where the latch mechanism protrudes. Remove the two screws holding the latch plate in place. You may need to use a flathead screwdriver to gently pry the latch plate out of the mortise if it is stuck with paint or old varnish. Ensure the hole is clear of debris before proceeding to the next step.
Step 3: Check the Door Measurements and Backset
Compatibility is key when installing new hardware, so you must verify the measurements before attempting to force new parts in. Most modern doors have a standard backset, which is the distance from the edge of the door to the center of the knob hole. This measurement is typically either 2 3/8 inches or 2 3/4 inches. Your new lockset likely has an adjustable latch that can accommodate either size, but you need to check the instructions to set it correctly.
Measure the thickness of your door as well, as standard interior doors are usually 1 3/8 inches thick. Confirming these dimensions ensures that the new lock mechanism will align perfectly with the existing holes. If the latch is adjustable, slide the mechanism to the correct length that matches your specific door measurement. This preparation prevents misalignment issues that could cause the lock to stick or fail to catch properly.
Step 4: Install the New Latch and Faceplate
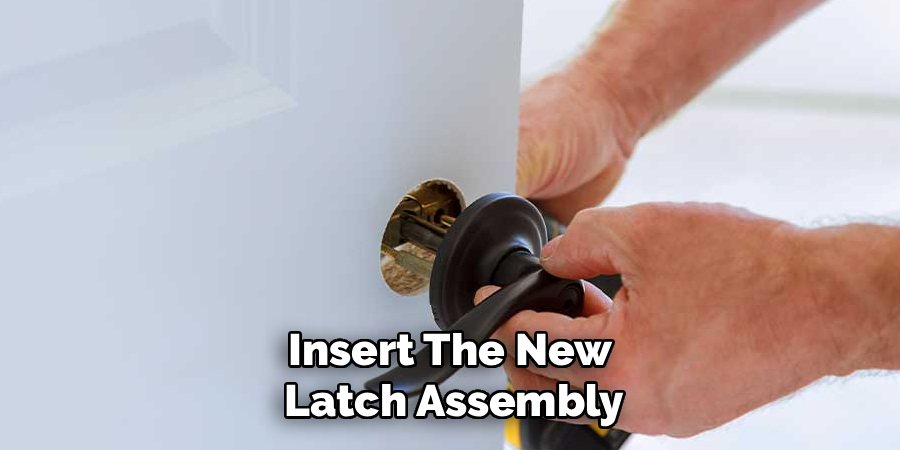
Now that your door is prepped and measured, it is time to insert the new latch assembly into the edge of the door. The beveled side of the latch—the angled part—must face the door jamb, which is the direction the door closes. If you install it backward, the door will not close properly and will require you to turn the handle every time you shut it. Slide the latch into the hole and ensure the faceplate sits flush with the door edge.
If the cutout in the wood is rectangular, use the rectangular faceplate provided. Insert the two wood screws into the latch plate and tighten them down until they are snug. Do not overtighten, as this can strip the wood screw holes. Test the spring action of the latch by pressing it in with your finger; it should move smoothly and spring back out immediately.
Step 5: Position the Outside and Inside Knobs
With the latch securely in place, you can now mount the actual knobs. Take the exterior knob—the one with the keyhole if it is a keyed lock, or the plain side if it is a privacy lock—and insert the spindle through the latch mechanism from the outside of the door. The spindle usually has a square or half-moon shape that fits through a corresponding hole in the latch.
You may need to press the latch tongue in slightly to get the spindle to pass through smoothly. While holding the outside knob in place with one hand, take the interior knob and align it with the spindle protruding through the door. The screw holes on the interior knob must align with the screw posts on the exterior unit. It might take a little wiggling to get everything seated correctly against the surface of the door, so be patient during this alignment process.
Step 6: Secure the Knobs with Screws
Once you have successfully aligned both sides of the doorknob assembly, it is time to fasten them together permanently. Insert the mounting screws provided with your kit into the holes on the interior knob rose (the round plate against the door). Thread them by hand first to ensure you do not cross-thread the screws, which can ruin the mounting posts.
Once they catch, use your Phillips-head screwdriver to tighten them. It is helpful to tighten each screw a little bit at a time, alternating between the top and bottom or left and right screws. This technique ensures that the pressure is distributed evenly and that the lock stays centered in the bore hole. Tighten them until the knobs feel firm against the door but not so tight that they bind the internal mechanism. Test the handle by turning it; it should rotate freely and retract the latch without resistance.
Step 7: Install the Strike Plate on the Jamb
The final component of the installation is the strike plate, which is the metal plate located on the door frame that catches the latch. Remove the old strike plate by unscrewing the top and bottom screws. Often, the new strike plate will match the existing cutout, but sometimes you might need to chisel out a small amount of wood if the new plate is slightly different in shape.
Place the new strike plate into the mortise on the jamb, ensuring the opening aligns with where the latch hits. Secure it with the provided screws. The small metal tab inside the strike opening can be bent slightly with a screwdriver to adjust how tightly the door holds against the weatherstripping or stops. This little adjustment helps eliminate rattles when the door is closed. This step is vital because learning how to install a lock on a bedroom door correctly means ensuring the door latches securely every single time.
Step 8: Test the Locking Mechanism Thoroughly
After all the hardware is installed, you must perform a comprehensive test to ensure everything functions as intended before you put your tools away. Close the door while inside the room and turn the thumbturn or push the button to engage the lock. Try to turn the handle; it should remain rigid or spin without retracting the latch. Unlock it and open the door to verify smooth operation.
Next, step outside the room (ensure you have the keys if it is a keyed entry!) and close the door. Test the locking function from the outside if applicable. Check the alignment of the latch against the strike plate; the door should latch with a satisfying click and shouldn’t require excessive force to close. If the latch is hitting the strike plate too high or low, you may need to adjust the strike plate position slightly. Proper testing confirms your security upgrade is successful.
Frequently Asked Questions (FAQ)
What Is The Difference Between A Privacy Lock And A Keyed Entry Lock?
The main difference lies in how they are unlocked from the outside.
- Privacy Locks: These are typically used for bedrooms and bathrooms. They have a locking button or turn-piece on the inside but no key cylinder on the outside. Instead, they usually have a small hole for emergency access using a pin or flat tool.
- Keyed Entry Locks: These provide higher security and require a specific key to unlock from the outside, making them ideal for securing valuables.
Do I Need A Power Drill To Install A Bedroom Door Lock?
Generally, you do not need a power drill if you are simply replacing an existing knob with a locking one. Most interior doors come pre-drilled with standard bore holes. A simple screwdriver is usually sufficient to swap out the hardware. However, if you are installing a lock on a new slab door that has no holes, or adding a deadbolt where there wasn’t one before, you will absolutely need a power drill and a hole saw kit to create the necessary openings.
How Do I Know What Size Lockset To Buy?
Locksets are generally universal, but checking two measurements ensures a perfect fit. First, check the “backset,” which is the distance from the door edge to the center of the knob hole (usually 2-3/8″ or 2-3/4″). Most modern locksets have an adjustable latch to fit both sizes. Second, check the door thickness; standard interior doors are 1-3/8″ thick, while exterior doors are 1-3/4″. Most hardware packages clearly state the thickness range they accommodate, so just verify your door falls within that range.
Can I Rekey A Bedroom Door Lock To Match My House Key?
Yes, this is often possible but requires specific planning. If you buy a brand of lock that matches your exterior door locks (like Schlage or Kwikset) and supports rekeying, a locksmith can adjust the cylinders to match. Some brands offer “SmartKey” technology that allows you to rekey the lock yourself in seconds using your existing house key. If you buy a standard, inexpensive bedroom lock, it likely will not match your house key unless you specifically order them keyed alike.
What Should I Do If The New Latch Does Not Line Up With The Old Strike Plate?
Misalignment is a common issue when swapping brands or styles. If the latch hits the strike plate but won’t go in, look at the wear marks on the plate to see if it is hitting high or low. You can try loosening the strike plate screws and shifting it slightly. If the difference is significant, you may need to use a wood chisel to widen the mortise (the cutout area) on the door jamb so you can move the strike plate up or down to align perfectly with the new latch.
Conclusion
Taking the time to upgrade your home security is a rewarding project that offers immediate peace of mind. You have successfully navigated the process of selecting the right hardware, removing old components, and fitting a new secure mechanism. By following this guide, you have not only enhanced your privacy but also gained valuable DIY experience that applies to other home improvement tasks.
Remember that regular maintenance, such as tightening loose screws or lubricating the latch, will keep your new hardware functioning smoothly for years. We hope this guide on how to install a lock on a bedroom door has motivated you to tackle this project with confidence. Now that you have the knowledge and the tools, you can enjoy the comfort and security of a properly locked room whenever you choose.

