

Is your smart home feeling a little less smart because your video doorbell isn’t online? Dealing with connectivity issues can be frustrating, especially when you just want to see who is at your front door. Whether you’ve just unboxed a brand new device or you’re trying to get an existing one back online after a router change, we can help. This guide will walk you through exactly How To Connect Google Nest Doorbell To Wifi without the headache.
We know that technology doesn’t always cooperate the way we want it to. Sometimes it’s a simple setting on your phone, and other times it requires a full reset of the hardware. We are going to cover all the bases here. Grab your smartphone, keep your wifi password handy, and let’s get your home security back up and running.
Understanding the Basics
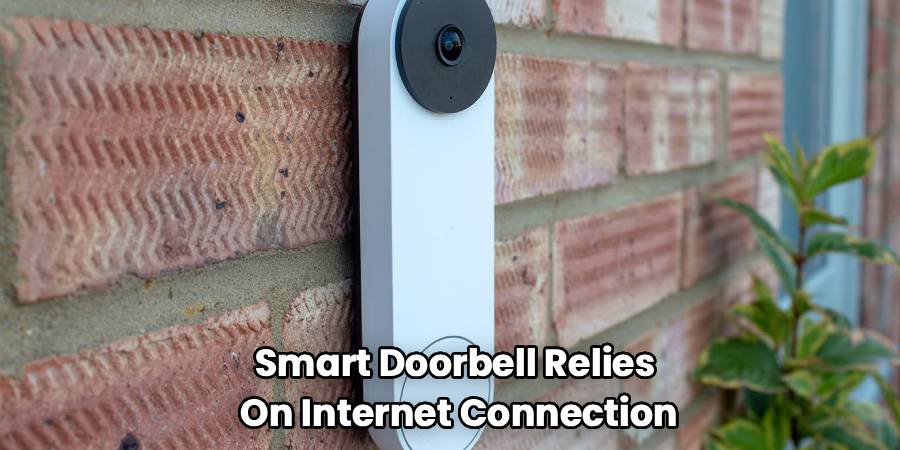
Before we jump into the buttons and menus, let’s talk about what makes these devices tick. Your smart doorbell relies heavily on a stable internet connection to send video feeds and notifications. Most smart home devices operate on specific frequencies. It is common for connection problems to stem from network band compatibility.
Many modern routers automatically switch between 2.4GHz and 5GHz bands. Your doorbell typically prefers the 2.4GHz band because it travels through walls better. If your router is far away from the front door, the signal might be too weak. Thick brick walls or metal siding can also interfere with the signal strength.
Ensuring your mobile device represents the key to the castle here. It needs to be on the same network you want your doorbell to join during the setup phase. Bluetooth is also a crucial player in the initial handshake between your phone and the doorbell. Make sure it is enabled before you start.
Preparation Checklist
Getting everything ready beforehand saves you from running back and forth. You want a smooth, interruption-free setup process.
First, check that your Google Home app is updated to the latest version. Old software is a frequent culprit for setup failures. Next, verify that you have the correct network name (SSID) and password. Typing in the wrong password is more common than you might think.
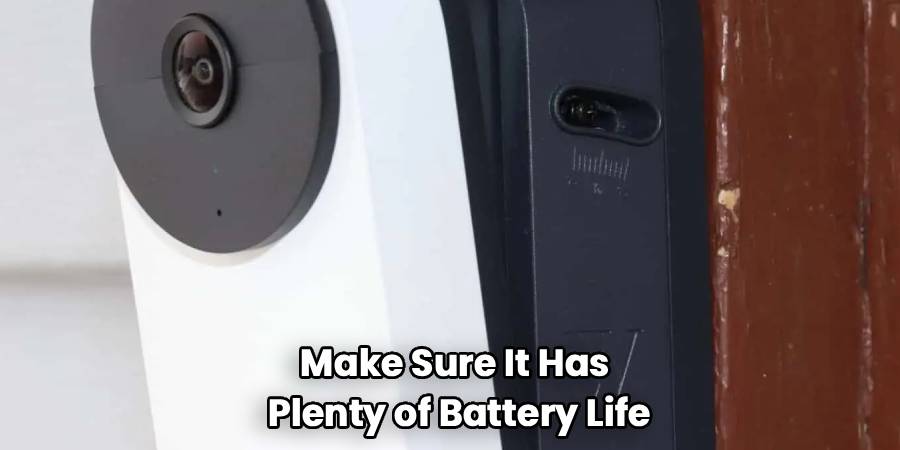
If you are reinstalling a device, make sure it has plenty of battery life. A low battery can cause the setup to fail midway through. Ideally, bring the doorbell inside near the router for the initial connection. You can mount it outside once it is successfully paired.
Turn off your cellular data on your phone temporarily. This forces your phone to rely solely on the local wireless network for the setup communication.
Step-by-Step Guide to Connect Google Nest Doorbell to Wifi
We have broken this down into manageable chunks so you don’t feel overwhelmed. Follow these steps carefully to ensure a successful pairing.
Step 1: Open the Google Home App
Launch the application on your smartphone or tablet. This is your command center for all Nest products. Make sure you are signed into the correct Google account associated with your home.
Tap the plus sign (+) icon, usually located in the top left corner of the screen. This initiates the “Add device” protocol. Select “Set up device” from the menu options that appear. Choose “New device” to tell the app you are adding hardware to your home.
Step 2: Scan the QR Code
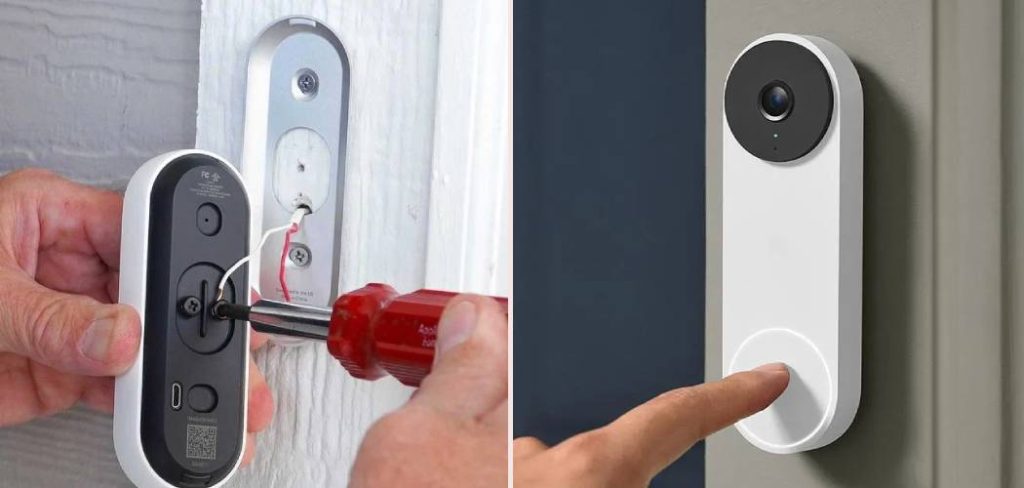
Your doorbell comes with a unique QR code stamped on the back. It acts as the digital fingerprint for your specific unit. The app will ask permission to use your phone’s camera. Grant this permission so it can see the code.
Center the QR code in the frame on your screen. The app should recognize it instantly and vibrate or beep. If you cannot scan the code, there is usually an option to “Continue without scanning.” You will need the entry key printed near the code.
Step 3: Plug In or Power Up
If you have a battery-powered model, ensure it is awake. You might need to plug it into a charger if it was completely dead. For wired models, ensure the power from your doorbell transformer is active. You should see a status light on the front of the device.
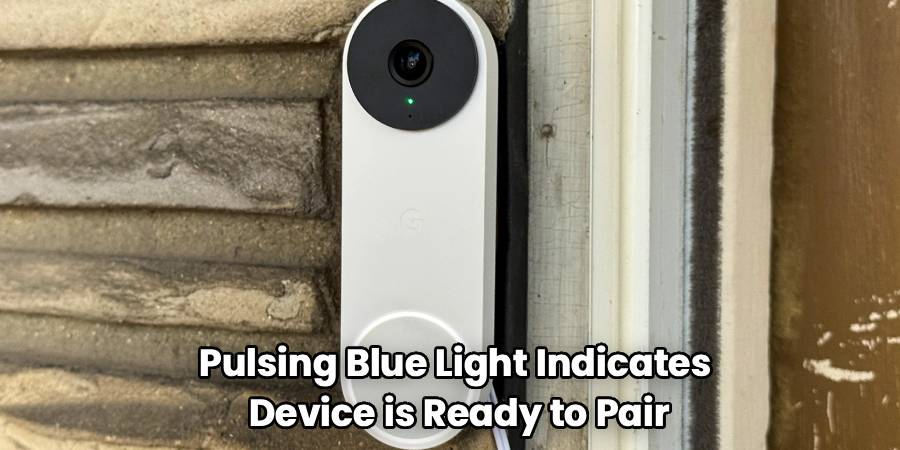
A pulsing blue light usually indicates the device is ready to pair. If you see a different color, you may need to troubleshoot. Keep your phone close to the device during this stage. They communicate via Bluetooth to exchange network credentials.
Step 4:Select Your Network
The app will eventually ask you How To Connect Google Nest Doorbell To Wifi by displaying a list of available networks. Choose the network you want the doorbell to use. Remember, this must be the same network your phone is currently on.
If you have a dual-band router, try to select the 2.4GHz network if they are separated. It offers better range for exterior walls. The app may automatically pull the password from your phone. If not, type it in carefully, paying attention to capitalization.
Step 5: Finalizing the Connection
Once you enter the credentials, the device will attempt to join the network. This process can take a minute or two. You will likely hear a chime or sound from the doorbell itself. This confirms it has received the information.
The app will display a success screen once the handshake is complete. You can now name your doorbell (e.g., “Front Door”). If the connection fails, don’t panic. Simply restart the app and the doorbell, then try the process again from the start.
Troubleshooting Common Issues
Even with perfect instructions, things can go sideways. Technology can be temperamental.
If the setup hangs at “Connecting to Wi-Fi,” try toggling your phone’s airplane mode. Turn on only WiFi and Bluetooth, then retry. Factory resetting the device is often the magic bullet for persistent issues. Locate the reset pinhole on the back of the unit.
Insert a paperclip into the reset hole and hold it down. You will see the status lights change, usually flashing yellow then solid. Release the button once the reset is confirmed by a sound. You will need to remove the old device instance from the app before adding it again.
Optimizing Signal Strength
A strong connection inside doesn’t always mean a strong connection outside. Your front porch is a challenging environment for wireless signals. Check the video quality once you mount the doorbell. If it is choppy or grainy, your signal might be weak.
Consider installing a Wi-Fi extender or a mesh network point closer to the door. This bridges the gap between your router and the outside world. Metal doors and stucco walls are notorious for blocking signals. If possible, mount the doorbell on a wood frame or use a wedge kit.
Managing Network Changes
Changing your internet provider or router password requires updating your devices. Unfortunately, you cannot just “edit” the wifi settings for security reasons. You typically have to remove the device from the app and set it up as new. This ensures that only authorized users can change network access.
This feels tedious, but it protects your home security. It prevents someone from hijacking your camera by simply guessing a password. Follow the same steps outlined above to reconnect to the new router. It should go much faster the second time around.
Tips for Battery Preservation
A device searching for a weak wifi signal drains its battery quickly. Maintaining a strong connection extends the life of your charge. Adjust your recording settings if you find the battery dying too fast. Lowering the wake-up sensitivity can help.
Cold weather also impacts lithium-ion batteries significantly. Expect to charge it more often during freezing winter months. If you have the option, wiring a battery-powered unit to existing doorbell wires can trickle charge it. This keeps it topped up without manual charging.
Security Best Practices
Securing your camera is just as important as connecting it. You don’t want unauthorized eyes on your feed. Enable two-factor authentication on your Google account. This adds a critical layer of safety.
Regularly check for firmware updates in the Home app. These updates often patch security vulnerabilities. Share access only with trusted family members. You can manage permissions directly within the Google Home settings.
Frequently Asked Questions
Why won’t my doorbell connect to 5GHz?
Most smart home devices are optimized for 2.4GHz networks. This frequency penetrates solid objects like doors and walls much better than 5GHz. While some newer models support 5GHz, the 2.4GHz band is generally more stable for exterior devices. If your router merges both bands, try moving further from the router during setup to force a switch to the 2.4GHz band on your phone.
How do I factory reset my device?
Locate the small reset hole on the back of the unit. You will need a release tool or a simple paperclip. Press and hold the internal button for about 10-12 seconds. You will typically see a yellow light flash four times, followed by a countdown tone. Release the button once the light stays solid yellow to initiate the reset.
Can I connect without the QR code?
Yes, you can set it up manually. When the app asks to scan, select “Continue without scanning.” You will need the 6-digit entry key code. This code is usually printed right next to the QR code on the back of the device.
What do the different status lights mean?
A pulsing blue light means the device is ready to pair. A solid green light indicates the camera is active and recording or being viewed. A yellow blinking light usually signals a factory reset is in progress or the battery is critically low. A red light suggests the battery is too low to operate properly.
Do I need a subscription?
You can use the doorbell for live video and notifications without a subscription. However, a Nest Aware subscription is required for event history and intelligent alerts. Without it, you generally only get still images of events from the past 3 hours.
Why does my doorbell go offline?
Intermittent offline status is usually caused by a weak signal or wifi interference. Thick walls or distance from the router are common causes. It could also be due to network congestion if you have many devices online. Try moving a router node closer to the door.
Will it work with a mobile hotspot?
Technically, yes, it can connect to a mobile hotspot. However, this is not recommended for long-term use due to data limits and stability issues. It consumes a significant amount of data for video streaming. It is useful for testing hardware if your main internet is down.
Conclusion
Learning How To Connect Google Nest Doorbell To Wifi is the final step to securing your front porch and enjoying peace of mind. By following the preparation steps and the detailed guide above, you can overcome common connectivity hurdles. Remember that patience is key when dealing with wireless networks and smart home hardware. Once connected, you’ll have the convenience of seeing visitors from anywhere in the world right on your phone.
Keep your app updated and your device charged for the best experience. A stable connection ensures you never miss a package delivery or a friendly neighbor. Enjoy your upgraded smart home experience.