
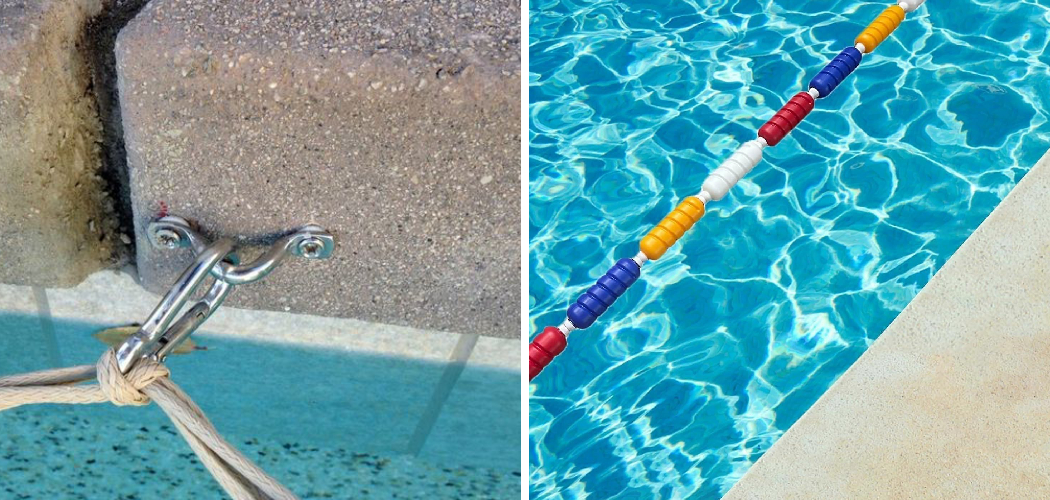
Picture a warm afternoon at the pool. Kids splash near the steps. A cousin who barely swims wades toward the middle, not realizing the floor drops off fast.
One step too far, and the shallow end becomes deep water.
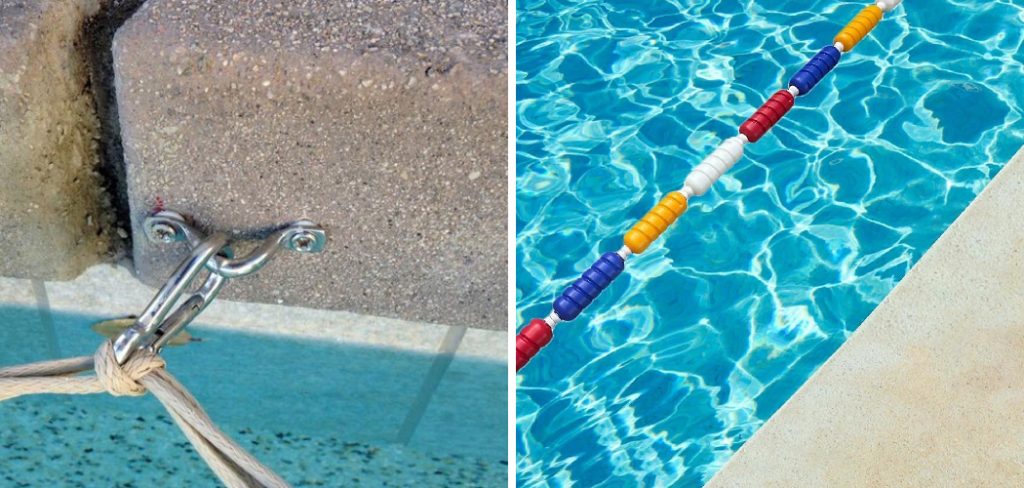
That’s the moment a pool safety rope is built for. It’s a simple line stretched across your pool that marks where the water gets deep. It warns weak swimmers. It gives tired kids something to grab.
And it’s one of the cheapest safety upgrades you can add in an afternoon.
In this guide, you’ll learn exactly how to install pool safety rope from start to finish. We’ll cover the tools you need, step-by-step installation, different anchor methods, and the mistakes that catch first-timers off guard. By the end, you’ll know how to set up a rope that stays tight, stays visible, and actually does its job.
Why a Pool Safety Rope Matters More Than You Think
A rope across your pool isn’t just a rule from the deep end at public pools. It’s a visible boundary that quietly does a lot of work.
Here’s what it actually gives you.
- A clear warning line. Swimmers see exactly where shallow water ends.
- A grab point. A tired child or nervous adult has something to hold.
- A visual divider. You can separate play areas from swimming zones.
- Peace of mind. You stop guessing where the drop-off starts.
The rope won’t stop a determined diver, and it won’t replace supervision. Nothing does that. But it marks danger before someone finds it the hard way.
Think of it as a fence line on the water’s surface. You still watch the pool. The rope just makes the risky part obvious to everyone in it.
In short: a pool safety rope turns an invisible drop-off into a boundary people can see and grab.
What You’ll Need for Pool Safety Rope Installation
Before you start, gather everything in one place. Nothing kills momentum like stopping halfway to search for a missing hook.
Here’s your full checklist for a clean pool safety rope installation.
Core Materials
- A pool safety rope — usually ½-inch braided polyethylene or nylon, UV-resistant.
- Pool floats — bright discs or foam segments that thread onto the rope.
- Two rope hooks or anchor cups — the hardware mounted on your pool walls.
- A brass or stainless snap hook on each rope end for quick attach and release.
Tools
- A tape measure to size the rope to your pool width.
- Scissors or a sharp knife to trim the rope.
- A lighter or heat source to seal the cut ends of synthetic rope.
- A drill with a masonry bit if you’re installing new anchors into concrete.
- A marker or pencil for marking anchor spots.
Nice to Have
- Waterproof tape for a clean rope finish.
- Safety glasses for drilling.
Warning: Always match your rope and floats to pool water. Cheap indoor rope rots fast in chlorine and sun. Buy a UV- and chlorine-resistant swimming pool rope and float line made for outdoor use.
In short: grab a marine-grade rope, matching floats, two anchors, and basic drilling tools before you begin.
6 Step-by-Step: How to Install Pool Safety Rope
Now for the main event. Take it slow the first time. A careful setup lasts years.
Step 1: Find the Right Spot
Your rope belongs at the transition point — where the shallow end meets the deep end.
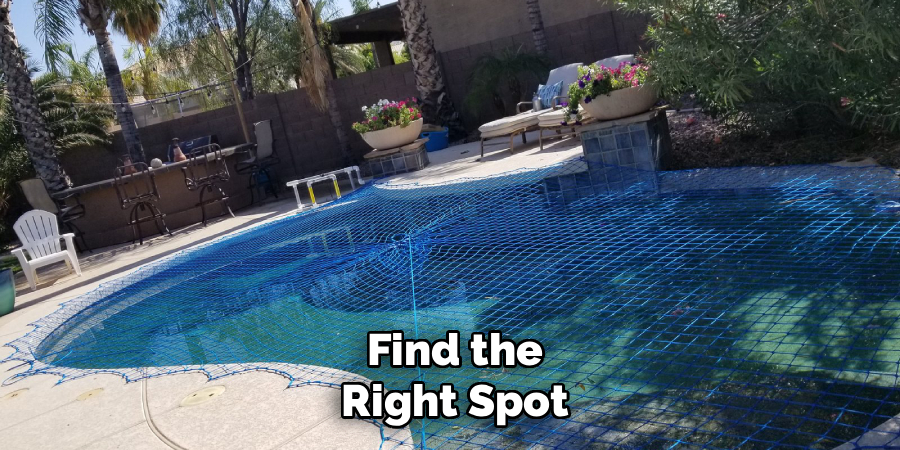
Walk your pool and find where the floor starts to slope down. Mark that line on both walls with your marker. This is where your anchors go.
If you’re setting up a pool lane rope setup for swimming laps instead, mark straight, parallel lines down the pool’s length.
Step 2: Measure and Cut Your Rope
Measure the full width of your pool at the marked line. Add about two feet for slack and knot-tying room.
- Stretch the rope along the ground.
- Mark your cut length.
- Cut it clean with a knife or scissors.
Seal both ends by melting them lightly with a lighter. This stops synthetic rope from fraying. Let it cool before you touch it.
Step 3: Thread the Floats
Slide your floats onto the rope one at a time.
Space them evenly — every 12 to 18 inches works well. Too few floats and the rope sinks. Too many and it bunches up.
Push them along until they’re spread across the whole length.
Step 4: Attach the Snap Hooks
Tie a secure loop at each end of the rope. A bowline knot holds well and won’t slip under tension.
Clip a brass or stainless snap hook onto each loop. These let you remove the rope in seconds for cleaning or parties.
Step 5: Install the Wall Anchors
If your pool already has anchor cups, skip ahead. If not, you’ll mount them now.
- Hold the anchor at your marked spot, just below the water line.
- Mark the screw holes.
- Drill into the concrete with a masonry bit.
- Insert anchor plugs and screw the hook in tight.
Warning: Don’t drill into the pool shell blindly. Hit a plumbing line and you’ve got a leak repair on your hands. Anchors mount into the deck coping or pool wall lip, not the waterproof liner.
Step 6: Hook It Up and Tension It
Clip one snap hook to an anchor. Walk the rope across and clip the other side.
The rope should sit taut, not sagging. If it droops into the water, shorten the loop or move the floats. If it’s too tight to clip, loosen a knot.
In short: mark the drop-off, size and float the rope, seal the ends, mount your anchors, and clip it tight.
Different Rope Types and Anchor Methods
Not every pool needs the same setup. Your pool’s material and how often you remove the rope both shape your choice.
Here’s how the main options compare.
| Feature | Braided Polyethylene | Twisted Nylon | Foam Noodle Line |
| Durability | High, resists UV and chlorine | Good, but stretches when wet | Low, best for light use |
| Grip comfort | Firm | Soft | Very soft |
| Cost | Moderate | Moderate | Low |
| Best for | Permanent outdoor setups | Lap lanes needing give | Kids’ pools, temporary use |
Choosing Your Anchor Method
You have two main ways to secure the rope to the pool.
Permanent wall anchors are cup-and-hook fittings mounted into the pool wall. They’re clean, strong, and nearly invisible when the rope’s off. Best for pools where the rope stays year-round.
Deck-mounted hooks screw into the surrounding deck instead of the pool itself. They’re easier to install and skip drilling near water. Best if you rent, or you’d rather not touch the pool shell.
For above-ground pools, use strap-style anchors that loop over the top rail. No drilling needed at all.
In short: pick UV-rated braided rope for permanent use, and match your anchor style to whether the rope stays put or comes down often.
Common Mistakes and Troubleshooting
A pool safety rope looks foolproof. In practice, small errors leave you with a sagging, sliding, or useless line. Here are the ones that trip people up — why they happen, and how to fix each.
Mistake 1: The Rope Sags Into the Water
You clip both ends, and the middle droops below the surface.
Why it happens: Too much slack, or too few floats to hold the line up.
The fix: Shorten the end loops to pull the rope tighter. Then add floats until the line rides on top of the water. Even spacing every 12 to 18 inches keeps it level.
Mistake 2: Floats Bunch Up on One Side
By day two, all your floats have slid to one end.
Why it happens: Nothing holds them in place, so wind and water push them along.
The fix: Use floats with a snug center hole, or add small stopper knots between them. The floats should slide on with effort, not fall free.
Mistake 3: Anchors Pull Loose
You tug the rope and an anchor wobbles or pops out.
Why it happens: The anchor was drilled into weak material, or the plug was too small for the hole.
The fix: Re-drill into solid concrete or deck coping, never crumbling edges. Match your anchor plug to the exact hole size. Never mount an anchor into a vinyl liner — it’ll tear.
Mistake 4: The Rope Rots or Fades Fast
Within a season, your rope is stiff, brittle, or bleached white.
Why it happens: You used indoor or cotton rope that can’t handle chlorine and sun.
The fix: Replace it with a UV- and chlorine-resistant swimming pool rope and float line. Rinse it with fresh water now and then to clear chlorine buildup.
Mistake 5: Ends Fray and Unravel
The cut ends turn into a frizzy mess that won’t hold a knot.
Why it happens: You cut synthetic rope without sealing it.
The fix: Melt each cut end with a lighter until the fibers fuse. Let it cool fully before tying. Wrap with waterproof tape for extra hold.
Mistake 6: The Rope Is in the Wrong Place
Swimmers cross into deep water before they ever reach the rope.
Why it happens: The rope was hung by guesswork, not measured to the real drop-off.
The fix: Empty-pool test if you can, or wade the floor to find the exact slope. Move your anchors to sit right at the transition. The rope only works when it marks the true boundary.
In short: tighten the line, lock your floats, anchor into solid material, buy pool-grade rope, seal the ends, and place it at the real drop-off.
Frequently Asked Questions
How high should a pool safety rope sit on the water?
The rope should float right on the surface, sitting slightly above the water line so it’s easy to see and grab. It shouldn’t sag under the surface or ride so high it’s hard to clip. Adjust your float count and rope tension to keep it level across the whole width.
Can I install a pool safety rope without drilling into my pool?
Yes. Use deck-mounted hooks that screw into the surrounding deck, or strap anchors that loop over an above-ground pool’s rail. Both skip drilling into the pool shell, so there’s no leak risk. They’re the safest choice if you rent or want a removable setup.
What size rope do I need for my pool?
Most home pools use a ½-inch rope. Measure the width of your pool at the drop-off point and add about two feet for knots and slack. Thicker rope is easier to grip but costs more, so ½-inch hits the sweet spot for comfort and value.
How do I keep pool floats from sliding on the rope?
Buy floats with a tight center hole so they grip the rope, or tie small stopper knots between them. Even spacing every 12 to 18 inches keeps the line balanced and stops everything bunching to one side. Check them at the start of each season and re-space as needed.
Does a pool safety rope replace adult supervision?
No, and this matters. A rope marks the deep end and gives swimmers a grab point, but it can’t stop someone from crossing it or going under. Always keep an adult watching the water. The rope is a helpful layer, not a substitute for eyes on the pool.
Wrapping Up
A pool safety rope is small, cheap, and quick to install — but it turns an invisible drop-off into a boundary everyone can see.
You now know how to size and cut your rope, thread the floats, seal the ends, mount your anchors, and tension the line so it does its job. You also know the mistakes to dodge, from sagging lines to loose anchors.
Take your time on the first setup, use pool-grade materials, and place the rope at the true drop-off.
Ready to make your pool even safer? Check out our guide on [related topic: choosing the right pool cover and alarm system] next.

About
Robert D is a distinguished figure in the world of Safety Systems and Risk Management, with a decade of expertise creating innovative and sustainable workplace solutions. His professional focus lies in merging traditional safety protocols with modern digital monitoring techniques, fostering environments that are both practical and hazard-conscious. As the lead author of SafetyRift, Robert delves into the art and science of risk mitigation, inspiring safety officers and industry professionals alike to bridge the gap between compliance and culture.
Education
RMIT University (Melbourne, Australia)
Associate Degree in Design (Industrial Safety)
-
Focus on sustainable safety infrastructure, industry-driven risk assessments, and practical implementation.
-
Gained hands-on experience with traditional hazard identification and digital monitoring tools, such as IoT safety sensors and predictive analytics software.
Nottingham Trent University (United Kingdom)
Bachelor’s in Occupational Health and Safety (Honors)
-
Specialized in systemic design with a focus on blending human behavior psychology with modern safety production techniques.
-
Participated in industry-wide projects, working with global logistics and manufacturing firms to gain real-world insights into large-scale safety deployments.
Publications and Impact
In SafetyRift, Robert shares his insights on safety design processes, protective materials, and strategies for efficient, accident-free production. His writing bridges the gap between foundational safety knowledge and modern industrial needs, making it a must-read for both budding safety coordinators and seasoned risk management professionals.
