
You pour a glass of water from the tap. It looks a little cloudy. Then you catch a faint smell — something earthy, or maybe metallic — and you pause with the glass halfway to your mouth.
That hesitation is worth listening to.
Bacteria in your water don’t always announce themselves. Sometimes the water looks clear and tastes fine, yet still carries coliform or E. coli. Other times, an off smell is your only warning. Either way, the risk is real: stomach illness, diarrhea, and worse for kids, older adults, and anyone with a weak immune system.
The good news? You don’t need a lab coat to check. In this guide, you’ll learn why testing matters, what tools you need, how to test water for bacteria at home, and how to avoid the mistakes that ruin results.
Let’s get your water checked.
Why Testing Your Water for Bacteria Matters
Here’s the part most people miss: bacteria are invisible.
You can’t see them. You often can’t taste or smell them either. A well that’s served your family for years can turn unsafe after one heavy rain, a cracked casing, or a nearby septic leak — and nothing about the water looks different.
That’s the danger. You trust what you can see, and bacteria hide from your senses.
Coliform bacteria are the main thing you’re checking for. On their own, they rarely make you sick. But they signal something worse: if coliform got into your water, disease-causing germs like E. coli can follow the same path.
The people most at risk are the ones you’d least want exposed:
- Infants and young children
- Older adults
- Pregnant people
- Anyone with a weakened immune system
When you check drinking water for bacteria at home, you’re not being paranoid. You’re catching a problem before it reaches someone you love.
In short: bacteria hide from your senses, so testing is the only way to actually know your water is safe.
When You Should Test Your Water
Timing matters as much as testing.
Test your water at least once a year if you’re on a private well. City water gets treated and monitored, but well water is entirely your responsibility.
Beyond the yearly check, test right away when:
- The taste, smell, or color of your water changes.
- Flooding or heavy rain hits your area.
- You repair or replace part of your well or plumbing.
- Someone in your home has repeated stomach illness with no clear cause.
- You’re pregnant or bringing home a newborn.
- You just moved into a new home with a private well.
If you’re on city water and notice a sudden change, call your water provider first. Then test on your own if you want peace of mind.
In short: test yearly for wells, and test immediately after any change, repair, or flood.
What You’ll Need to Test Home Water for Bacteria
Gather your supplies before you start. Fumbling for a clean container mid-test is how samples get contaminated.
Here’s your checklist:
- A bacteria test kit — a strip test, a DIY culture kit, or a lab-mail-in kit.
- A sterile sample container — usually included with lab kits. Never reuse a random bottle.
- Clean hands — wash thoroughly before you touch anything.
- A cold-water tap you use for drinking, ideally the kitchen.
- A timer or phone clock for tests that need exact wait times.
- A pen and paper to note the date, time, and tap you sampled.
Warning: Don’t touch the inside of the container or its cap. Your fingers carry bacteria, and one careless touch can turn a clean sample into a false positive.
In short: get a sterile container and a test kit ready before you fill a single drop.
Testing Methods: Choosing the Right One
Not every test tells you the same thing. Some give you a quick yes-or-no. Others tell you exactly what’s in your water and how much.
Three methods cover almost every situation.
Strip Tests
Strip tests are the fastest option. You dip a treated strip into a water sample, wait, and read the color change against a chart.
They’re cheap and give near-instant results. The trade-off is precision — strips tell you something is there, not exactly what or how much.
Use them for a quick, low-cost first look.
DIY Culture Kits
Culture kits sit in the middle. You add water to a vial with a growth powder, then wait 24 to 48 hours to see if bacteria multiply and change the color.
They’re more reliable than strips for detecting coliform, and you still get results at home. The trade-off is the wait, and they won’t name the exact bacteria.
Use them when you want a trustworthy at-home answer without a lab.
Certified Lab Testing
Lab testing is the gold standard. You collect a sample in a sterile bottle, mail it to a certified lab, and get a detailed report back.
Labs identify specific bacteria, measure levels, and give results you can trust for serious decisions. The trade-off is cost and time — usually several days to a week.
Use a lab when health is on the line, when you’re buying a home, or when a home test comes back positive and you need proof.
Comparison Table: At-Home Kits vs. Lab Testing vs. Strip Tests
| Feature | DIY Culture Kit | Certified Lab Test | Strip Test | Best For |
| Speed | 24–48 hours | 3–7 days | 1–15 minutes | Strips: instant peace of mind |
| Accuracy | Good | Highest | Basic | Lab: serious decisions |
| Cost | Low–medium | Higher | Lowest | Strips: tight budgets |
| Detail | Presence of coliform | Exact type and level | Rough indicator | Lab: full picture |
| Ease of use | Simple | Requires mailing | Very simple | Kits: reliable home use |
| Best situation | Yearly home check | New home, illness, positive retest | Quick screening | Depends on stakes |
In short: strips screen fast, kits confirm at home, and labs give you the full, trustworthy picture.
5 Step-by-Step Instructions to Check Drinking Water for Bacteria at Home
Now the real work begins. Follow these steps in order, and your results will actually mean something.
Step 1: Choose and Prep Your Tap
Pick the tap you drink from most — usually the kitchen sink.
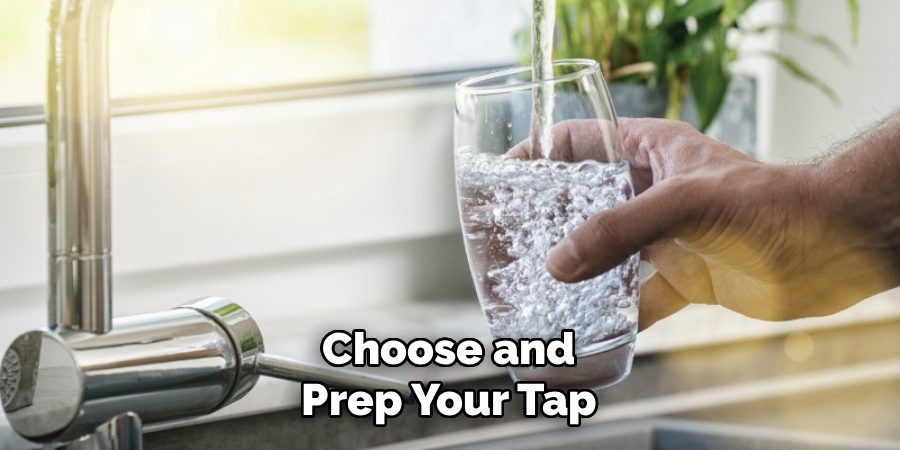
- Remove any aerator or filter screen from the faucet. These trap bacteria and skew your sample.
- Wash your hands with soap and water.
- Skip taps with swivel spouts or attached hoses if you can; they harbor extra germs.
Step 2: Flush the Line
Bacteria collect in still water inside your pipes. You want fresh water from the source, not what’s been sitting.
- Run cold water for 2 to 3 minutes before sampling.
- Don’t run hot water — heat changes the sample.
Step 3: Collect the Sample
This is where clean technique makes or breaks your test.
- Reduce the flow to a gentle stream.
- Open the sterile container without touching the inside or cap.
- Fill to the marked line — don’t overfill or underfill.
- Cap it immediately.
Warning: Do not rinse the sterile bottle first. Many lab kits add a preservative powder inside, and rinsing washes it out.
Step 4: Run the Test or Ship It
What you do next depends on your method.
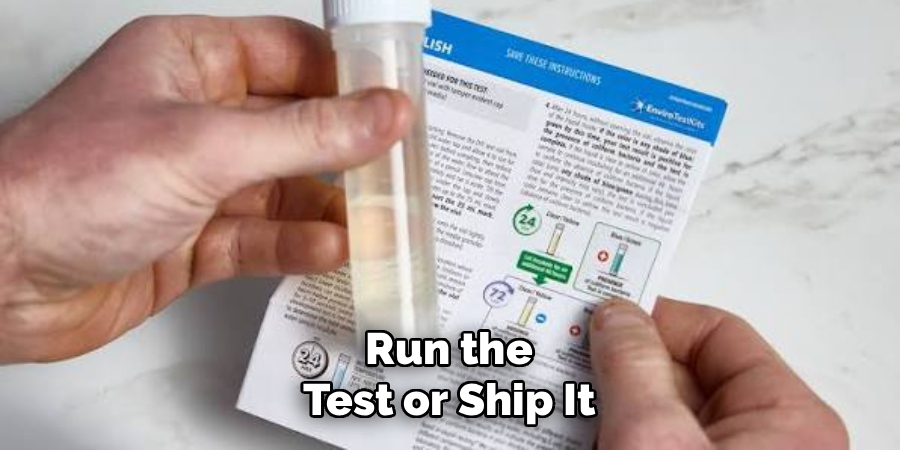
- Strip test: Dip the strip, start your timer, and read the color against the chart at the exact time listed.
- Culture kit: Pour the water into the vial, seal it, and set it somewhere warm and undisturbed for 24 to 48 hours.
- Lab test: Label the bottle with the date and time, then mail it the same day using any cold pack provided.
Step 5: Read and Record Your Results
Read results carefully and write them down.
- With a culture kit, a color shift (often to yellow or purple, depending on the brand) usually signals bacteria present. Check your kit’s guide — colors vary.
- With strips, match the pad to the chart precisely.
- With a lab, read the report for coliform and E. coli counts.
Keep every result with its date. A record over time shows you patterns a single test can’t.
In short: prep the tap, flush the line, collect clean, test on time, and record everything.
Well Water vs. City Water: What Changes
Your water source changes how you approach testing.
If You’re on a Private Well
You’re the only line of defense. No agency tests your well for you.
Test once a year at minimum, and always after floods, repairs, or a taste change. Wells sit closest to soil, runoff, and septic systems, so they carry the highest bacteria risk.
If You’re on City Water
Your provider treats and monitors the supply and sends a yearly water quality report. That covers the source — but not what happens inside your home’s older pipes or a rarely used tap.
If you notice a change, contact your provider first. Then test at home if you still want to be sure.
In short: wells demand yearly self-testing, while city water mostly needs a check only when something changes.
Common Mistakes and Troubleshooting
Most bad results don’t come from bad water. They come from small errors in how you collect and test. Here’s what goes wrong, why, and how to fix it.
You Touched the Inside of the Container
Why it happens: It’s a reflex to steady a bottle by the rim or cap. But your skin is covered in bacteria, and one touch contaminates the sample.
How to fix it: Hold the container by the outside only. If you touch the inside or drop the cap, stop and use a fresh sterile container. Don’t gamble on a compromised sample.
You Forgot to Remove the Faucet Aerator
Why it happens: The little screen at the faucet tip is easy to overlook. But it traps debris and bacteria that don’t reflect your actual water.
How to fix it: Unscrew the aerator before flushing the line. This way you test the water in your pipes, not the gunk stuck at the spout.
You Didn’t Flush the Line First
Why it happens: You want a quick sample, so you fill the bottle from the first burst. That water has been sitting in the pipes for hours, growing bacteria that aren’t in your fresh supply.
How to fix it: Run cold water for a full 2 to 3 minutes first. This clears stagnant water and gives you a true reading of your source.
You Waited Too Long to Test or Mail the Sample
Why it happens: Life gets busy, and the bottle sits on the counter. Bacteria keep multiplying inside it, so your results no longer match your tap.
How to fix it: Test or ship the sample the same day you collect it, ideally within a few hours. Keep it cold until then. A delayed sample tells you about the bottle, not your water.
You Misread the Timing or Color
Why it happens: Strip and culture results are time-sensitive. Read a strip too early or too late and the color lies to you.
How to fix it: Set a timer for the exact wait listed in the instructions. Read the result under good light against the provided chart, not from memory.
You Tested Only Once and Assumed You’re Safe
Why it happens: One clean result feels like a permanent all-clear. But water changes with weather, seasons, and plumbing repairs.
How to fix it: Test yearly, and retest after any flood, repair, or change in taste or smell. Safety is a habit, not a one-time event.
In short: nearly every false result traces back to contamination, timing, or skipping the flush — and each one has a simple fix.
Frequently Asked Questions
Can I test my water for bacteria at home without a lab?
Yes. Strip tests and DIY culture kits let you check drinking water for bacteria at home in minutes to a couple of days. They’re great for routine checks and quick screening. For serious concerns or a positive result, follow up with a certified lab for exact confirmation.
How can I tell if my tap water has bacteria without a test?
You often can’t. Bacteria like coliform and E. coli are usually invisible, tasteless, and odorless. A change in taste, smell, or color is a warning sign worth acting on — but clear, normal-looking water can still be unsafe. Testing is the only reliable way to know.
How often should I test my well water for bacteria?
Test private well water at least once a year. Also test right after flooding, any well or plumbing repair, or a sudden change in taste, smell, or appearance. Wells have no outside monitoring, so yearly testing keeps you ahead of problems.
What do I do if my water tests positive for bacteria?
Stop drinking it and switch to bottled or boiled water for now. Boiling water for one full minute kills most bacteria as a short-term fix. Then confirm with a certified lab test and look into the cause — shock chlorination or a filtration system may be needed.
Is a strip test or a lab test more accurate for bacteria?
A certified lab test is far more accurate. It identifies the exact bacteria and measures levels, while strips only give a rough indicator. Use strips for fast screening and labs when health decisions or home purchases are on the line.
Wrapping It Up
That pause you took with the glass halfway to your mouth? You now know exactly what to do with it.
You’ve learned why bacteria hide from your senses, when to test, and which method fits your situation. You know how to test home water for bacteria step by step — prep the tap, flush the line, collect clean, and read results on time. You also know the mistakes that ruin samples and how to avoid every one.
Clean water isn’t luck. It’s a habit you can keep.
Grab a test kit and check your water this week. Your future self will thank you.
Want to go further? Check out our guide on [related topic: choosing the right water filtration system for your home].

About
Robert D is a distinguished figure in the world of Safety Systems and Risk Management, with a decade of expertise creating innovative and sustainable workplace solutions. His professional focus lies in merging traditional safety protocols with modern digital monitoring techniques, fostering environments that are both practical and hazard-conscious. As the lead author of SafetyRift, Robert delves into the art and science of risk mitigation, inspiring safety officers and industry professionals alike to bridge the gap between compliance and culture.
Education
RMIT University (Melbourne, Australia)
Associate Degree in Design (Industrial Safety)
-
Focus on sustainable safety infrastructure, industry-driven risk assessments, and practical implementation.
-
Gained hands-on experience with traditional hazard identification and digital monitoring tools, such as IoT safety sensors and predictive analytics software.
Nottingham Trent University (United Kingdom)
Bachelor’s in Occupational Health and Safety (Honors)
-
Specialized in systemic design with a focus on blending human behavior psychology with modern safety production techniques.
-
Participated in industry-wide projects, working with global logistics and manufacturing firms to gain real-world insights into large-scale safety deployments.
Publications and Impact
In SafetyRift, Robert shares his insights on safety design processes, protective materials, and strategies for efficient, accident-free production. His writing bridges the gap between foundational safety knowledge and modern industrial needs, making it a must-read for both budding safety coordinators and seasoned risk management professionals.
