
Feeling secure in your own home is a fundamental need. One of the most effective ways to enhance your home’s safety and gain peace of mind is by installing security cameras. In the past, this might have seemed like a complex job best left to professionals, but modern camera systems are designed for everyday homeowners to set up themselves. This guide will walk you through the process, showing you exactly how to install home security cameras without the need for expensive technicians. Whether you’ve chosen a wired or wireless system, you’ll find the practical steps and tips needed to get your cameras up and running, protecting what matters most to you.

7 Easy Step-by-Step Guide to Installation
This section provides a detailed walkthrough for setting up your new security system. From planning to final checks, we’ll cover everything you need to know. Following this guide is the key to a successful DIY project, and it will give you confidence in your ability to manage your home’s security. This is your complete manual on how to install home security cameras effectively and efficiently.
Step 1: Plan Your Camera Placement
Before you drill a single hole or run any wires, the most critical step is planning. Walk around your property, both inside and out, and think like a potential intruder. Where are the most vulnerable spots?
- Entry Points: Prioritize all ground-floor doors and windows. This includes the front door, back door, patio doors, and any accessible windows.
- High-Traffic Areas: Consider placing cameras in driveways, pathways leading to your home, and main hallways inside.
- Valuable Assets: Think about garages, sheds, or any area where you store valuable items.
- Blind Spots: Look for areas around your home that are not easily visible from the street or a neighbor’s house.
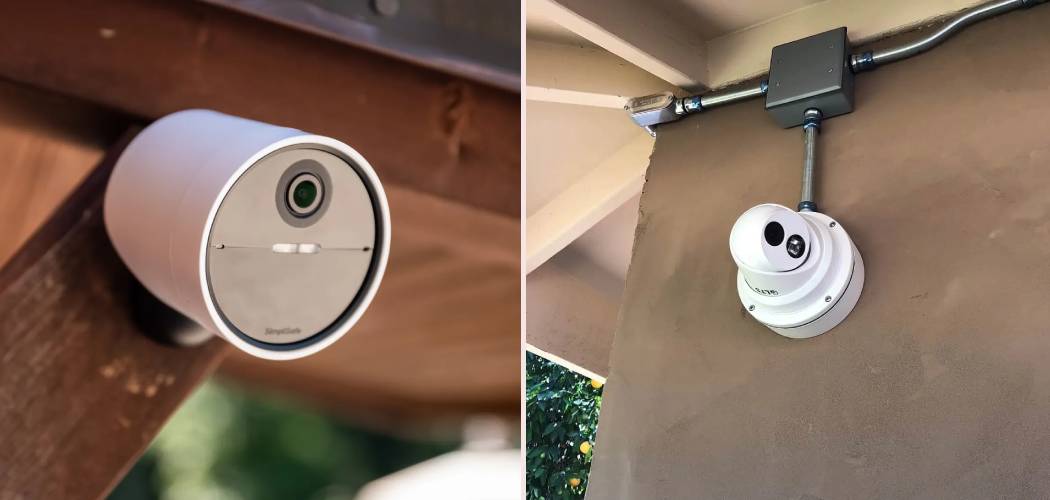
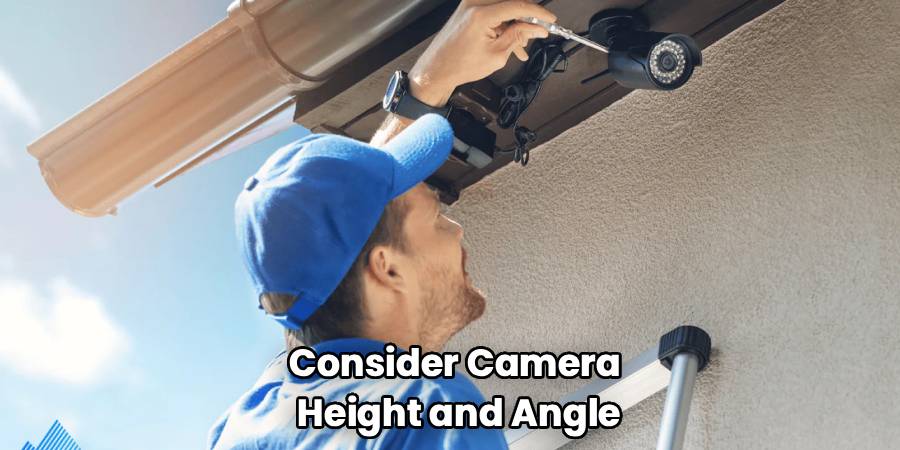
When selecting spots, also consider camera height and angle. Placing a camera about 8-10 feet off the ground is ideal. It’s high enough to be out of easy reach but low enough to capture clear facial details. Angle the camera slightly downwards to get the best view of the area you want to monitor. Remember to check for any obstructions like trees, light fixtures, or architectural features that could block the camera’s view.
Step 2: Unbox and Test Your Equipment
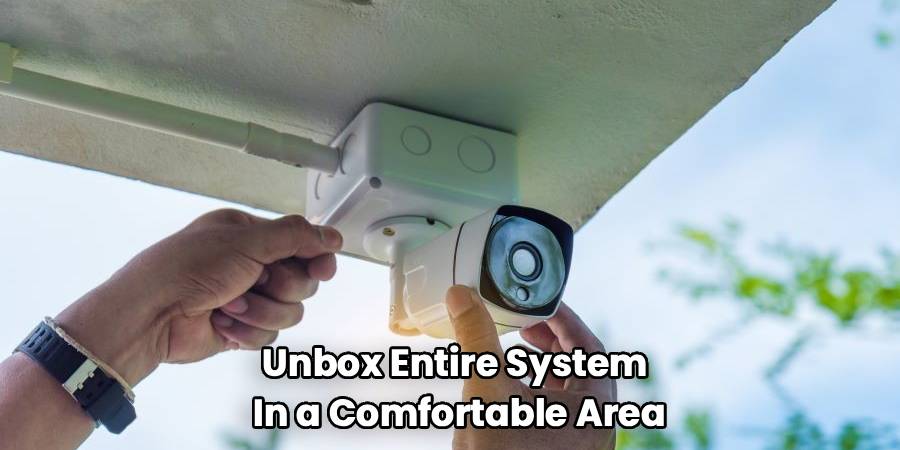
It’s tempting to start installing immediately, but testing your equipment beforehand can save you a major headache. Unbox your entire system in a comfortable area, like your living room. Lay out all the cameras, cables, the DVR/NVR (for wired systems), and any other included accessories.
Plug in the main recording unit and connect each camera one by one. Power them on and go through the initial setup process as outlined in the manufacturer’s manual. This allows you to:
- Confirm every camera is working correctly.
- Familiarize yourself with the system’s software and mobile app.
- Configure basic settings like passwords and network connections in a convenient location.
Running this test ensures you don’t go through the trouble of mounting a faulty camera or discovering a missing cable midway through the installation.
Step 3: Gather Your Tools and Materials
Having the right tools on hand will make the installation process smoother and safer. The specific tools you need will depend on your camera system and your home’s construction, but a standard kit should include:
- Power Drill with Assorted Drill Bits: For drilling holes for cables and mounting screws.
- Screwdriver Set: Both Phillips head and flathead.
- Ladder: A sturdy ladder is essential for reaching high mounting locations.
- Fish Tape or Glow Rods: For running wires through walls and ceilings.
- Caulk or Sealant: To seal any holes you drill on exterior walls, preventing water and pests from getting in.
- Wire Strippers and Crimpers: For wired camera installations.
- Stud Finder: To locate wall studs for secure mounting.
- Level: To ensure your cameras are mounted straight.
- Pencil or Marker: For marking drill holes.
Having everything organized and ready before you start will prevent multiple trips to the hardware store and keep your project on track.
Step 4: Mount the Cameras
With your plan in place and tools at the ready, it’s time to physically mount the cameras. Take one camera to its designated location. Hold the mounting bracket against the wall or eave and use a pencil to mark where the screw holes need to be.
If you are mounting on wood, you can likely drill pilot holes and screw directly into the surface. If you are mounting on drywall, use a stud finder to locate a stud for the most secure attachment. If no stud is available, use wall anchors to ensure the camera is held firmly. For brick or stucco, you will need a masonry drill bit and appropriate anchors.
Drill the holes, then secure the mounting bracket firmly. Attach the camera to the bracket, but don’t tighten it completely just yet. You’ll want to be able to make final adjustments to the angle later.
Step 5: Run the Cables (For Wired Systems)
This is often the most challenging part of a wired installation. The goal is to run the cables from each camera location back to your central DVR/NVR unit.
- Exterior to Interior: Drill a hole from the outside of your house to the inside. It’s best to do this into an attic, crawlspace, or basement to keep the wires hidden. After running the cable through, seal the hole on the outside with silicone caulk.
- Through Walls and Ceilings: Use fish tape or glow rods to pull the cables through wall cavities and across ceilings. This takes patience but results in a clean, professional-looking installation with no visible wires.
- Organize Your Cables: As you run each cable to the DVR/NVR, label it with the corresponding camera location (e.g., “Front Door,” “Driveway”). This will make connecting and troubleshooting much easier.
If you have a wireless system, this step is much simpler. You just need to ensure each camera is within range of a power outlet and your Wi-Fi network.

Step 6: Connect and Power Up the System
Once all the cameras are mounted and cables are run, it’s time to make the final connections.
For a wired system, connect the BNC (video) and power ends of each cable to the corresponding ports on the back of the DVR/NVR and the power supply box. Connect the DVR/NVR to a monitor or TV using an HDMI or VGA cable, and plug it into a power outlet.
For a wireless system, simply plug each camera into its power source. The cameras should automatically connect to the Wi-Fi network you configured during the testing phase.
Power everything on. You should see the live feed from each camera appear on your monitor or within the mobile app.
Step 7: How To Install Home Security Cameras and Configure the Software
With the hardware installed, the final phase involves fine-tuning the software settings to meet your specific security needs.
- Adjust Camera Angles: Go to each camera and adjust its position to get the perfect viewing angle. Use the live feed on your monitor or phone to guide you. Once you’re satisfied, tighten all mounting screws.
- Set Up Motion Detection: Most systems allow you to define specific zones for motion detection. This is useful for avoiding false alarms from things like tree branches swaying in the wind or traffic on a busy street. You can also adjust motion sensitivity levels.
- Configure Recording Schedules: Decide if you want your cameras to record 24/7, only during certain hours, or only when motion is detected. Recording on motion is a popular choice as it saves significant storage space.
- Enable Remote Access and Alerts: Make sure remote viewing is enabled on your smartphone or computer. Set up push notifications or email alerts so you are immediately notified when a camera detects motion.
Take your time with this step. Proper configuration is what turns your collection of cameras into a smart, responsive security system.
Frequently Asked Questions
Should I choose a wired or wireless security camera system?
Choosing between wired and wireless depends on your property and preferences. Wired systems offer a more stable and reliable connection since they are not susceptible to Wi-Fi interference. They are often preferred for larger properties. However, installation is more complex. Wireless systems are much easier to install and offer great flexibility in placement, but they rely on a strong Wi-Fi signal and require a nearby power source or regular battery changes.
Where is the best place to put my security cameras?
Focus on primary points of entry like the front door, back door, and ground-floor windows. Driveways and walkways are also crucial spots. Placing cameras at a height of 8-10 feet provides a good balance between capturing clear images and keeping the camera out of reach. Avoid pointing cameras directly at the sun, as this can cause glare and damage the image sensor. Also, be mindful of your neighbors’ privacy and avoid capturing their private property.
Do I need professional installation?
For most modern home security systems, professional installation is not necessary. Manufacturers design these products with DIY installation in mind, providing detailed manuals and video tutorials. If you are comfortable using basic tools like a drill and are willing to take your time, you can likely handle the job yourself. However, if you are dealing with a very large or complex property, or you are simply not comfortable with the work, hiring a professional is a valid option.
How do security cameras get power?
Wired cameras typically use a single cable (like a Siamese or Ethernet cable) that transmits both video and power back to a central hub (DVR/NVR) or power supply box. Wireless cameras are not truly “wire-free.” They still need power, which they get from either a plug-in AC adapter or from rechargeable batteries. Battery-powered cameras offer the most flexibility but require you to recharge or replace the batteries periodically.
Conclusion
Following this guide provides you with a comprehensive understanding of how to install home security cameras, empowering you to take control of your home’s safety. The process, from initial planning and equipment testing to mounting, wiring, and final configuration, is entirely manageable with the right tools and a bit of patience. By setting up your own system, you not only save money but also gain an intimate knowledge of your security network. You now have a powerful tool at your disposal, providing round-the-clock vigilance and the invaluable peace of mind that comes with knowing your home is protected.