
There are few sounds more jarring than the persistent, high-pitched chirp of a smoke alarm at 3:00 AM. It’s a sound designed to save lives, but when it signals a low battery in the middle of the night, it feels more like a test of your patience. When you drag yourself out of bed and set up the stepladder, you might find yourself staring at the device, wondering why something so simple seems so complicated to access. Knowing how to open smoke detector cover mechanisms correctly is essential—not just for your sanity when the battery dies, but for the overall safety of your home.
Taking care of these devices isn’t just about quieting the noise; it is about ensuring your family is protected. Many homeowners inadvertently damage their units by forcing them open or pulling on the wrong tabs. Whether you need to swap out an old 9-volt battery, clean out dust accumulation, or check the manufacturing date, accessing the internal compartment is the first hurdle. In this guide, we will walk you through the process safely and efficiently, ensuring you can get back to sleep—or get on with your day—with a fully functional safety system in place.

Step-by-Step Guide on How To Open Smoke Detector Cover
Opening a smoke alarm might seem straightforward, but manufacturers use several different designs. Some twist off, some have hidden locking pins, and others feature tricky battery drawers. Rushing this process can result in broken plastic clips or a unit that won’t stay mounted to the ceiling.
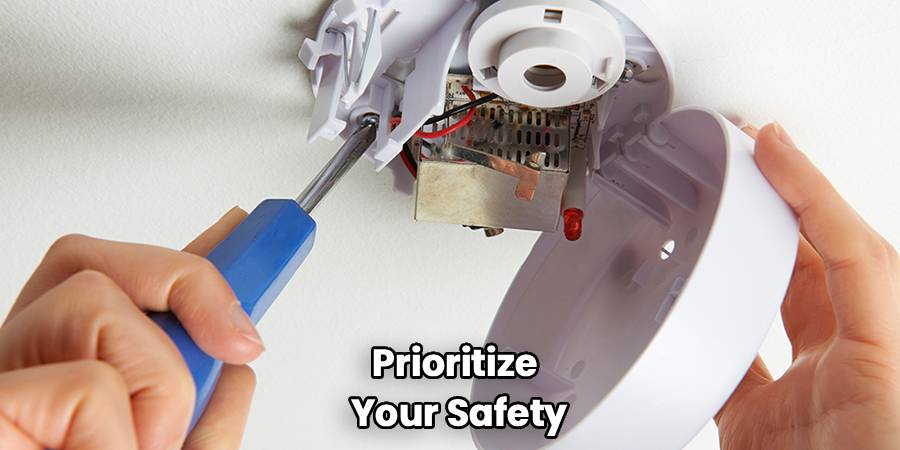
Step 1: Safety First and Preparation
Before you climb any furniture or ladders, prioritize your safety. Most smoke detectors are located on the ceiling or high up on a wall. Ensure you have a sturdy stepladder rather than balancing on a swivel chair. If your smoke detector is hardwired (meaning it connects directly to your home’s electrical system), you should see a small green light indicating it has AC power. While you can usually change a backup battery without turning off the power at the breaker, it is safer to cut the power if you plan to fully remove the unit to inspect the wiring.
Gather your supplies before you climb up. You will likely need a new battery (check if your unit requires a 9-volt, AA, or AAA), a vacuum with a soft brush attachment, and potentially a flathead screwdriver if the unit has a tamper-resist locking pin. Having everything within arm’s reach prevents unnecessary trips up and down the ladder.
Step 2: Identify the Mechanism Type
Before you apply force, look closely at the device. The method for how to open smoke detector cover casings depends entirely on the brand and model.
- Twist-Off Mounts: This is the most common style for older units and many standard Kidde or First Alert models. The entire unit rotates to detach from a base plate.
- Hinged Covers: These units are usually rectangular or oval. The front face swings open like a door while the base stays mounted.
- Slide-Off Battery Drawers: These are convenient because you don’t remove the cover at all; a small compartment slides out from the side to reveal the battery.
- Recessed or Hidden Tabs: Some modern, sleek designs have subtle indentations on the side that must be pressed to release the cover.
Take a moment to look for arrows or raised text on the plastic that says “Open,” “Twist,” or “Slide.” These visual cues are your best friends.
Step 3: Handling Twist-Off Models
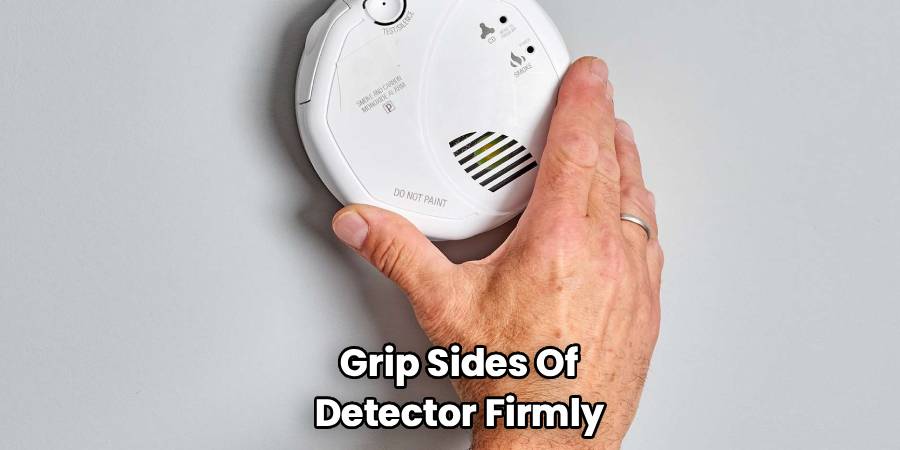
If your detector looks like a round disc without visible hinges, it likely uses a twist-lock mechanism. This is frequently where people get stuck, twisting endlessly in the wrong direction.
Reach up and grip the sides of the detector firmly but gently. Most units require a counter-clockwise turn (to the left) to release. You should only need to rotate it about half an inch to an inch. You will feel it “click” or release from the tracks on the mounting bracket. Once it releases, it will hang down.
If it is a hardwired unit, it will still be attached by a wire harness. Do not let it hang by the wires alone, as this can loosen the electrical connections. Squeeze the plastic plug on the harness to unplug it if you need to take the unit down completely. If you are just changing the battery, you can usually leave it connected while you work.
Step 4: Accessing Hinged and Tab-Style Units
For hinged models, look for a small depression or tab on the side opposite the hinge. You typically need to press this tab inward with your thumb or finger while pulling the cover down. It should swing open easily. If it resists, do not pry it with a screwdriver unless you are certain there is a tamper-resistant lock (more on that in the next step).
If your unit has a slide-out battery drawer, you are in luck. You rarely need to remove the main cover for these. Simply locate the drawer on the side of the unit, press the latch, and slide it out to access the battery compartment. This design is specifically intended to make how to open smoke alarm to change battery tasks easier for homeowners.
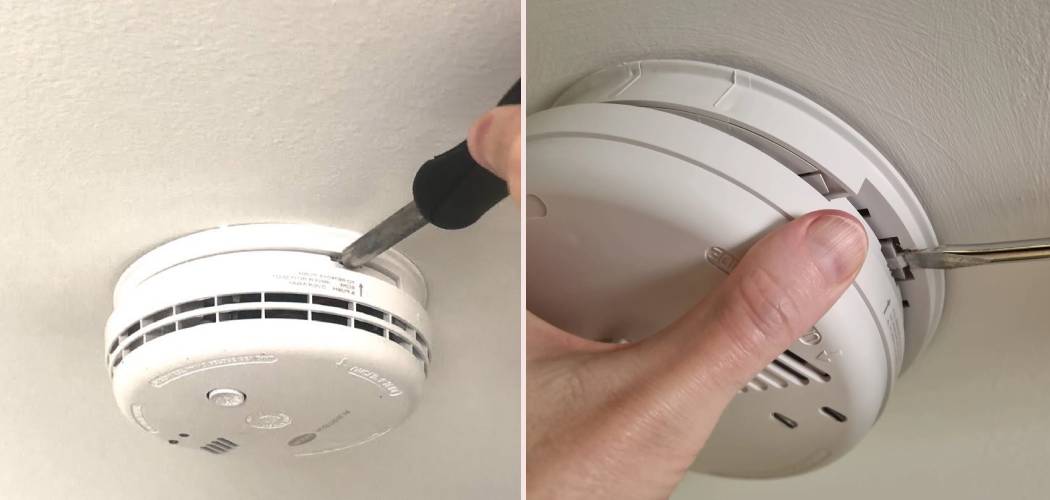
Step 5: Dealing with Tamper-Resistant Locks
If you are twisting or pulling and the unit will not budge, you might have a tamper-resistant model. These are often required in rental properties to prevent tenants from disabling alarms.
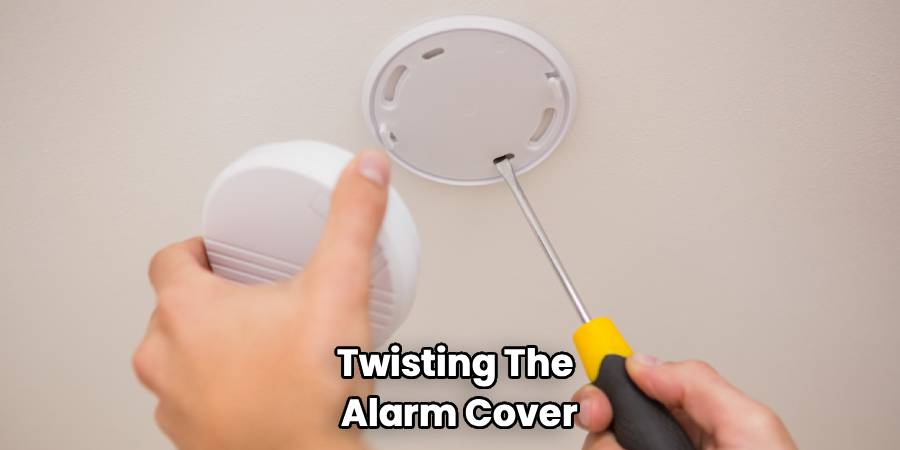
Look for a small slot on the side of the mounting bracket. There is often a plastic pin inserted here that prevents the unit from rotating. To bypass this, you will need a small screwdriver or a pair of needle-nose pliers. You generally have to pull the pin out or press a screwdriver into the slot to disengage the lock while simultaneously twisting the alarm cover. It requires a bit of dexterity, so having a helper can be useful here.
H3: Step 6: How To Open Smoke Detector Cover When Painted Shut
A common issue in older homes is finding a smoke detector that has been painted over during a renovation. The paint acts like glue, sealing the cover to the base. This can make a simple battery change feel impossible.
If you encounter this, do not yank the unit; you might rip the drywall anchors right out of the ceiling. Instead, take a utility knife or a sharp box cutter. Very carefully score the seam where the detector meets the base or where the cover meets the body. Run the blade around the entire circumference to break the paint seal. Once the seal is broken, try the twist or pull motion again. If paint has dripped into the vents or the internal mechanism, the unit is compromised and should be replaced entirely rather than cleaned.
Step 7: Performing Maintenance and Closing Up
Once you have successfully opened the unit, this is the perfect time for smoke detector maintenance. Even if you only opened it to check the battery, you should clean it. Dust, pet dander, and spider webs can interfere with the sensors, leading to false alarms or, worse, a failure to detect smoke.
Use your vacuum cleaner with a soft brush attachment to gently suction around the sensor chamber and vents. Alternatively, a can of compressed air can blow out debris. If you are swapping the power source, ensure the new battery is firmly seated and facing the correct polarity (positive to positive, negative to negative).
To close the unit, reverse the opening process. For twist-off models, line up the tabs on the detector with the slots on the base plate. Push up gently and rotate clockwise until you feel it snap into place. For hinged models, press the cover up until it clicks shut. Always press the “Test” button after closing the cover to confirm the unit is active and working correctly.
Frequently Asked Questions
Maintaining your home safety equipment brings up a lot of questions. Here are some of the most common inquiries homeowners have regarding their smoke alarms.
How do I know if my smoke detector needs to be replaced?
Smoke detectors do not last forever. The National Fire Protection Association (NFPA) recommends replacing all smoke alarms every 10 years. You can usually find the manufacture date stamped on the back of the unit or inside the battery compartment. If your device is yellowed or brittle, that’s a visual clue it might be time for an upgrade. Additionally, if the unit chirps continuously even after you have performed steps on how to replace smoke detector battery correctly, the unit itself has likely reached its end of life.
What should I do if the cover is stuck and won’t open?
If the cover is stuck, first check for a tamper-resist pin, as mentioned in the step-by-step guide. If no pin is present and it’s not painted shut, the plastic gasket may have warped due to heat or age. Try pressing upward on the face of the detector while twisting; sometimes this relieves pressure on the locking tabs. If it is a slide-off bracket, ensure you aren’t squeezing the mounting clips, which can cause them to grip tighter. In worst-case scenarios where the unit is broken or refuses to detach, you may need to unscrew the mounting plate from the ceiling entirely to remove it.
Can I clean the inside of my smoke alarm?
Yes, and you should. Learning how to clean smoke detector internals is vital for reducing false alarms. Insects and dust love the warm, protected environment inside the alarm. Once the cover is open or the unit is removed, you can use a vacuum hose or compressed air to clean the sensing chamber. However, do not use water, liquid cleaners, or solvents. These can damage the sensitive electronics and render the alarm useless. A dry, soft cloth is all you need for the exterior.
Why does my alarm keep chirping after I changed the battery?
This is a frequent frustration. If you have replaced the battery and the chirping persists, the unit might hold a residual charge. To fix this, remove the battery and (if hardwired) disconnect the unit from the ceiling power. Press and hold the “Test/Silence” button for 15 to 20 seconds. This drains any remaining electricity from the capacitors. Reinstall the new battery and reconnect the unit. If the chirping continues after a reset, check if the new battery is fresh or if the unit has expired.
Do I need to turn off the power to remove the cover?
For battery-operated units, no. For hardwired units, it is not strictly necessary just to open the cover or change a backup battery, but it is highly recommended if you are unsure of what you are doing. If you need to figure out how to remove smoke alarm cover plates that are screwed into the electrical box, or if you are replacing the entire unit, you absolutely must turn off the breaker at your electrical panel to avoid shock hazards.
Conclusion
How To Open Smoke Detector Cover instructions are simple to master once you understand the specific mechanism of your device. Regular maintenance is the cornerstone of home fire safety, and being able to access your smoke alarms quickly ensures that you can change batteries and clean sensors without frustration. By following these steps and treating your devices with care, you prolong their lifespan and, more importantly, ensure they are ready to protect you when it matters most. Take a few minutes today to check your alarms—your peace of mind is worth the effort.