

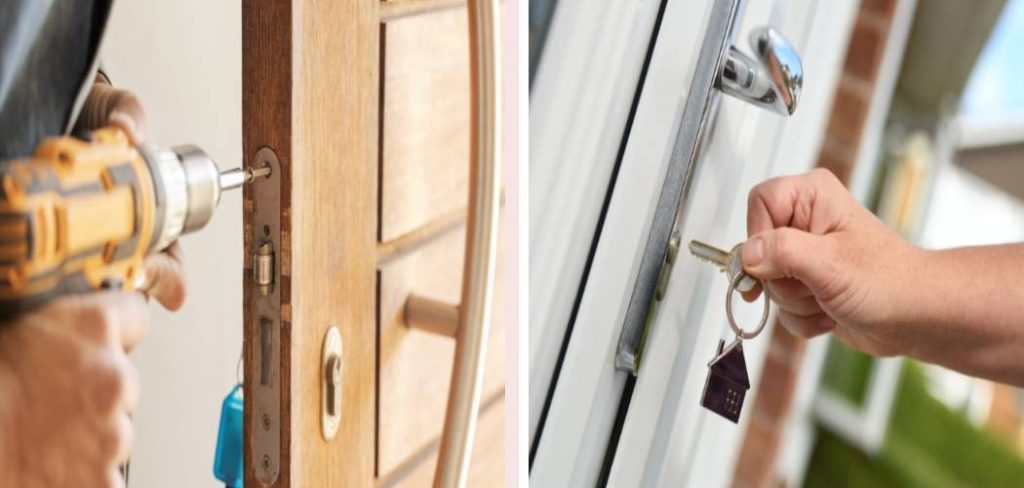
Have you recently moved into a new home or lost a set of keys? Security is likely the first thing on your mind. You might assume you need to replace your entire handle set or deadbolt, but there is often a much simpler, more affordable solution. Learning how to rekey a door lock can save you time and money while giving you peace of mind that no unauthorized copies of your old key are floating around. Instead of swapping out expensive hardware, you simply change the internal mechanism so the old key no longer works. It’s a brilliant way to secure your property without sacrificing style or breaking the bank.
In this guide, we will walk you through the process, discuss when it’s better to call a professional, and answer common questions about home security maintenance.
Understanding the Basics of Rekeying
Before diving into the tools and steps, it helps to understand what is actually happening inside your hardware. Most residential entry sets rely on a pin tumbler mechanism. Inside the cylinder, there are a series of pins—bottom pins and top pins—kept in place by springs. When you insert your current key, the ridges push the pins to a specific height, creating a “shear line” that allows the plug to turn.
When you rekey, you aren’t changing the lock body itself. You are simply removing the cylinder, taking out the old bottom pins, and replacing them with new pins that match a brand-new key cut. Once the new pins are in place, the old key will no longer align the pins correctly, rendering it useless.
Why Choose Rekeying Over Replacement?
There are several scenarios where modifying the cylinder is superior to buying new hardware.
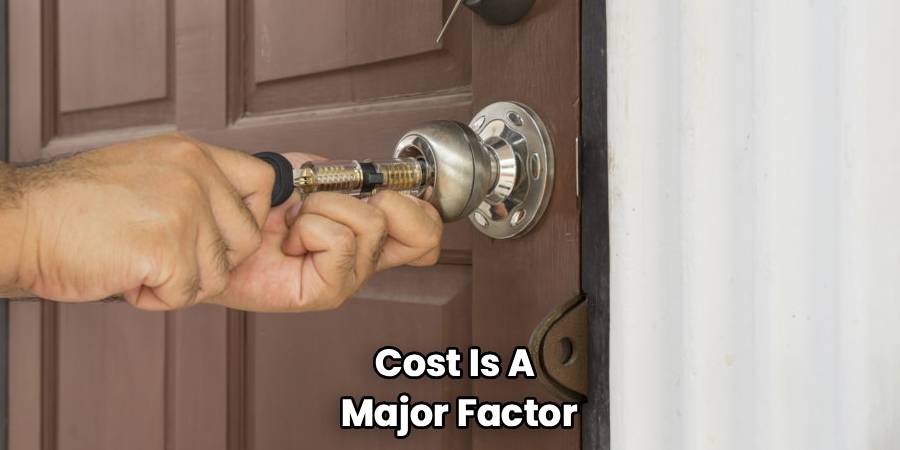
First, cost is a major factor. Designer entry sets can cost hundreds of dollars. A rekeying kit, by comparison, is a fraction of that price.
Second, aesthetics matter. If you have vintage brass handles or a specific finish that matches your porch lights, finding an exact replacement might be impossible. Keeping your existing hardware maintains your home’s curb appeal.
Finally, convenience plays a role. If you have different keys for the front door, back door, and garage, rekeying allows you to key them all alike. Imagine having just one key on your ring that opens every entry point in your home.
Tools You Will Need
You don’t need a heavy-duty workshop to get this done, but you do need precision tools. Most of these come in a standard manufacturer-specific pinning kit.
- Rekeying kit: Ensure you buy one specific to your lock brand (e.g., Schlage, Kwikset, Yale).
- Plug follower: This is a small tube used to push the cylinder out without the top pins and springs flying everywhere.
- C-clip remover: A small tool to remove the retaining ring. A flathead screwdriver can sometimes work in a pinch.
- Tweezers: Essential for handling tiny pins.
- The current key: You need this to remove the cylinder initially.
- The new key: Included in your kit.
Step-by-Step Guide on How to Rekey a Door Lock
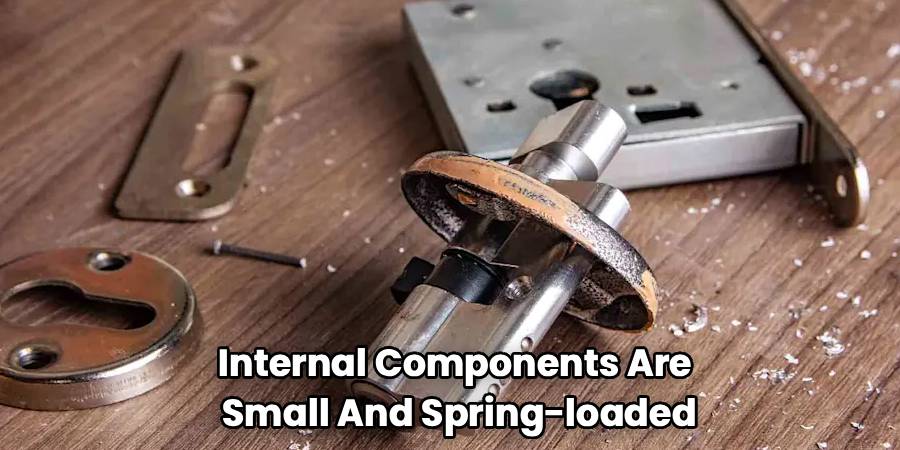
This process requires patience. The internal components are small and spring-loaded. If you rush, you might end up with springs bouncing across the floor. Work on a clean, flat surface with good lighting. A white towel spread on the table can help stop pins from rolling away if you drop them.
Step 1: Remove the Exterior Doorknob or Deadbolt
Your first task is getting the hardware off the door. Most knobs and deadbolts are held together by two long screws on the interior side of the door.
Locate the screws on the interior plate. Using a screwdriver, turn them counterclockwise until they are loose enough to remove by hand.
Once the screws are out, the front and back sections of the lock assembly should pull apart easily. Be careful not to let the exterior part fall to the ground, which could damage the finish or the mechanism.
Step 2: Remove the Cylinder
Now that you have the exterior housing in your hand, look at the back of it. You need to access the cylinder plug—the part the key actually goes into.
Depending on your brand, there may be a retaining screw or a clip holding the cylinder in the housing.
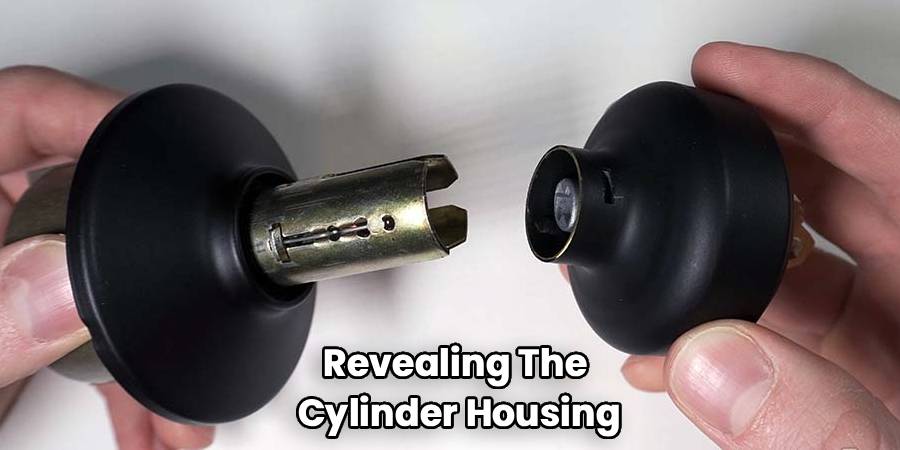
For knobs, you often need to insert the current key and turn it a quarter turn. Then, locate a small release hole on the stem of the knob. Push a small tool or paperclip into this hole to release the knob handle, revealing the cylinder housing.
For deadbolts, the cylinder usually slides out the back of the housing once a retaining plate is removed.
Step 3: Remove the Cylinder Retaining Clip
Look at the back of the cylinder. You will see a “C-clip” or a retaining ring that keeps the plug inside the hull.
Using your removal tool (or a flathead screwdriver), gently pry this clip off. Keep a thumb over it so it doesn’t spring away and get lost.
Once the clip is off, the plug is free to move, but do not pull it out yet. If you pull it out without a follower, all the top pins and springs will eject into the cylinder chamber, creating a difficult mess to fix.
Step 4: Use the Plug Follower
This is the most critical moment. Insert your current key into the lock and turn it slightly to the left or right (about 45 degrees). This creates a smooth surface for the follower to glide against.
Take your plug follower tool and align it with the back of the cylinder.
Push the follower through the cylinder tube, pushing the plug out from the front. The follower takes the place of the plug, holding the top pins and springs safely in their chambers.
You should now have the plug (with the key inside) in your hand, and the housing (with the follower inside) separate. Set the housing aside carefully.
Step 5: Replace the Bottom Pins
With the plug in your hand, dump out the old pins. You can discard these, as they correspond to your old key.
Insert your new key into the plug.
Open your pinning kit. You will see color-coded pins of different lengths. Your kit should come with a chart telling you which pin corresponds to the cuts on your new key.
Using tweezers, drop the new pins into the holes on top of the plug. They must sit perfectly flush with the surface of the plug. If a pin sticks up too high or sits too low, the shear line won’t work, and the cylinder won’t turn.
Double-check that all pins are flush by running your finger over them. It should feel smooth.
Step 6: Reassemble the Lock
Now you simply reverse the process.
Align the plug with the housing (which still holds the follower).
Push the plug back into the housing, using it to push the follower out the back. Be careful not to let the plug rotate until it is fully inserted, or the top pins might drop into the empty holes.
Once the plug is fully back in, replace the C-clip or retaining ring to secure it.
Put the cylinder back into the knob or deadbolt housing.
Reattach the hardware to your door, tightening the screws firmly.
Test the new key with the door open first. Ensure the bolt extends and retracts smoothly. If it catches or feels gritty, the pins might not be seated correctly.
Common Rekeying Mistakes to Avoid
Even handy homeowners can run into trouble during this process. Avoiding these pitfalls will save you frustration.
Dropping the springs: The most common disaster is pulling the plug out without a follower. This causes the top driver pins and tiny springs to shoot out. If this happens, you will need very fine tweezers and a lot of patience to reload the springs into the top chambers.
Using the wrong kit: Pins are not universal. A Schlage pin will not work in a Kwikset lock. They have slightly different diameters and length increments. Always check your brand before buying parts.
Mixing up the orientation: When reinserting the plug, if you hold it upside down, the top pins can fall into the keyway, jamming the lock completely. Always keep the pins pointing upward against gravity during reassembly.
Over-tightening screws: When putting the lock back on the door, cranking the screws too tight can warp the mechanism, causing the key to turn stiffly. Tighten until snug, then stop.
When to Call a Professional Locksmith
While DIY rekeying is satisfying, sometimes it’s better to hire a pro.
If you have a master key system (where one key opens all doors, but sub-keys open only specific doors), the pinning is much more complex. It involves wafer pins and precise calculations that are easy to mess up.
High-security locks like Medeco or Mul-T-Lock require specialized tools and security cards to obtain parts. You typically cannot buy rekeying kits for these at a local hardware store.
If your lock is old, rusty, or feels “crunchy” when you turn it, rekeying might not fix the underlying wear. A locksmith can assess if the hardware is failing and needs total replacement rather than just new pins.
Lastly, if you simply don’t have the patience for tiny components, a mobile locksmith service is worth the investment. They can finish in minutes what might take a beginner an hour.
Troubleshooting Your New Lock Setup
So you finished the job, but something feels off. Here is how to diagnose common post-rekeying issues.
The key goes in but won’t turn: This usually means one of the bottom pins is the wrong size. It is either sticking up too high (preventing rotation) or sitting too low. You will need to take it apart and check the pin heights against the chart again.
The key turns but is difficult to extract: This often happens if the cylinder cap or retaining ring is too tight. Loosen the cap on the back of the cylinder slightly (just a quarter turn) and see if the key slides out smoother.
The latch sticks: This is rarely a cylinder issue and usually an installation issue. Check that the tailpiece (the flat metal bar connecting the cylinder to the latch) is properly aligned and not twisted.
Frequently Asked Questions
Can I rekey a lock without the original key?
Generally, no. To remove the cylinder plug smoothly, you need the current working key to turn the mechanism to the removal position. If you have lost all keys, you have two options: pick the lock (which requires skill) or drill it out. In this scenario, it is often cheaper and faster to replace the entire lock or call a locksmith who can shim the cylinder open.
Are all door locks compatible with rekeying kits?
Most standard residential brands like Kwikset, Schlage, Defiant, and Baldwin are compatible with readily available kits. However, smart locks can be tricky. Some have standard cylinders that can be rekeyed, while others are entirely digital and have no keyway. Always check the manual for your specific model.
What is the difference between master keying and rekeying?
Rekeying simply changes the combination so a new key works and the old one doesn’t. Master keying is a more complex version of rekeying where “wafer” pins are added. This allows two different keys to operate the same lock—a “change key” for that specific door and a “master key” that opens that door plus others.
How much does a rekeying kit cost?
Kits are very affordable, typically ranging from $15 to $30 depending on the brand and the number of locks it can service. Compared to buying new deadbolts for every door in your house, the savings are significant.
Is it safe to rekey my own locks?
Yes, absolutely. As long as you follow the instructions and verify the lock works smoothly with the door open, security is not compromised. In fact, you are improving security by ensuring previous owners or tenants can no longer access your home.
Can I key different brands of locks to the same key?
Usually, no. You cannot key a Schlage lock to a Kwikset key because the keyways (the shape of the hole) are physically different. If you want one key for the whole house, all locks must share the same brand or at least the same keyway profile (e.g., C-keyway).
How often should I rekey my home?
You should rekey immediately upon moving into a new house. Beyond that, rekey anytime you lose a key, go through a breakup or divorce, or change service providers (like house cleaners) who had access to a spare. It is a good standard practice for maintaining home perimeter control.
What is “SmartKey” technology?
Some newer locks, particularly from Kwikset, feature “SmartKey” technology. These allow you to rekey the lock in seconds without taking it apart, using just the working key and a small learning tool. If you have this type of hardware, you don’t need a traditional pinning kit at all.
Conclusion
Knowing how to rekey a door lock empowers you to take immediate control of your home security without waiting for an appointment or spending a fortune. It transforms a pile of mismatched keys into a streamlined, convenient system where one key grants you access to your entire world. By following these steps carefully and working with patience, you can extend the life of your hardware and ensure that you—and only you—have access to your sanctuary. Whether you are a new homeowner or just looking to tighten up security, this simple skill is a valuable addition to your DIY toolkit.