
There are few things more annoying than pulling into your driveway after a long day, tapping your remote, and… nothing happens. You tap it again. Still nothing. Suddenly, you’re faced with the realization that technology, usually your friend, has decided to take a break. Whether you’ve just installed a new unit, bought a replacement remote, or recently moved into a new home and need to clear out the old codes for security, knowing how to program a garage door opener is a skill that every homeowner should have in their back pocket.
The good news? You don’t need to call an expensive technician or have an engineering degree to get this sorted out. Most modern garage door systems are designed to be user-friendly, provided you know where to look and which buttons to press. In this guide, we’ll walk you through everything you need to know to get your remote talking to your opener again. We will cover the preparation you need to do, the subtle differences between major brands, and troubleshooting tips for when things don’t go according to plan.

Step-by-Step Guide on How to Program a Garage Door Opener
Before we dive into the specific steps, it’s important to gather a few things. You will need a sturdy stepladder, as the motor unit is mounted on the ceiling. You should also have your new or existing remote controls ready, along with fresh batteries installed. It is incredibly frustrating to troubleshoot a programming issue only to realize the battery in the handheld remote was dead the whole time.
Also, take a moment to ensure your workspace is safe. Make sure the area under the door is clear of objects, pets, or children. While we are programming the remote, the door may move unexpectedly, and safety eyes (those little sensors near the floor) need to be unobstructed for the system to work correctly.
Once you are set up, the process involves locating the communication hub on your motor and syncing it with your handheld device. While specific models like LiftMaster, Genie, or Craftsman might have slight variations, the core logic remains the same. Here is your roadmap to success.
Step 1: Locate the “Learn” Button
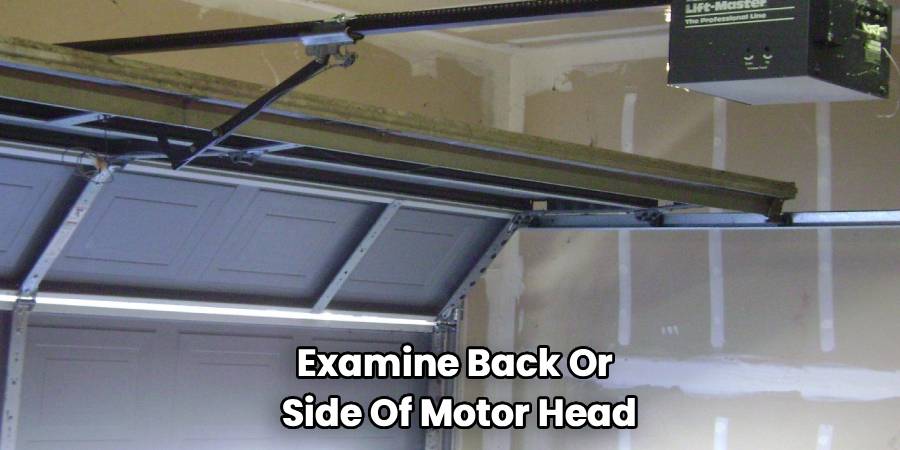
The most critical part of this entire operation is finding the “Learn” button on your main motor unit. Climb up your ladder safely and examine the back or side of the motor head (the box hanging from the ceiling). You might need to pop off a plastic light cover to see it.
This button is essentially the brain of the operation. It tells the motor, “Hey, listen up, I’m about to introduce you to a new remote.”
The button is usually distinctively colored—often red, orange, purple, green, or yellow. The color isn’t just for decoration; it actually indicates the frequency your opener uses. For example, a yellow button typically signifies Security+ 2.0 technology, while a purple button usually means it operates on a 315 MHz frequency. Knowing this color can be helpful if you ever need to buy compatible parts in the future.
Step 2: Clear Old Codes (Optional but Recommended)
If you are moving into a new house or have lost a remote, it is highly recommended that you wipe the slate clean before adding new devices. You don’t want a lost remote floating around somewhere that still opens your home.
To do this, press and hold the Learn button you just located. Keep holding it down for about 6 to 10 seconds. You will see an LED light next to the button turn on and then go out. Once the light is off, the memory is cleared. Note that this will disconnect all remotes and keypads currently linked to the opener, so you will need to reprogram everything you intend to use.
Step 3: How To Program A Garage Door Opener Remote
Now comes the moment of truth. This is the syncing phase where timing is crucial. The biggest mistake people make here is moving too slowly, as the system usually times out after 30 seconds to prevent accidental programming.
- Press and Release: Press the Learn button on the motor unit firmly and then release it immediately—do not hold it down this time (unless you are clearing codes as mentioned in Step 2).
- Watch the Light: A small indicator light next to the button will glow steadily. This means the unit is in “listening” mode.
- Press the Remote: Within 30 seconds, press and hold the button on your handheld remote that you want to operate the door.
- Confirm the Sync: Watch the motor unit. The main light bulbs on the opener typically blink, or you might hear two distinct clicks. This feedback confirms that the motor has accepted the new code from the remote.
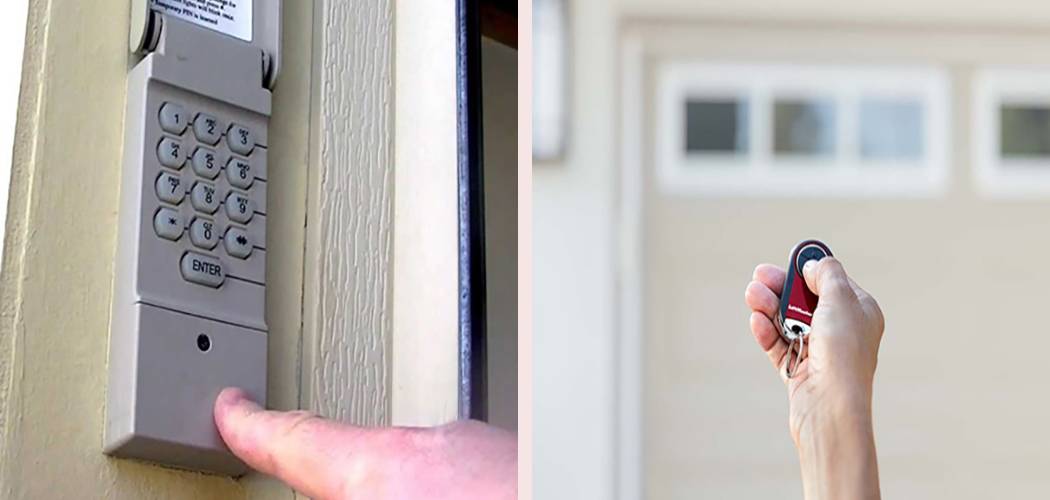
If you are trying to figure out how to program a garage door opener with an external keypad rather than a handheld remote, the process is very similar. Instead of pressing a remote button in step 3, you would type your 4-digit PIN into the keypad and press “Enter” while the motor light is still glowing.
Step 4: Test the Connection
Before you pack up your ladder, you need to verify that the programming worked. Step away from the moving parts of the door. Press the button on your newly programmed remote.
If the door engages and moves, success! If the door does not move, check to see if the “Lock” button on your wall control panel (the switch mounted on the wall inside your garage) is engaged. Many modern openers have a vacation lock feature that prevents remotes from working for security reasons. If the lock is on, the remote signal will be ignored regardless of successful programming.
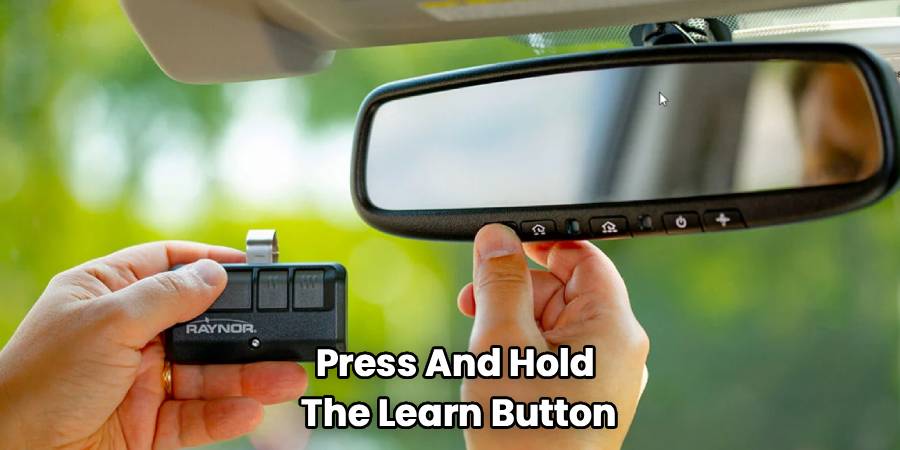
Step 5: Program Your Vehicle’s HomeLink System
Many cars today come with built-in buttons (usually on the visor or rearview mirror) known as HomeLink. Programming this is a two-phase process that often confuses people because it requires both your handheld remote and the motor unit.
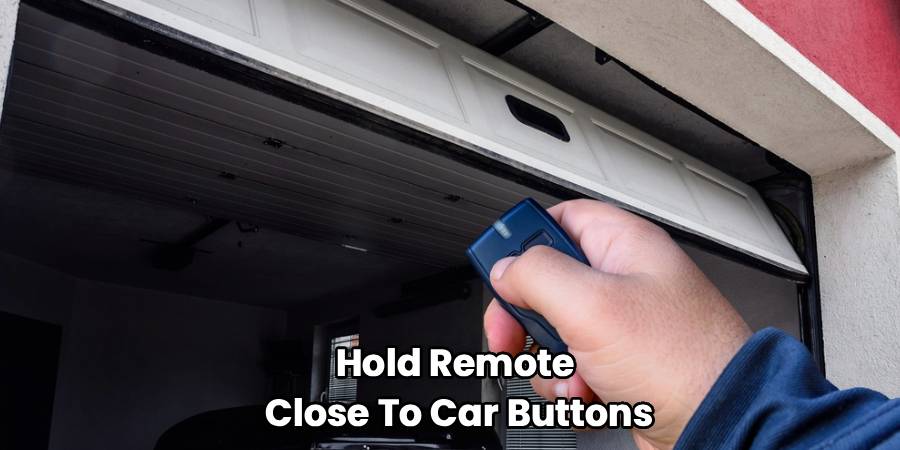
First, you must “train” the car button using your handheld remote. Hold the remote close to the car buttons, pressing both the remote button and the desired car button simultaneously until the car’s indicator light flashes rapidly.
Second, you must connect the car to the garage motor. Go back to your ladder, press the “Learn” button on the ceiling unit, then run back to your car within 30 seconds. Press the programmed car button three times (hold for one second, release, repeat). This usually completes the handshake between the vehicle and the opener.
Step 6: Troubleshooting Persistent Issues
If you have followed these steps and the door still won’t budge, there are a few culprits to investigate.
- LED Bulbs: Believe it or not, some cheap LED light bulbs installed in the opener unit can emit radio frequency interference that blocks the remote signal. If your remote works when you are close to the door but fails from the driveway, try unscrewing the light bulbs in the unit to see if range improves.
- Antenna Wire: Hanging from the motor unit is a short wire. This is the antenna. Ensure it is hanging straight down and isn’t tucked up inside the metal housing, which can block the signal.
- Metal Doors: If you have a metal building or a heavily reinforced garage door, it can act as a Faraday cage, blocking signals. You may need a remote antenna extender kit.
Frequently Asked Questions
We know that even with a guide, specific scenarios can pop up. Here are the answers to the most common questions homeowners have when managing their garage access.
Can I program a universal remote to any opener?
Mostly, yes. Universal remotes are designed to work with major brands like LiftMaster, Chamberlain, Genie, and Craftsman. However, they rely on “dip switches” or internal settings that must be adjusted to match your specific opener’s frequency.
When you buy a universal remote, it will come with a chart. You have to match the brand and the color of your “Learn” button to the instructions in the chart. Some universal remotes are “smart” and can scan for the frequency, but manually setting them up is often more reliable. Always check the packaging before buying to ensure your specific opener brand is listed as compatible.
Why does my garage door opener have a rolling code?
You might see the term “Rolling Code” or “Security+” on your opener. This is a security feature. In the old days, openers used a fixed code. If a thief had a “code grabber” device, they could record your signal when you left for work and replay it later to open your house.
Rolling code technology changes the digital password every single time you use the remote. There are billions of possible combinations. Because the code changes after every use, capturing the old code is useless to a thief. This is why the syncing process (Step 3 above) is so important—it syncs the algorithm between the remote and the motor so they can predict the next code together.
How many remotes can I program to one opener?
This depends on the age and model of your unit, but most residential garage door openers can hold about 5 to 10 device codes in their memory. This includes handheld remotes, wireless keypads, and vehicles programmed via HomeLink.
If you try to program an 11th device on a unit that only holds 10, the computer will typically “bump” the oldest code to make room for the new one. This explains why an old remote might suddenly stop working if you have recently added several new ones. If you need more access than the limit allows, you may need to install an external receiver that can handle more users.
What if my opener doesn’t have a Learn button?
If your unit is very old (typically manufactured before 1993), it might not have a Learn button or safety sensors. These older units often use “DIP switches.”
Look for a row of tiny switches (usually 8 to 12 of them) inside the remote and on the back of the motor unit. To program these, you simply have to slide the switches into the exact same pattern on both the remote and the motor. If the pattern matches, the door opens. Note that these older units are considered less secure and less safe; it is highly recommended to upgrade to a modern unit with rolling code technology and safety eyes.
Why is the light on my opener flashing?
If the light bulb on the motor flashes when you press your remote, but the door doesn’t move, this is usually a diagnostic code. Count the flashes.
- 10 Flashes: This is the most common error. It means the safety sensors (the eyes near the floor) are misaligned or obstructed. The door will not close if the beam is broken.
- 5 Flashes: This often indicates the motor is overheating or has a mechanical RPM sensor failure.
- Rapid continuous flashing: This usually occurs during the programming phase to confirm a code has been accepted.
Check your owner’s manual for the specific flash codes related to your model, as they can vary slightly between manufacturers.
Conclusion
Now that you know how to program a garage door opener, you can rest easy knowing your home is secure and accessible. Taking twenty minutes to clear out old codes and sync your devices is a small investment of time for a significant upgrade in peace of mind. Whether you are juggling kids, groceries, or just trying to get to work on time, a reliable garage door opener is the unsung hero of the daily routine. With these steps, you can confidently handle any remote malfunctions and keep your home running smoothly.