
Getting a new garage door remote or replacing an old one can feel like a chore, but it doesn’t have to be complicated. Whether you’ve bought a new car with a built-in remote, purchased a universal clicker, or simply replaced a lost one, getting it synced with your garage door opener is a quick job you can do yourself.
Knowing how to program Chamberlain garage door remote is a simple skill that puts control back in your hands, saving you time and the cost of a service call. This guide will provide clear, step-by-step instructions to get your remote working in just a few minutes.

Step-by-Step Guide to Programming Your Remote
Programming a Chamberlain remote is designed to be a user-friendly process. The key is locating the “Learn” button on your garage door opener motor unit—the box that is mounted to the ceiling in your garage. This button is the gateway to pairing your remote.
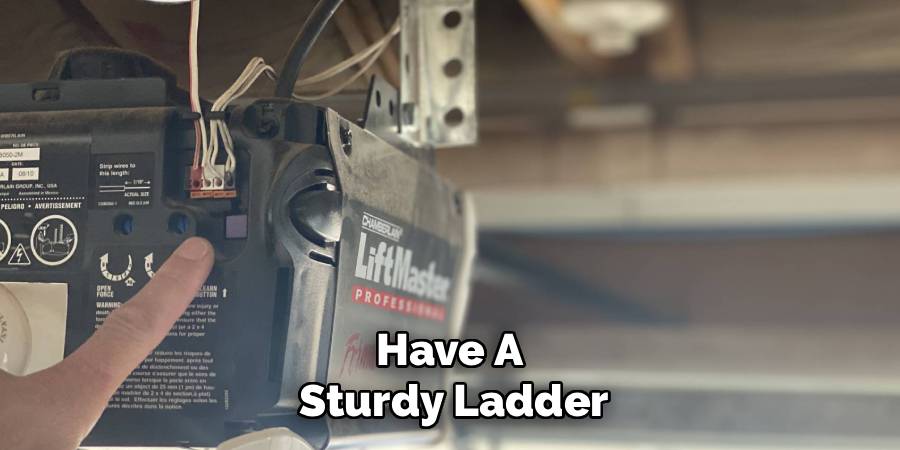
Most Chamberlain, LiftMaster, and Craftsman openers use a similar process, but the color of your “Learn” button is important as it often indicates the type of technology your opener uses. It could be purple, red, orange, green, or yellow. Have a sturdy ladder and your remote control ready before you begin.
Step 1: Prepare Your Opener and Remote
First, make sure the path of the garage door is clear of any obstructions. Safety first! Remove any cars, bikes, tools, or boxes from underneath the door. Next, grab a ladder and place it securely under the garage door opener motor unit.
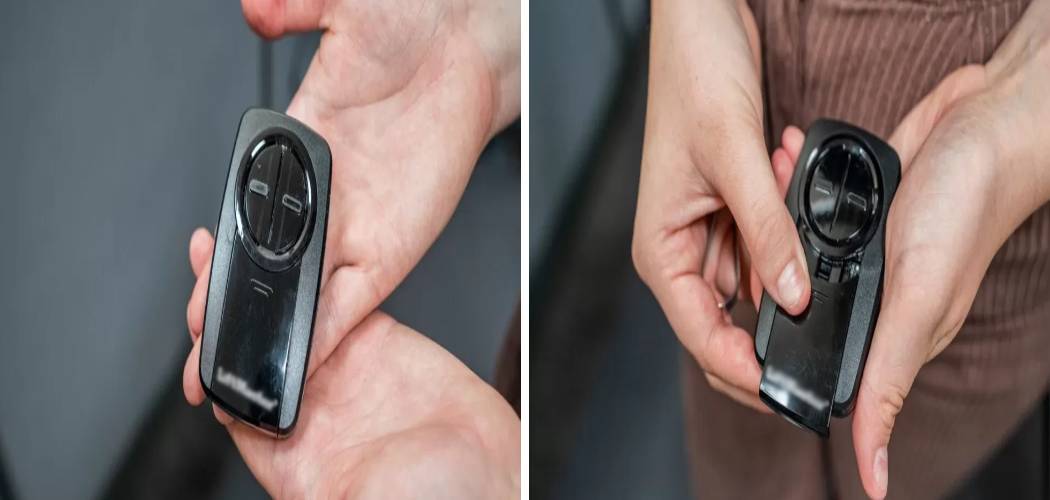
You’ll need to access the back or side panel of the unit, which is typically where the “Learn” button is located. It’s also a good idea to have your remote handy so you’re not fumbling for it while on the ladder. If your remote has a protective film over the battery, remove it now.
Step 2: Locate the “Learn” Button
Climb the ladder and inspect the motor unit. The “Learn” button is usually a small, square button located near the terminal screw for the wired wall control and the antenna wire. You may need to open a light cover or a side panel to find it. The button’s color is your guide—it might be a prominent red, orange, green, yellow, or purple.
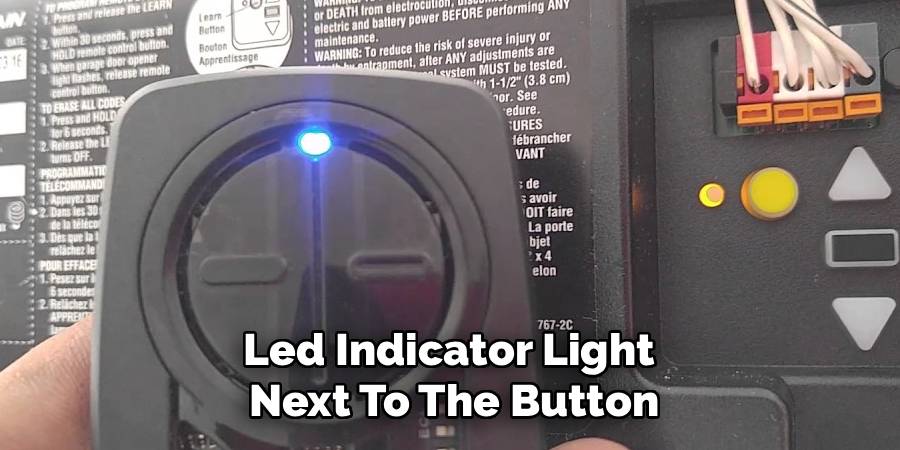
Next to the button, you’ll often see a small LED indicator light. This button is what you’ll use to put the opener into programming mode. Once you’ve found it, you’re ready for the main event.
Step 3: Press the “Learn” Button
Press and immediately release the “Learn” button on the motor unit. Do not hold it down. Holding the “Learn” button for more than six seconds will erase all previously programmed remotes and keypads from the opener’s memory.
A single, quick press is all that is needed. Once you press and release it, the LED indicator light next to the button will light up and stay lit for about 30 seconds. This indicates that the opener is now in “programming” or “learn” mode and is ready to receive a signal from your remote.
Step 4: Program the Remote Control
You now have about 30 seconds to complete this step. Pick up your remote control and decide which button you want to use to open the garage door. Press and hold down that chosen button. As you hold it, watch for the lights on your garage door opener motor unit to blink.
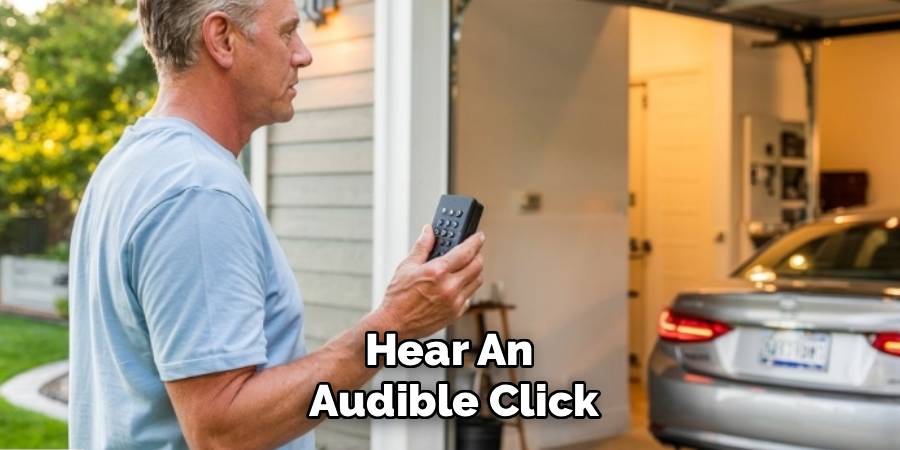
You might also hear an audible click. This is the signal that the opener has successfully “learned” or accepted the remote’s signal. Once you see the lights flash or hear the click, you can release the button on your remote.
Step 5: How To Program Chamberlain Garage Door Remote for MyQ Systems
If you have a newer Chamberlain opener with MyQ technology (often indicated by a yellow “Learn” button), the process has a slight variation. Press and release the yellow “Learn” button on the motor unit. The LED will light up. Then, on your remote control, press and release the button you wish to program.
You may need to press it two or three times, pausing for a second between each press. Watch the opener lights; when they flash, it confirms the programming was successful. The multiple presses help the rolling code technology sync correctly.
Step 6: Test the Remote
The final step is to make sure everything worked. Step down from the ladder, move it out of the way, and point your newly programmed remote at the garage door. Press the button you just programmed. The garage door should operate, either opening or closing depending on its current position.
If it works, congratulations! You have successfully programmed your remote. If the door doesn’t move, don’t worry. Simply repeat the steps, paying close attention to the timing and ensuring you get a solid press on the “Learn” button and the remote.
Frequently Asked Questions
Why is my Chamberlain remote not programming?
There are several common reasons a remote might not program. The most frequent issue is the 30-second time limit. If you don’t press the remote button within 30 seconds of pressing the “Learn” button, the opener will exit programming mode.
Another possibility is a weak or dead battery in the remote control. Also, check for compatibility; if you have an older opener, a brand-new universal remote may not be compatible. Lastly, if the opener’s memory is full, it won’t accept new remotes. You may need to erase all codes first (by holding the “Learn” button for 6 seconds) and then reprogram all your remotes.
How do I erase all codes from my Chamberlain garage door opener?
Erasing the opener’s memory is a good troubleshooting step if you’ve lost a remote or are having programming issues. To do this, press and hold the “Learn” button on the motor unit for about six seconds. Continue holding it until the LED indicator light next to the button goes out. This confirms that all previous remote control and keypad codes have been deleted from the system. After doing this, you will need to reprogram any remotes or keypads you wish to continue using.
Can I program a universal remote to a Chamberlain opener?
Yes, most universal garage door remotes are designed to be compatible with Chamberlain openers. The process for universal garage door remote programming is slightly different. It often involves putting the remote itself into a special programming mode (usually by pressing a specific combination of buttons on the remote) and then cycling through different manufacturer codes until you find the one that operates your door. The instructions that come with the universal remote will provide the specific steps and code lists needed for your Chamberlain model.
Conclusion
With this guide, you should feel confident in your ability to handle this common household task. The key to how to program Chamberlain garage door remote lies in following a few simple, sequential steps: locate the “Learn” button, press it briefly, and then press the button on your new remote.
This knowledge empowers you to manage your garage access without needing to call for professional help, whether you’re adding a new remote, replacing a lost one, or setting up a keypad. By familiarizing yourself with this process, you ensure that access to your garage remains convenient and secure.