
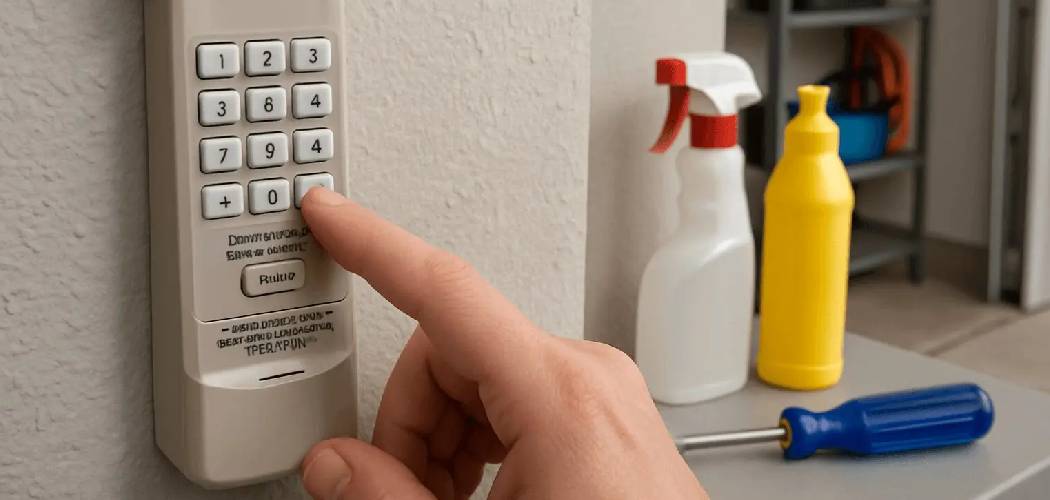
There is nothing quite as frustrating as pulling into your driveway after a long day, pressing the button on your visor, and watching your garage door sit there, stubbornly refusing to budge. We rely on these little plastic boxes more than we realize. When they stop working, it feels like a small piece of our daily convenience has been chipped away. Whether you’ve just moved into a new home and want to clear out old codes for security, or your trusty clicker has simply decided to stop talking to the opener, learning the reset process is a homeowner essential.

You don’t need to call a professional or spend hundreds of dollars on a service visit for this. It is one of the most manageable DIY tasks you can tackle in your garage. With a sturdy ladder and a few minutes of patience, you can get everything syncing perfectly again. In this guide, we are going to walk through exactly how to reset Craftsman garage door remote controls so you can get back to parking inside where it’s safe and dry.
Understanding Your Craftsman Opener
Before climbing any ladders, it helps to understand a little bit about what is happening inside that motor hanging from your ceiling. Craftsman openers, which were manufactured by Chamberlain for Sears for many years, use radio frequencies to communicate. Over time, these signals can get disrupted, or the memory in the unit can get full if you’ve programmed too many remotes over the years.
Most units made after 1993 have a specific “Learn” button. This button is the key to the entire operation. It acts like a handshake initiator. When you press it, you are telling the motor, “Hey, I’m about to introduce you to a new friend (your remote).” The color of this button is actually very important—it tells you what frequency your opener uses and helps identify the right remote if you ever need to buy a replacement. You might see yellow, purple, red, orange, or green buttons. Regardless of the color, the reset logic remains fairly consistent across models.
Security is the other big reason to perform a reset. If you bought a house from someone else, there is a chance they still have a remote that opens your door. Or maybe you lost a remote somewhere in a parking lot. By resetting the memory, you wipe the slate clean. It deletes every code the machine knows, ensuring that only the remotes you currently hold in your hand will work.
6 Easy Steps Guide on How to Reset Craftsman Garage Door Remote
Ready to get started? Let’s break this down into manageable chunks. Grab a stepladder and make sure your vehicle is parked outside the garage just to be safe.
Step 1: Locate the Learn Button
This is your starting point. You need to find the motor unit mounted to your garage ceiling. Look for the side where the antenna wire hangs down—that is usually where the control panel is located. You might need to pop off a plastic light lens cover to see the back panel clearly.
Look for a square or round button near the small LED light and the floppy antenna wire. It might be labeled “Learn” or “SRT” depending on the age of your unit. Take note of the color. As mentioned earlier, this color is a handy piece of information for future reference. If you are struggling to find it, check the manual if you have it, but it is almost always on the back or side panel of the motor head.
Step 2: Clear the Opener’s Memory
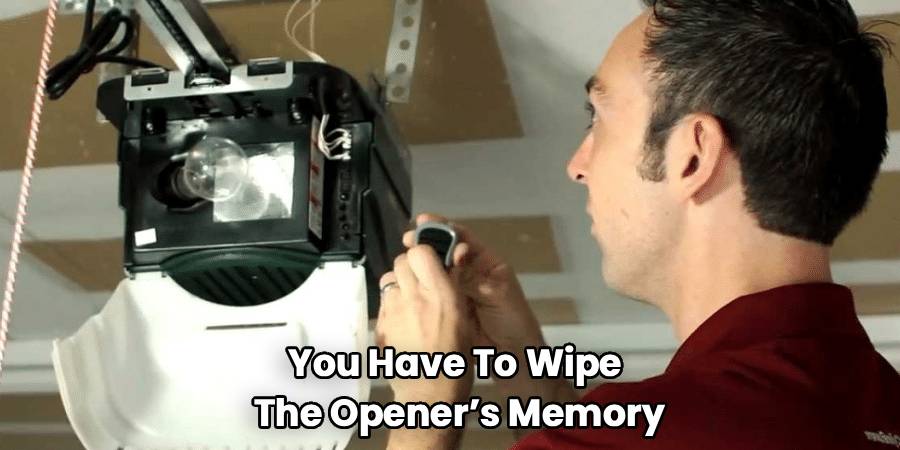
This is the “nuclear option” for your garage door opener, but it is necessary if you want a true reset. You cannot just reset one specific remote; you have to wipe the opener’s memory of all known devices.
Press and hold that Learn button. Keep holding it down. You will see the little indicator light next to it turn on. Do not let go yet. You need to hold it for about 6 to 10 seconds. Suddenly, the light will go out. That is the signal. The memory is now wiped.
At this point, none of your remotes will work. Your keypad outside won’t work either. It is a blank slate. This is the most secure state for your opener. Now, we rebuild the connections one by one.
Step 3: Reprogram the Remote
Now that the old codes are gone, it is time to introduce your remote to the opener again. This part requires a bit of coordination, so having a helper can be nice, but it is totally doable solo.
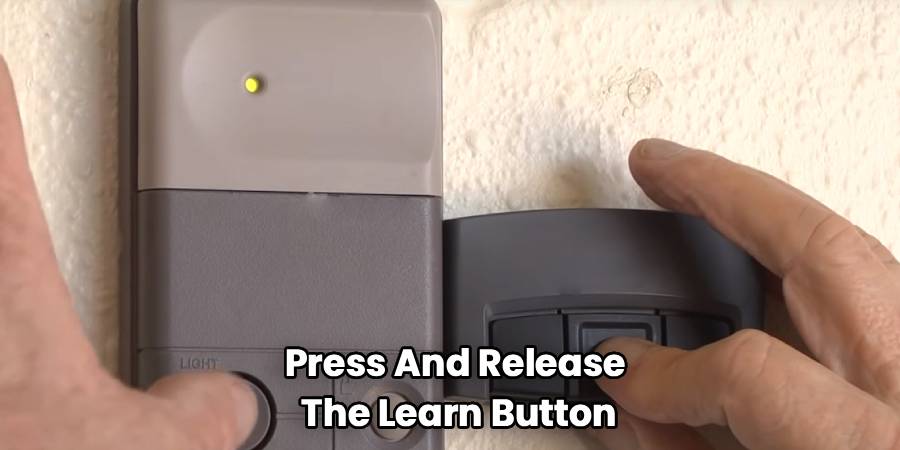
Quickly press and release the Learn button on the motor unit. You do not need to hold it this time—just a quick press like a doorbell. The indicator light will glow steadily. This means the unit is in “listening” mode. You typically have about 30 seconds to complete the next move.
Step down from the ladder (or reach carefully) and grab the remote you want to program. Press and hold the button on the remote that you want to use to operate the door. Keep holding it.
Watch the light on the motor unit. It will flash, or you might hear the opener make a clicking sound. Some units even flash the main overhead lights. This visual or audio cue is the opener saying, “Okay, I hear you, and I’ve saved this code.” Once you see that flash or hear the click, let go of the remote button.
Step 4: Reprogram Keypads and Other Remotes
If you have a wireless keypad mounted outside the garage door, you need to fix that too. The process is very similar. Press and release the Learn button on the motor again. Within 30 seconds, type your 4-digit PIN into the keypad and press and hold the “Enter” button. Watch for the motor lights to flash or click, confirming it has learned the keypad code.
Repeat the main remote programming process for any additional clickers you have for other cars. Remember, you cleared everything in Step 2, so every single device needs to be reintroduced.
Step 5: Resetting Craftsman Garage Door Remote on Pre-1993 Models
If you are working with a truly vintage Craftsman unit (pre-1993), you might not see a Learn button at all. Instead, you might see a series of tiny switches called DIP switches. These look like little light switches.
In this case, the “reset” is physical. You need to open up your remote control to reveal a matching set of switches inside. To change the code (reset it), you simply flip the switches on the motor unit to a new random pattern. Then, you match the switches inside your remote to the exact same pattern. It’s old-school technology, but it works reliably. Just make sure no one else nearby has the same switch pattern!
Step 6: Test the Remote
Now comes the moment of truth. Stand away from the antenna and press the button on your remote. The door should respond immediately. If it engages and starts moving, congratulations! You have successfully reset and reprogrammed your system.
If the door doesn’t move, don’t panic. Wait a few seconds and try again. Sometimes the electronics need a moment to exit programming mode. If it still fails, repeat the process from the beginning, ensuring you are pressing the Learn button firmly and that your remote batteries are fresh.
Troubleshooting Common Issues
Even with a simple process, things can sometimes go sideways. Technology has a way of being finicky right when we need it to work most. Here are a few things to check if you are stuck.
Check the Lock Button:
If you have a wall control panel (the doorbell-style button on the wall inside your garage), check if the “Lock” feature is engaged. If the green light is blinking on the wall control, the lock is on. This feature blocks all remote signals for security (like when you go on vacation). Press and hold the lock button to disengage it.
LED Light Interference:
This is a surprisingly common modern issue. Did you recently install fancy new LED light bulbs in the garage door opener itself? Some cheap LED bulbs emit radio frequency interference that blocks the remote signal. If your remote works when you are standing right next to the motor but fails from the driveway, unscrew the light bulbs and try again. If it works without the bulbs, you need to buy “garage door compatible” LED bulbs.
Antenna Position:
Make sure the little wire hanging from the motor unit is dangling straight down. If it is coiled up or tucked inside the metal housing, the range will be terrible. Straightening it out acts like a better receiver for your remote’s signal.
Frequently Asked Questions
When it comes to garage door maintenance, the same questions tend to pop up for homeowners everywhere. Here are some answers to help clarify the process.
How do I know if my remote needs resetting?
Usually, erratic behavior is the first sign. If your door opens randomly (which is scary but rare), or if you have to press the button five times to get it to work, a reset might help. However, the most common reason is security. If you lost a remote, or if you recently moved in, you should absolutely perform a reset to ensure no unauthorized remotes can access your home.
What if the remote still doesn’t work after resetting?
If you have wiped the memory and tried to reprogram without success, check the battery in the remote. A weak battery might have enough juice to light up the little LED on the remote but not enough power to send a strong signal to the motor. If fresh batteries don’t help, the remote itself might be dead (the circuit boards can corrode over time), or the logic board in your opener motor might be failing.
Can I reset the remote without the Learn button?
On modern units with rolling code technology, no. The Learn button is the physical security bridge that allows new codes to be written. You must have access to the motor unit to trigger the programming mode. On very old units with DIP switches, you don’t need a button, but you do need to physically access the motor to flip the switches.
How often should I reset my Craftsman garage door remote?
There is no maintenance schedule for this. You don’t need to do it annually like changing smoke detector batteries. You only need to do it when there is a security concern (lost remote, new home, breakup with a key-holder) or if you are replacing equipment.
Will resetting the remote mess up my car’s built-in opener (HomeLink)?
Yes, it likely will. Since your car’s HomeLink system effectively acts as another remote, wiping the motor’s memory will erase the car’s connection too. You will need to reprogram your car to the garage door opener after you finish resetting the handheld remotes.
Conclusion
How To Reset Craftsman Garage Door Remote systems is a skill that every homeowner should have in their back pocket. It gives you control over your home’s security and saves you from the hassle of unreliable technology. The process is straightforward: clear the old memory, put the unit in learning mode, and sync your devices one by one.
Maintaining your garage door opener doesn’t have to be intimidating. These machines are built to be user-friendly because manufacturers know that homeowners are the ones dealing with them. By taking ten minutes to reset your codes, you ensure that the only people entering your garage are the ones you’ve invited.
Remember to check your batteries, watch out for interfering light bulbs, and keep your sensors clean. With those bases covered and your remotes freshly synced, you can go back to enjoying the simple magic of a door that opens exactly when you tell it to. Safe travels and happy parking!