

Is your garage door opener making strange noises, moving slower than usual, or not working at all? These are common signs that the motor might be failing. While calling a professional is always an option, a garage door motor replacement can be a manageable weekend project for a confident DIYer. It might seem like a daunting task, but with the right tools, a bit of patience, and clear instructions, you can get your garage door running smoothly again. This guide will walk you through the process, covering everything you need to know about how to replace garage door motor safely and effectively.
Replacing your own garage door motor not only saves you money on labor costs but also gives you a better understanding of how your garage door system works. We’ll break down the entire process into simple, easy-to-follow steps, from preparing your workspace to programming the new unit.
Step-by-Step Guide to Your Garage Door Motor Replacement
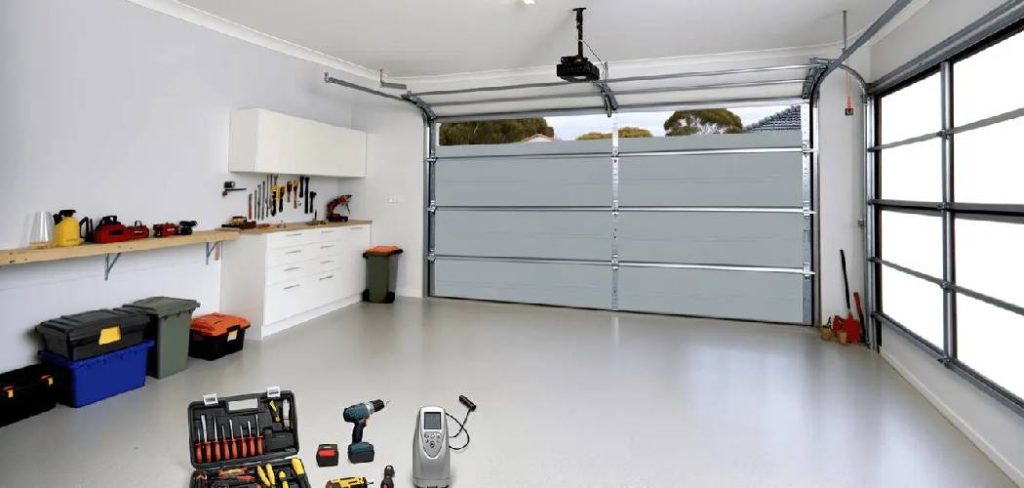
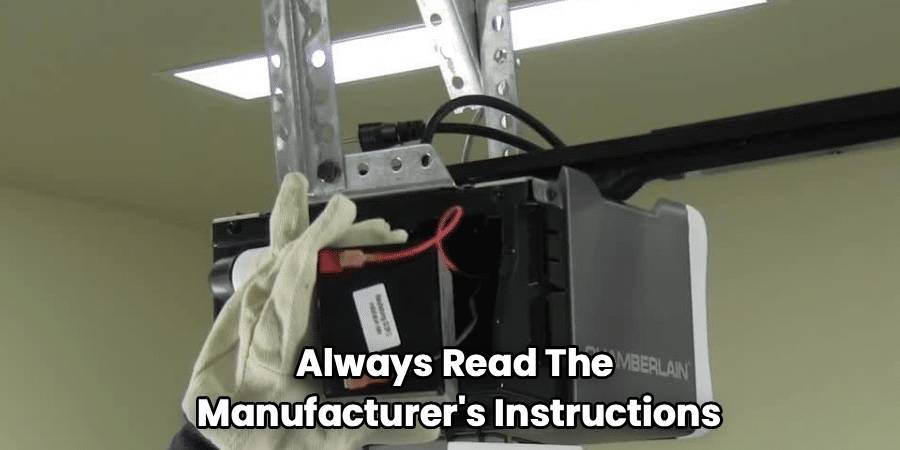
Before you begin, gather your tools. You’ll likely need a socket wrench set, a stepladder, a power drill, wire cutters/strippers, and safety glasses. It’s also a good idea to have a helper, as the motor unit can be heavy and awkward to handle alone. Always read the manufacturer’s instructions for your new garage door opener, as specific models may have unique requirements.
Step 1: Unplug and Disconnect the Old Motor
Safety is the most important part of this project. Before you do anything else, you must disconnect all power to the garage door opener. Unplug the motor unit from the ceiling outlet. If the opener is hardwired, you must turn off the corresponding breaker at your home’s main electrical panel. Use a voltage tester to confirm there is no power flowing to the unit before you proceed.
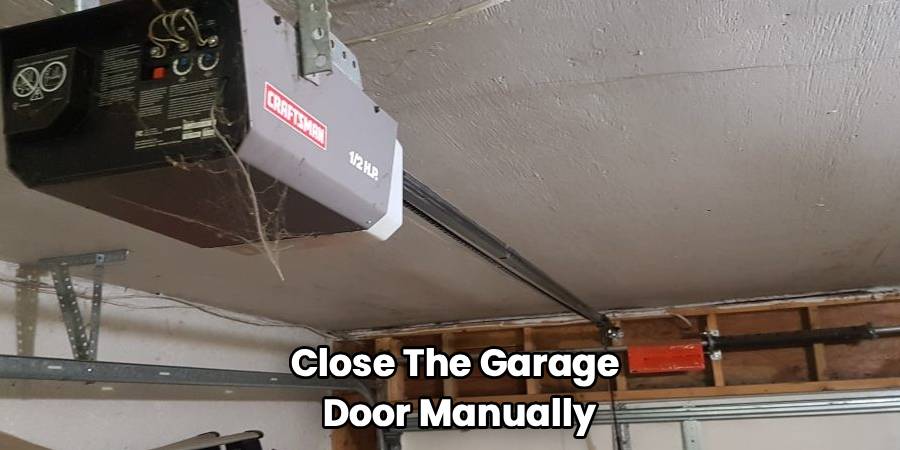
Once the power is off, pull the red emergency release cord to disengage the door from the opener. This will allow you to open and close the garage door manually. Lift the door to about the halfway point. It should stay in place. If it slams shut or drifts open, the springs may be unbalanced, and you should call a professional for an inspection before continuing.
Step 2: Remove the Old Motor Assembly
With the power off and the door disengaged, you can begin removing the old unit. Start by taking off the light covers and bulbs. Next, disconnect the wires for the safety sensors and the wall-mounted control panel from the back of the motor unit. It’s helpful to label these wires with masking tape so you can easily identify them later.
Now, focus on the hardware. Use your socket wrench to unbolt the motor unit from the mounting straps that secure it to the ceiling. This is where a helper is invaluable to support the weight of the motor as you remove the final bolts. Carefully lower the entire motor and rail assembly to the ground.
Step 3: How to Replace Garage Door Motor Components
Once the old assembly is on the ground, you can detach the motor from the T-rail. The exact method will vary by brand, but typically you will need to loosen the chain or belt, remove the trolley, and then unbolt the motor head from the rail itself. Inspect the rail, trolley, chain, or belt.
If they show significant wear and tear, it’s best to replace them with the new components that came with your new opener. Most modern kits include all the necessary parts for a complete garage door opener installation. Following the instructions for your new unit, assemble the new rail and attach it to the new motor head.
Step 4: Mount the New Motor Unit
Lifting the new motor and rail assembly into place is the next step. With your helper, carefully raise the unit and position it so you can attach the motor head to the same ceiling brackets you used for the old one. Loosely secure it with the provided nuts and bolts. Re-attach the other end of the rail to the header bracket above the garage door. Once both ends are connected, go back and tighten all the nuts and bolts securely at the ceiling and the header. Ensure the entire assembly is level and centered with the garage door.
Step 5: Reconnect Wires and Install Safety Sensors
Now it’s time to tackle the wiring. Your new opener kit will come with new safety sensors. It’s highly recommended to use these new sensors rather than trying to reuse the old ones, as they are designed to work specifically with the new motor. Mount the sensors on either side of the garage door opening, no more than six inches from the floor, and run the wires up to the motor unit.
Connect the sensor wires and the wall control panel wires to the corresponding terminals on the back of the new motor, following the manufacturer’s diagram. Use a staple gun to neatly secure the wires to the wall and ceiling, but be careful not to puncture the wire’s insulation.
Step 6: Final Adjustments and Programming
With everything installed, you can now connect the garage door to the new opener. Re-engage the trolley with the chain or belt. Plug the motor unit back into the power outlet or turn the breaker back on. Follow the manufacturer’s instructions to set the travel limits, which tell the motor when to stop as the door opens and closes. This is a critical safety step. Also, adjust the force settings, which control how much pressure the door will apply before automatically reversing.
Test the safety reversal system by placing a 2×4 board flat on the ground in the door’s path. When the door touches the board, it should immediately reverse direction. Do the same test for the safety sensors by waving an object in front of one of the sensors as the door is closing; it should also reverse. Finally, program your remote controls and keypad, and you’re all set!

Frequently Asked Questions
Here are some common questions people have about the steps to replace garage door motor units.
Can I just replace the motor and not the whole unit?
In most cases, the “motor” is part of an integrated unit called the opener or operator head. It’s not typically sold as a standalone part. Manufacturers design the motor, logic board, and gears to work together. Therefore, a “garage door motor replacement” almost always involves replacing the entire opener head, and often the rail and drive mechanism (chain or belt) as well.
How much does it cost to replace a garage door motor?
The cost can vary significantly. If you’re tackling a DIY garage door motor replacement, your main cost will be the new opener itself, which can range from $150 to over $500 depending on the brand, horsepower, and features like Wi-Fi connectivity. If you hire a professional, you can expect to pay an additional $200 to $500 for labor, bringing the total cost to anywhere from $350 to $1,000 or more.
How do I choose the right motor for my garage door?
There are a few factors to consider. First is the drive type: chain drives are durable and affordable but noisy; belt drives are much quieter but cost more; screw drives have fewer parts but can be noisy and require maintenance. Second is motor power. A 1/2 horsepower motor is sufficient for most standard residential doors. For heavier, solid wood or oversized doors, a 3/4 or 1+ horsepower motor is a better choice. Finally, consider features like battery backup, smart home integration, and security lights.
How long does a garage door motor last?
The average lifespan of a garage door opener motor is about 10 to 15 years. The longevity depends on the quality of the unit, how often it’s used, and whether it receives regular maintenance. Performing simple tasks like lubricating the chain or belt and checking the balance of the door can help extend its life.
Conclusion
Knowing how to replace a garage door motor can empower you to handle this common home repair and save a significant amount of money. By following the steps outlined in this guide—from ensuring safety by disconnecting power to carefully adjusting the new system’s travel limits and safety features—you can successfully complete the project in an afternoon.
Remember to always consult the manual that comes with your new opener and never hesitate to call a professional if you feel the job is beyond your skill level, especially if your garage door springs seem unbalanced. With your new motor installed, you can enjoy the convenience and security of a perfectly functioning garage door for years to come.