

Dealing with a finicky piece of technology can be incredibly frustrating, especially when that device is responsible for keeping your family safe. Maybe you are moving to a new house and want a fresh start for your security system.
Perhaps you are passing your device along to a friend or family member and need to wipe your personal data. Or maybe you are just trying to troubleshoot a stubborn connectivity glitch that refuses to go away. Whatever the reason, learning How To Reset Nest Smoke Alarm is the solution you are looking for.
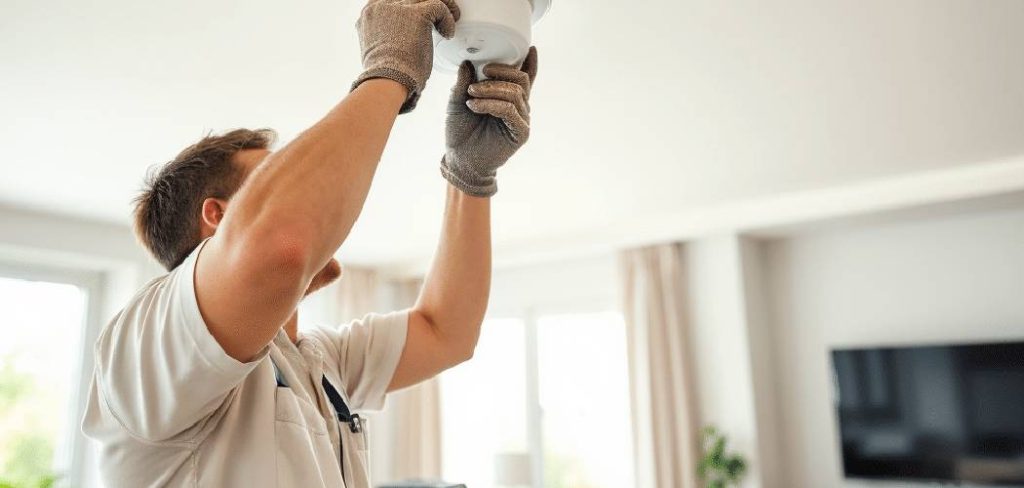
Don’t worry, because this process is not nearly as complicated as it might seem. We are going to walk you through everything you need to know, step by simple step. Grab a ladder if your device is mounted on the ceiling, and let’s get your smart home back in order.
Understanding Your Smart Smoke Detector
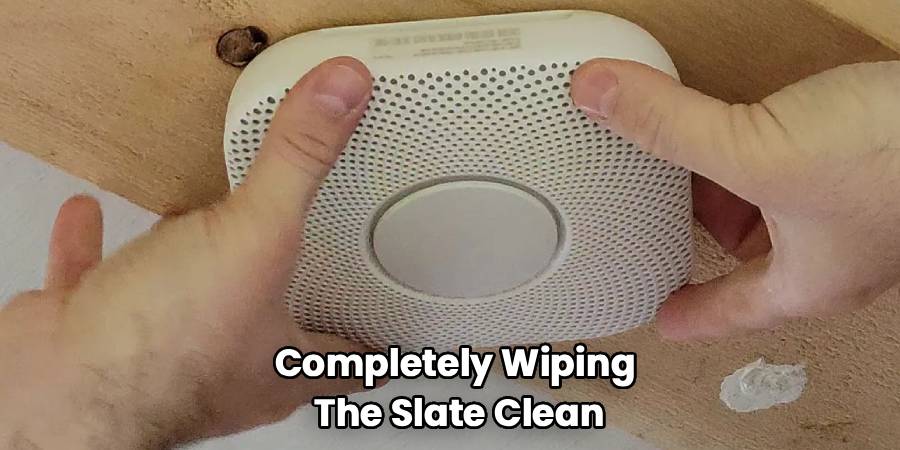
Before we dive into the buttons and beeps, let’s take a quick breath. It is helpful to understand exactly what we are doing to your device. When we talk about a factory reset, we aren’t just turning it off and on again. We are completely wiping the slate clean.
This process erases all your personal settings, including your Wi-Fi information and the specific location name you gave the device. It essentially returns the unit to the state it was in when you first took it out of the box. This is different from a simple restart or a network refresh.
Once you complete this process, the device will “forget” it belongs to you. It will also disconnect from other Nest Protect units in your home.That means if one alarm senses smoke downstairs, this reset unit won’t know about it until you set it up again.
So, make sure you have a few minutes set aside to complete the re-setup process immediately after. Your safety is the priority, and we want to minimize the time your system is offline.
Preparation Before the Reset
Let’s get everything ready so you aren’t scrambling while on a step ladder. First, ensure you have your smartphone handy with the Nest app installed. You might need it immediately after the reset to reconnect everything.
Next, locate the device you need to work on. Since you cannot perform this action remotely from your phone, you need physical access to the unit. If your detector is mounted on a high ceiling, please ensure you have a sturdy ladder.
Safety comes first, so make sure the ladder is stable before you climb up. If the device is hardwired, you don’t necessarily need to turn off the breaker, but be careful not to yank on any wires.
For battery-operated units, simply ensure the device has enough battery life to complete the process. If the batteries are critically low, the device might not have enough power to finish the reset sequence. Ideally, swap in fresh lithium batteries if you have been getting low-battery chirps recently.
Why You Might Need a Factory Reset
You might be wondering if this nuclear option is really necessary for your situation. Sometimes, a simple network change doesn’t require a full wipe. However, there are specific scenarios where a full restore to factory settings is the only path forward.
If you are selling your home and leaving the detectors behind, you absolutely must do this. You don’t want the new owners’ safety notifications going to your phone. Conversely, if you just bought a home with existing smart detectors, you need to reset them to make them yours.
Another common reason is a persistent “Offline” status that won’t resolve. If you have changed your Wi-Fi password or router and the device refuses to connect, starting over is often faster than troubleshooting.
Finally, if the device is giving you error messages that don’t match reality, a hard reset can clear out software bugs. It is the ultimate “do-over” for your smart home gear.
The Step-by-Step Reset Guide
Now we have arrived at the core of the matter. Follow these instructions carefully to ensure the process completes successfully. Here is the definitive guide on How To Reset Nest Smoke Alarm manually.
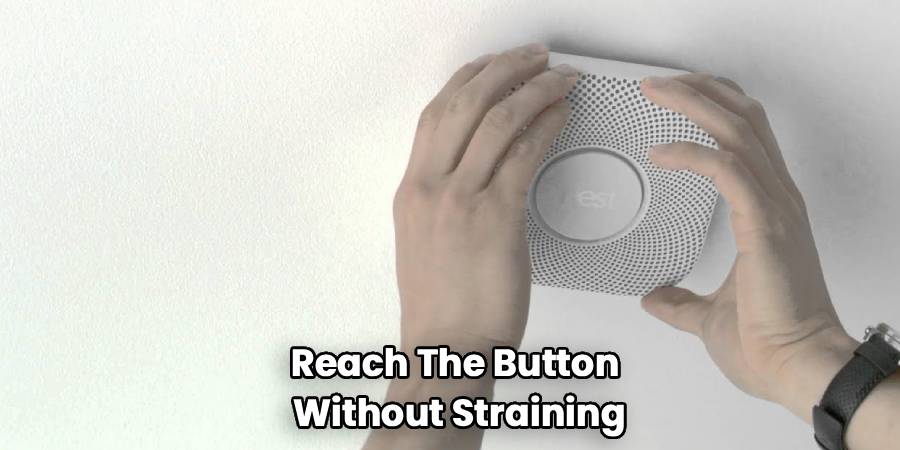
Step 1: Locate the Nest Button
Every Nest Protect unit has a large button in the center. This is often the part of the device that glows with different colors. It usually has the manufacturer’s logo embossed on it.
You don’t need any special tools like paperclips or screwdrivers for this. Your finger is the only tool required. Position yourself comfortably so you can reach the button without straining.
Step 2: Press and Hold
Reach up and press the button in the center of the device. Do not just click it once; you need to keep holding it down. Initially, you might hear a chime or a test sound.
Ignore that and keep your finger firmly pressed on the button. The light ring should eventually start glowing blue. This blue light is your signal that you have entered the menu or reset mode.
Step 3: Wait for the Voice Prompt
Patience is key here. Continue holding the button even after the light turns blue. The device is designed to be difficult to reset accidentally, so it takes a few moments. Suddenly, the device will speak to you. It will announce its version number.
Wait for the specific phrase that mentions “erasing all settings.” It might say something like, “Press to erase all settings” or it might begin a countdown automatically depending on your specific generation. Usually, the voice will say, “Version number X.X… Erasing all settings in five, four…”
Step 4: The Countdown
Once you hear the countdown start, you are in the final stretch. The voice will count down from ten or five. Do not let go of the button until the device tells you it is erasing.
Actually, strictly speaking, you release the button when it starts saying the version number, and then it begins the countdown. Let’s clarify that nuance to avoid confusion. Press and hold until it glows blue and speaks.
When it starts speaking the version number, you can release. The device will then verbally count down to the reset. If you change your mind during the countdown, press the button once to cancel.
Step 5: Confirmation
After the countdown reaches zero, the light ring will switch colors. It will usually flash green or turn off briefly, indicating the process is complete. The device will verbally confirm that all settings have been erased.
It will then restart, which takes a few seconds. Once it boots back up, it will pulse blue, indicating it is ready to be set up again. Congratulations, your device is now back to square one.
What Happens After the Reset?
Now that the device is wiped, it is essentially a “dumb” smoke detector for the moment. It will still detect smoke and carbon monoxide. It will still sound a loud alarm if there is a fire.
However, it will not send notifications to your phone. It will not tell you which room the danger is in. And most importantly, it will not communicate with other units in your house.
This isolated state is not ideal for long-term safety. You should immediately open your smartphone app to begin the setup process. Treat it exactly like a brand-new device you just bought from the store. Select “Add Product” in the app and follow the on-screen prompts. Scan the QR code on the back of the unit if asked.
Troubleshooting Common Reset Issues
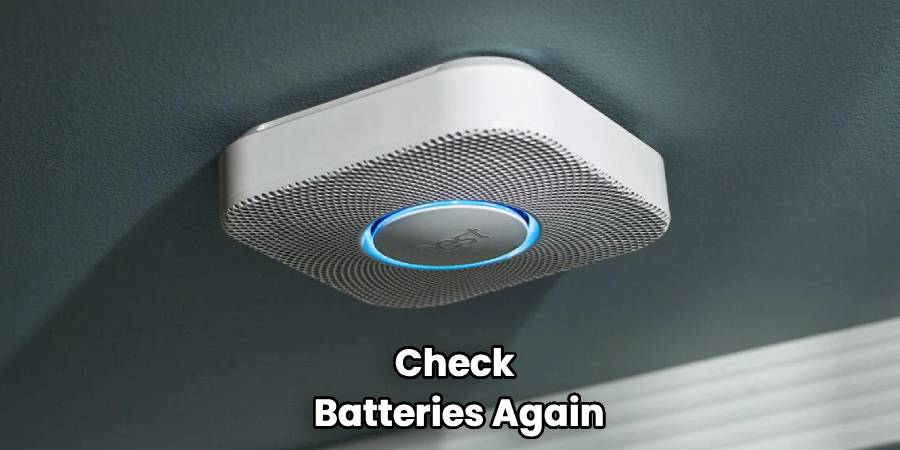
Sometimes technology doesn’t cooperate even when we follow the rules. If you held the button and nothing happened, try these quick fixes.
First, check those batteries again. If the device is completely dead, it obviously cannot run the reset software. Swap in new lithium batteries and wait for the brief startup chime.
Second, ensure you are pressing the button squarely in the center.
Sometimes applying pressure to the edge of the button doesn’t register as a continuous hold. If the device chimes but never speaks the version number, you might be letting go too soon.
Hold it longer than you think you need to. If the voice cuts out halfway through, there could be a hardware fault. In that rare case, you may need to contact the manufacturer’s support team.
Handling Second-Hand Devices
We briefly mentioned this earlier, but it deserves its own section. Using second-hand safety equipment requires extra caution. If you bought a used unit, check the expiration date on the back label.
Smoke detectors generally have a lifespan of 7 to 10 years. If the manufacturing date is approaching that limit, a reset won’t help. The sensors degrade over time, and the unit needs to be replaced entirely.
Assuming the date is fine, the factory reset is mandatory. You have no idea what settings the previous owner enabled. They might have disabled the “Pathlight” feature or silenced certain warnings. Wiping it ensures you are building your safety net from the ground up.
Deleting the Device from the App
The physical reset is only half the battle. You also need to tidy up your digital space. Even after you wipe the physical unit, the old “ghost” of the device might linger in your app.
Open your smart home application. Navigate to the specific room where the device was located. Find the device in the settings menu. Select the option to “Remove Device” or “Delete.” Confirm your choice.
This ensures your dashboard isn’t cluttered with offline devices that no longer exist. If you don’t do this, the app might keep looking for the old unit, causing errors. It keeps your digital housekeeping clean and organized.
Reconnecting to Wi-Fi
The most common reason people reset these devices is Wi-Fi trouble. When setting it back up, pay close attention to your network selection. These devices often prefer 2.4GHz networks over 5GHz ones.
If you have a dual-band router, try connecting your phone to the 2.4GHz band first. This helps the device find the network more easily during setup. Be sure to type your Wi-Fi password carefully.
It sounds obvious, but a simple typo is the culprit 90% of the time. If setup fails, try moving the device closer to your router just for the pairing process. Once it is connected, you can move it back to its installed location.
Smart Home Interconnectivity
One of the best features of these smart detectors is their ability to talk to each other. When you reset one, you break that link temporarily. During the re-setup, the app might ask if you have other Protects.
If you do, they can help verify the new device. This is a clever feature that saves you from typing in Wi-Fi passwords again. The existing units pass the network credentials to the reset unit securely.
If this fails, don’t panic. Just proceed with the manual setup and enter the password yourself. Ensure all your units are showing green status lights in the app once you are done. Test the “Heads Up” feature to make sure they are all communicating.
Maintenance Tips to Avoid Future Resets
Nobody wants to climb a ladder every month. To keep your system healthy, keep it clean. Dust is the enemy of smoke sensors. Use a can of compressed air or a vacuum attachment to clean the outside of the unit gently. Do this once or twice a year.
Dust buildup can cause false alarms, which might tempt you to reset the device out of frustration. Also, avoid painting over the unit or placing it too close to steam sources like showers. Steam can trigger false alarms just like smoke. Keeping the hardware happy means you won’t have to fiddle with the software as often.
Frequently Asked Questions
You likely still have a few questions about this process. Here are the answers to the most common inquiries we hear from homeowners.
Can I reset my device remotely from the app?
No, unfortunately, you cannot do this. This is a security feature designed to prevent accidents or malicious tampering. Imagine if a hacker could turn off your smoke alarms from halfway across the world. By requiring physical access to the button, the manufacturer ensures only someone in the home can wipe the settings. You must be able to touch the device to reset it.
Will resetting the device stop the chirping sound?
It might, but it depends on the cause of the chirp. If the chirp is due to low batteries, a reset will not fix it; you need new batteries. If the chirp is a “End of Life” warning, a reset will not fix it; you need a new device. However, if the chirp is caused by a software glitch or a Wi-Fi connection error, a reset could solve the problem. Check the app first to see what the chirp means before resetting.
Does a factory reset delete my smoke event history?
Yes, it typically does. The device’s internal log of events is wiped clean. However, the history stored in your cloud account or app timeline usually remains. The device itself effectively becomes an amnesiac. It won’t remember previous false alarms or tests.
How long does the reset process take?
The entire physical process takes less than a minute. Holding the button takes about 10 to 15 seconds. The countdown and erasure take another 10 to 20 seconds. The reboot takes roughly 30 seconds. However, the re-setup process in the app can take 5 to 10 minutes depending on your phone and Wi-Fi speed.
Why is the light ring yellow after I reset it?
A yellow light usually indicates a problem that needs attention. After a reset, if it pulses yellow, it might mean the sensors aren’t calibrated yet. It could also mean the batteries are low. Or, most likely, it means the device is not yet connected to an account. Finish the setup in the app to clear the yellow status.
What is the difference between 1st and 2nd Generation resets?
The process is largely identical for both generations. The button presses and light colors are the same. The voice prompts might vary slightly in wording. However, the 2nd Generation units are generally faster to set up afterward. They also have a more advanced sensor check during the reboot.
Final Thoughts on Safety
We have covered a lot of ground today. Maintaining your home safety equipment is one of the most important responsibilities of homeownership. While digital features are convenient, the core function of these devices is saving lives. Don’t let a fear of technology stop you from keeping your system running perfectly.
A reset is a powerful tool in your troubleshooting arsenal. Use it wisely, and don’t forget the follow-through of setting it back up. Test your alarms regularly, reset or not. Make sure every family member knows what the voice alerts sound like. Technology serves us best when we understand how to maintain it.
Conclusion
How To Reset Nest Smoke Alarm is a query that usually comes up during stressful moments, but we hope this guide has made the process calm and manageable for you. By following these steps, you ensure that your home remains smart, connected, and most importantly, safe.
Remember that a factory reset is a fresh start, not the end of the line. Take the time to reconnect your device properly and verify it is working. Keep your batteries fresh and your sensors clean. With a little bit of maintenance, your smart detectors will quietly watch over you for years to come.
Stay safe, and happy troubleshooting.