

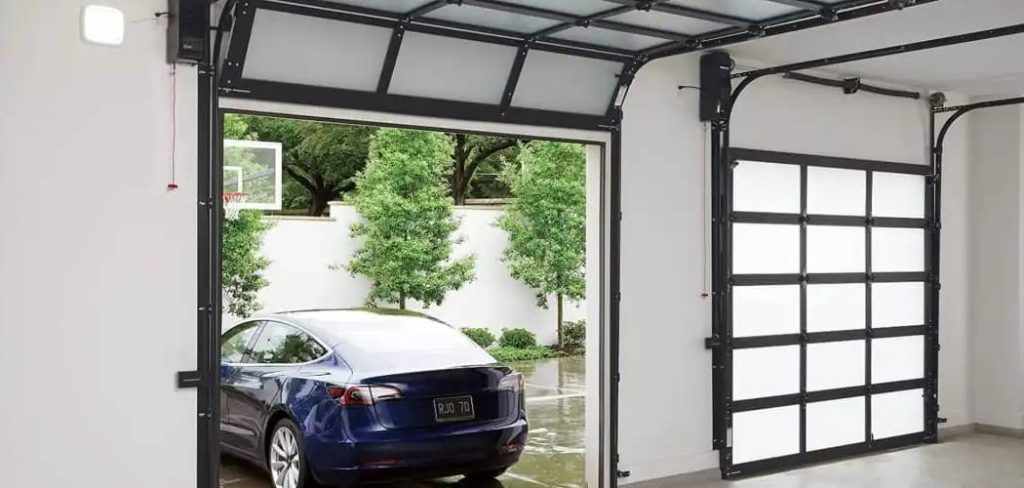
Getting a new garage door opener is exciting. It promises convenience and a little bit of modern magic for your home. The Ryobi system, known for its power and modular capabilities, is a popular choice for many homeowners. But before you can enjoy the simple pleasure of opening your garage with a single button press, there’s one small hurdle: programming it. The process might seem intimidating at first, with buttons and sequences to remember. This guide is here to walk you through the simple steps of how to program Ryobi garage door opener systems. We’ll demystify the process, turning a potentially frustrating task into a quick and easy win for your weekend project list.
Step-by-Step Programming Guide
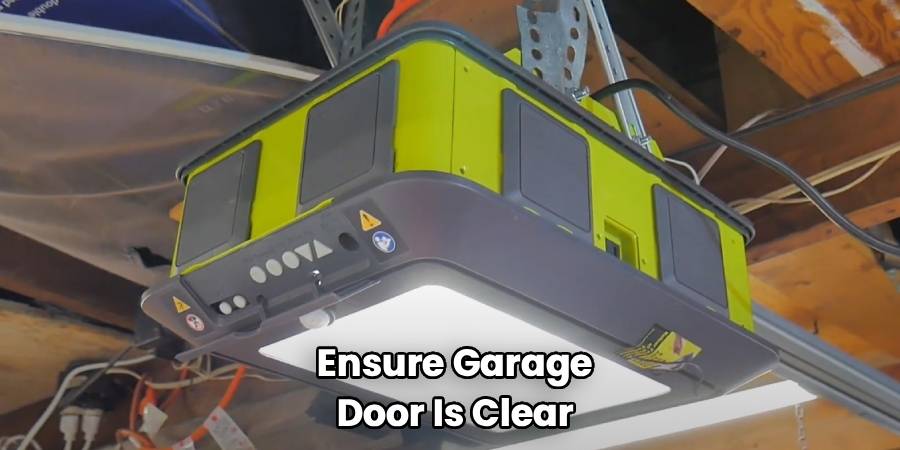
Programming your Ryobi garage door opener is a straightforward process. Before you begin, it’s a good idea to have a stable step ladder and perhaps a flashlight to easily see the buttons on the motor unit. Also, ensure the garage door is clear of any obstructions. For safety, it’s best to start with the garage door in the closed position. This guide will cover the most common method for setting up your remotes and the unit itself.
Step 1: Prepare the Opener Unit
First, you need to access the control panel on the main motor unit, which is mounted to your garage ceiling. You will see a console door on the back of the unit. Open this door to reveal the programming buttons. You’ll typically find an “Up Arrow,” a “Down Arrow,” and a central “Program” or “Learn” button. These are the primary controls you will use for the entire setup. Make sure the trolley, the part that moves along the rail, is engaged. You can do this by ensuring the outer trolley is connected to the inner trolley, which allows the motor to physically move the door.
Step 2: Set the Open and Close Travel Limits
This is a critical safety and operational step. Setting the limits tells the opener how far to travel up to be fully open and how far down to be fully closed.
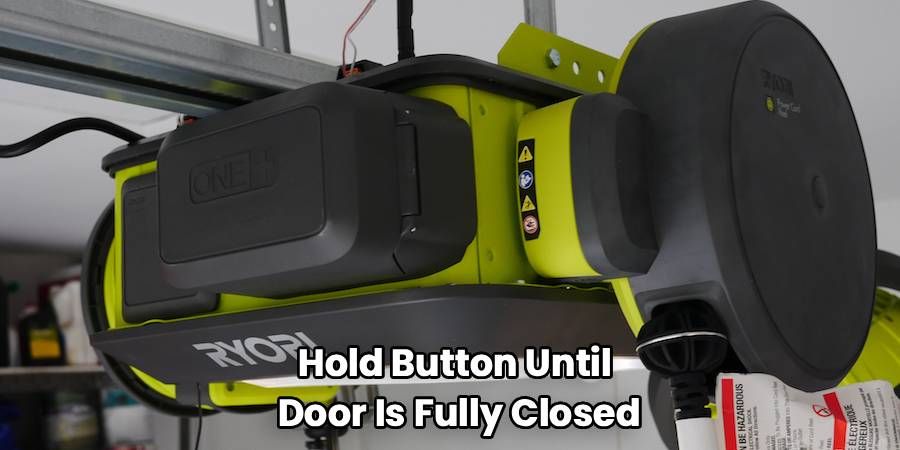
To set the “Up” limit, press and hold the “Up Arrow” button on the motor unit. The door will begin to move upwards. Keep holding the button until the door reaches your desired fully open position. Once it’s there, release the button. Now, press and release the central “Program” button once. The light on the opener should blink, confirming the upper limit is set.
Next, to set the “Down” limit, press and hold the “Down Arrow” button. The door will travel downwards. Hold the button until the door is fully closed, creating a good seal with the floor without being strained. Release the button. Just as before, press and release the “Program” button once to save the setting. The opener light will again confirm the setting is locked in.
Step 3: Calibrate the Safety Reversal System
The safety reversal system is a crucial feature that prevents the door from closing on a person or object. After setting the travel limits, the system needs to be calibrated. The opener will typically do this automatically. It will run a full open and close cycle on its own to measure the force required for normal operation. During this cycle, do not interrupt the door. Allow it to complete the full sequence. If it detects any issues, it might stop and blink, indicating a problem with the installation or an obstruction. If it completes the cycle successfully, the force settings are calibrated, and your opener is now operating safely.
Step 4: How To Program Ryobi Garage Door Opener Remotes
Now it’s time to sync your remote controls. With the garage door closed, press and hold the “Program” button on the motor unit for about two to three seconds, until the LED light next to it begins to blink. This indicates the opener is in pairing mode. You now have about 30 seconds to complete the next step.
Take the remote you want to program and press the button you wish to use to open the door. Press it firmly once. The LED light on the motor unit should stop blinking and stay on solid, or it may flash and then turn off, depending on your model. This confirms that the remote has been successfully paired. To test it, step away from the door and press the button on your remote. The garage door should now operate. Repeat this same process for any additional remotes or the wireless keypad. For the keypad, you will enter your desired PIN and then press the program button on the keypad itself after putting the main unit into pairing mode.
Frequently Asked Questions
Even with a guide, questions can come up. Here are some common queries people have about Ryobi garage door opener programming.
How do I clear the memory and reprogram my Ryobi opener?
Sometimes you need a fresh start, especially if you’ve lost a remote or are moving into a new home with an existing unit. To erase all programmed remotes from the opener’s memory, press and hold the “Program” button on the main motor unit. Continue holding it for about 10-15 seconds. The LED light will typically blink and then turn solid or go out completely. This confirms that all previous codes have been wiped. After clearing the memory, you can follow the step-by-step guide above to program your existing remotes as if they were new. This ensures any old, lost, or unwanted remotes will no longer work.
What should I do if my remote stops working?
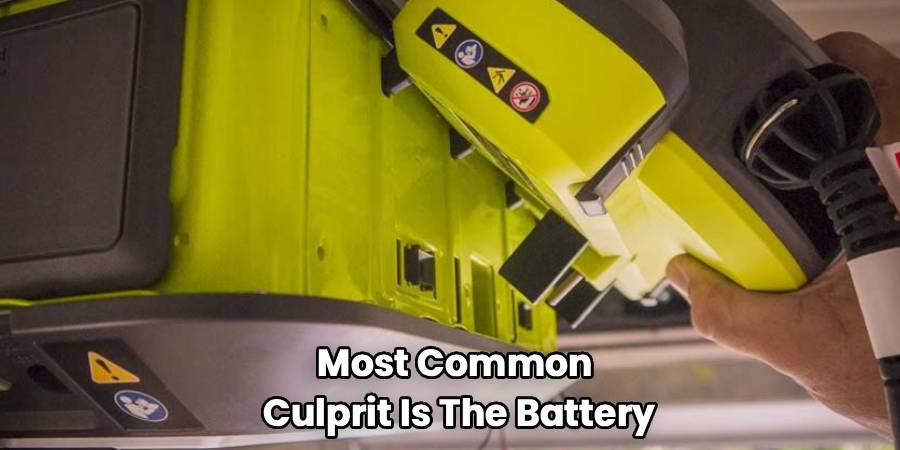
If your remote suddenly stops working, the first and most common culprit is the battery. Try replacing the battery in the remote control. If a new battery doesn’t solve the problem, the remote may have lost its connection to the opener. Try reprogramming it by following Step 4 of the guide. If it still doesn’t work after reprogramming, there could be an issue with the remote itself, or there might be radio frequency interference near your garage from other devices. Try moving potential sources of interference and attempt to program it again. If all else fails, you may need a replacement remote.
Can I program a universal remote to my Ryobi opener?
Yes, many universal remotes are compatible with Ryobi garage door openers. However, the programming process might be different from the one described for the standard Ryobi remotes. When using a universal remote, you will need to follow the specific instructions that came with that remote. This usually involves putting the universal remote into its own learning mode and then using the “Program” or “Learn” button on the Ryobi motor unit to send the signal. Always check the universal remote’s packaging or manual to confirm compatibility with Ryobi systems before purchasing.
Why is the light on my Ryobi garage door opener blinking?
A blinking light on the motor unit is a diagnostic code. The number of blinks can tell you what the specific issue is. For example, a certain number of blinks might indicate that the safety sensors at the bottom of the door are misaligned or obstructed. Check the area around the sensors to ensure nothing is blocking their path and that they are pointing directly at each other (both sensor lights should be solid). Other blink codes could relate to travel limit errors or force setting issues. Refer to your Ryobi owner’s manual for a detailed chart of these diagnostic codes to pinpoint and resolve the problem.
Knowing how to program Ryobi garage door opener systems empowers you to manage your home’s access securely and efficiently. By following these steps, you can set up your opener, program remotes, and troubleshoot common issues with confidence. What once seemed like a complex technical task is now a manageable project that enhances your home’s functionality. Taking the time to understand this process ensures your garage is not only convenient but also safe for everyone in your family. Enjoy the ease and reliability that comes with a perfectly programmed garage door opener.