

It is that time of year again when the chirping starts. You are standing on a chair or a ladder, staring at a small plastic box on your ceiling or wall. It needs a battery change, or maybe it has just expired.
But there is one frustrating problem standing in your way. You simply cannot figure out How To Open Carbon Monoxide Alarm units safely without breaking the plastic tabs.

This guide is here to help you navigate the tricky latches, hidden compartments, and sliding doors of these essential safety devices. We will walk you through the process step-by-step so you can get back to peace and quiet. And most importantly, you will ensure your home remains safe.
Why Opening Your Detector Can Be Tricky
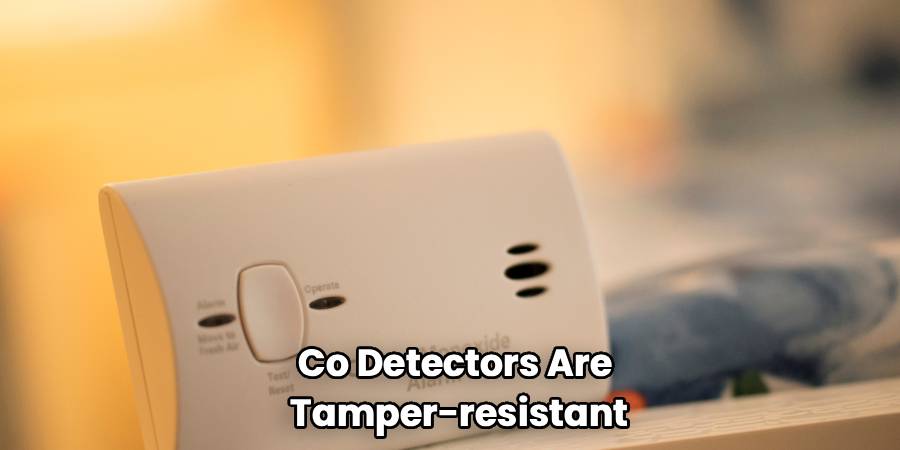
CO detectors are designed to be tamper-resistant. This is a good thing for safety. It prevents children from easily removing batteries. It also ensures the device stays intact during minor bumps or vibrations.
However, this design philosophy can make maintenance a headache for homeowners. Manufacturers use different mechanisms depending on the model and brand.
Some slide open. Others twist off a mounting bracket. Some have a push-button release. A few even require a small tool to pop a specific tab. If you force it, you risk snapping the plastic housing.
A broken housing might mean the unit won’t mount correctly again. Or worse, you could damage the internal sensors. Understanding the type of mechanism you are dealing with is half the battle.
Take a deep breath and step down from the ladder for a moment. Grab a flashlight so you can see the small print or arrows on the casing. Proper lighting makes a world of difference here. We are going to look at the most common types of enclosures.
Identify Your Device Type
Before we start prying, let’s identify what you have. Most residential safety devices fall into three main categories.
1. The Twist-Off Mount
These are very common for ceiling-mounted units. They usually consist of a base plate screwed into the drywall and the alarm unit itself. The entire unit acts as the “cover” you need to remove.
2. The Slide-Out Drawer
These are often found on wall-plug units or standalone battery-operated ones. The battery sits in a small drawer that slides out from the side or bottom. You don’t open the whole case; you just open the compartment.
3. The Hinged Front Cover
This style is common for hardwired units with battery backups. The front face of the device swings open like a door. It usually has a latch on one side.
4. The Pop-Off Back Plate
These are common for portable or travel-specific monitors. You have to remove the back panel entirely to access the batteries. Once you know which style you have, the rest is much easier.
If you still have the user manual, now is a great time to find it. If not, don’t worry. Most units have visual cues like arrows or “open” text molded into the plastic.
Step-by-Step Guide to Opening Common Models
This section covers the practical methods for accessing the battery compartment or internal workings. Please follow these steps carefully to avoid damaging your equipment.
Twist-Off Ceiling Units
This is the standard for smoke and CO combo units.
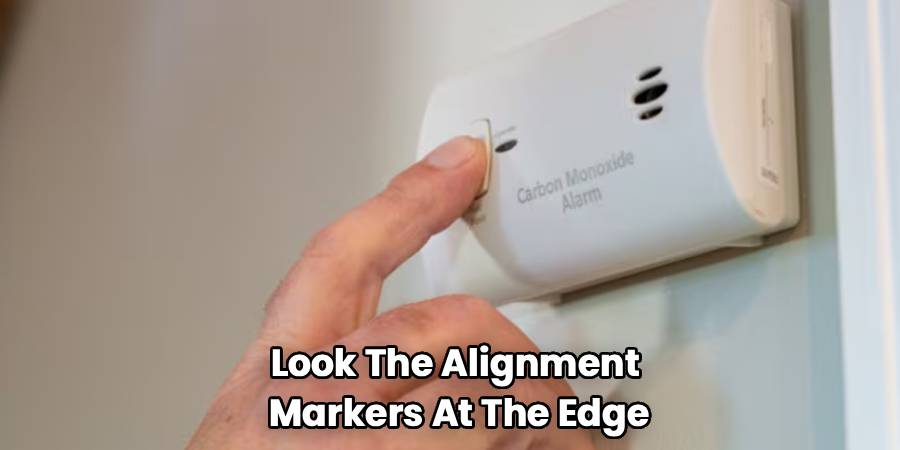
Locate the alignment markers
Look at the edge of the device. You might see a small raised line on the alarm and another on the base. These indicate the lock and unlock positions.
Grip the unit firmly
Use both hands if possible. Place your palms on the face of the detector. Do not squeeze too hard, as you don’t want to crack the shell.
Rotate counter-clockwise
Most twist mounts open by turning the unit to the left. Think “lefty-loosey.” You should only need to turn it about an inch or so. It will stop rotating once it hits the unlock position.
Pull straight down
Once it stops turning, the unit should release from the bracket. Be careful if it is hardwired. There will be a wire harness connecting the unit to your ceiling.
Do not yank it. Squeeze the plastic clip on the harness to disconnect the power. Now you have access to the battery door on the back.
Slide-Out Battery Drawers
These are favorites for plug-in models from brands like Kidde or First Alert.
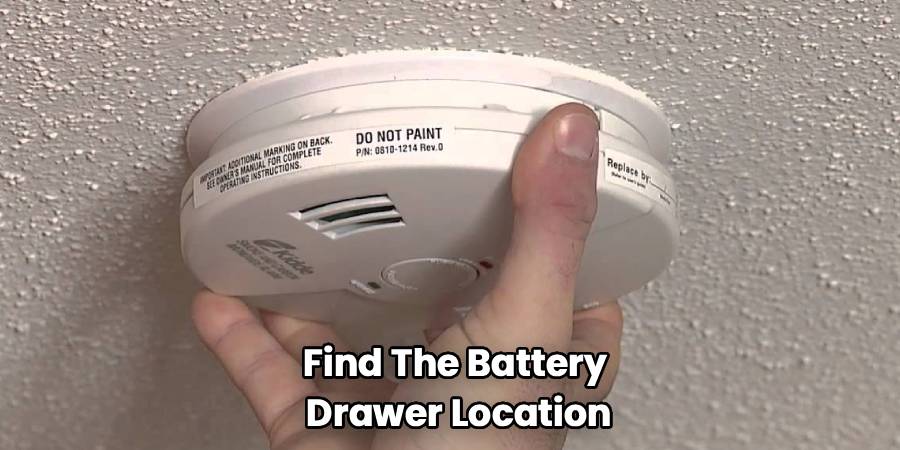
Find the drawer location
Usually, this is on the side or the very bottom of the unit. It looks like a small rectangle with ridges for grip.
Press the locking tab
Some drawers have a tiny tab you must depress before sliding. It acts as a child safety lock. Use your fingernail or a small flathead screwdriver.
Slide the drawer out
While holding the tab down, pull the drawer outward. It might be stiff if it hasn’t been opened in years. Wiggle it gently side-to-side as you pull. The batteries will be sitting right inside this tray.
Hinged Front Covers
These are often rectangular and mounted high on a wall.
Locate the latch
The latch is usually on the side opposite the hinge. It might be a recessed button or a simple lip in the plastic.
Depress the latch
Push in on the latch with your thumb. Some models require you to squeeze the top and bottom of the cover simultaneously.
Swing the door open
The front face should swing outward. The battery compartment is usually visible immediately inside. Be gentle with the hinge mechanism; plastic hinges can fatigue and snap.
Difficult or Stuck Units
Sometimes, old plastic gets brittle or stuck. Paint can also seal a unit to its base if you painted the ceiling recently.
Check for paint seals
If the unit won’t twist, look at the seam where it meets the ceiling. If paint is bridging that gap, you need to break the seal. Use a utility knife to carefully score the paint around the perimeter.
Inspect for tamper pins
Some landlords or commercial buildings use tamper-resistant pins. These are small plastic pegs inserted into the side of the base. They prevent the unit from being twisted off.
If you see a small hole with a plastic pin in it, you must remove that pin first. Use needle-nose pliers to pull it out. Then try twisting the unit again.
Use rubber gloves
If your hands are slipping, put on a pair of rubber dishwashing gloves. They provide excellent grip on smooth plastic housings. This gives you more torque without having to squeeze as hard.
Safety Precautions Before You Start
Before you tackle the specific instructions on How To Open Carbon Monoxide Alarm casings, you need to consider electrical safety.
Turn off the breaker
If you are dealing with a hardwired unit, this is crucial. 120-volt power runs to these devices. While the connector is usually insulated, accidents can happen. Go to your electrical panel and flip the breaker for the smoke/CO detectors.
Test for live power
Use a non-contact voltage tester if you have one. Touch it to the unit to ensure the power is truly off. Better safe than sorry.
Prepare a safe workspace
If you are on a ladder, ensure it is stable. Do not overreach. It is better to move the ladder than to lean too far and fall. Have a spot ready to place the old batteries. Do not mix them with new ones.
Troubleshooting Specific Brand Mechanisms
Different manufacturers have their own quirks. Here are a few tips for the major players in the market.
Kidde
Kidde units often use a slide-load battery door on the front. If you cannot slide it, check if the unit is mounted correctly. Some Kidde models have a tamper resist feature that locks the door when mounted.
You might need to twist it off the ceiling first to unlock the battery door. Other Kidde wall units have a “snap-open” design. Look for two depressions on the sides of the cover. Press both simultaneously to pop the front off.
First Alert
First Alert is famous for the side-load battery drawer. These drawers can be incredibly stiff. Do not use pliers on the plastic drawer handle; it will snap. Instead, push the unit firmly against the wall with one hand.
Use your thumb to push the drawer out with steady pressure. If it is a ceiling unit, First Alert twist mounts are usually very smooth. If it jams, you likely have a tamper pin installed. Look for the small “lock” icon on the side of the base.
FireAngel
These are popular in the UK and Europe but found in the US too. Many FireAngel units have sealed 10-year lithium batteries. You are not supposed to open them at all.
If such a unit is chirping and it is not 10 years old, it is faulty. Opening the case will void the warranty. Check the back label for “Sealed Battery” warnings before prying.
What To Do Once It Is Open
Congratulations, you got it open. Now, what should you actually do inside?
Replace the power source
This is the most common reason for opening the device. Swap out the old alkaline batteries for fresh high-quality ones. Do not use rechargeable batteries unless the manual specifically says so.
Rechargeables lose voltage differently and can trigger false low-battery chirps. Lithium batteries are great for long life, but check compatibility. Some older units are calibrated strictly for alkaline voltage curves.
Clean the sensor chamber
While you have it open, clean it out. Dust is the enemy of accurate detection. Use a can of compressed air. Gently blow air through the vents and across the sensor element.
Do not use a vacuum cleaner attachment directly on the sensitive components. Static electricity from the vacuum hose can damage the electronics. Use a soft, dry cloth to wipe the exterior vents.
Check the expiration date
Look for a date stamp on the back of the unit or inside the battery compartment. CO sensors degrade over time. They typically last between 5 and 7 years.
Some newer ones last 10 years. If your device is past its expiration date, do not just change the battery. Replace the entire unit immediately. An expired sensor cannot protect you.
Reassembling and Testing
Putting it back together is usually the reverse of taking it apart.
Align the guides
For twist-mounts, line up the raised marks again. Push the unit up against the base. Rotate clockwise (“righty-tighty”) until you feel it click into place. Give it a gentle tug to ensure it is seated securely.
Close the drawer
For slide-outs, push the drawer in until it clicks. If it resists, check the battery orientation. A backward battery will often block the drawer from closing.
Reconnect power
Turn the breaker back on if you turned it off. The unit typically chirps once to indicate it is receiving power. Look for the green LED to light up, indicating AC power is active.
The all-important test
Never assume it is working just because you put fresh batteries in. Locate the “Test/Reset” button on the front cover. Press and hold it for several seconds.
It will produce a very loud, piercing alarm pattern. This confirms the battery, the circuitry, and the siren are functional. If it does not sound, open it back up and check your battery connections.
Common Frustrations and Quick Fixes
Even with instructions, things can go wrong. Here are quick solutions to common headaches.
The “Chirp” won’t stop
You changed the battery, but it is still chirping every minute. This usually means one of two things. First, you might need to reset the error code.
Hold the test button for 10-15 seconds to hard reset the processor. Second, the unit might be at its “End of Life.” If the chirp pattern is different from the low-battery chirp, check the manual. End-of-life warnings cannot be silenced by changing batteries.
The cover is stuck fast
If a slide drawer is stuck, try a tiny drop of silicone lubricant on the rails. Be very careful not to get any spray inside the sensor vents. Apply it to a Q-tip first, then run the Q-tip along the stuck edge.
The battery keeps popping out
Some compartments have very strong springs. Make sure you are inserting the negative (flat) end against the spring first. Then push the positive (nub) end in. Ensure the battery is fully seated flat before trying to close the door.
When To Call a Professional
Most of the time, this is a DIY job. However, there are exceptions. If your unit is hardwired and the wiring looks damaged or scorched, stop. Do not touch exposed wires.
Call a licensed electrician. If you have a complex home security system with integrated CO detection, call your provider. Opening these units yourself might trigger a tamper alarm at the monitoring station. They can walk you through putting the system in “test mode” first.
Maintenance Schedule to Prevent Future Struggles
The best way to make this easier is regular maintenance. Familiarity breeds competence. If you only touch the alarm once every five years, you will forget how it opens.
Bi-annual checks
Check your alarms when you change your clocks for Daylight Saving Time. Open the compartment and inspect the batteries for leakage. Even if they are not dead, leaking acid can ruin the device. Corrosion on the metal contacts makes the door harder to open next time.
Vacuum the exterior
Once a month, run a soft duster over the unit. This prevents dust buildup in the crevices of the sliding mechanism. Clean plastic moves more smoothly than dusty, sticky plastic.
Keep a log
Write the date of the last battery change on a piece of masking tape. Stick it to the inside of the battery door or the back of the unit. This saves you from guessing when you last opened it.
Understanding the “End of Life” Lock
Many modern alarms have a permanent disable feature. This is a safety mechanism designed for disposal. Once you activate it, you cannot turn the alarm back on. It often involves punching out a tab or turning a screw that permanently disconnects the battery.
Do not activate this unless you are actually throwing the unit away. If you accidentally engage the “End of Life” lock, you have destroyed the unit. You will need to buy a new one. Be very careful when exploring the back of the unit not to fiddle with these permanent switches.
Dealing with False Alarms
Sometimes you need to open the unit to silence a false alarm. Maybe high humidity or chemical fumes set it off. Opening the battery door is the fastest way to kill the sound if the reset button fails.
Once silence is restored, ventilate the room. Take the unit into fresh air. Reinsert the batteries and see if it alarms again. If it stays silent in fresh air, your home likely has a CO problem. If it alarms in fresh air, the unit is malfunctioning.
Final Thoughts on Home Safety
Dealing with beeping plastic boxes is annoying. We all agree on that. But that annoyance is a small price to pay for protection. Carbon monoxide is odorless, colorless, and deadly. These devices are your only line of defense.
Knowing how to access them quickly ensures they are always powered and ready. It also saves you from the 3 A.M. frustration of a low-battery chirp you can’t silence. Take the time to learn your specific model’s quirks today.
Do not wait until an emergency or a sleepless night to figure it out. How To Open Carbon Monoxide Alarm casings is a skill every homeowner should master for the safety of their family.With the right technique and a little patience, you can keep your home safe and quiet. Stay safe, check your dates, and keep those batteries fresh.