
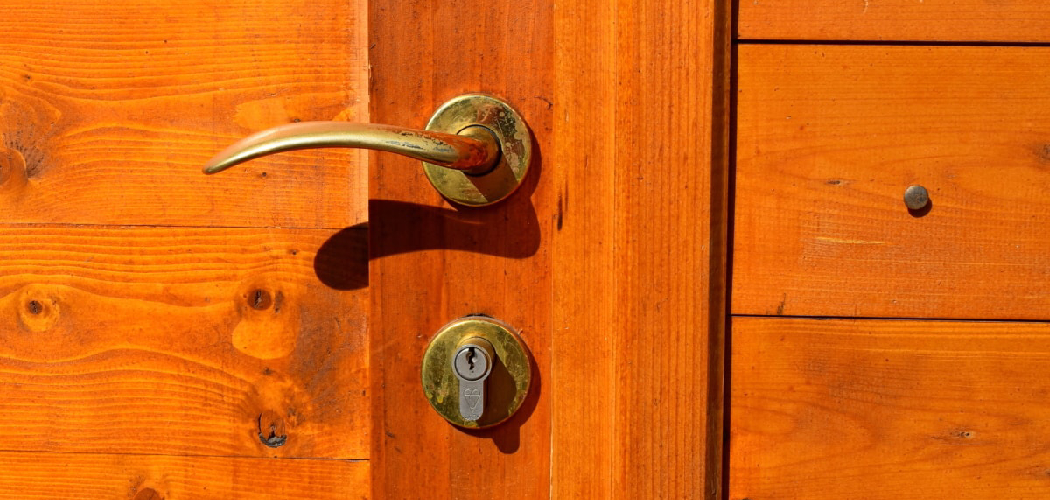
keeping your home safe often starts with securing storage areas where curious hands shouldn’t wander. Whether you need to protect cleaning supplies from a toddler, keep sensitive documents private, or simply organize your workshop tools, installing a lock is the smartest move you can make. Many homeowners feel intimidated by the idea of drilling holes or measuring strike plates, but the process is much simpler than it appears. With the right tools and a little patience, you can secure any cupboard in your house in under an hour.

In this guide, we will walk you through everything you need to know to get the job done right. You do not need to be a professional carpenter to achieve a secure result. By following our instructions, learning how to lock a cabinet becomes a straightforward weekend project that adds peace of mind to your daily life.
Why Securing Your Cabinets Matters
Securing your cabinetry goes beyond simple privacy; it is a fundamental aspect of household management and safety. Unsecured cupboards can pose significant risks, especially in homes with young children or pets who might accidentally ingest harmful chemicals or access sharp objects. Even in an adult-only household, securing specific areas ensures that valuable items, confidential paperwork, or expensive equipment remain exactly where you left them.
Furthermore, adding locks can actually preserve the lifespan of your cabinetry. Constant opening and closing, or doors swinging open due to loose hinges, can cause wear and tear over time. A good latch mechanism keeps the doors firmly shut, maintaining alignment and preventing warping. It also helps in organization; when you know a space is locked, you are less likely to use it as a “junk drawer” for random items. Taking the time to install these safeguards is an investment in a safer, more organized, and stress-free living environment.
8 Step Methods Guide on How to Lock a Cabinet
Step 1: Planning How to Lock a Cabinet Effectively
Before you purchase any hardware, you must carefully inspect the cabinet you intend to secure. Not all cabinets are built the same, and the material will dictate your method. Solid wood drawers can handle heavy-duty deadbolts, while laminate or particle board might require lighter, adhesive-based solutions to avoid splitting the material. You also need to look at the door style. Does the door sit flush with the frame, or does it overlay the outside? This positioning changes the type of latch you need. Taking five minutes to assess the material and construction prevents you from buying the wrong lock and damaging your furniture.
Step 2: Choose the Right Locking Mechanism
Once you understand your cabinet type, it is time to select the hardware. There are several options available, ranging from magnetic locks that stay hidden inside the door to keyed cam locks that require drilling a hole through the front. If you are renting or want a temporary solution for childproofing, adhesive magnetic locks are often the best choice because they leave no permanent marks.
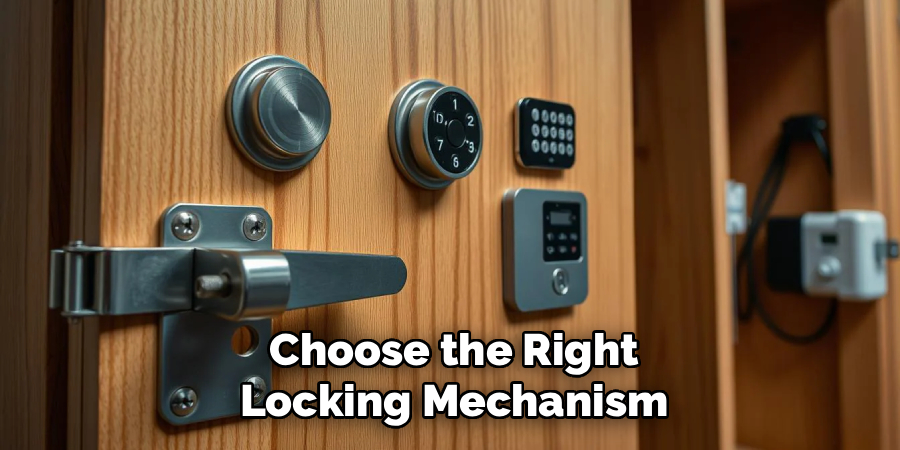
However, for securing valuables or dangerous items, a keyed cylinder lock offers superior security. Make sure you purchase a kit that includes all necessary screws and strike plates so you do not have to make multiple trips to the hardware store.
Step 3: Gather Essential Tools for the Job
Preparation is key to a smooth installation process. You should gather all your tools before you start so you aren’t scrambling midway through the project. For most installations, you will need a power drill with various bit sizes, a Phillips head screwdriver, a measuring tape, and a pencil for marking. If you are installing an adhesive lock, grab some isopropyl alcohol and a cleaning cloth. Having a flashlight handy is also a good idea, as cabinet interiors can be dark and difficult to see. Lay everything out on a nearby table or the floor so it is within easy reach while you work.
Step 4: Clean and Prep the Surface Area
You must clean the installation area thoroughly before attaching any hardware. This step is absolutely critical if you are using adhesive locks, but it is also important for screw-mounted locks to ensure a flush fit. Dust, grease, and kitchen grime can build up on cabinet surfaces over time, which will prevent adhesives from bonding correctly or cause drills to slip. Use a mixture of warm water and mild soap, or an alcohol wipe, to scrub the area where the lock and catch will go. Dry the surface completely with a clean cloth. A clean surface ensures that your installation is durable and that knowing how to lock a cabinet results in a long-lasting solution.
Step 5: Measure and Mark Pilot Holes
Precision is the difference between a lock that clicks shut smoothly and one that jams. Hold your lock mechanism against the inside of the cabinet door where you want it to sit. Use your pencil to clearly mark the spots where the screws will go. If you are installing a keyed lock that goes through the door, measure the exact center of the stile (the vertical frame of the door) to ensure it looks symmetrical on the outside. Double-check your measurements before you do anything permanent. It is helpful to use a level if possible to ensure the lock body is perfectly straight, which prevents mechanical issues later on.
Step 6: Drill Pilot Holes Safely
Drilling pilot holes is a step you should never skip when working with wood. A pilot hole is a small hole drilled into the material to guide the screw and prevent the wood from splitting under pressure. Select a drill bit that is slightly smaller than the shank of your screws. Apply gentle, steady pressure and drill into your pencil marks, being extremely careful not to drill all the way through the door if you are only mounting an interior latch. You can wrap a piece of tape around the drill bit to mark the depth limit, ensuring you stop at the right spot every time.
Step 7: Install the Main Lock Body
Now you are ready to attach the main part of the lock to the door. Align the mechanism with the pilot holes you just drilled. Using your screwdriver or a drill on a low-speed setting, drive the screws in until they are snug. Do not overtighten them, as this can strip the screw holes or crack the plastic housing of safety latches. Ensure the mechanism is firm and does not wiggle when you touch it. If you are installing a keyed cylinder, insert the cylinder through the front hole and secure it from the back with the provided nut or clip.
Step 8: Attach the Catch or Strike Plate
The catch, or strike plate, is the piece that the lock hooks onto to keep the door closed. This is usually mounted inside the cabinet frame or on the shelf above the door. Close the door and look at where the lock aligns with the frame to determine the correct position. Mark the holes for the catch, drill your pilot holes, and screw the catch into place.
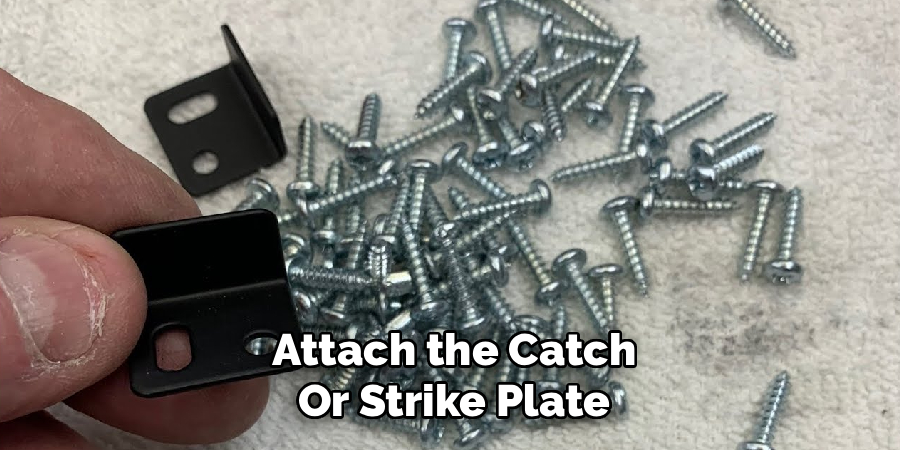
This alignment is the most tricky part of the process. If the catch is too far back, the lock won’t engage; if it is too far forward, the door will rattle. Take your time to get this alignment perfect.
Testing and Adjusting the Fit
With both pieces installed, it is time to test your work. Close the cabinet door gently and attempt to engage the lock. It should click into place smoothly without you having to force the door. If there is resistance, or if the lock doesn’t catch, you will need to make adjustments. Loosen the screws slightly on the catch plate and slide it forward or backward as needed, then retighten. Repeat this test several times. Mastering the subtle adjustments is a big part of learning how to lock a cabinet successfully. Ensure the door stays firmly closed when pulled.
Final Cleanup and Key Storage
Once you are satisfied with the mechanism, clean up any sawdust or pencil marks left on the cabinet. If you installed a magnetic lock, place the magnetic key in a high, safe spot that is out of reach of children but easily accessible to adults. For keyed locks, add the spare key to your main key ring and store the duplicate in a secure location. Taking care of these final details ensures your system remains functional and safe. You have now successfully secured your cabinet, adding a layer of protection to your home that will last for years.
Frequently Asked Questions
What Is The Best Lock For Wooden Cabinets?
The best lock for wooden cabinets depends on your specific goal. For high security, a cam lock or a deadbolt lock is ideal because it physically bars the door from opening and requires a key. These are durable and difficult to force open. However, if you are looking for child safety without damaging the wood finish, magnetic locks are superior. They mount internally and remain invisible from the outside, preserving the aesthetic of your wood furniture while keeping the contents secure.
Can I Lock A Cabinet Without Drilling Holes?
Yes, you absolutely can lock a cabinet without using a drill. The market is filled with adhesive safety locks that use strong 3M tape to adhere to your furniture. These are perfect for renters or temporary baby-proofing. Another option is a sliding cabinet lock, which wraps around the handles or knobs of double-door cabinets. These require no installation tools at all and can be removed in seconds, making them a very convenient, non-permanent solution for securing handles.
How Do I Remove Adhesive Locks Later?
Removing adhesive locks is generally simple and safe for your furniture if done correctly. You should use a hair dryer to heat the adhesive for about a minute. The heat softens the glue, making it pliable. Once warm, gently wiggle the lock back and forth or use a piece of dental floss to saw behind the base of the lock. After the lock pops off, you can wipe away any remaining sticky residue with a citrus-based cleaner or a little rubbing alcohol.
Are Magnetic Locks Better Than Latch Locks?
Magnetic locks are often considered better for childproofing because they are more secure against clever toddlers. Traditional plastic latches allow the door to open an inch or two, which can pinch little fingers, and older children can sometimes figure out how to push the latch down. Magnetic locks keep the door completely shut and can only be opened with the specific magnetic key. However, you must be diligent about not losing the key, or you will be locked out of your own cabinet.
Can I Install Locks On Glass Cabinet Doors?
Installing locks on glass doors requires specialized hardware. You cannot drill into tempered glass without shattering it, so you must use a clamp-style lock or an adhesive lock designed for glass surfaces. Ratchet locks are a common choice; they slide onto the edge of the glass door and lock in place. Another option is a plunger lock specifically made for sliding glass display cases. Always check the manufacturer’s instructions to ensure the lock is compatible with glass thickness to avoid cracking the material.
Conclusion
Securing your home storage doesn’t have to be a complicated or expensive ordeal. By following these steps, you have taken a proactive measure to protect your family and your belongings. Whether you chose a heavy-duty deadbolt or a simple adhesive latch, the result is a safer, more organized home environment. Remember that maintenance is part of the process; check your locks periodically to ensure screws haven’t loosened and adhesives remain strong. Now that you understand how to lock a cabinet properly, you can tackle other safety projects around the house with confidence.

About
Robert D is a distinguished figure in the world of Safety Systems and Risk Management, with a decade of expertise creating innovative and sustainable workplace solutions. His professional focus lies in merging traditional safety protocols with modern digital monitoring techniques, fostering environments that are both practical and hazard-conscious. As the lead author of SafetyRift, Robert delves into the art and science of risk mitigation, inspiring safety officers and industry professionals alike to bridge the gap between compliance and culture.
Education
RMIT University (Melbourne, Australia)
Associate Degree in Design (Industrial Safety)
-
Focus on sustainable safety infrastructure, industry-driven risk assessments, and practical implementation.
-
Gained hands-on experience with traditional hazard identification and digital monitoring tools, such as IoT safety sensors and predictive analytics software.
Nottingham Trent University (United Kingdom)
Bachelor’s in Occupational Health and Safety (Honors)
-
Specialized in systemic design with a focus on blending human behavior psychology with modern safety production techniques.
-
Participated in industry-wide projects, working with global logistics and manufacturing firms to gain real-world insights into large-scale safety deployments.
Publications and Impact
In SafetyRift, Robert shares his insights on safety design processes, protective materials, and strategies for efficient, accident-free production. His writing bridges the gap between foundational safety knowledge and modern industrial needs, making it a must-read for both budding safety coordinators and seasoned risk management professionals.
