
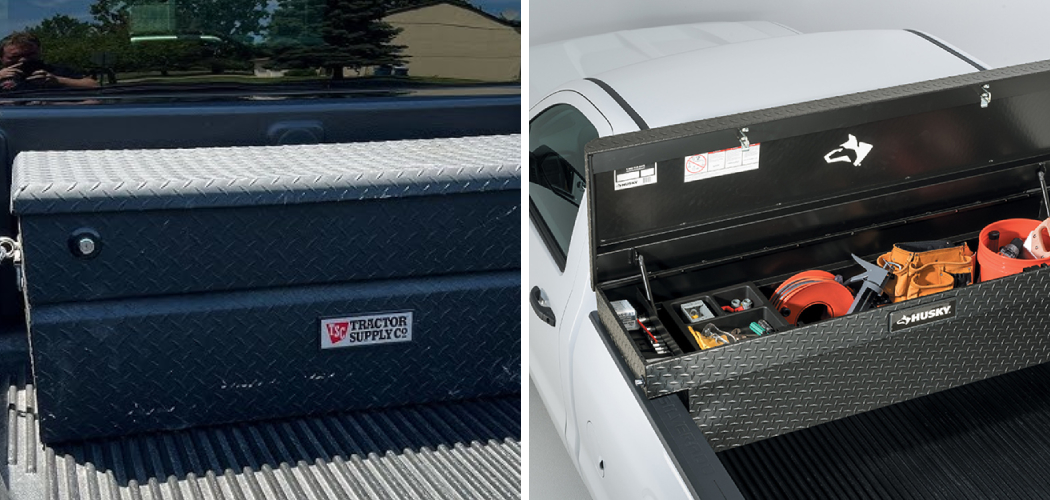
A truck tool box is an essential accessory for any truck owner, providing a convenient and organized space to store valuable tools and equipment. However, simply placing it in your truck bed isn’t enough.
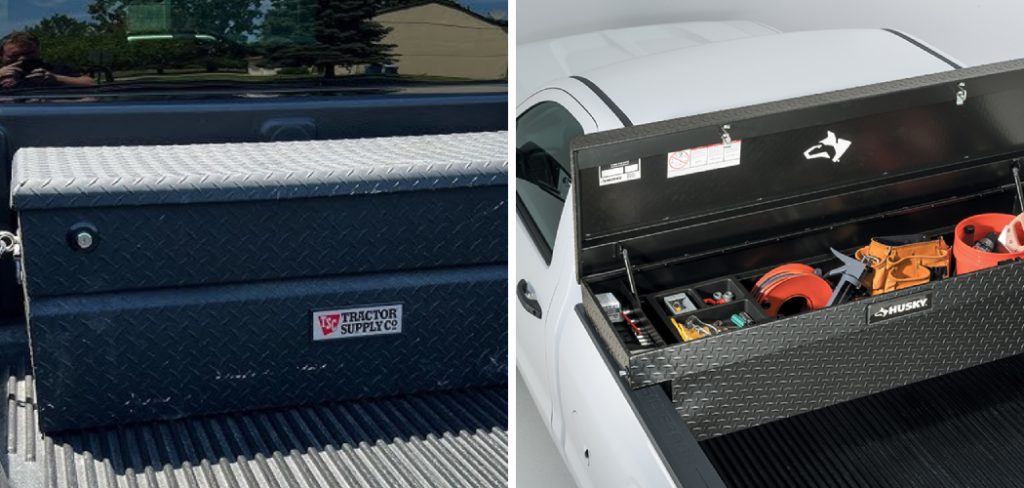
Learning how to secure a truck tool box properly is crucial for protecting your investment from theft and preventing it from shifting or causing damage while you drive. This guide will walk you through the entire process, ensuring your gear stays safe, organized, and exactly where it should be. With a few simple tools and a little time, you can have peace of mind knowing your belongings are protected.
Why Securing Your Truck Tool Box Matters
The primary reason to secure your truck tool box is to prevent theft. Tools are expensive and are a common target for thieves. An unsecured box is an easy opportunity for a quick grab-and-go crime. Beyond security, an unfastened tool box poses a significant safety risk. During a sudden stop, sharp turn, or collision, a heavy, metal box can become a dangerous projectile, causing severe damage to your truck bed or, in a worst-case scenario, flying out and endangering others on the road. Proper installation also prevents the box from sliding around, which can scratch your truck’s paint and create distracting noise.
8 Step Methods Guide on How to Secure a Truck Tool Box
Step 1: Gather Your Tools and Materials
Before starting the installation, it’s important to gather everything you need. This preparation will make the process smoother and more efficient. You will typically need a drill with appropriate bits, a socket wrench set, a measuring tape, and a marker. The mounting hardware is the most critical component; most new tool boxes come with a kit containing bolts, washers, and nuts.
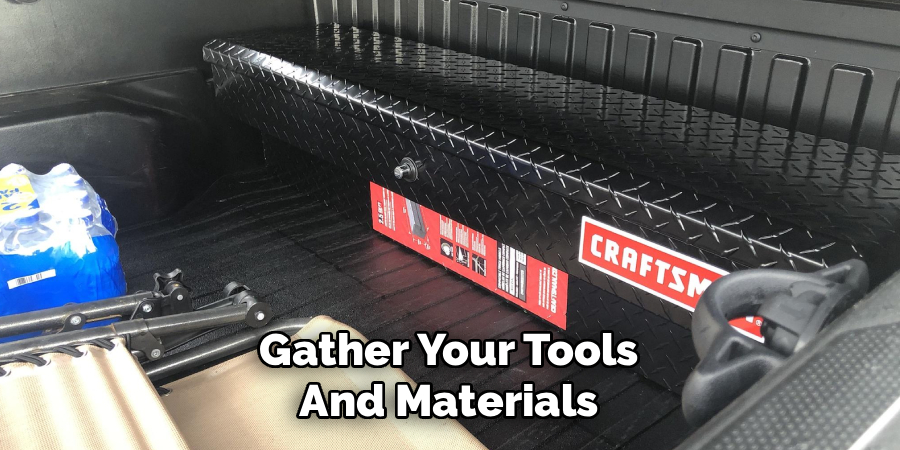
If you bought a used box or your kit is missing, you will need to purchase a universal mounting kit. These kits often use J-hooks or a clamp-style system, which are designed to avoid drilling into the truck itself.
Step 2: Clean and Prepare the Mounting Area
A clean surface ensures a better fit and prevents debris from getting trapped between the tool box and your truck bed rails, which could cause scratches or rust over time. Take a few minutes to thoroughly clean the area of the truck bed where the tool box will sit. Remove any dirt, grease, or grime using a simple cleaning solution and a cloth. After cleaning, dry the area completely. This is also a good time to inspect the bed rails for any pre-existing damage that might interfere with a secure installation. A smooth, clean surface is the foundation for a stable setup.
Step 3: Position the Tool Box Correctly
Proper placement is key to both function and safety. Lift the tool box and place it onto the truck bed rails. Most crossover-style tool boxes are designed to rest on top of the side rails, just behind the cab. Slide the box forward until it lightly touches the front wall of the truck bed. It should be perfectly centered from side to side. Use your measuring tape to confirm the distance from each end of the tool box to the side of the truck bed is equal. This ensures the weight is distributed evenly and the box looks professionally installed.
Step 4: Mark the Drilling or Clamping Points
Once the tool box is perfectly positioned, you need to mark the spots for the mounting hardware. If your box requires drilling, look for the pre-drilled holes on the inside flanges of the tool box. Using a marker or a center punch, reach inside the box and mark the truck’s bed rail directly below these holes. If you are using a no-drill J-hook or clamp system, you will simply identify where the clamps need to be placed to grab the underside of the bed rail lip securely. Marking these locations accurately is crucial for a successful and secure installation.
Step 5: How to Secure a Truck Tool Box by Drilling Holes (If Necessary)
If your mounting kit requires it, drilling is the next step. Before you begin, double-check that there are no fuel lines, electrical wiring, or other critical components underneath the area you are about to drill. Start with a small pilot hole to ensure accuracy and then move up to the correct size bit for your mounting bolts. Drill straight through the marks you made on the truck bed rails. Take your time to ensure the holes are clean and perpendicular to the surface. This method provides an extremely strong connection, though many modern kits offer no-drill alternatives.
Step 6: Install the Mounting Hardware
With the holes prepared or the clamp locations identified, you can now install the hardware. For a drilled installation, insert the bolts from inside the tool box down through the holes in the box and the truck bed rail.
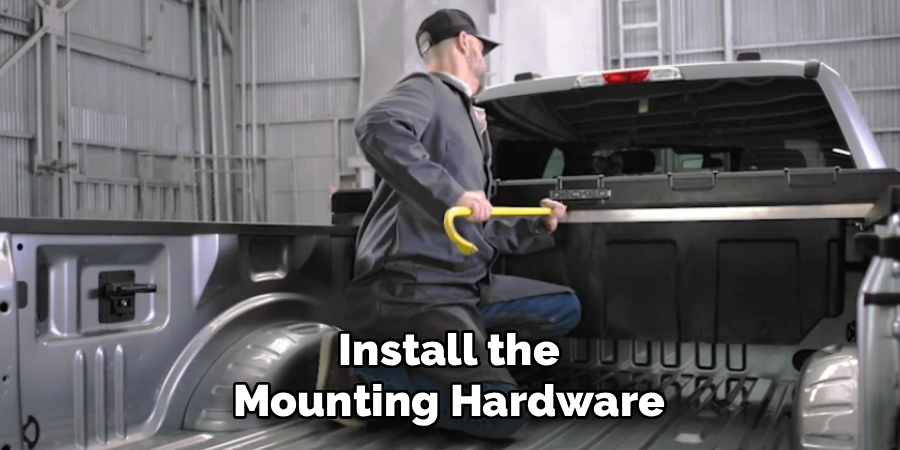
From underneath the rail, place a washer and then thread a nut onto the bolt. For a no-drill J-hook system, hook the curved end under the lip of the bed rail and feed the threaded end up through the tool box. Place a washer and nut on the threaded end inside the box. Initially, just tighten the nuts by hand.
Step 7: Tighten the Hardware Evenly
Securing the hardware correctly is the final part of learning how to secure a truck tool box. Using your socket wrench, begin to tighten the nuts. It’s important to tighten them in an alternating pattern, similar to how you would tighten the lug nuts on a wheel. Tighten one side a little, then move to the opposite side, then to the next corner, and so on. This approach ensures the tool box settles evenly onto the bed rails without warping or creating stress points. Continue this pattern until all bolts or clamps are fully and securely tightened.
Step 8: Final Inspection and Testing
After all the hardware is tight, perform a final check. Grab the tool box firmly with both hands and try to shake it from side to side and push it forward and backward. There should be no significant movement or rattling. If the box moves, identify the loose hardware and tighten it further. Also, open and close the lid a few times to ensure it operates smoothly and isn’t binding against the truck cab. A properly secured tool box should feel like an integral part of the truck itself, giving you confidence that it’s safe and secure.
Perform a Final Cleanup
Once the tool box is securely installed, take a moment to clean up the work area. Remove any tools, leftover hardware, or packaging materials from the truck bed. Wipe down the tool box to remove any fingerprints, dust, or debris that may have accumulated during installation. This final cleanup ensures your tool box looks polished and professional while preventing any stray materials from causing damage or clutter in your truck bed. A clean and organized work space signifies a job well done!
Frequently Asked Questions
Can I Secure a Truck Tool Box Without Drilling?
Yes, absolutely. Many modern mounting kits are designed specifically for a no-drill installation. These kits typically use J-hooks or special clamps that grip the underside of your truck’s bed rails. This method is not only easier and faster for most people, but it also preserves the integrity of your truck bed by avoiding permanent holes, which helps prevent potential rust issues down the line. These systems provide excellent security and stability when installed correctly.
How Tight Should the Bolts Be?
The bolts should be very tight, but you should avoid over-tightening them. The goal is to compress the mounting hardware enough to prevent any movement of the tool box. A good rule of thumb is to tighten until the box feels completely solid and doesn’t shift when you try to move it by hand. Over-tightening can strip the threads, crack the tool box, or even damage your truck’s bed rails. Use a wrench to get them snug, then give them a final quarter-turn.
What Prevents Someone From Just Unscrewing the Bolts?
This is a valid concern. The security comes from the fact that the bolts or nuts are located inside the tool box. To access the mounting hardware, a thief would first need to get past the tool box’s lock and open the lid. By keeping your tool box locked, you effectively protect the bolts from being tampered with. This simple design makes it incredibly difficult for anyone to remove the box without having the key.
Are Plastic Tool Boxes As Secure As Metal Ones?
While metal (aluminum or steel) tool boxes are generally considered more durable and offer higher security against forced entry, a properly secured plastic tool box can still be very effective. The key is the mounting system. As long as the plastic box is securely bolted or clamped to the truck bed according to the manufacturer’s instructions, it will be protected from theft. The primary difference lies in their resistance to being broken into, not their ability to be secured to the truck.
Can I Install a Truck Tool Box by Myself?
Yes, installing a truck tool box is typically a one-person job, especially if it’s a standard crossover style. The main challenge might be lifting the box into place, as some can be bulky or heavy. Once it is positioned on the bed rails, the rest of the process—marking, drilling (if needed), and tightening the hardware—can easily be managed by one person. Having a second person can make positioning the box easier, but it is not a requirement.
Conclusion
Protecting your tools and ensuring road safety are responsibilities that come with owning a truck. By following the steps outlined in this guide, you now have the knowledge to handle the task with confidence. Taking the time to properly mount your equipment prevents theft, avoids damage, and eliminates serious safety hazards. Now that you know how to secure a truck tool box, you can enjoy the full benefits of organized, accessible storage with the assurance that your valuable gear is safe. This simple project is a worthwhile investment in security and peace of mind.

About
Robert D is a distinguished figure in the world of Safety Systems and Risk Management, with a decade of expertise creating innovative and sustainable workplace solutions. His professional focus lies in merging traditional safety protocols with modern digital monitoring techniques, fostering environments that are both practical and hazard-conscious. As the lead author of SafetyRift, Robert delves into the art and science of risk mitigation, inspiring safety officers and industry professionals alike to bridge the gap between compliance and culture.
Education
RMIT University (Melbourne, Australia)
Associate Degree in Design (Industrial Safety)
-
Focus on sustainable safety infrastructure, industry-driven risk assessments, and practical implementation.
-
Gained hands-on experience with traditional hazard identification and digital monitoring tools, such as IoT safety sensors and predictive analytics software.
Nottingham Trent University (United Kingdom)
Bachelor’s in Occupational Health and Safety (Honors)
-
Specialized in systemic design with a focus on blending human behavior psychology with modern safety production techniques.
-
Participated in industry-wide projects, working with global logistics and manufacturing firms to gain real-world insights into large-scale safety deployments.
Publications and Impact
In SafetyRift, Robert shares his insights on safety design processes, protective materials, and strategies for efficient, accident-free production. His writing bridges the gap between foundational safety knowledge and modern industrial needs, making it a must-read for both budding safety coordinators and seasoned risk management professionals.
