
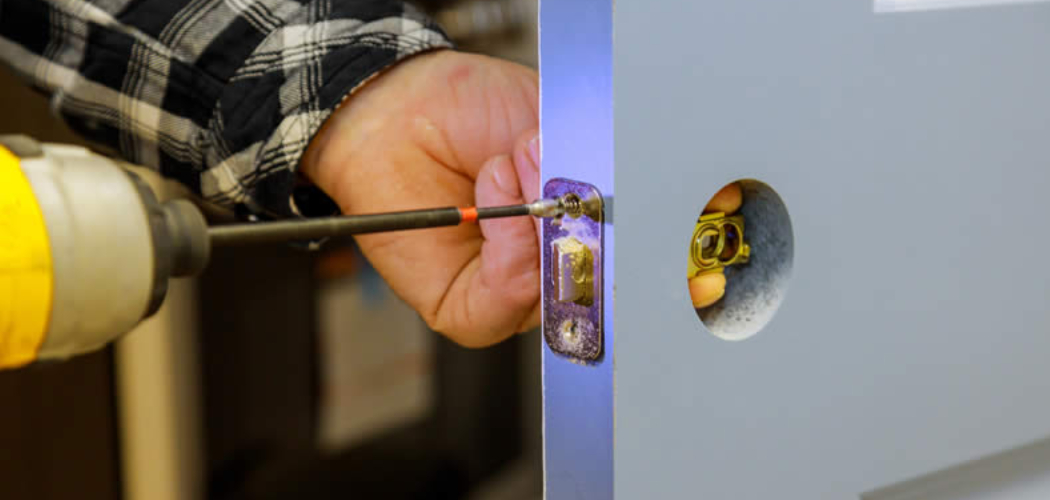
Pocket doors are a fantastic space-saving solution, offering a sleek and modern alternative to traditional swinging doors. However, to make them fully functional for rooms like bathrooms or bedrooms, a lock is essential for privacy.
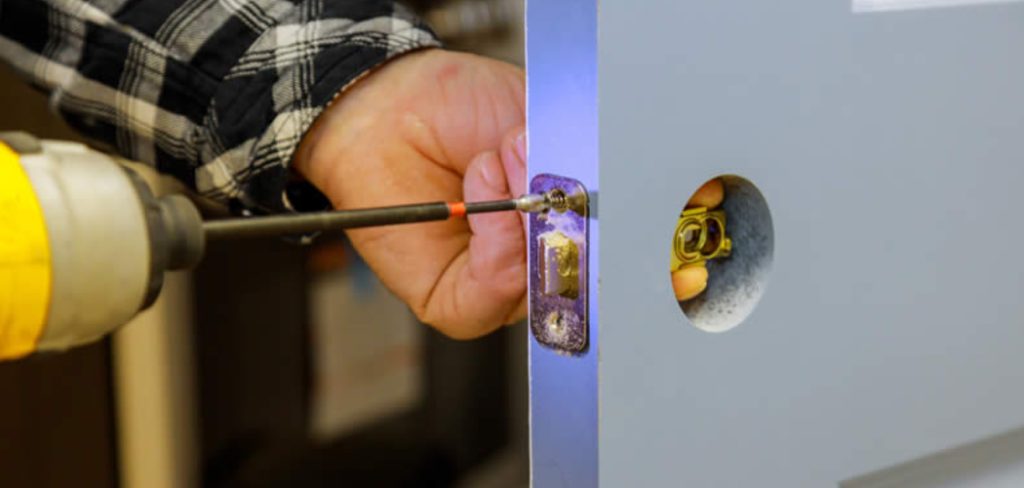
Many homeowners feel intimidated by the installation process, but it’s a manageable DIY project with the right tools and guidance. This guide will walk you through how to install pocket door lock hardware, transforming your sliding door into a secure and private entrance. With a bit of patience and careful work, you can add this crucial feature to your home, enhancing both its functionality and your peace of mind.
Why Install a Pocket Door Lock?
Installing a lock on your pocket door is about more than just security; it’s about creating defined, private spaces within your home. For rooms like a home office, bathroom, or bedroom, a lock is a non-negotiable feature that ensures personal space is respected. It provides a simple yet effective barrier, signaling that a room is occupied and preventing accidental walk-ins. A pocket door lock also adds a finished, professional touch to the door itself, elevating its appearance from a simple divider to a fully integrated part of the room. This small upgrade significantly boosts the door’s utility and contributes to a more comfortable and functional living environment for everyone in the household.
8 Step-by-Step Guide on How to Install Pocket Door Lock
Step 1: Gather Your Tools and Materials
Before you begin, gathering all the necessary tools and materials will ensure a smooth process. You will need the pocket door lock kit itself, which typically includes the lock body, strike plate, faceplates, and screws.
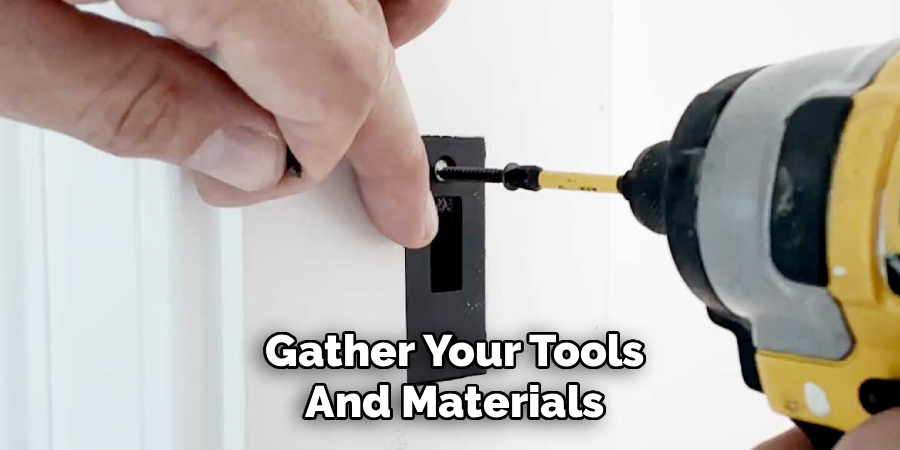
Your essential tools include a tape measure, a pencil for marking, a drill with various bit sizes (including a spade or hole saw bit), a sharp chisel, a utility knife, and a screwdriver. It’s also wise to have safety glasses to protect your eyes from wood dust and debris. Check the lock’s instructions for any specific tool requirements, as some models may need a particular jig or bit size.
Step 2: Mark the Lock Position on the Door
Accurate measurements are critical for a proper fit. Most pocket door locks are installed at a standard height of 36 to 48 inches from the floor. Choose a height that is comfortable for you and consistent with other doorknobs in your home. Use your tape measure to find the desired height on the edge of the pocket door and mark the center point with a pencil. Your lock kit will include a paper or cardboard template. Align this template with your center mark on the door’s edge and tape it securely in place. This template will guide all your cuts and drill holes.
Step 3: Cut the Mortise on the Door Edge
The mortise is the rectangular recess on the door’s edge where the lock body will sit. Using the template as your guide, carefully score the outline of the mortise with a utility knife. This helps prevent the wood from splintering when you drill. Next, use a drill with a spade bit that matches the thickness of the lock body to remove the bulk of the wood inside the marked area. Drill a series of overlapping holes to the depth specified in your lock’s instructions. Be careful not to drill too deep. This step is a key part of learning how to install pocket door lock hardware correctly.
Step 4: Chisel and Clean the Mortise
With the majority of the wood removed, it’s time to clean up the mortise. Use a sharp chisel and a hammer to carefully remove the remaining wood and create a clean, flat-bottomed recess. Work slowly, holding the chisel vertically to define the edges and then angling it to pare away thin layers of wood. The goal is to create a snug fit for the lock body. Constantly test-fit the lock body as you work. It should slide into the mortise easily but not be loose. A precise mortise ensures the lock operates smoothly and sits flush with the door edge.
Step 5: Drill Holes for the Lock Mechanism
Now you need to drill the holes through the face of the door for the thumb turn and privacy pin or key mechanism. Your template, still taped to the door, will show you exactly where to drill. Select a hole saw or spade bit of the correct diameter as indicated in the instructions.

It’s crucial to keep your drill perfectly level and perpendicular to the door to ensure the holes align correctly on both sides. To avoid splintering the wood on the exit side, drill halfway through from one side, then stop and complete the hole from the opposite side.
Step 6: Install the Lock Body
With all the cuts and holes made, you can now install the main lock body. Slide the lock mechanism into the mortise you created on the door’s edge. It should be a snug fit. If it’s too tight, you may need to chisel away a tiny bit more wood. Once it fits perfectly, secure it in place using the screws provided in the kit. Attach the decorative faceplates on both sides of the door, feeding the thumb-turn and other mechanisms through the holes you drilled. Secure these plates with their screws, making sure not to overtighten them.
Step 7: Mark and Install the Strike Plate on the Jamb
The final component is the strike plate, which mounts on the door jamb and catches the lock’s bolt. To position it correctly, extend the lock’s bolt and carefully slide the door closed until the bolt touches the jamb. Mark the top and bottom of the bolt on the jamb with a pencil. Open the door and use these marks to position the strike plate. Trace the outline of the strike plate onto the jamb. Just as you did for the lock body, you will need to create a shallow mortise for the strike plate so it sits flush with the jamb.
Step 8: Create the Strike Plate Mortise and Test
Using your utility knife, score the outline you traced for the strike plate on the door jamb. Then, use your chisel to carefully remove a thin layer of wood within the outline, just deep enough for the plate to sit flush.
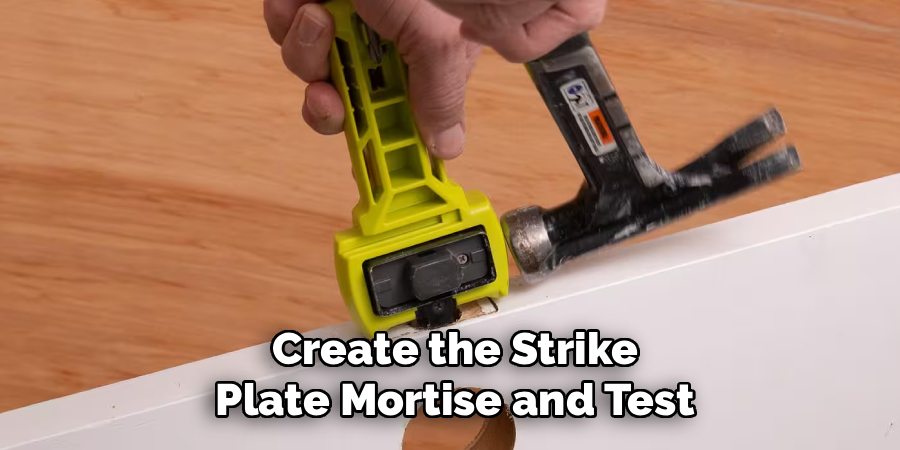
Next, drill a hole in the center of this mortise for the lock bolt to extend into. The depth and diameter should match the lock bolt. Screw the strike plate into place. Finally, test the lock. Close the door and operate the thumb turn. The bolt should slide smoothly into the strike plate, securing the door. Make any necessary adjustments for a perfect fit.
Frequently Asked Questions (FAQ)
Can I Install a Lock on an Existing Pocket Door?
Yes, you can absolutely install a lock on an existing pocket door. The process is the same as installing one on a new door. The main challenge is ensuring you have clear access to the door’s edge and the jamb. You will need to pull the door completely out of its wall pocket to mark, drill, and chisel the necessary openings for the lock body and hardware. It’s a project that requires precision but is very achievable for a DIYer.
What Is the Best Type of Lock for a Pocket Door?
The best type of lock is one specifically designed for pocket doors. These are typically called pocket door privacy latches or locks. They feature:
- A slim profile to fit within the door’s thickness.
- A thumb-turn on the inside for easy locking.
- An emergency release slot on the outside.
- A retractable edge pull to help slide the door out of the pocket.
Avoid using standard doorknob hardware, as it is not compatible.
How Do I Choose the Right Size Lock for My Door?
Most pocket door locks are designed to fit standard interior doors, which are typically 1 3/8 inches to 1 3/4 inches thick. Before purchasing a lock kit, measure the thickness of your door to confirm it falls within this range. The lock’s packaging or product description will specify the compatible door thickness. Choosing a lock designed for your door’s dimensions is crucial for a secure and functional installation.
What if the Lock Doesn’t Latch Properly?
If the lock bolt doesn’t align with the strike plate, a few adjustments can be made. First, check if the strike plate on the jamb is positioned correctly. You may need to slightly move it up or down. If the door doesn’t close far enough for the bolt to engage, you may need to adjust the door’s hangers on the track. Minor misalignments can often be fixed by slightly enlarging the hole behind the strike plate with a chisel or file.
Can I Replace an Old Pocket Door Lock?
Yes, replacing an old or broken pocket door lock is usually straightforward. The most important step is to find a new lock with the same dimensions as the old one, particularly the size of the mortise cutout. This will save you from having to chisel a new opening. Simply remove the old hardware, clean the mortise, and install the new lock using the existing cutouts. If you can’t find an exact match, you may need to slightly modify the mortise.
Conclusion
Adding a lock to a pocket door is a practical upgrade that significantly improves the privacy and functionality of any room. While it may seem complex, the project is well within reach for anyone with basic tools and a steady hand. By following the steps outlined—from gathering your tools and marking the door to chiseling the mortise and installing the strike plate—you can achieve a professional result. Don’t be hesitant to take on this task. Learning how to install pocket door lock hardware is a rewarding skill that adds tangible value to your home.

About
Robert D is a distinguished figure in the world of Safety Systems and Risk Management, with a decade of expertise creating innovative and sustainable workplace solutions. His professional focus lies in merging traditional safety protocols with modern digital monitoring techniques, fostering environments that are both practical and hazard-conscious. As the lead author of SafetyRift, Robert delves into the art and science of risk mitigation, inspiring safety officers and industry professionals alike to bridge the gap between compliance and culture.
Education
RMIT University (Melbourne, Australia)
Associate Degree in Design (Industrial Safety)
-
Focus on sustainable safety infrastructure, industry-driven risk assessments, and practical implementation.
-
Gained hands-on experience with traditional hazard identification and digital monitoring tools, such as IoT safety sensors and predictive analytics software.
Nottingham Trent University (United Kingdom)
Bachelor’s in Occupational Health and Safety (Honors)
-
Specialized in systemic design with a focus on blending human behavior psychology with modern safety production techniques.
-
Participated in industry-wide projects, working with global logistics and manufacturing firms to gain real-world insights into large-scale safety deployments.
Publications and Impact
In SafetyRift, Robert shares his insights on safety design processes, protective materials, and strategies for efficient, accident-free production. His writing bridges the gap between foundational safety knowledge and modern industrial needs, making it a must-read for both budding safety coordinators and seasoned risk management professionals.
