

Taking on a home improvement project can feel both exciting and a little daunting. If you’re looking to upgrade your entryway, learning how to wire a chime doorbell is a fantastic and practical skill. This task might seem complex, but it’s quite manageable with the right guidance. A properly functioning doorbell system not only adds convenience but also a touch of security to your home.
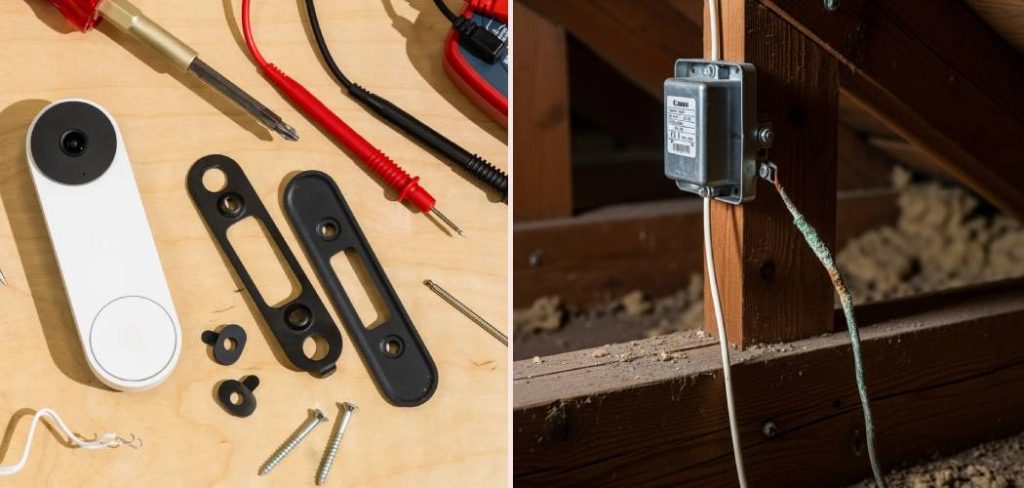
This guide will walk you through the entire process, from understanding the components to making the final connections. We’ll break down each action into simple, easy-to-follow steps. Whether you are replacing an old unit or installing a new one from scratch, you’ll find everything you need right here.
Understanding the Components of a Doorbell System
Before you touch a single wire, it’s essential to know what you’re working with. A standard hardwired doorbell system is a simple circuit made of three main parts.
The Doorbell Button
This is the part everyone is familiar with—the push button mounted outside your door. When pressed, it completes an electrical circuit, sending a signal to the chime box inside. These buttons come in various styles, from simple plastic models to more ornate metal designs, but their function remains the same.
The Chime Box
The chime box is the heart of the alert system, mounted on a wall inside your home. It contains the mechanism that creates the sound you hear. This could be two small metal bars struck by a plunger for a classic “ding-dong” sound or an electronic speaker for more modern tunes. The chime box has screw terminals for connecting the wires from the transformer and the doorbell button.
The Transformer
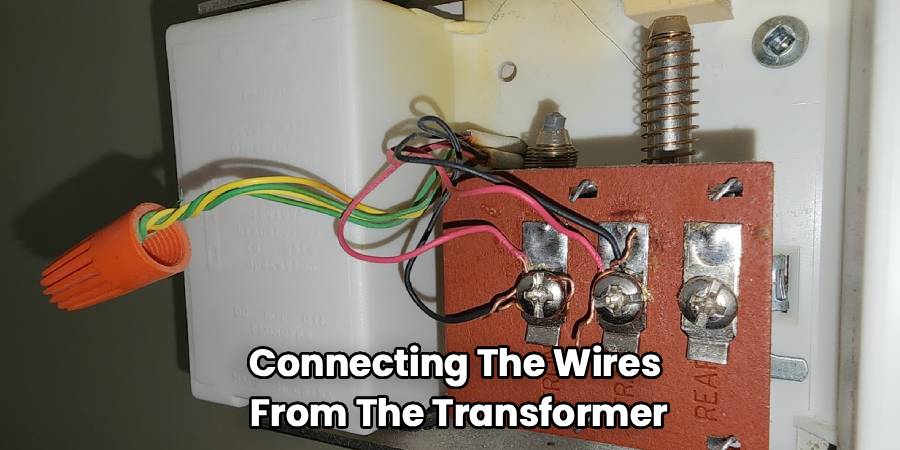
The transformer is a critical safety component. It takes your home’s standard 120-volt AC power and “steps it down” to a much lower voltage, typically between 10 and 24 volts. This low voltage is what powers the doorbell system, making it safe to work with. Transformers are usually found in the attic, a crawlspace, basement, or mounted near your home’s main electrical panel.
Tools and Materials You’ll Need
Gathering your tools and materials beforehand makes the installation process much smoother. Here’s what you should have on hand.
Essential Tools
- Screwdriver (both Phillips head and flathead)
- Wire strippers/cutters
- Needle-nose pliers
- Voltage tester
- Power drill with various bits
- Fish tape (if running new wires through walls)
- Pencil
Necessary Materials
- Doorbell chime kit (includes chime box and button)
- Doorbell transformer (ensure its voltage matches your chime’s requirements)
- Low-voltage doorbell wire (18-gauge is standard)
- Wire nuts
- Wall anchors and screws (often included with the kit)
Step-by-Step Guide on How To Wire A Chime Doorbell
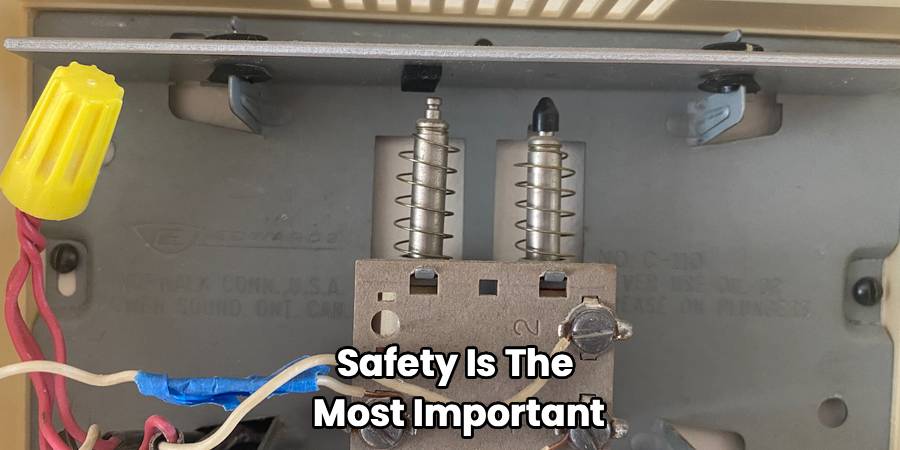
Safety is the most important part of any electrical project. Always begin by turning off the power at the circuit breaker that controls the doorbell circuit. Use a voltage tester to confirm there is no power to the existing doorbell components before you proceed.
Step 1: Install the Transformer
If you are replacing an old system, you may be able to use the existing transformer. However, it’s often best to install the new one that came with your kit to ensure compatibility.
Locate a Power Source
Find a suitable location for the transformer. This should be near a power source, like a junction box in your attic, basement, or near your electrical panel.
Mount the Transformer
Mount the transformer to the side of the junction box. Knock out one of the perforated tabs on the box and insert the threaded end of the transformer, securing it with the provided nut.
Connect the Power Wires
Inside the junction box, connect the transformer’s black wire to the black (hot) wire from your power source. Connect the white wire to the white (neutral) wire. Connect the green or bare copper wire to the ground wire in the box. Use wire nuts to secure these connections and wrap them with electrical tape for extra security. Leave the low-voltage screw terminals on the outside of the transformer untouched for now.
Step 2: Mount the Doorbell Button and Chime Box
Decide on the best locations for your new doorbell button and the interior chime box. The button should be at a comfortable height next to the door frame, and the chime should be in a central location where it can be heard throughout the house.
Position the Button
Drill a hole through the exterior wall for the doorbell wire. If you’re replacing an old button, you can use the existing hole. Mount the button base to the wall using the provided screws.
Position the Chime Box
Choose a spot for the chime box. Use a pencil to mark where the mounting screws will go. If you are not screwing into a stud, you will need to install wall anchors first. Drill pilot holes, insert the anchors, and then partially screw in the mounting screws, leaving enough space to hang the chime unit.
Step 3: Run the Low-Voltage Wiring
This step can be the most time-consuming, especially if there is no existing wiring.
From Transformer to Chime
Run a length of 18-gauge doorbell wire from the transformer’s location to the chime box location. It’s wise to leave a few extra inches of wire at both ends.
From Chime to Button
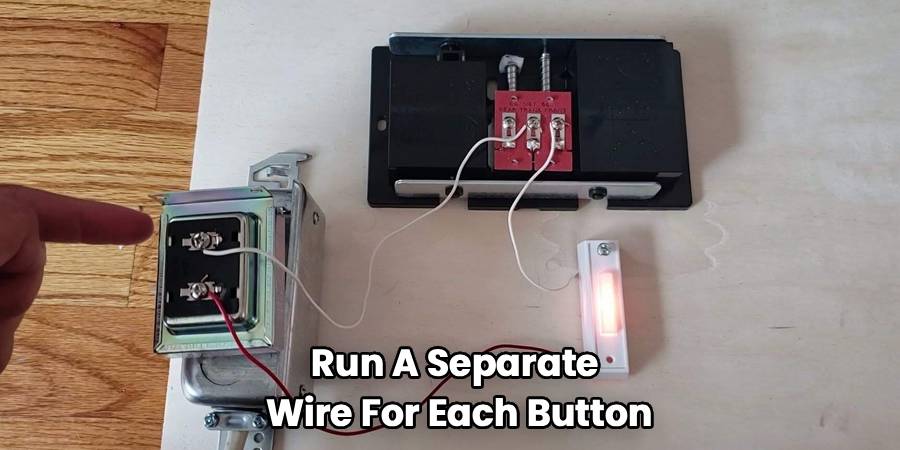
Next, run another length of wire from the chime box location to the doorbell button location outside. Again, leave some extra slack. If you’re wiring for a front and back door, you will need to run a separate wire for each button to the chime box.
Step 4: How To Wire A Chime Doorbell
Now it’s time to make the connections. This is where the simple circuit comes together. We will focus on a standard single-button, single-chime setup.
Connect Wires to the Transformer
At the transformer, you will see two low-voltage screw terminals. Use your wire strippers to remove about a half-inch of insulation from the ends of the two wires coming from the chime box. The doorbell wire will have two conductors. Connect one conductor to each of the screw terminals. It doesn’t matter which wire goes to which terminal.
Connect Wires at the Chime Box
Your chime box will have at least two screw terminals, typically labeled “TRANS” (for transformer), “FRONT” (for the front door button), and sometimes “REAR” (for a back door button).
- Take the wire coming from the transformer. Separate the two conductors.
- Connect one of these conductors to the “TRANS” terminal.
- Take the other conductor from the transformer wire and the wire coming from the doorbell button. Twist one conductor from each of these wires together using a wire nut. This connects the transformer circuit to the button circuit.
- Connect the remaining conductor from the doorbell button wire to the “FRONT” terminal on the chime box.
Connect Wires to the Doorbell Button
Outside, strip the ends of the two conductors running to your doorbell button. Attach one wire to each of the two screw terminals on the back of the button. Again, the order does not matter. Once connected, secure the button cover to its base.
Step 5: Test the System
With all the connections made, it’s time for the moment of truth.
Restore Power
Go back to your circuit breaker and turn the power back on.
Press the Button
Press the doorbell button. If all connections are correct, your chime should ring. If it makes a buzzing sound or doesn’t work at all, turn the power off immediately and double-check your wiring against the instructions.
Final Assembly
Once you’ve confirmed everything works, you can finish the assembly. Securely mount the chime box cover and ensure all wires are neatly tucked away.
Frequently Asked Questions
Is it safe to touch doorbell wires?
Generally, yes. Doorbell systems operate on low voltage (10-24V), which is not enough to cause a serious shock. However, you should always turn off the power at the circuit breaker before working on any part of the system to prevent any risk and to avoid shorting out the transformer.
Does a doorbell transformer get hot?
A doorbell transformer will naturally feel warm to the touch during normal operation. This is because it is constantly stepping down voltage. However, if it feels excessively hot or makes a loud buzzing noise, it may be failing and should be replaced.
Why is my new doorbell not working?
There are several common reasons. First, check that the power is on at the breaker. Next, re-examine all your wiring connections to ensure they are secure. A loose wire is a frequent culprit. Also, confirm that your transformer’s voltage matches the requirements of your chime. An underpowered transformer won’t be able to activate the chime.
Can I connect two chimes to one doorbell button?
Yes, you can. To do this, you would run a wire from the “FRONT” terminal of the first chime to the “FRONT” terminal of the second chime, and from the “TRANS” terminal of the first to the “TRANS” of the second. This wires them in parallel, allowing both to ring simultaneously. Make sure your transformer has enough power to operate both units.
Conclusion
Learning how to wire a chime doorbell is a rewarding project that demystifies a common household system. By following these steps carefully and prioritizing safety, you can successfully install a new doorbell that will serve your home for years to come. Remember to check all connections and ensure your components are compatible.
With a little patience and the right tools, you can handle this task without needing to call a professional. Now you can enjoy the satisfaction of a job well done every time a visitor announces their arrival with a pleasant chime.

