
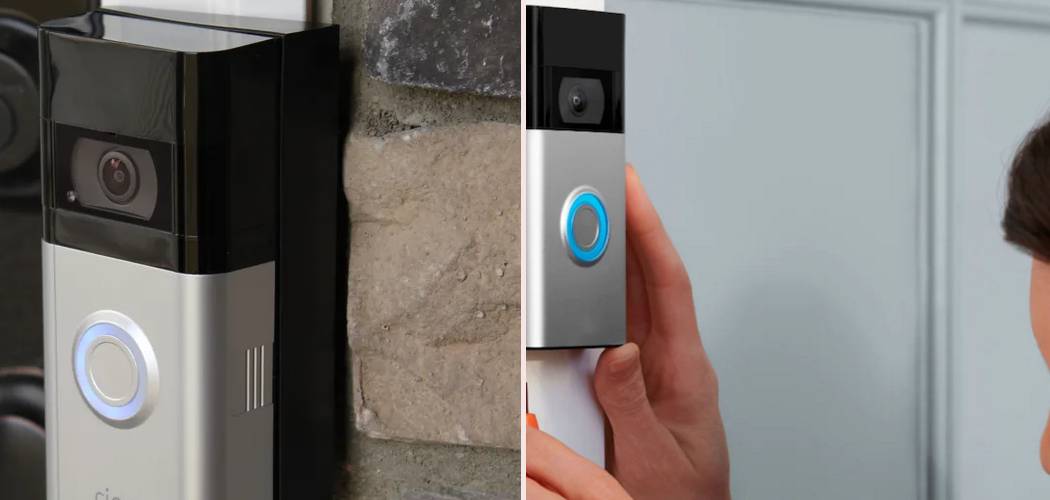
So, you’ve moved into a new place and there’s a Ring video doorbell already mounted by the front door. It’s exciting, but also a little confusing. How do you get it working for you and your family? This guide will walk you through everything you need to know about how to connect to Ring doorbell that is already installed, ensuring a smooth and secure setup process.
Don’t worry, you don’t need to be a tech wizard to do this. We’ll break it down into simple, easy-to-follow steps. Whether the previous owner left it behind or it was part of your new home purchase, we’ll get that smart doorbell synced to your account in no time.
Understanding The Situation: The Previous Owner’s Device
Before you can connect, you need to understand the status of the device. A Ring doorbell can only be registered to one account at a time for security reasons.
If the previous resident didn’t properly remove the doorbell from their Ring account, you won’t be able to set it up on yours. The device will remain “owned” by them.
This is a crucial security feature. It prevents unauthorized individuals from taking control of a video doorbell that isn’t theirs. So, the very first step is to figure out if the device is still linked to another account.
Step By Step Guide On How To Connect To Ring Doorbell
Step 1: Initial Device Check and Setup Attempt
Let’s begin by trying to connect to the device. This process will quickly tell you if the doorbell is free to be claimed or if it’s still registered to the previous owner.
Download the Ring App
First things first, you need the official Ring app. It’s the command center for your device.
You can find it on the Apple App Store for iPhones or the Google Play Store for Android devices. Download and install it on your smartphone or tablet.
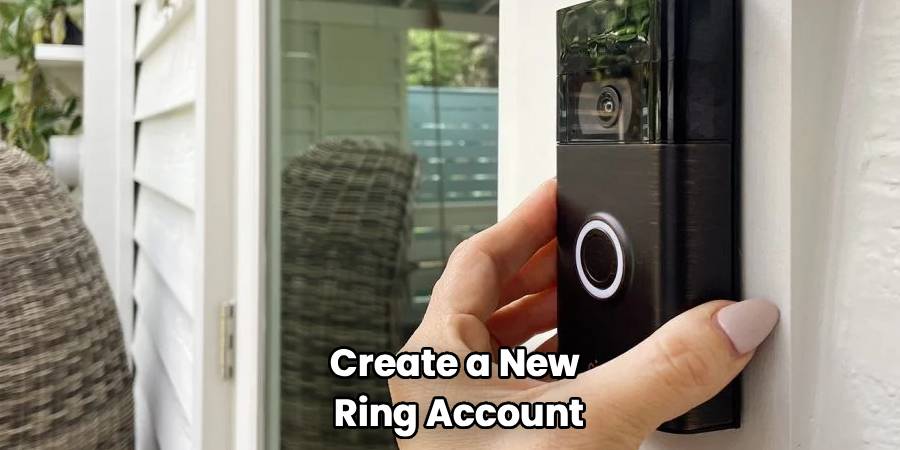
Create Your Ring Account
Once the app is installed, open it and create a new account. This will involve providing your name, email address, and creating a secure password.
Follow the on-screen prompts to complete your account registration. This account will be the new home for your smart doorbell.
Try to Add the Device
Now for the moment of truth. In the Ring app, tap the menu icon and select “Set Up a Device.”
Choose “Doorbells” from the list of device types. The app will then ask you to scan a QR code or MAC ID barcode on the Ring device.
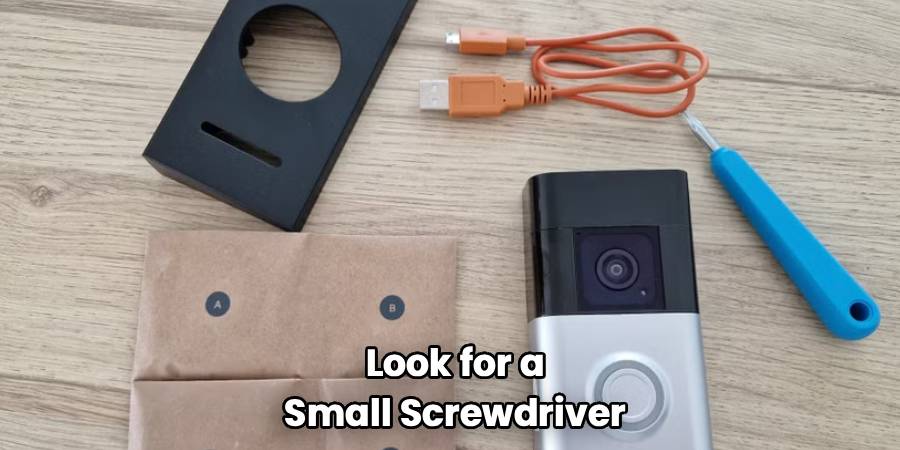
Locating the QR Code
The location of this code varies by model. On many video doorbells, you can find it on the back of the device. This means you will need to carefully remove it from its mounting bracket.
Look for a small screwdriver included in the original Ring box if the previous owner left it. If not, a small Phillips-head or star-shaped security screwdriver may be needed, depending on the model.
Loosen the security screw at the bottom of the doorbell and gently detach the faceplate or the entire unit to access the QR code on the back. For some models, the code might be on the side of the device, so check there first.
What Happens Next?
After you scan the code, one of two things will happen.
If the app proceeds with the setup process, congratulations! The device was not linked to an account, and you can continue with the on-screen instructions for setup.
If the app shows a message indicating the device is already registered to someone else, you’ll need to take a few more steps. Don’t worry, this is a common scenario.
Step 2: When the Device Is Registered to Someone Else
If you’ve confirmed the doorbell is still tied to the previous owner’s account, you must get it released. You have two main paths forward.
Option 1: Contact the Previous Owner
This is the most direct and fastest solution. If you have a way to contact the previous homeowner, realtor, or landlord, reach out to them.
Explain the situation and politely ask them to remove the doorbell from their Ring account. They may have simply forgotten to do it when they moved.
Instructions for the Previous Owner
You can send them these simple instructions to make it easy for them:
- Open the Ring app on their smartphone.
- Select the specific doorbell device they need to remove.
- Go to “Device Settings.”
- Tap on “General Settings.”
- Select “Remove This Device.” This action will permanently delete it from their account, freeing it up for you.
Once they confirm it’s done, you can restart the setup process in your own Ring app.

Option 2: Contact Ring Customer Support
If you cannot contact the previous owner, Ring’s customer support team is your next best option. They handle these ownership transfer requests frequently.
Be prepared to provide proof that you are the new homeowner. This is a vital security step to prevent theft.
Gather documents like a utility bill in your name for the new address, a mortgage statement, or a deed. Having this information ready will make the process much smoother.
When you call, explain that you have moved into a home with an existing Ring doorbell and need to transfer ownership. The support agent will guide you through the process of verifying your identity and residence. This process is how to connect to Ring doorbell that is already installed when direct contact isn’t possible.
After they verify your information, they will be able to release the device from the previous account on their end. This can take some time, so be patient. Once released, they will notify you, and you can then set up the device as your own.
Step 3: Completing the Ring Doorbell Setup
Once the device is released, you can finally complete the connection process. This involves syncing it with your home’s Wi-Fi and configuring its settings.
Re-Scan the QR Code
Go back into your Ring app and start the “Set Up a Device” process again. Scan the QR code on your doorbell as you did before.
This time, the app should allow you to proceed without any ownership warnings.
Enter Setup Mode
The app will instruct you to put the doorbell into “Setup Mode.” This usually involves pressing a small button on the back or side of the device.
When you press the button, the light on the front of the doorbell will start spinning, and a voice from the device will announce that it is in setup mode.
Connect to the Ring’s Temporary Network
Your doorbell will now broadcast a temporary Wi-Fi network. The Ring app will prompt you to connect your phone to this network.
It will have a name like “Ring-” followed by a series of numbers. Go to your phone’s Wi-Fi settings, find this network, and connect to it.
Link to Your Home Wi-Fi
After connecting to the temporary Ring network, return to the Ring app. The app will then display a list of available Wi-Fi networks in your area.
Select your home Wi-Fi network from the list and carefully enter your password. This step connects your doorbell to the internet, allowing it to send you notifications and video feeds.
Finalizing and Updating
Once connected to your Wi-Fi, the doorbell will likely need to perform a software update. This is normal and ensures your device has the latest features and security enhancements.
This update can take several minutes. Make sure the doorbell has power during this time. If it’s a battery-powered model, ensure the battery is charged. If it’s hardwired, the power should be consistent.
After the update, your doorbell will be connected and ready to go. You can re-mount it securely to the wall bracket.
Step 4: Customizing Your Settings
Now that your Ring doorbell is connected to your account, you can tailor its settings to fit your needs.
Motion Detection Settings
Access the “Motion Settings” in the app for your doorbell. Here, you can adjust the sensitivity of the motion sensors.
You can also create custom “Motion Zones.” This feature lets you draw specific areas in the camera’s view that you want to monitor for motion. This is useful for ignoring high-traffic areas like a busy street, which helps prevent false alerts and saves battery life.
Notification Preferences
Decide how and when you want to receive alerts. You can set the app to notify you for every motion detected or only when someone rings the doorbell.
You can also schedule motion alerts to turn off during certain times of the day when you know you’ll be home and active around the front door.
Shared Users
If you live with family or have trusted neighbors, you can add them as “Shared Users.” This gives them access to view the camera’s live feed and receive notifications on their own phones without giving them access to your main account settings.
Frequently Asked Questions
Here are answers to some common questions about setting up a pre-installed Ring doorbell.
Can I use a Ring Doorbell that was left by a previous owner?
Yes, absolutely. The key is ensuring the device is properly removed from the previous owner’s account first. If it is, you can set it up as if it were brand new.
What if I can’t remove the doorbell to find the QR code?
Some models have the QR code on the side or even in the original user manual. If you can’t find it or can’t remove the device, contact Ring support. They may be able to help identify the device and assist with the setup using its MAC address.
Does the Ring Protect subscription transfer to the new owner?
No, Ring Protect subscriptions are tied to the Ring account, not the device itself. The previous owner’s subscription will be canceled for that device when they remove it. You will need to purchase your own Ring Protect plan if you want to save video recordings.
What tools do I need to remove the doorbell from the wall?
Most Ring doorbells use a small T6 Torx security screw. Ring usually includes a special screwdriver in the box. If you don’t have it, you can buy a small electronics screwdriver kit online or at a hardware store.
My doorbell is hardwired. Do I need to turn off the power?
It’s always a good safety practice to turn off the power at your circuit breaker before removing a hardwired electronic device. This prevents any risk of electrical shock. After you are done with the setup and have remounted the device, you can turn the power back on.
The doorbell won’t enter setup mode. What should I do?
First, ensure the device has power. If it’s a battery model, the battery might be completely drained. Remove it and charge it fully using a micro-USB cable. For hardwired models, check that the breaker is on and the wiring is secure. If it still doesn’t work, a hard reset might be necessary, which usually involves holding the setup button for about 20 seconds.
Conclusion
Knowing how to connect to Ring doorbell that is already installed is a straightforward process when you know the steps. The most important hurdle is ensuring the device is released from the previous owner’s account. Whether you do this by contacting them directly or by working with Ring’s customer support team, it’s a necessary step for security.
Once the ownership is cleared, the Ring app provides excellent guidance to get you connected to your Wi-Fi and customize your settings. By following this guide, you can take full control of your new smart home device and enjoy the peace of mind that comes with it. Your front door is now securely monitored and accessible right from your smartphone.