
That persistent, high-pitched chirp from a smoke detector is a sound that can test anyone’s patience, especially in the dead of night. While it’s tempting to just pull out the battery and forget about it, that annoying chirp is your detector’s way of telling you something needs attention. Ignoring it or disabling the device puts your home and family at serious risk. This guide will walk you through the reasons behind the noise and provide clear instructions on how to fix a chirping smoke detector, ensuring your first line of defense against fire remains fully functional.
A working smoke alarm is crucial for home safety. According to the National Fire Protection Association (NFPA), the risk of dying in a home fire is 55 percent lower in homes with working smoke alarms. That single, repetitive chirp isn’t an emergency signal for a fire, but it is a critical maintenance alert. Let’s decode what your smoke detector is trying to tell you and restore peace and quiet to your home.

6 Easy Step-by-Step Guide to Fixing a Chirping Smoke Detector
Troubleshooting a chirping smoke detector is usually straightforward. The key is to work through the potential causes logically, from the most common to the least. Follow these steps to diagnose and solve the problem.
Step 1: Identify Which Unit Is Chirping
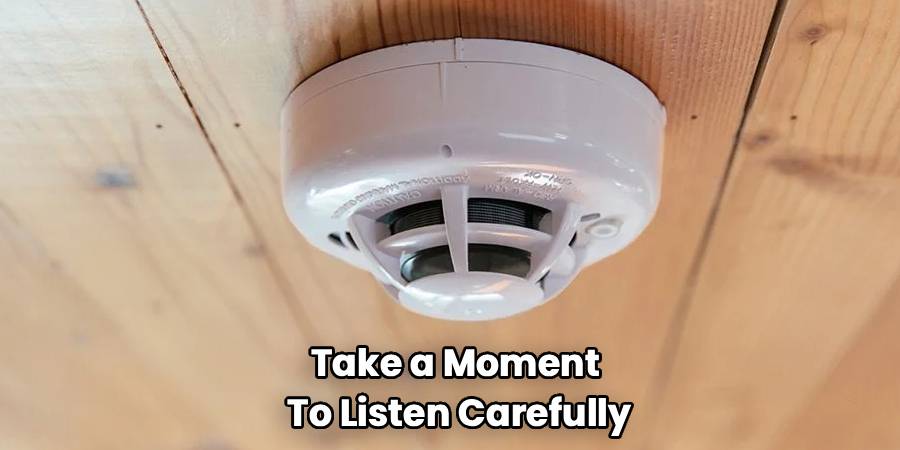
In many homes, smoke detectors are interconnected. When one has a problem, it can sometimes be confusing to pinpoint the source. Before you start unscrewing every alarm from the ceiling, take a moment to listen carefully. The unit with the problem is typically the only one that will have a flashing red or green light accompanying the chirp. Once you’ve located the problematic detector, you can move on to fixing the issue.
Step 2: Replace the Battery
The most common reason for a smoke detector to chirp is a low battery. The device is designed to alert you well before the battery dies completely. This is a simple fix.
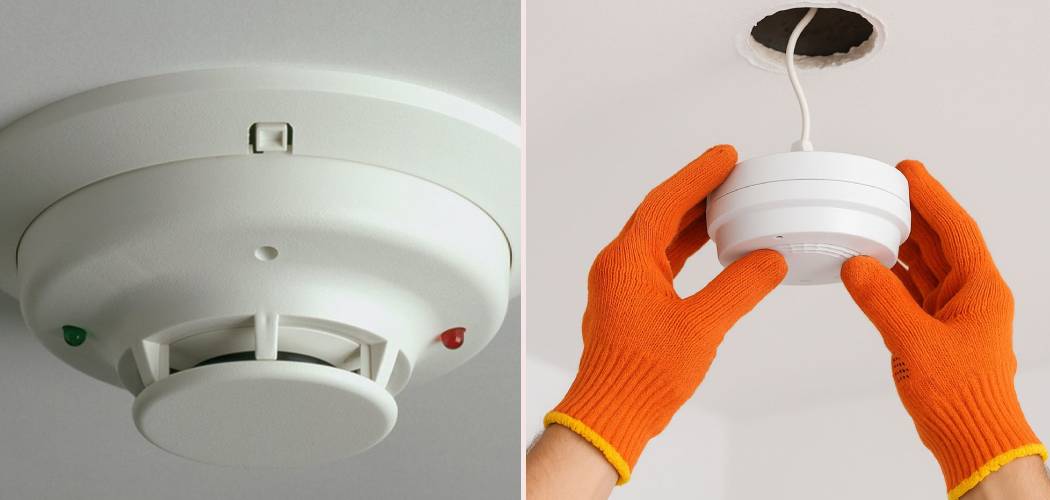
First, gently twist the smoke detector counter-clockwise to remove it from its mounting bracket on the ceiling or wall. On the back of the unit, you’ll find a battery compartment. Open it and remove the old battery. It’s important to use the exact type of battery recommended by the manufacturer, which is usually a 9-volt or a pair of AA batteries.
Install the new battery, making sure the positive (+) and negative (-) terminals are aligned correctly. An improperly installed battery can be another source of chirping. Once the new battery is in, close the compartment and reattach the detector to its base. Press the “Test” button to ensure it’s working correctly. You should hear a loud, continuous alarm, which will stop once you release the button. If the chirping stops, you’ve solved the problem.
Step 3: Clean the Smoke Detector
If a fresh battery doesn’t stop the smoke detector chirping, the next likely culprit is dust and debris. Over time, dust, cobwebs, or even small insects can accumulate inside the detector’s sensing chamber, obstructing the sensors and causing false alarms or chirping.
To clean your detector, remove it from the mounting bracket. Use the soft brush attachment on your vacuum cleaner to gently clean all the vents and crevices on the unit. You can also use a can of compressed air to blow out any stubborn dust from the inside. Be careful not to use any cleaning solutions or sprays, as they can damage the sensitive internal components. After cleaning, re-install the unit and press the test button.
Step 4: Reset the Smoke Alarm
Sometimes, even after changing the battery, a residual charge can remain in the smoke alarm’s capacitor. This can cause the unit to continue chirping. Performing a reset will drain this charge and often resolve the issue.
For a battery-powered detector, remove the battery. Then, press and hold the “Test” button for about 15-20 seconds. This will drain any remaining power. After that, re-install the new battery. The alarm may give one final chirp to signal it has been reset and is now powered up.
For a hardwired smoke alarm, the process is similar but involves a few extra steps. First, turn off the power to the smoke detector at your home’s circuit breaker. Then, disconnect the detector from its wiring harness. Remove the backup battery. Press and hold the test button for 15-20 seconds to drain any residual charge. Finally, reinstall the backup battery, reconnect the wiring, and turn the power back on at the breaker.

Step 5: How to Fix a Chirping Smoke Detector by Checking for Environmental Issues
If you’ve tried everything above and the chirping persists, consider the alarm’s environment. Drastic temperature fluctuations or high humidity can sometimes trigger a chirp. Smoke detectors located near bathrooms can be set off by steam from a hot shower. Units installed too close to heating vents or in drafty areas may also experience issues.
If you suspect an environmental factor is to blame, try relocating the smoke detector to a different spot, away from sources of steam, drafts, or extreme temperature changes. According to the NFPA, alarms should be installed at least 10 feet from cooking appliances to prevent false alarms and at least 3 feet from the door of a bathroom with a shower or tub.
Step 6: Determine if the Unit Has Reached Its End of Life
Smoke detectors are not designed to last forever. Most have a lifespan of 8 to 10 years. After this time, the internal sensors begin to lose their sensitivity and become unreliable. Many modern detectors are designed to emit a specific chirping pattern to signal that they have reached their end-of-life and need to be replaced.
Check the back of your smoke detector for a manufacturing date or an expiration date. If the unit is more than 10 years old, it’s time to replace it, regardless of whether it’s chirping or not. Do not simply remove an old detector without replacing it; you would be leaving a critical gap in your home’s fire safety coverage.

Frequently Asked Questions
Here are answers to some frequently asked questions about smoke alarm troubleshooting.
Why does my smoke detector only chirp at night?
This is a common and frustrating phenomenon with a scientific explanation. Batteries produce slightly less power as the air temperature drops. At night, when your home’s temperature is typically at its lowest, a battery that is already weak may dip below the voltage threshold required by the smoke detector, triggering the low-battery chirp. As the house warms up during the day, the battery’s output increases just enough to stop the chirping. If this is happening, it’s a clear sign you need to replace the battery immediately.
Will taking the battery out stop the chirping?
Removing the battery from a battery-powered unit will eventually stop the chirping, but not right away. The detector has a residual charge that will continue to power the chirp for a while. More importantly, removing the battery renders the device useless, leaving you unprotected. The only proper solution is to follow the troubleshooting steps and resolve the underlying issue. Never leave a smoke detector without a working battery.
How long will a smoke detector chirp before the battery dies?
A smoke detector will typically chirp for at least seven days before the battery dies completely. Manufacturers design them this way to give you plenty of time to address the issue. However, you shouldn’t wait it out. The sound is an urgent reminder to perform maintenance. The longer you wait, the longer your home is at risk.
What is the difference between a chirp and a full alarm?
It’s vital to know the difference. A single, high-pitched chirp every 30 to 60 seconds is a maintenance signal. It means the battery is low, the unit is dirty, or it’s malfunctioning. A continuous, blaring, loud alarm is an emergency signal indicating that the device has detected smoke or fire. If you hear the full alarm, you should immediately follow your fire escape plan and get everyone out of the house.
Conclusion
Knowing how to fix a chirping smoke detector is an essential skill for any homeowner. That intermittent chirp is more than just a nuisance; it’s a direct request for maintenance from a device that could one day save your life. By systematically changing the battery, cleaning the unit, performing a reset, and checking the device’s age, you can easily resolve the issue and ensure your home remains protected.
Proactive maintenance is the best strategy. Test your smoke alarms monthly and replace the batteries at least once a year, even if they aren’t chirping. A good habit is to change them when you change your clocks for daylight saving time. By investing a few minutes in smoke alarm troubleshooting and care, you can ensure your detectors are always ready to alert you in an emergency.