
A pocket door is a fantastic space-saver, sliding neatly into the wall instead of swinging out into a room. However, over time, these doors can start to stick, scrape the floor, or sit unevenly in the frame. These issues can be frustrating, but the good news is that they are often simple to fix.
Learning how to adjust a pocket door is a valuable skill for any homeowner, saving you the cost of a professional repair. This guide will walk you through the process step-by-step, helping you get your door gliding smoothly again with just a few basic tools and a little bit of time.
Why Adjusting a Pocket Door is Important
A misaligned pocket door is more than just a minor annoyance; it can lead to bigger problems if left unaddressed. A door that scrapes against the track or floor can cause damage to the door itself, the flooring, and the track hardware. This friction makes the door difficult to open and close, putting extra strain on the rollers and brackets, which can lead to premature wear and failure. Regularly checking the alignment and making small adjustments ensures the door operates smoothly and quietly. This preventative maintenance protects your investment, extends the life of the door mechanism, and keeps your home functional and free from irritating squeaks and scrapes.
8 Step Methods Guide on How to Adjust a Pocket Door
Step 1: Examine the Door and Identify the Problem
Before you grab any tools, take a moment to carefully observe the door. Slide it back and forth a few times to pinpoint the issue. Is it rubbing against the floor? Is there a large, uneven gap at the top or along the side jamb? Does it feel loose or wobbly as it moves? Check if the door is hanging level by using a level tool on its top edge.
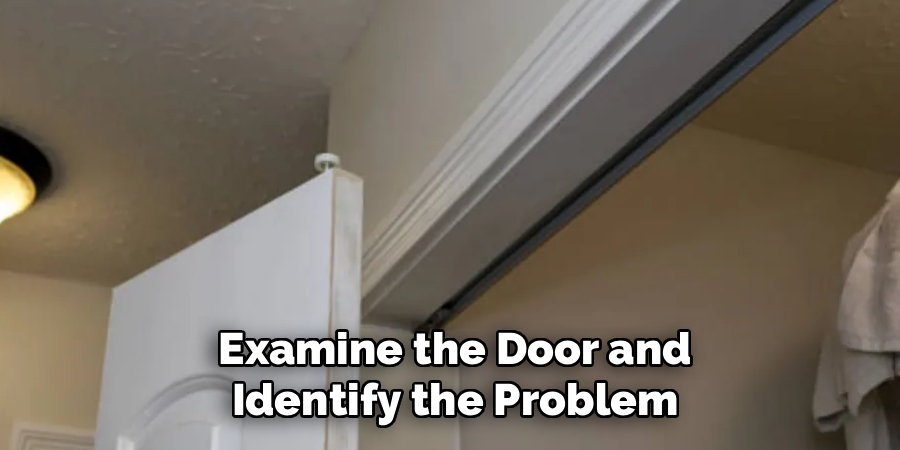
Identifying the specific problem—whether it’s height, plumb (vertical alignment), or clearance—will help you focus your efforts and make the right adjustments. This initial diagnosis is the most critical part of the process.
Step 2: Gather Your Essential Tools
Having the right tools on hand will make the adjustment process much smoother. You won’t need anything too specialized. Gather a sturdy step stool or ladder, a flashlight to see inside the pocket and track, a level, and a tape measure. The most important tool will be the small, specialized wrench that often comes with the pocket door hardware. If you don’t have it, a thin, open-ended wrench (usually 1/4-inch or 7/16-inch, depending on the hardware) or a pair of needle-nose pliers can often work. It’s also wise to have a pry bar and a putty knife handy in case you need to gently remove the doorstops.
Step 3: Access the Hanger Brackets
The key to adjusting a pocket door lies in the hanger brackets located at the top of the door. These brackets connect the door to the rollers that run along the track inside the wall. To access them, you will likely need to remove the doorstops—the thin strips of wood trim that frame the top and sides of the doorway. Use a putty knife to carefully score any paint or caulk along the edges. Then, gently use a pry bar to loosen and remove the top trim piece first, followed by the side pieces if necessary. This will expose the top edge of the door and the hardware.
Step 4: Adjust the Door’s Height
If your door is scraping the floor or is not level, you need to adjust its height. Look at the top of the door where the hanger brackets are. You will see a nut or a threaded bolt on each bracket. This is the adjustment mechanism.
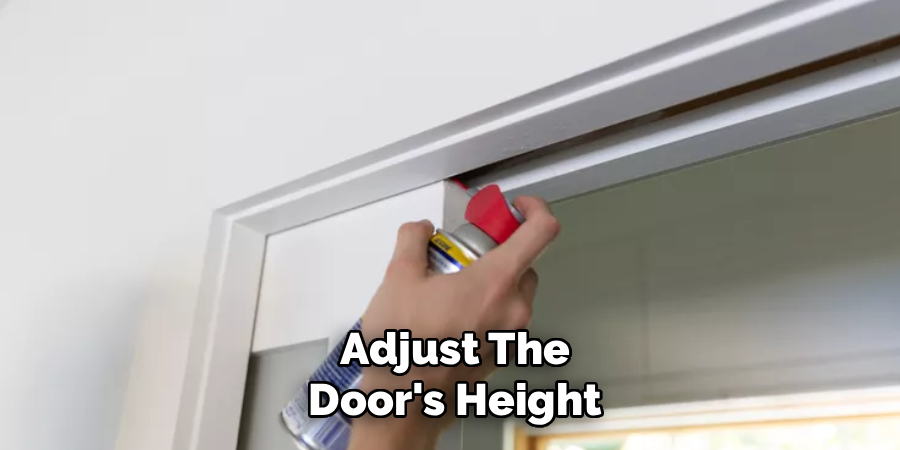
To raise the door, use your wrench to turn the nut clockwise. To lower it, turn it counter-clockwise. Make small, incremental adjustments—a quarter turn at a time—to each hanger, alternating between the front and back brackets to keep the door even. Slide the door back and forth after each small adjustment to check the clearance.
Step 5: Level the Door
Once the height is correct and the door no longer scrapes the floor, use your level to check if it’s perfectly horizontal. Place the level on the top edge of the door. If one side is higher than the other, you’ll need to make fine-tuned adjustments to the corresponding hanger. If the front of the door is too low, slightly raise the front hanger by turning its adjustment nut clockwise. If the back is too low, do the same for the rear hanger. Continue making these minor corrections until the bubble on your level is perfectly centered. This ensures the door hangs straight.
Step 6: Adjust the Door for Plumb
A door that is “plumb” hangs perfectly vertically. If your door is tilted and has an uneven gap along the side jamb, it needs a plumb adjustment. Some pocket door hardware has a secondary adjustment feature for this purpose. Look for a locking nut or screw on the hanger bracket. By loosening this, you may be able to slightly shift the door from side to side. Other systems use cam-style adjustments. This step is a key part of how to adjust a pocket door for a perfect fit. If your hardware doesn’t allow for this, check that the track itself is level.
Step 7: Test the Door’s Operation
After making all your adjustments, it’s time to test your work. Slide the door completely open and closed several times. It should glide smoothly and quietly without any scraping or bumping. Check the gaps along the top and sides to ensure they are even and consistent. Make sure the door latch aligns correctly with the strike plate in the jamb when closed. If you notice any remaining issues, revisit the previous steps to make further small adjustments until the operation is flawless. Patience here is key to achieving a professional result.
Step 8: Reinstall the Doorstops
With the door gliding perfectly, the final step is to reinstall the trim pieces you removed. Carefully place the top doorstop back into position, ensuring it doesn’t rub against the door. Use a finish nailer or a hammer and finish nails to secure it. Repeat the process for the side jambs.
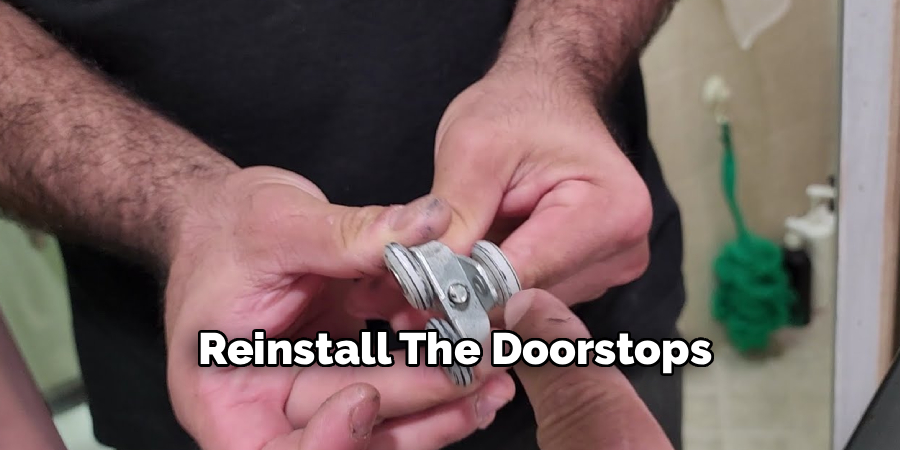
Be sure to leave a consistent, minimal gap (about 1/8 inch) between the trim and the door to prevent friction. Once the trim is back on, you can fill the nail holes with wood putty and touch up the paint if needed.
Final Inspection and Adjustments
Now that the trim is secured and any finishing touches have been applied, it’s time for a final inspection. Open and close the door several times to ensure it operates smoothly without any sticking or friction. Check the alignment of the door to confirm it is even and closes properly against the seal. If needed, make small adjustments to the hinges or trim. Once you’re satisfied with the door’s performance and appearance, the installation is complete.
Frequently Asked Questions
What Tools Do I Need to Adjust a Pocket Door?
You typically need only a few basic tools. The essentials include a step stool, a flashlight, a level, and a small wrench that fits the adjustment nuts on the hangers. This wrench is sometimes included with the hardware kit. If not, a thin 1/4-inch or 7/16-inch open-ended wrench or needle-nose pliers will often work. A pry bar and putty knife are also helpful for removing trim without damaging it.
Can I Adjust a Pocket Door Without Removing the Trim?
In some cases, yes. Certain modern pocket door hardware kits are designed for “wrench-less” adjustments and can be accessed without removing any trim. These systems may have a small lever or wheel you can turn by hand. However, most standard installations require you to remove the top and sometimes side trim pieces to get clear access to the hanger brackets and their adjustment nuts. It is best to assume you will need to remove the trim.
How Do I Fix a Pocket Door That Has Come Off Its Track?
If the door has come completely off the track, you will need to lift it back into place. First, remove the doorstops to get full access. You may need a helper for this. Carefully lift the door and guide the rollers back onto the track one at a time. Once the rollers are seated, you can proceed with the height and level adjustments to ensure it is secure and operates smoothly before reinstalling the trim.
Why Is My Pocket Door So Noisy?
A noisy pocket door is usually caused by dirty or worn-out rollers. After accessing the track, use a vacuum with a crevice tool to clean out any dust and debris. You can then apply a silicone-based lubricant to the rollers and track. Do not use oil-based lubricants like WD-40, as they can attract more dust and gunk up the mechanism over time. If cleaning and lubricating don’t solve the problem, the rollers may need to be replaced.
How Often Should I Adjust My Pocket Door?
There is no fixed schedule for pocket door maintenance. It is best to address problems as soon as you notice them. If you see the door starting to scrape, stick, or hang unevenly, it’s time for an adjustment. Performing a quick check every year or so by sliding the door and observing its motion can help you catch minor issues before they become bigger problems, ensuring your door continues to function properly for years.
Conclusion
A sticking or uneven pocket door can disrupt the flow of your home, but fixing it is a manageable DIY project. By following these steps, you can diagnose the problem, access the hardware, and make precise adjustments to restore its smooth, quiet operation. Taking the time to learn how to adjust a pocket door not only solves the immediate issue but also empowers you with the skills to maintain it for the future. Don’t be intimidated by a misbehaving door—with a little patience and the right approach, you can have it gliding like new again.

About
Robert D is a distinguished figure in the world of Safety Systems and Risk Management, with a decade of expertise creating innovative and sustainable workplace solutions. His professional focus lies in merging traditional safety protocols with modern digital monitoring techniques, fostering environments that are both practical and hazard-conscious. As the lead author of SafetyRift, Robert delves into the art and science of risk mitigation, inspiring safety officers and industry professionals alike to bridge the gap between compliance and culture.
Education
RMIT University (Melbourne, Australia)
Associate Degree in Design (Industrial Safety)
-
Focus on sustainable safety infrastructure, industry-driven risk assessments, and practical implementation.
-
Gained hands-on experience with traditional hazard identification and digital monitoring tools, such as IoT safety sensors and predictive analytics software.
Nottingham Trent University (United Kingdom)
Bachelor’s in Occupational Health and Safety (Honors)
-
Specialized in systemic design with a focus on blending human behavior psychology with modern safety production techniques.
-
Participated in industry-wide projects, working with global logistics and manufacturing firms to gain real-world insights into large-scale safety deployments.
Publications and Impact
In SafetyRift, Robert shares his insights on safety design processes, protective materials, and strategies for efficient, accident-free production. His writing bridges the gap between foundational safety knowledge and modern industrial needs, making it a must-read for both budding safety coordinators and seasoned risk management professionals.
