
Keeping your Blink doorbell powered is essential for maintaining your home’s security. When you receive a notification that the batteries are low, you might wonder about the process. Fortunately, learning how to change batteries in blink doorbell is a straightforward task that anyone can handle with just a few simple tools and a couple of minutes.
This guide is designed to walk you through every step, ensuring your smart doorbell is back online quickly and without any hassle. We’ll cover everything from gathering the right tools to syncing your device after the change, making the process smooth and stress-free for even the most tech-averse homeowners.
Why Keeping Your Doorbell Powered is Crucial
A powered Blink doorbell is your first line of defense in home security. It allows you to see and speak with visitors, receive motion alerts, and keep an eye on your property, whether you’re home or away. When the batteries die, your system goes offline, leaving a significant gap in your security coverage. You’ll miss important notifications, package deliveries, or any unexpected activity at your front door. Regularly checking and changing the batteries ensures that your device functions correctly, providing you with continuous peace of mind. Proactively managing your doorbell’s power source is a small task that pays huge dividends in safety and convenience.
7 Step Methods Guide on How to Change Batteries in Blink Doorbell
Step 1: Gather Your Supplies
Before you begin, it’s wise to have everything you need on hand. This preparation prevents you from having to pause midway through the process. You will need two fresh, high-quality AA 1.5-volt lithium batteries.

Using the recommended battery type is crucial for optimal performance and longevity of your doorbell. You will also need the opening tool that came with your Blink doorbell. If you’ve misplaced it, a small, flat-head screwdriver or a spudger tool can work as a substitute. Having these items ready will make the battery replacement process quick and efficient.
Step 2: Remove the Doorbell from the Backplate
First, you need to detach the doorbell unit from the mounting backplate. This process can vary slightly depending on how it was installed. If it’s mounted without wiring, grasp the doorbell firmly and pull it straight up and away from the backplate. It should detach with a gentle tug. For wired installations, you will need to use the opening tool. Insert the tool into the small opening at the very bottom of the doorbell unit. Apply gentle, upward pressure to release the latch, then pull the bottom of the doorbell away from the wall and lift it off the mount.
Step 3: Locate and Open the Battery Cover
Once the doorbell is free from its mount, turn it over. You will see a gray back cover secured by a small screw. This cover protects the batteries and internal components. To access the battery compartment, you’ll need to use your opening tool or a small screwdriver to loosen this screw. Turn the screw counter-clockwise until the cover can be easily lifted away. Be careful not to apply too much force to avoid stripping the screw or damaging the plastic housing. Set the screw aside in a safe place so you don’t lose it.
Step 4: Remove the Old Batteries
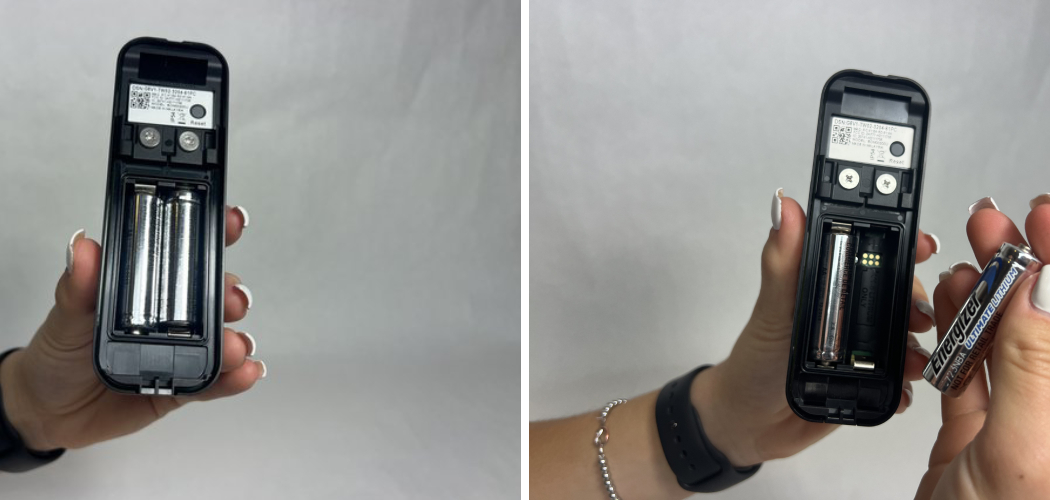
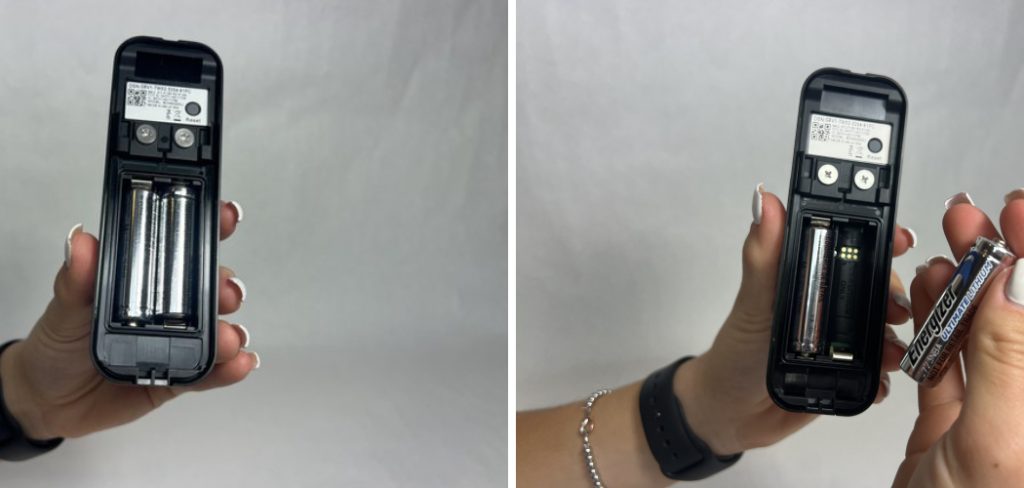
With the back cover removed, you will see the two AA batteries. Take a moment to note their orientation—specifically, which direction the positive (+) and negative (-) ends are facing. This will be important when you install the new ones.
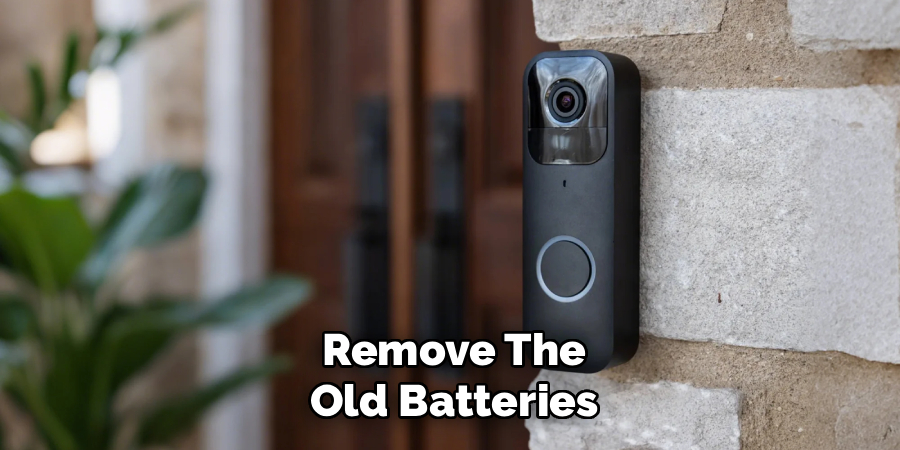
You can usually pop the old batteries out with your finger. If they are snug, you can use the edge of your opening tool or screwdriver to gently pry one end up. Dispose of the old batteries responsibly; many electronics stores and community recycling centers have battery disposal programs to prevent them from ending up in landfills.
Step 5: Install the New Batteries
Now it’s time to insert your new AA lithium batteries. Referencing the orientation you noted earlier, place the new batteries into the compartment. The positive (+) and negative (-) symbols are also typically marked inside the battery housing itself to guide you. Ensure each battery is seated securely and makes solid contact with the metal terminals on both ends. Using the correct battery type and installing them properly is a key part of knowing how to change batteries in blink doorbell effectively, as it guarantees the device receives consistent power.
Step 6: Reattach the Back Cover
After inserting the new batteries, it’s time to close everything up. Align the back cover with the doorbell unit, making sure it sits flush. Once it’s in place, use your opening tool or screwdriver to tighten the screw you set aside earlier. Turn it clockwise, but be careful not to overtighten. You want it to be snug and secure enough to create a weather-resistant seal, but not so tight that you risk cracking the plastic. A properly sealed cover protects the internal electronics from moisture and dust, which is vital for outdoor devices.
Step 7: Remount the Doorbell and Test It
The final step is to reattach your Blink doorbell to its backplate. Align the top of the doorbell with the top of the mount and then press the bottom half until you hear a distinct click. This click confirms that the doorbell is securely locked into place. To ensure everything is working correctly, press the doorbell button. You should hear the chime, and the Blink app on your smartphone should send you a notification. This simple test confirms that your device is powered on and successfully synced with your system after following this guide on how to change batteries in blink doorbell.
Reinstall Any Additional Accessories
If your Blink doorbell setup includes additional accessories, such as a mounting wedge or corner mount, now is the time to reinstall them. Align the accessory with the mounting bracket and securely attach it to ensure proper positioning.
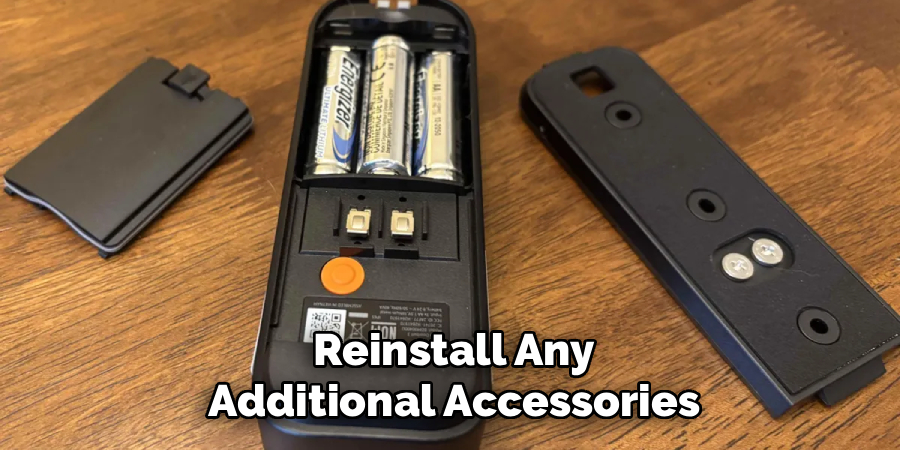
These accessories can help optimize the doorbell’s field of view or adjust the angle to capture a better perspective. Once installed, double-check that everything is firmly in place and aligns with your desired setup.
Test Your Blink Doorbell
With the installation complete, it’s time to test your Blink doorbell to ensure everything is functioning correctly. Press the doorbell button to verify that it activates as expected and check that notifications are being received on your connected devices. Use the Blink app to view the doorbell’s live feed and confirm that the video quality and field of view meet your expectations. Additionally, test the audio system by speaking through the app to ensure clear two-way communication. If any issues arise, review the setup steps or consult the user manual for troubleshooting tips.
Frequently Asked Questions (FAQ)
What Kind of Batteries Does a Blink Doorbell Use?
The Blink Video Doorbell requires two AA 1.5-volt lithium non-rechargeable batteries. It’s important to use lithium batteries, not alkaline ones. Alkaline batteries may function for a short time but can cause performance issues and will not last nearly as long, especially in colder weather. Using the recommended battery type ensures your doorbell operates efficiently and reliably for up to two years, depending on usage.
How Long Do Blink Doorbell Batteries Last?
Under typical use, the batteries in a Blink Video Doorbell can last for up to two years. However, battery life can be affected by several factors:
- The number of motion events recorded
- The frequency of Live View usage
- The strength of your Wi-Fi signal
- Extreme hot or cold temperatures
Your Blink app will provide you with a “low battery” notification when it’s time for a replacement.
Can I Use Rechargeable Batteries in My Blink Doorbell?
Blink advises against using rechargeable batteries, including Li-ion, Ni-MH, or Ni-Cd types. Rechargeable batteries have a different voltage output and may not provide consistent power, which can lead to performance problems with your doorbell. To ensure your device functions as designed and to avoid potential damage, it is best to stick with the recommended disposable AA 1.5-volt lithium batteries.
What Happens If I Use the Wrong Batteries?
Using the wrong type of batteries, such as alkaline or rechargeable ones, can lead to several issues. You may experience poor performance, including a weak connection, delayed notifications, and reduced video quality. More importantly, the batteries will drain much faster than expected, requiring you to replace them far more frequently. In some cases, incorrect batteries can even cause damage to the device’s internal components over time.
How Do I Know When to Change the Batteries?
Your Blink system makes it easy to know when it’s time for a battery change. The Blink Home Monitor app will display a “low battery” indicator next to the doorbell’s icon on the home screen. You will also receive a push notification to your smartphone alerting you that the batteries are running low. This gives you plenty of notice to get new batteries before the device powers down completely.
Conclusion
Replacing the batteries in your Blink doorbell is a simple maintenance task that is vital for keeping your home secure. By following the steps outlined above—from gathering your supplies to testing the device after installation—you can ensure a seamless transition with no downtime. This guide has shown you that you don’t need to be a tech expert to manage your smart home devices. Now that you understand how to change batteries in blink doorbell, you can confidently keep your system running at peak performance, providing you and your family with uninterrupted security and peace of mind.

About
Robert D is a distinguished figure in the world of Safety Systems and Risk Management, with a decade of expertise creating innovative and sustainable workplace solutions. His professional focus lies in merging traditional safety protocols with modern digital monitoring techniques, fostering environments that are both practical and hazard-conscious. As the lead author of SafetyRift, Robert delves into the art and science of risk mitigation, inspiring safety officers and industry professionals alike to bridge the gap between compliance and culture.
Education
RMIT University (Melbourne, Australia)
Associate Degree in Design (Industrial Safety)
-
Focus on sustainable safety infrastructure, industry-driven risk assessments, and practical implementation.
-
Gained hands-on experience with traditional hazard identification and digital monitoring tools, such as IoT safety sensors and predictive analytics software.
Nottingham Trent University (United Kingdom)
Bachelor’s in Occupational Health and Safety (Honors)
-
Specialized in systemic design with a focus on blending human behavior psychology with modern safety production techniques.
-
Participated in industry-wide projects, working with global logistics and manufacturing firms to gain real-world insights into large-scale safety deployments.
Publications and Impact
In SafetyRift, Robert shares his insights on safety design processes, protective materials, and strategies for efficient, accident-free production. His writing bridges the gap between foundational safety knowledge and modern industrial needs, making it a must-read for both budding safety coordinators and seasoned risk management professionals.
