

Security doors are fantastic for peace of mind. They let in fresh air while keeping your home safe. But there comes a time when that sturdy barrier needs to come down. Maybe you’re renovating, the door is damaged, or you just want a fresh look. Whatever the reason, staring at those one-way screws and heavy frames can feel a bit intimidating.
You might be wondering if you need to call a professional locksmith or a contractor. The good news? You can usually handle this project yourself with a few standard tools and a bit of patience. Learning how to remove a security door isn’t as complicated as it looks, even if those security screws seem impossible to budge right now.
In this guide, we’re going to walk you through the entire process. We will cover everything from gathering the right gear to dealing with those stubborn tamper-proof screws. By the time we’re done, you’ll have that door down and be ready for your next home improvement step.
Getting Prepared: Tools You Will Need
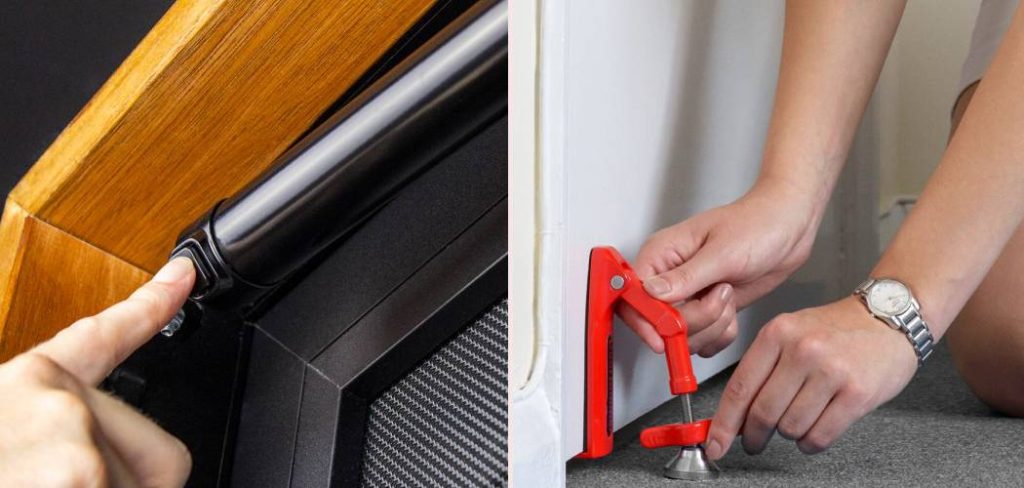
Before you start unscrewing anything, you need to have your toolkit ready. Security doors are built to be tough. That means standard screwdrivers might not always do the trick, especially if the installer used one-way screws (the kind that screw in but don’t screw out).
Here is a list of tools for removing security doors that will make your life easier:
- Power Drill: This will speed up the process significantly.
- Screwdriver Set: You will need both flathead and Phillips head drivers.
- Vise Grips or Locking Pliers: Essential for gripping screws that won’t turn.
- Hammer and Center Punch: For loosening tight screws.
- Dremel or Angle Grinder (Optional): If you are dealing with one-way screws, you might need to cut a slot into the head.
- Utility Knife: To cut through any caulk sealing the frame to the house.
- Helper: Security doors are heavy. Having a second pair of hands is safer and easier.
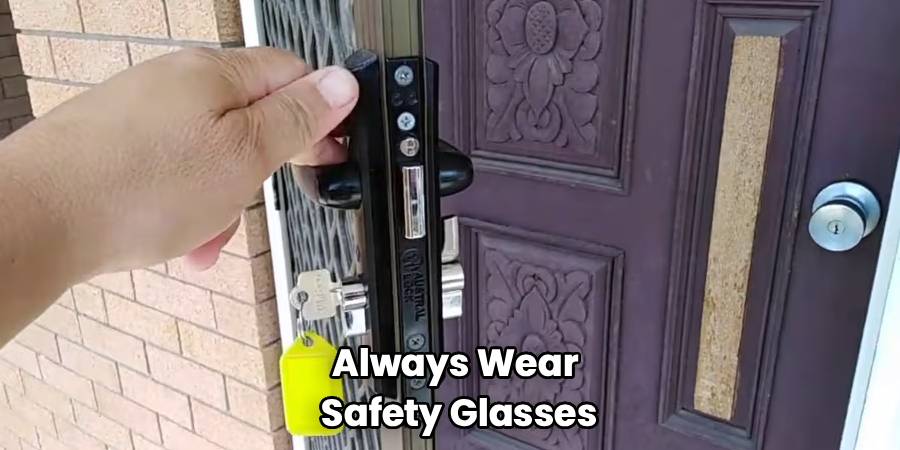
- Safety Gear: Always wear safety glasses and gloves, especially if you are grinding metal.
Once you have your gear, clear the area around the door. You don’t want to be tripping over doormats or potted plants while holding a heavy metal door.
Step-by-Step Guide on Removing a Security Door
Now, let’s get into the meat of the project. We are going to break this down into manageable chunks so you don’t feel overwhelmed. Just take it one screw at a time.
Step 1: Remove the Door Closer and Wind Chain
Most security doors have a pneumatic closer (the tube at the top that prevents the door from slamming) and a wind chain. These are the easiest parts to remove and disconnecting them first frees up the door so you can move it easily.
Start with the wind chain. It is usually held onto the door frame and the jamb with simple screws. Unscrew the bracket attached to the jamb first.
Next, tackle the closer. There is usually a pin connecting the closer arm to the bracket on the doorframe. Pull that pin out. If it’s stuck, give it a gentle tap with your hammer. Once the arm is free, unscrew the bracket from the door jamb. Do not unscrew the closer from the door itself just yet; you can take it off completely once the door is down on the ground.
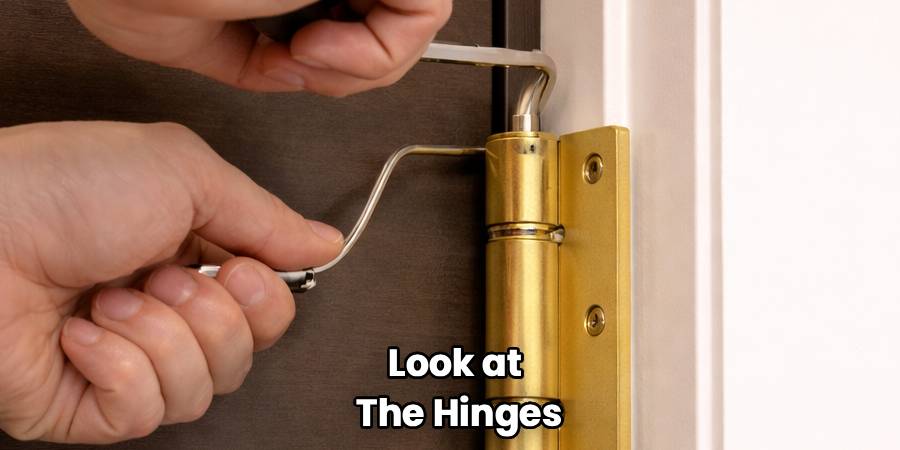
Step 2: Remove the Hinge Pins (If Possible)
Take a look at the hinges. Some security doors have removable hinge pins, while others are welded or riveted. If you see pins, removing them is the easiest way to get the heavy door slab off the frame.
Use a flathead screwdriver and a hammer. Place the screwdriver under the head of the hinge pin and tap it upwards until it pops out. Do this for all hinges, starting from the bottom and working your way up.
Warning: Make sure your helper is holding the door steady when you remove the top pin. The door will be completely loose and could fall on you if not supported.
If your hinges don’t have removable pins, don’t worry. You will just have to unscrew the hinges from the frame in the next step.
Step 3: Dealing with One-Way Screws
This is the part that scares most DIYers. Installers often use removing one-way screws to prevent burglars from simply unscrewing the door. These screws have sloped heads that allow a screwdriver to turn them clockwise (tighten) but slip out when you try to turn them counter-clockwise (loosen).
You have a few options here:
- The Locking Pliers Method: If the screw head sticks out slightly, clamp your vise grips onto it as tightly as possible. Turn it slowly to loosen. This takes muscle, but it often works.
- The Slot Method: If you have a Dremel tool or angle grinder, carefully cut a straight slot across the head of the screw. This effectively turns the one-way screw into a flathead screw. You can then use a large flathead screwdriver to back it out.
- The Screw Extractor: You can buy a specialized screw extraction bit for your drill. You drill a small hole into the screw head, then flip the bit to the extractor side, which bites into the metal and twists it out.
Understanding how to remove a security door largely comes down to defeating these specific screws. Once you conquer them, the rest is easy.
Step 4: Unscrew the Door from the Frame
If you couldn’t remove the hinge pins earlier, you now need to unscrew the hinges directly from the door frame.
Have your helper hold the door open at a 90-degree angle. This gives you access to the screws on the hinge leaves. Start with the bottom hinge screws and move upward.
Leave one screw in the top hinge for last. When you are ready, have your helper support the full weight of the door. Remove that final screw and carefully lift the door away from the frame. Set the door aside in a safe place.
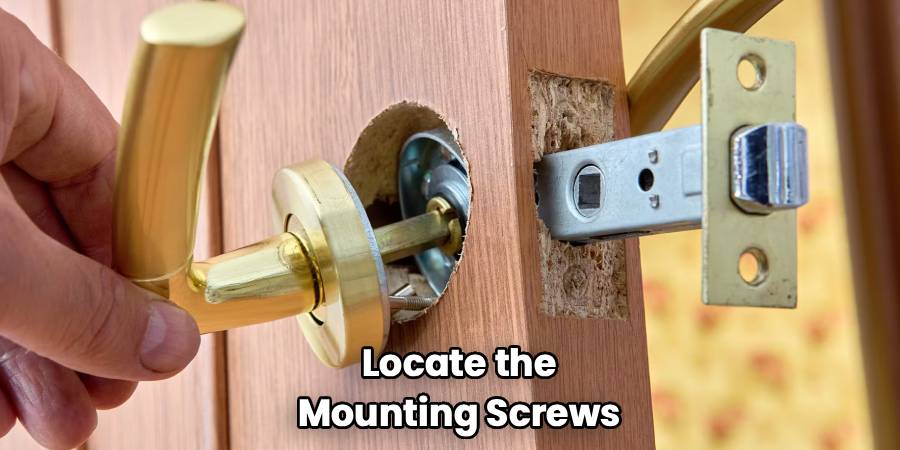
Step 5: Remove the Frame Assembly
With the door slab gone, you are left with the metal frame (the Z-bar) attached to your house’s exterior trim.
First, look for caulk. Installers usually run a bead of caulk between the security frame and the house or brick molding. Take your utility knife and score this line of caulk all the way around. If you skip this, pulling the frame off could rip paint or wood chunks off your house.
Next, locate the mounting screws. These are usually found on the face of the frame or inside the channel where the door closes. Just like the hinges, these might be security door screws that are one-way. Use the same removal techniques mentioned in Step 3.
Start unscrewing from the bottom and work your way up. The header (top piece) is usually held in place by the side rails, but sometimes it has its own screws. Once all screws are out, the frame should pull away easily. If it sticks, it’s probably just stubborn caulk—give it a gentle pry with a flat bar.
Step 6: Clean Up and Repair the Door Jamb
Now that the security screen door removal is effectively done, you’ll likely see some holes and old caulk left behind on your door jamb.
Use a putty knife to scrape off the old caulk. If the mounting holes are large, fill them with wood filler (if painting) or wood dowels glued in place. Sand the area smooth once it’s dry. This ensures that whatever you install next—whether it’s a new door or just a coat of paint—will have a clean, professional surface to sit on.
Frequently Asked Questions
Removing a security door can bring up a lot of specific questions depending on the brand and how old the installation is. Here are some common issues homeowners run into.
Can I remove a security door without power tools?
Technically, yes, but it will be much harder. You can remove standard screws with a handheld screwdriver. However, if you encounter one-way security screws, removing them without a Dremel or drill is very difficult. You would be relying entirely on locking pliers (vise grips) to twist them out manually. It requires significant hand strength and patience, but it is possible if the screw heads are exposed enough to grip.
What if the screws are rusted or stripped?
Rusted screws are a pain. Before you try to turn them, spray them with a penetrating oil like WD-40 or PB Blaster and let it sit for at least 15 minutes. This helps loosen the rust bond.
If the head is stripped (the screwdriver just spins), try the “rubber band trick.” Place a wide rubber band over the screw head and press your screwdriver into it firmly. The rubber fills the gaps and provides grip. If that fails, you will likely need to use a screw extractor kit or use a Dremel to cut a new slot for a flathead screwdriver.
How do I dispose of an old security door?
You have a few options for getting rid of the old door. Removing door frames and steel doors yields a lot of metal.
- Scrap Metal Recycling: Most security doors are made of steel or aluminum. Scrap yards will often take them for free, and some might even pay you a small amount for the weight.
- Donation: If the door is in good condition and you just wanted a style change, consider donating it to a place like Habitat for Humanity ReStore. They resell building materials to fund affordable housing.
- Bulk Trash Pickup: Check with your local waste management services. Many cities offer bulk pickup days for large items like doors.
Why does my security door have screws that won’t turn left?
Those are the one-way screws we mentioned earlier. They are a security feature designed specifically to stop burglars from doing exactly what you are doing—taking the door off. The head is ramped on the left side, so the screwdriver cams out (slips) when you try to loosen it. It’s not broken; it’s just doing its job! You will need to use pliers or cut a slot in the head to remove them.
Is it necessary to remove the frame if I’m installing a new door?
Usually, yes. Security doors come as a pre-hung unit, meaning the door and the frame are a matched set. Even if the new door is the same size, the hinge locations, latch strike plate, and frame thickness might be slightly different. Trying to force a new door into an old frame rarely works well and usually compromises the security of the new unit. It is almost always better to remove the old frame completely and start with a fresh installation.
Conclusion
Knowing how to remove a security door saves you money and gives you the satisfaction of maintaining your own home. While those one-way screws and heavy frames might look permanent, they are no match for the right tools and a bit of determination.
By following these steps, you can safely dismantle the door without damaging your entryway. Remember to work slowly, protect your eyes, and ask for help when lifting the heavy stuff. Whether you are replacing it with a stylish new model or opening up your entryway, you’ve now cleared the path for your next project.