
A garage door opener is one of those modern conveniences we often take for granted—until it stops working. Suddenly, you’re faced with manually lifting a heavy door, often in bad weather. While calling a professional is always an option, replacing a garage door opener is a manageable project for a confident DIYer with the right tools and a free weekend.
This guide will walk you through the process, helping you restore that push-button convenience safely and efficiently. If you’re ready to tackle this project, learning how to replace a garage door opener yourself can be a rewarding and cost-effective solution.
Before you begin, remember that safety is the top priority. You will be working with electricity and a heavy, spring-loaded garage door. Always take your time, read all instructions that come with your new opener, and never hesitate to call a professional if you feel unsure about any step.
Step-by-Step Guide to Your Garage Door Opener Replacement
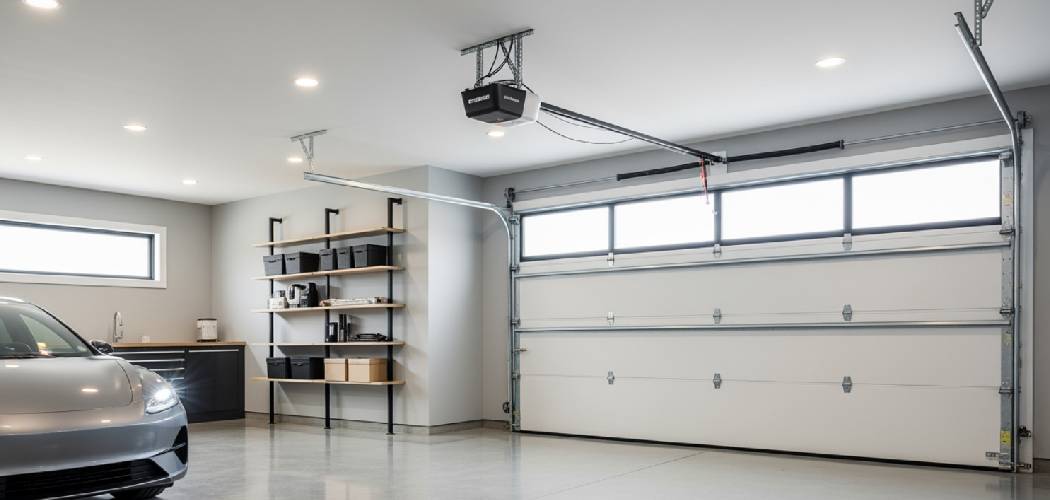
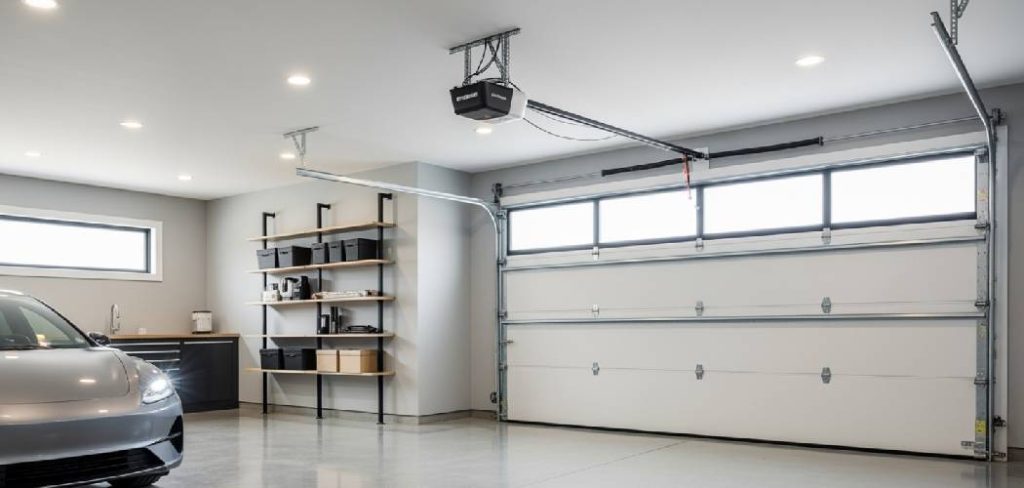
This section provides a detailed walkthrough of the replacement process. The key is to work methodically from removing the old unit to installing and testing the new one. Ensure your garage is clean and well-lit, and gather all your tools before you start. This DIY garage door opener installation guide is designed to be comprehensive, but always defer to the manufacturer’s manual for your specific model.
Step 1: Safety First – Disconnect Power and Secure the Door
Your first and most crucial step is to ensure the garage is a safe work environment. Start by unplugging the old garage door opener from the ceiling outlet. If the opener is hardwired into your home’s electrical system, you must turn off the corresponding breaker at your main electrical panel. Use a voltage tester to confirm there is no power running to the unit before you touch any wires.
Next, you need to secure the garage door. Close the door completely. The torsion or extension springs that help lift the door are under extreme tension. Never attempt to adjust, remove, or tamper with the springs, cables, or bottom brackets. To prevent the door from accidentally opening, clamp a pair of locking pliers or a C-clamp onto the garage door track just above one of the bottom rollers.
This acts as a physical stop. Finally, disengage the old opener from the door by pulling the emergency release cord. You should now be able to lift the door manually to confirm it’s disconnected from the opener trolley.

Step 2: Remove the Old Garage Door Opener Unit
With the power off and the door secured, you can begin removing the old system. Start by taking down the wall-mounted control panel and any safety sensors located near the bottom of the door tracks. These are typically held in place with a few screws. Carefully disconnect the low-voltage wires from the motor unit, making a note of where they were connected if you plan to reuse them.
Now, focus on the motor unit itself. It’s heavy, so having a helper or a sturdy ladder positioned directly underneath it for support is a good idea. Use a socket wrench to unbolt the mounting straps that secure the motor to the ceiling brackets. Once the bolts are removed, carefully lower the motor unit to the ground. After the motor is down, you can unbolt the rail assembly from the header bracket above the garage door. The entire old opener system—motor and rail—can now be removed from the garage.
Step 3: Assemble the New Opener and Rail
Unpack your new garage door opener and lay out all the parts. Your new system will come with a detailed instruction manual; read it thoroughly. This is where many DIY projects go wrong—failing to follow the manufacturer’s specific directions.
Typically, you will begin by assembling the rail system. This usually involves sliding several sections of the rail together and securing them. Once the rail is assembled, you will attach the trolley (the part that moves along the rail) and then connect the rail to the new motor unit. Next, you’ll install the chain or belt.
Following the manual, route the chain or belt around the sprocket on the motor and the pulley at the far end of the rail. You will then need to adjust the tension. A belt should not be too tight or too loose; there should be a slight amount of give. A chain drive often has a master link to connect the two ends. Proper tension is critical for smooth, quiet operation and longevity.
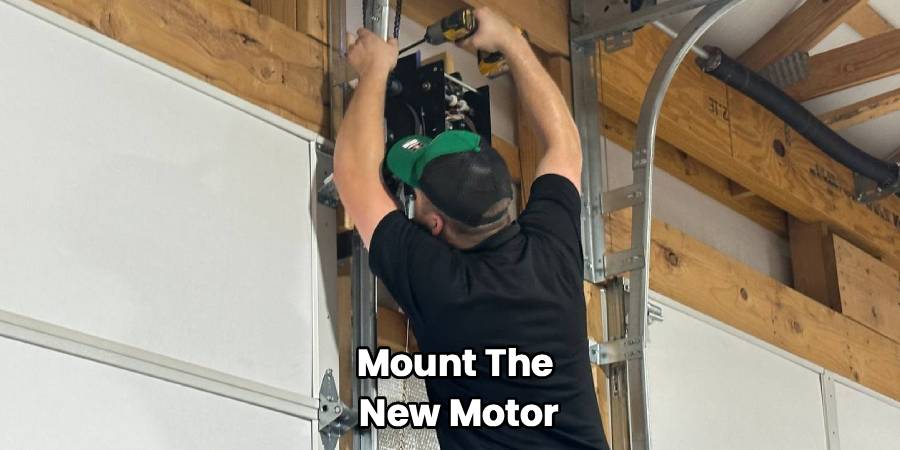
Step 4: Mount the New Motor and Attach the Rail
Now it’s time to lift the new assembly into place. You will likely be able to reuse the existing ceiling brackets and header bracket, provided they are in good condition and compatible with your new opener. If not, install the new brackets included with your kit, ensuring they are securely fastened into ceiling joists or a wooden brace.
With the help of a partner, lift the new motor unit and rail assembly. First, attach the front of the rail to the header bracket above the garage door. Use the provided pins or bolts to secure it. Next, lift the motor unit up to the ceiling brackets and fasten it using the new nuts and bolts. Use a tape measure to ensure the rail is centered over the door. Make any necessary adjustments before fully tightening all hardware.
Step 5: Install the Safety Sensors and Wall Control
Modern garage door openers require safety sensors, also known as photo-eyes. These sensors project an invisible beam across the garage door opening. If anything breaks this beam while the door is closing, the door will automatically reverse. This is a critical safety feature.
Mount the sending and receiving sensors on either side of the garage door opening, typically no higher than six inches from the floor, as per the manufacturer’s instructions. Run the low-voltage bell wire from each sensor up the wall and across the ceiling to the motor unit. Secure the wires with insulated staples, being careful not to puncture the wire. Connect the wires to the correct terminals on the back of the motor unit—they are usually color-coded.
Next, install the new wall-mounted control panel. Mount it near the entry door into your house, at least five feet off the ground to keep it out of the reach of small children. Connect the bell wire from the control panel to the appropriate terminals on the motor unit.
Step 6: Adjust and Test the System
With everything installed, you can now make the final adjustments. Re-engage the opener by connecting the trolley to the attachment point on the garage door. Plug the opener back into the outlet or turn the breaker back on.
Follow the manual’s instructions for setting the travel limits. This tells the opener how far to open and close the door. It’s a process of using the adjustment buttons on the motor unit to move the door to the desired open and closed positions and saving those settings.
Next, you must test and adjust the safety reversal system. Place a 2×4 piece of wood flat on the floor in the center of the door’s path. When you command the door to close, it should strike the wood and immediately reverse. If it doesn’t, you need to adjust the closing force setting as described in your manual. Also, test the photo-eye sensors by starting to close the door and then waving an object (like your foot) through the beam. The door should immediately stop and reverse. Do not proceed with use until these safety features are working perfectly.
Step 7: Finalizing the Installation and Programming Remotes
The last part of the process is programming your remotes and any keypads. This usually involves pressing a “Learn” or “Program” button on the motor unit and then pressing the button on your remote. Once your remotes are programmed, clean up your tools and workspace. You can now enjoy the convenience and security of your new garage door opener. Take a moment to appreciate the work you’ve done.

Frequently Asked Questions
Here are some common questions people have when replacing a garage door opener.
Can I reuse my old remotes and keypad?
In most cases, the answer is no. Garage door opener technology, especially regarding security, has advanced significantly. Modern openers use rolling code technology, where the access code changes every time you use the remote. This prevents thieves from capturing your code. Older remotes are typically not compatible with this new technology. It’s best to use the new remotes and keypad that come with your opener.
How much does it cost to replace a garage door opener?
The cost can vary widely. If you do the project yourself, your main expense will be the new opener unit, which can range from about $150 to over $500, depending on the brand, drive type (chain, belt, or screw), and features like Wi-Fi connectivity. If you hire a professional, you can expect to pay an additional $200 to $500 for labor, bringing the total cost to anywhere from $350 to $1,000 or more.
How long does a garage door opener last?
A quality, well-maintained garage door opener can last for 10 to 15 years, and sometimes longer. The lifespan depends on the quality of the unit, the frequency of use, and whether it receives regular maintenance. If your opener is becoming noisy, unreliable, or lacks modern safety features, it’s a good time to consider a replacement.
Is a belt drive or chain drive opener better?
Both have their pros and cons. Chain drives are known for their durability and affordability but tend to be noisier. They are a reliable, workhorse option. Belt drives, which use a steel-reinforced rubber belt, are significantly quieter, making them an excellent choice for garages attached to living spaces. They are often slightly more expensive but provide smoother operation. The best choice depends on your budget and tolerance for noise.
Conclusion
Successfully completing your garage door opener replacement is a significant accomplishment that adds value and convenience to your home. By following the steps outlined in this guide, preparing your workspace, and prioritizing safety, you can confidently manage this project. The process of how to replace a garage door opener, from disconnecting the old unit to programming your new remotes, is straightforward when taken one step at a time. Remember to always consult your new opener’s manual, as it provides the most accurate instructions for your specific model. Enjoy the smooth, quiet, and reliable operation of your new system for years to come.