

Dealing with a flickering or dead security light can be incredibly frustrating. Maybe you’ve waved your arms frantically in the dark hoping to trigger the sensor, or perhaps your current fixture is just outdated and eating up too much electricity. Whether you are upgrading to a sleek new LED model or swapping out a broken unit, learning How To Replace Outdoor Motion Sensor Lights is a satisfying DIY project that instantly boosts your home’s curb appeal and safety.
It is normal to feel a bit intimidated by electrical work if you aren’t a professional. However, swapping a light fixture is actually one of the most straightforward tasks a homeowner can tackle. You don’t need a garage full of specialized tools or years of experience. With a little patience and the right safety precautions, you can get your driveway or backyard illuminated again in less than an hour.

In this guide, we are going to walk through the entire process together. We will cover everything from safety checks to tweaking the sensitivity settings on your new unit. By the end, you’ll have a reliable security setup that welcomes guests and deters unwanted visitors, all without the heavy price tag of hiring an electrician.
Tools and Materials You Will Need
Before you climb any ladders, it is best to gather everything you need. There is nothing worse than being stuck at the top of a ladder realizing you forgot a screwdriver.
Essential Tools
- Voltage Tester: This is non-negotiable for safety. A simple non-contact voltage tester can save your life.
- Screwdrivers: You will typically need both a Phillips head and a flathead screwdriver.
- Wire Strippers/Cutters: Useful if the existing wires are damaged or need trimming.
- Ladder: Make sure it is sturdy and placed on level ground.
- Electrical Tape: For securing connections and adding an extra layer of protection.
Required Materials
- New Motion Sensor Fixture: Choose one that suits your style and coverage needs.
- Wire Nuts: Most new lights come with these, but it helps to have extras.
- Silicone Caulk: To seal the fixture against the wall and prevent water damage.
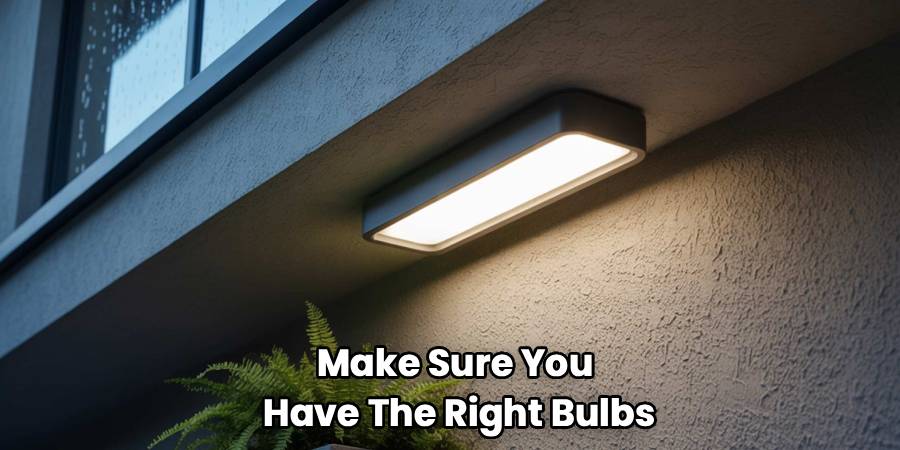
- Light Bulbs: If your new fixture isn’t integrated LED, make sure you have the right bulbs ready.
Safety First: Preparing for the Job
Safety is the absolute priority here. Electricity commands respect, but it doesn’t need to induce fear if you follow the rules.
Turn Off the Power
Go to your breaker box and locate the switch that controls your outdoor lighting. Flip it to the “OFF” position. Do not rely solely on the wall switch inside your house; flipping the breaker is the only way to ensure the circuit is dead.
Verify with a Voltage Tester
Once you are at the light fixture, use your non-contact voltage tester. Touch it to the old light. If it doesn’t beep or light up, you are generally safe to proceed. It is always better to double-check than to assume.
Stabilize Your Ladder
Make sure your ladder is on solid ground. If you are working on a driveway or uneven grass, take a moment to secure the feet. If possible, have a family member or friend spot you while you work.
Step-by-Step Guide to Installation
Now that you are safe and prepped, let’s get into the actual work. We will break this down into manageable chunks so you never feel overwhelmed.
Remove the Old Fixture
Getting the old unit off is usually the dirtiest part of the job. You might encounter cobwebs or old caulk, but don’t worry, it cleans up easily.
Unscrew the Mounting Hardware
Most fixtures are held on by two long screws or a central nut. Support the fixture with one hand while you unscrew it so it doesn’t fall and pull on the wires.
Disconnect the Wiring
Pull the fixture gently away from the wall. You will see three wires connecting it to your home’s wiring. Twist off the old wire nuts (the plastic caps) and separate the wires.
Remove the Old Mounting Bracket
Your new light likely came with its own mounting bracket (also called a crossbar). Unscrew the old one attached to the junction box and discard it.
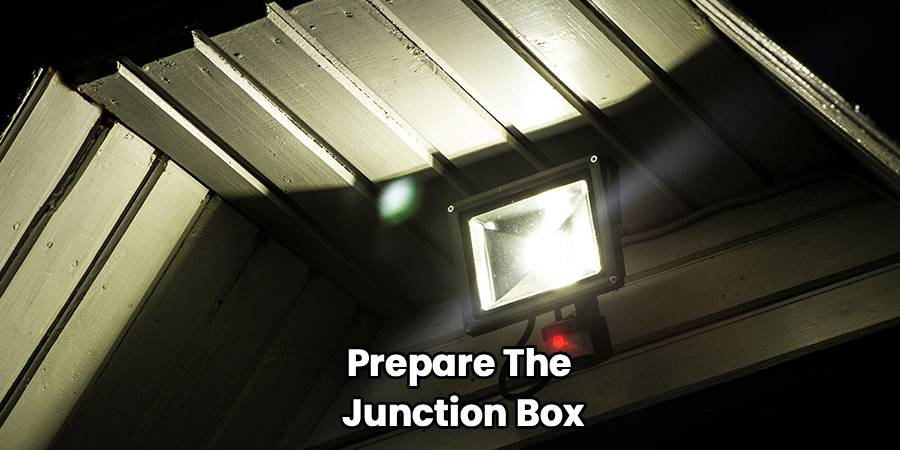
Prepare the Junction Box and New Fixture
A clean start makes for a better install.
Inspect the Wires
Look at the wires coming out of your house. If the copper ends look corroded or frayed, use your wire strippers to trim them back and strip off about half an inch of insulation to expose fresh copper.
Install the New Bracket
Screw the new mounting bracket into the junction box. Make sure it is level. This bracket provides the foundation for your new security lighting installation and ensures the light sits straight.
Connect the Wires
This is the part most people get nervous about, but it is actually quite simple color-matching.
Match Black to Black
Take the black wire from your new fixture and hold it against the black wire from your house. Twist them together clockwise, then screw a wire nut over them until it is tight.
Match White to White
Repeat the process for the white wires. These are your neutral wires.
Connect the Ground Wire
The ground wire is usually green or bare copper. Connect your fixture’s ground wire to the house’s ground wire. Sometimes, you may need to wrap the ground wire around a green screw on the mounting bracket itself.
Secure Connections
Give each wire a gentle tug to make sure they are secure in the nuts. Wrap a bit of electrical tape around the base of the wire nuts and wires for extra peace of mind.
Mount the New Fixture
You are in the home stretch now.
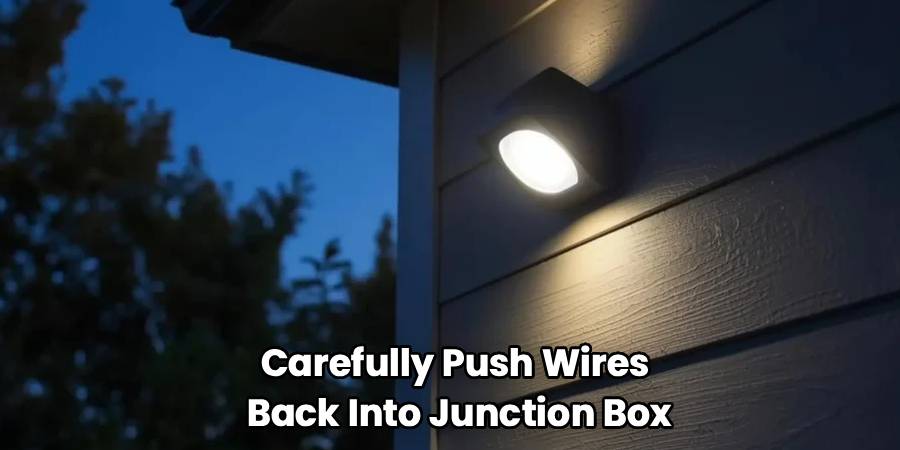
Tuck the Wires
Carefully push the wires back into the junction box. Try to arrange them so they aren’t pinching against the back of the fixture.
Attach the Light
Line up your new fixture with the mounting bracket screws. Slide it on and tighten the decorative nuts or screws provided. It should feel firm against the wall, but don’t overtighten to the point of cracking the plastic.
Waterproof the Seal
This step is crucial for longevity. Run a bead of silicone caulk around the top and sides of the fixture where it meets the wall. Leave the bottom un-caulked; this allows any moisture that gets in to drain out rather than pooling inside.
Test and Adjust
This is the moment of truth.
Power Up
Go back to your breaker box and flip the power back on.
Adjust the Sensor
Walk in front of the light to test the motion sensor light replacement. You may need to tweak the sensitivity knobs on the sensor. “Range” determines how far out it detects motion, while “Time” determines how long the light stays on.
Aim the Lights
Point the lamp heads toward the areas you want to cover, like the driveway or the back gate. Avoid pointing them directly at your neighbor’s bedroom window!
Understanding Your New Light Settings
Modern fixtures come with a variety of switches and dials. Understanding these will help you get the best performance out of your outdoor lighting setup.
Sensitivity and Range
If your light is turning on every time a car drives by three houses down, your sensitivity is too high. Dial it back until it only triggers when someone enters your actual property. This prevents “nuisance tripping” and saves energy.
Lux or “Dusk-to-Dawn” Settings
This dial tells the sensor how dark it needs to be before it starts working. You don’t want the light triggering at 2 PM on a sunny Tuesday. Set this so the unit only activates once the sun has truly set.
Timer Settings
How long do you need light? For a driveway, 5 or 10 minutes might be useful for unloading groceries. For a walkway, 1 minute might suffice. Adjust this based on how you actually use the space.
Troubleshooting Common Issues
Even a perfect installation can have hiccups. Here is how to handle them.
The Light Won’t Turn On
Check the bulb first. If it is an integrated LED, check the breaker and the wall switch. Also, make sure the “Lux” setting isn’t set so high that the unit thinks it is daytime.
The Light Won’t Turn Off
This is a classic problem. It is usually caused by the sensitivity being too high (catching wind-blown leaves) or the duration timer being set too long. Try resetting the electronics by turning the wall switch off for 30 seconds and then back on.
The Sensor Is Erratic
Rapid temperature changes can sometimes confuse heat-based sensors (PIR). Ensure the sensor isn’t located directly above a dryer vent or heat pump exhaust.
Choosing the Right Replacement Fixture
If you haven’t bought your replacement yet, consider what matters most to you.
LED vs. Incandescent
LED motion sensor lights are the industry standard now. They use a fraction of the electricity and last for years without bulb changes. They are brighter, whiter, and generally more reliable in cold weather.
Solar vs. Hardwired
If you are replacing an existing light, sticking with a hardwired model is usually best for power reliability. However, if you need light in a spot with no wiring, a solar option can be a lifesaver, though they may not be as bright.
Style and Aesthetics
Security lighting installation doesn’t have to look industrial. There are plenty of decorative carriage-style lights that hide the motion sensor discreetly. You can maintain your home’s traditional look while gaining modern security features.
Frequently Asked Questions
Here are some of the most common questions we hear from homeowners tackling this project.
Can I install a motion sensor light without an existing wire?
Not easily. If there is no wire there, you would need to run new electrical cable from your house, which is a much bigger job. In that specific case, we highly recommend hiring a licensed electrician or opting for a high-quality solar unit that requires no wiring.
Why does my motion light flash on and off?
This is often called “strobing.” It happens when the light from the bulb reflects off a nearby surface (like a white wall or soffit) and hits the sensor. The sensor thinks it’s daytime and turns off, then sees it’s dark and turns on again. Adjusting the aim of the lamp heads usually fixes this.
Do I need a special switch for motion lights?
No, a standard single-pole light switch is fine. In fact, you should keep the switch in the “On” position at all times so the motion sensor has power. Some lights have a “manual override” feature that lets you flip the switch quickly to keep the light on permanently for a night.
How high should I mount the light?
Most manufacturers recommend a height of 6 to 10 feet. If you mount it too high, the sensor might not detect movement on the ground. Too low, and the range will be limited (and a burglar could easily unscrew the bulb).
Can I replace just the sensor and keep the old light?
Technically, yes, you can buy standalone sensors. However, wiring an external sensor to an old fixture can be fiddly and often looks cluttered. Given how affordable complete new LED units are, replacing the whole fixture is usually the better long-term investment.
Maintaining Your Outdoor Lights
Once your new light is up, it requires very little care.
Cleaning the Lens
Once or twice a year, take a damp cloth and wipe down the motion sensor lens. Dirt, spiderwebs, and pollen can build up and make the sensor “blind,” reducing its range and effectiveness.
Checking the Seal
After a harsh winter or a very hot summer, glance at the silicone caulk around the base. If it is peeling or cracking, scrape it off and apply a fresh bead to keep moisture out of the electrical box.
Inspecting for Nests
Wasps and birds love the sheltered warmth of light fixtures. Periodically check to make sure no one has moved in, as nests can block sensors and create fire hazards.
Conclusion
Taking the time to learn How To Replace Outdoor Motion Sensor Lights empowers you to take control of your home’s security and functionality. It is a manageable project that pays immediate dividends in safety and convenience. No more fumbling for keys in the dark or worrying about shadows in the backyard.
By following these steps, you have not only saved money on professional installation fees but also gained valuable DIY confidence. Remember, the key is preparation—turn off that power, double-check your connections, and seal everything up tight. With your new lights installed, you can rest easy knowing your home is bright, welcoming, and secure.