

There are few conveniences in life quite as satisfying as rolling up to your driveway, tapping a button on your rearview mirror, and watching your garage door glide open smoothly. It’s one of those modern luxuries we take for granted until it stops working. Whether you’ve just bought a used Honda Pilot, installed a new garage door motor, or simply need to reset your system after a battery change, getting that HomeLink system synced up is a top priority.
While the technology inside your Honda Pilot is sophisticated, the interface is designed to be user-friendly. However, it can still be tricky if you don’t know the exact sequence of button presses or if you are dealing with modern “rolling code” security features. The good news is that you don’t need a degree in electrical engineering to get this sorted out. Learning how to reprogram Honda Pilot garage door opener systems is a straightforward process that you can usually knock out in about fifteen minutes.
In this guide, we are going to walk through everything you need to know. We’ll cover the preparation, the difference between standard and rolling codes, and the specific button sequences you need to get back to effortless arrivals. We will also dive into troubleshooting because, let’s be honest, technology doesn’t always cooperate on the first try.
Understanding Your HomeLink System
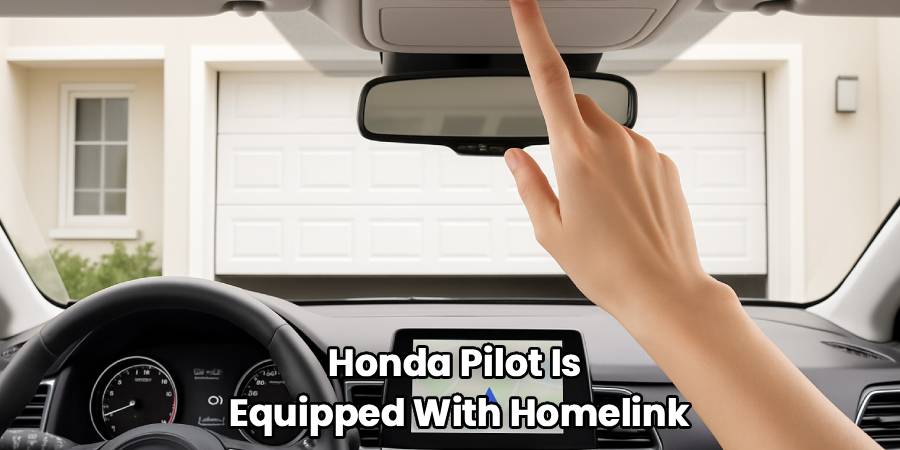
Before we jump into the buttons, it helps to understand what we are actually doing. Your Honda Pilot is equipped with a system called HomeLink. This is a universal transmitter built into the vehicle—usually found on the bottom of the rearview mirror, though in some models, it might be on the overhead console.
Think of HomeLink as a “universal remote” for your house. It replaces the clunky plastic clip-on remotes that tend to get lost under car seats or run out of batteries at the worst times. HomeLink doesn’t just open garage doors; it can be programmed to open gates, turn on RF-controlled lighting, or even disarm home security systems.
The core of the programming task involves “teaching” your car the signal that your garage door opener expects. In the past, this was a simple radio frequency copy-paste job. Today, most garage door openers use “rolling codes.” This is a security feature where the code changes every single time you use the door to prevent thieves from grabbing your code out of the air. This makes your home safer, but it also adds an extra step to the programming process.
Preparation: Before You Start
You might be tempted to just run out to the driveway and start mashing buttons, but a little prep work will save you a headache.
1. Clear the Area
First, ensure your vehicle is parked outside the garage, or at least that the garage door path is clear. You will be opening and closing the door multiple times during this process. You don’t want to accidentally hit the hood of your car or crush a bicycle.
2. Check Your Remotes
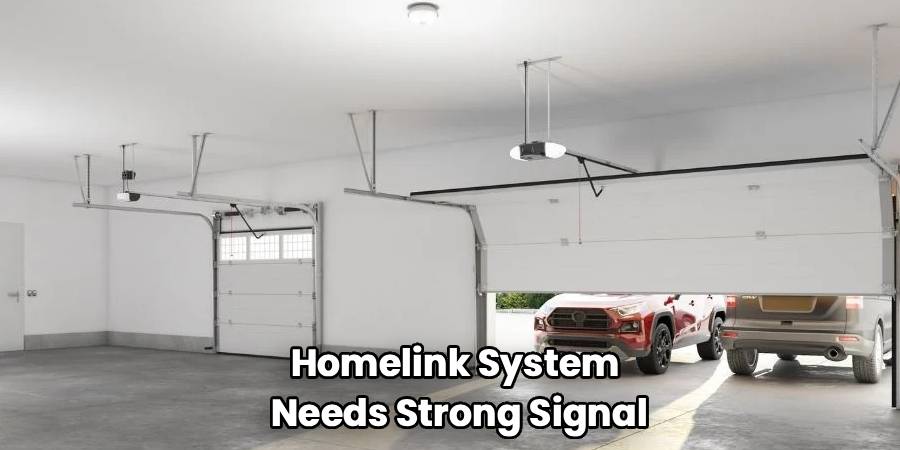
If you have the original handheld remote for your garage door, check that it has fresh batteries. The HomeLink system needs a strong signal to copy during the initial setup phase. A weak battery in the handheld remote can lead to a failed programming attempt.
3. Locate the “Learn” Button
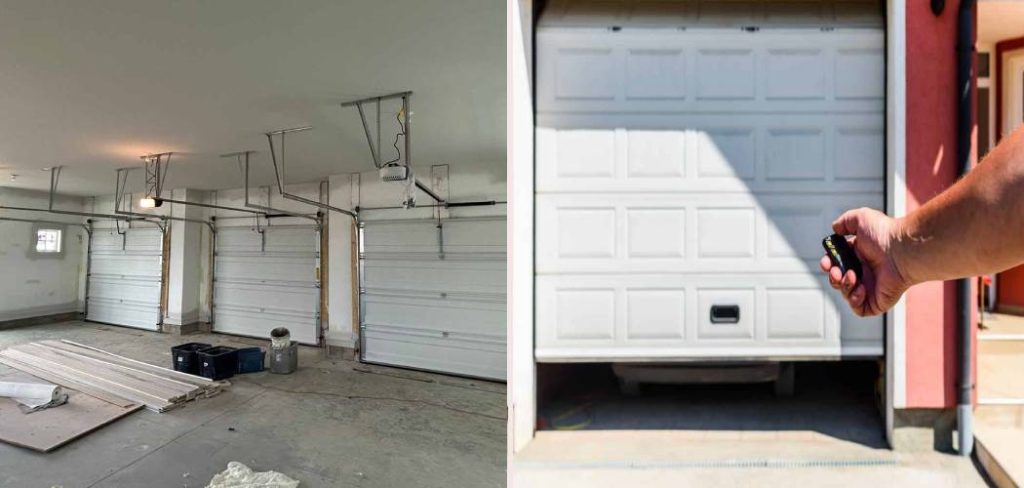
Grab a stepladder and locate the motor unit of your garage door opener (the box hanging from the garage ceiling). You are looking for a button labeled “Learn” or “Smart.” It is often a colored square or circle (purple, yellow, orange, or green) located near where the antenna wire hangs down. You might need to pop off the light cover to find it. You will need this for the final steps.
Step-by-Step Guide on How to Reprogram Honda Pilot Garage Door Opener
This section will guide you through the standard process that works for the vast majority of Honda Pilots and garage door openers. We have broken this down into granular stages to ensure you don’t miss a beat.
Step 1: Clearing the Old Memory
If you bought your Honda Pilot used, or if you are just starting fresh because things have gone haywire, it is best to wipe the slate clean. You cannot erase just one button; this process clears all three buttons on the HomeLink interface.
- Sit in the driver’s seat with your car running (or in accessory mode) to ensure the battery doesn’t die.
- Locate the two outer buttons on your HomeLink system (Button 1 and Button 3).
- Press and hold both buttons simultaneously. Do not let go.
- Watch the little indicator light on the mirror. It will be solid red at first.
- Keep holding for about 10 to 20 seconds.
- Release the buttons only when the indicator light begins to flash rapidly.
Your system is now reset and ready to learn new codes.
Step 2: Training the HomeLink Button
This step introduces your car to your specific garage door remote. Even if you have a rolling code system, you generally must perform this step first.
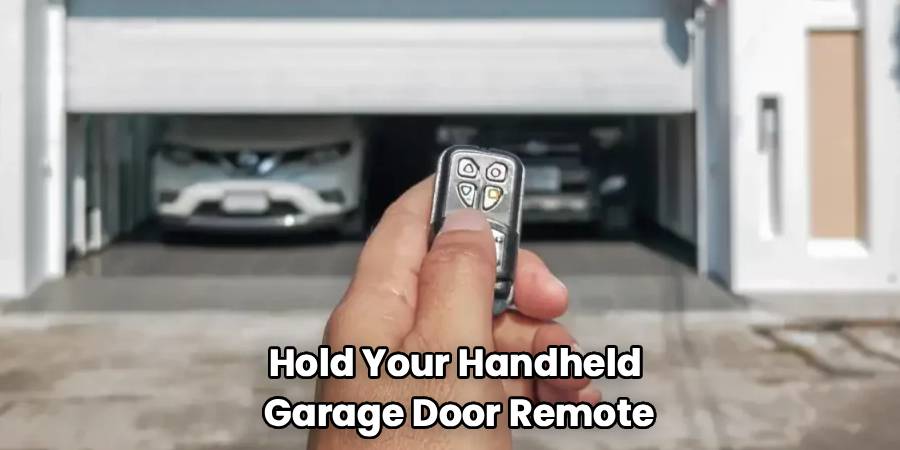
- Hold your handheld garage door remote 1 to 3 inches away from the HomeLink buttons on your mirror.
- Decide which button you want to use (usually the first one for the main garage door).
- Simultaneously press and hold both the handheld remote button and your chosen HomeLink button.
- Important: Keep holding both buttons. Do not release them.
- Watch the HomeLink indicator light. It will likely flash slowly at first.
- Wait until the light changes from a slow flash to a rapid flash (or a solid light in some newer models). This change indicates that the car has successfully recorded the frequency signal.
- Release both buttons.
Step 3: Testing for Rolling Code
Now you need to figure out if you are done or if you need to do the “rolling code” dance.
- Press and hold the newly programmed HomeLink button for five seconds.
- Scenario A: If the LED light stays solid green (or red, depending on the model) and the garage door operates, you are done! You have a fixed-code system.
- Scenario B: If the LED light flashes rapidly for two seconds and then turns solid, you have a rolling code system. This means your car has the frequency, but the garage door motor doesn’t recognize your car as authorized yet. Proceed to Step 4.
Step 4: Syncing with the Garage Motor
This is the part where you might need a helper, or you’ll need to move quickly. This is the critical phase where many people get stuck when figuring out how to reprogram Honda Pilot garage door opener systems with modern security.
- Go to your garage door motor unit on the ceiling.
- Press and release the “Learn” or “Smart” button. (Do not hold it down, just a firm press like a doorbell).
- A light on the motor unit should glow steady for about 30 seconds. This is your window of opportunity.
- Return to your vehicle quickly (safely, please!).
- Press and hold the HomeLink button you just trained in Step 2 for two seconds, then release.
- Repeat the “press for two seconds, release” sequence a second time.
- In some cases, the door will move on the second press. If not, try it a third time.
- The garage door should now activate.
Step 5: Final Verification
Once the door moves, the programming is complete. Give it a test run. Wait for the door to stop moving completely. Press the button in your Honda Pilot again to ensure it opens (or closes) the door on command.
If you have other doors or gates to program, you can repeat Steps 2 through 4 for the remaining two buttons on your mirror without needing to clear the memory again (skip Step 1).
Troubleshooting Common Issues
Sometimes, even when you follow the instructions perfectly, the technology refuses to cooperate. Here are the most common roadblocks Honda Pilot owners face and how to get around them.
The “Phantom” Signal
If you are pressing the remote and the HomeLink button but the light never changes to a rapid flash, check the battery in your handheld remote. Even if the remote still opens the door, the signal might be too weak for the Honda mirror to “clone.” Put in a fresh battery and try again.
LED Bulb Interference
This is a surprisingly common issue in modern garages. If you have recently installed LED light bulbs in your garage door opener unit, they might be emitting a radio frequency that interferes with the remote signal. If you are struggling to get the car to talk to the opener, unscrew the LED bulbs in the garage unit temporarily and try programming again. If it works, look for “garage door specific” LED bulbs that are shielded against RF interference.
The “Canadian” Frequency
In Canada (and for some older U.S. gate operators), the remote signals stop transmitting after a few seconds to save battery, even if you are holding the button down. If you live in Canada or have trouble with a gate, you may need to use the “cycle” method in Step 2. Instead of holding the remote button down, press and release it every two seconds while continuing to hold the HomeLink button in the car until the light flashes rapidly.
Maxed Out Memory
Garage door openers can only remember a certain number of remotes (usually around 5 to 10). If you have programmed multiple cars, keypads, and remotes over the years, the motor’s memory might be full. You may need to clear the memory on the garage door unit itself (usually by holding the Learn button for 10+ seconds) and reprogram all your remotes from scratch.
Frequently Asked Questions
You’ve got the basics, but specific situations can raise specific questions. Here are the answers to the most frequent inquiries we see regarding the Honda Pilot HomeLink system.
Do I have to have the car running to program the opener?
Technically, no, but it is highly recommended. The HomeLink system draws power from the vehicle’s battery. If the battery is in “saver” mode or just slightly weak, it might not broadcast a strong enough signal during programming. It is best to have the engine running (in a well-ventilated area, please!) or at least have the ignition in the “On/Accessory” position to ensure the mirror is fully powered.
Can I program my gate opener to the Honda Pilot?
Yes. The HomeLink system is universal. The process is almost identical to programming a garage door. However, gate systems are more likely to use older fixed-code technology or the “cycling” signal mentioned in the troubleshooting section. Check your gate operator’s manual to see if there is a “Learn” button on the control box near the gate hinge.
How can I reprogram my Honda Pilot garage door opener without the original remote?
If you no longer have your original handheld remote, programming your Honda Pilot’s HomeLink system can be a bit more challenging since the car typically needs that remote to “learn” the correct signal. However, you still have options. The simplest solution is to purchase a universal replacement remote from most hardware or home improvement stores.
First, program the universal remote to your garage door opener using the instructions provided with the remote. Once that’s done, use the new remote to program your Honda Pilot’s HomeLink as described in the step-by-step guide. If you have a newer Honda Pilot and a more advanced garage opener (like those with MyQ technology), you might also be able to use a bridge or repeater device. Still, a universal remote is usually the fastest and easiest workaround.
Will resetting the HomeLink affect my navigation or radio settings?
No. The HomeLink unit is an independent module. Resetting it by holding the two outer buttons only wipes the garage door and gate codes. It will not delete your saved radio stations, Bluetooth phone pairings, or navigation history.
Why is my range so short after programming?
If you have to be right on top of the garage door for it to open, check the antenna on the motor unit. It should be hanging straight down. Also, check for interference from dash cams or radar detectors plugged into your car, as these can sometimes create “noise” that shortens the range of the HomeLink transmitter.
Conclusion
Now that you know how to reprogram Honda Pilot garage door opener settings, you can enjoy the seamless experience of entering your home without fumbling for plastic clickers. While the combination of flashing lights and rolling codes can feel like a secret handshake at first, the logic behind it is all about keeping your home secure while maintaining convenience.
Remember, the key is patience. If it doesn’t work the first time, take a breath, clear the memory, and try again. Often, it’s just a matter of timing the button presses correctly. Once you have it set up, the system is incredibly reliable and will likely work flawlessly for as long as you own the vehicle. So, clear off that visor, put the old remote in a kitchen drawer as a backup, and enjoy the streamlined feel of a fully integrated car. Safe driving!

