
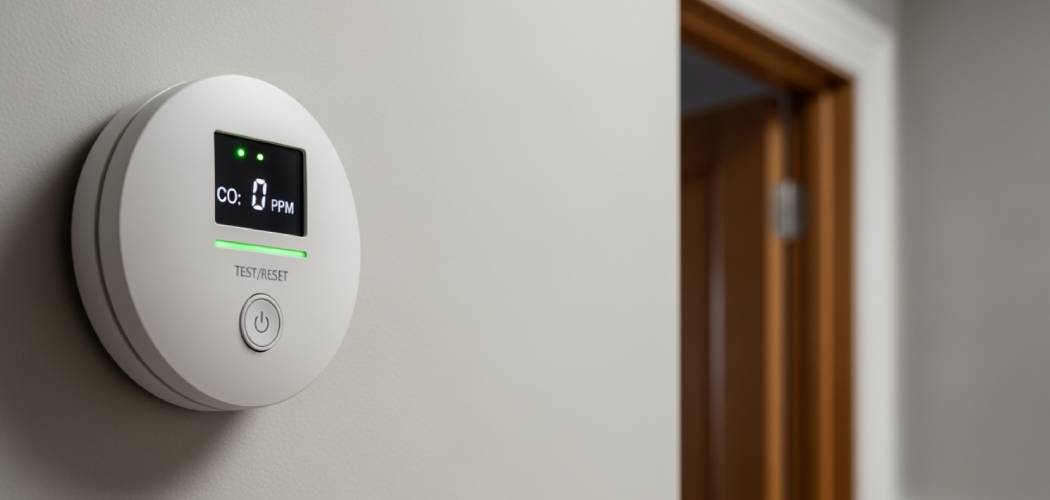
A chirping carbon monoxide (CO) detector is a sound no one should ignore. This crucial safety device is your first line of defense against a silent, odorless gas that can be deadly. While the beeping can be a nuisance, it’s an important signal that your detector needs attention—most often, a simple battery change.
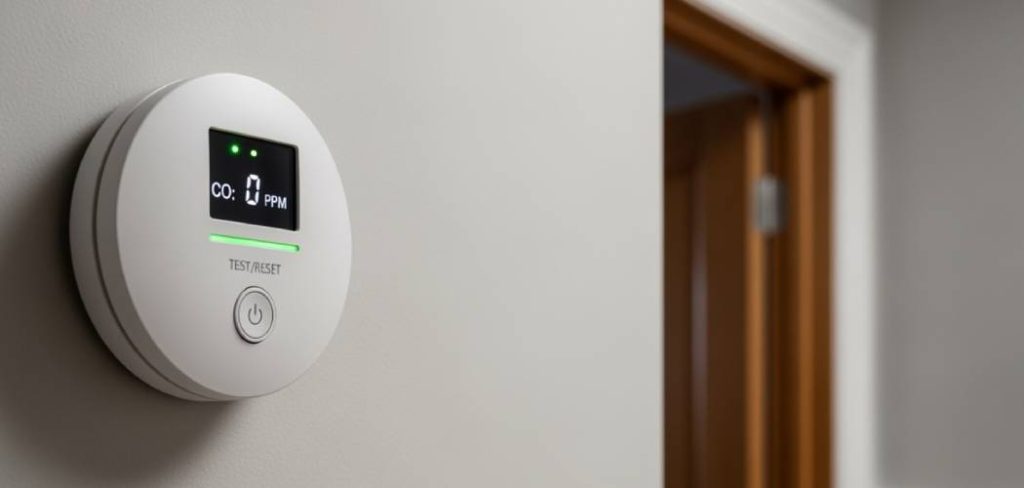
Many people feel unsure about handling these devices, but learning how to change battery in carbon monoxide detector is a straightforward skill that every homeowner should possess. This guide will walk you through the process step-by-step, ensuring your home remains protected. Regular maintenance is key, and it all starts with knowing how to keep your detector powered and ready to alert you in an emergency.
Why This Simple Task Is So Important
Carbon monoxide is often called the “silent killer” because it is colorless, odorless, and tasteless. This gas is produced by the incomplete burning of fuels like natural gas, propane, wood, and charcoal in devices such as furnaces, water heaters, and fireplaces. Without a functioning CO detector, its presence can go completely unnoticed until symptoms like headaches, dizziness, and nausea appear, which can quickly escalate to loss of consciousness or worse.
A detector with a dead battery offers no protection. That intermittent chirping sound is specifically designed to alert you when the power is low, giving you ample time to replace the batteries before the unit stops working altogether. Performing this maintenance task regularly is not just about silencing a noise; it is a fundamental act of home safety. It ensures your family is protected 24/7 from the risk of carbon monoxide poisoning, providing peace of mind and a secure living environment.
8 Steps Guide on How to Change Battery in Carbon Monoxide Detector
Step 1: Purchase the Correct Replacement Batteries
Before you take the detector down, check the manufacturer’s instructions or the device itself to identify the type and number of batteries required. Most CO detectors use standard AA or 9-volt batteries, which are readily available at most stores. It is always a good idea to buy high-quality, long-lasting batteries to minimize how often you need to perform this task. Having the correct replacements on hand before you begin will make the process much smoother and prevent you from leaving your home unprotected while you search for the right batteries.
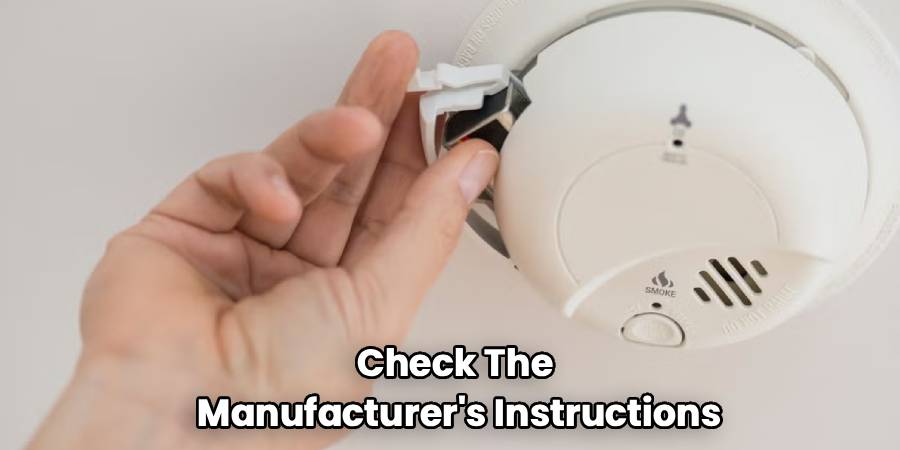
Step 2: Safely Remove the Detector from the Wall or Ceiling
Most carbon monoxide detectors are either mounted on a wall or ceiling. To remove the unit, you will typically need to twist it counter-clockwise or slide it off its mounting bracket. Be gentle to avoid damaging the plastic casing or the bracket itself. Some models might have a small locking tab you need to press before it will release. If the detector is hardwired into your home’s electrical system, it will still have a battery backup. In this case, you will also need to disconnect the power cable harness, which usually unplugs with a simple squeeze-and-pull motion.
Step 3: Open the Battery Compartment
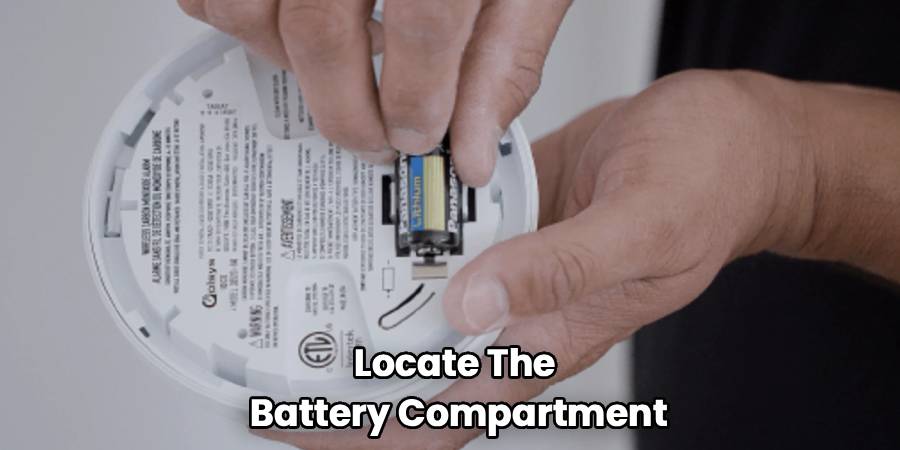
Once the detector is in your hands, locate the battery compartment. This is usually a small door on the back or side of the unit. In many cases, it will be marked with a battery symbol or the words “Open Here.” You may need to slide the cover off or press a small tab to unlatch it. Apply gentle but firm pressure to open it. Avoid using any tools like a screwdriver to pry it open, as this could break the plastic door or locking mechanism, making it difficult to secure later.
Step 4: Remove the Old Batteries
With the compartment open, you can now see the old batteries. Take note of their orientation, specifically the positive (+) and negative (-) terminals. Carefully remove each battery from its slot. If they are tight, you can use your fingernail to gently lift one end. For 9-volt batteries, you will need to unsnap them from their connector clips. Dispose of the old batteries responsibly. Many local recycling centers and electronics stores have designated drop-off bins for battery disposal to prevent harmful chemicals from ending up in landfills.
Step 5: Install the New Batteries
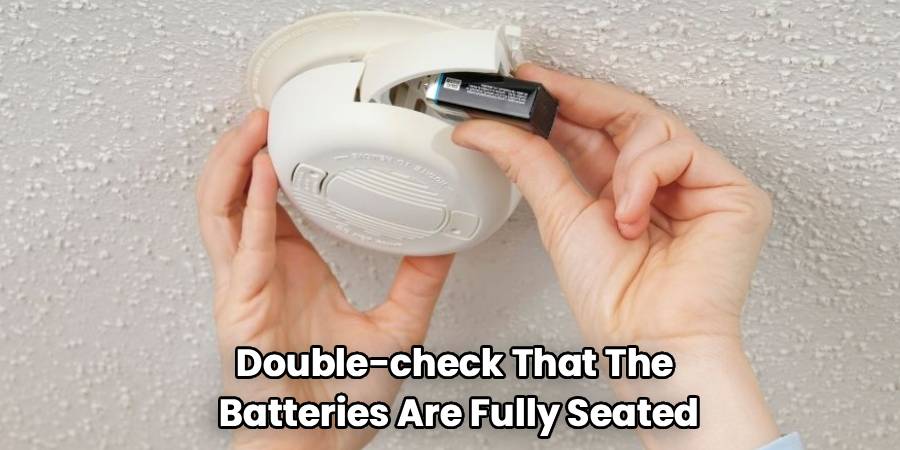
Now it is time to install the fresh batteries you purchased earlier. Pay close attention to the positive (+) and negative (-) polarity markings inside the battery compartment. Inserting batteries incorrectly can prevent the device from working and may even cause damage. Align each new battery according to the diagrams and press it firmly into place until it clicks or sits securely. For 9-volt batteries, simply snap the new battery onto the connector terminals. Ensuring a snug fit is crucial for a reliable power connection.
Step 6: Close the Battery Compartment
After the new batteries are securely in place, close the battery compartment door. It should slide or snap back into its original position with little effort. If you encounter resistance, double-check that the batteries are fully seated and that no wires are caught in the way. The door must be completely closed for the detector to function correctly. On some models, the detector will not fit back onto its mounting bracket unless the battery door is properly shut, which is an important safety feature.
Step 7: Test the Carbon Monoxide Detector
This is the most critical step. Almost all CO detectors have a “Test” or “Reset” button. Press and hold this button for a few seconds. You should hear a loud, piercing alarm, confirming that the new batteries are working and the device’s internal circuitry is operational. The alarm will stop once you release the button. If the detector does not make a sound, re-check the battery installation. The test verifies that the alarm is ready to alert you in an emergency, so never skip this part of the process.
Step 8: Reinstall the Detector
With the test complete, it’s time to put the detector back where it belongs. If it’s a hardwired model, reconnect the power cable harness first, then reattach the unit to its mounting bracket. For battery-only models, simply slide or twist the detector back onto its bracket until it locks into place. Give it a gentle tug to ensure it is secure. A properly mounted detector ensures it can accurately sample the air and provide timely alerts. Knowing how to change battery in carbon monoxide detector and reinstalling it properly secures your home.
Frequently Asked Questions
Why Is My Carbon Monoxide Detector Chirping?
A consistent, periodic chirping sound is the most common sign that your CO detector’s battery is low. This is a pre-warning designed to give you time to replace the batteries before the unit completely loses power. However, chirping can also indicate other issues:
- End-of-Life Warning: Most detectors have a lifespan of 5–10 years. A different chirping pattern may signal it’s time to replace the entire unit.
- Device Malfunction: A fault within the internal circuitry can also cause a chirp.
If new batteries don’t stop the noise, check the manufacturer’s guide or the date on the device.
How Often Should I Change the Batteries in My CO Detector?
As a best practice, you should change the batteries in your carbon monoxide detector at least once a year. A great way to remember is to do it when you change your clocks for daylight saving time. Some newer models come with 10-year sealed batteries that last the entire lifetime of the detector, eliminating the need for yearly changes. However, for any device with replaceable batteries, an annual swap is the safest bet, even if they haven’t started chirping yet.
Where Is the Best Place to Install a Carbon Monoxide Detector?
The Consumer Product Safety Commission (CPSC) recommends installing a CO detector on each level of your home, especially outside sleeping areas. This ensures an alarm will be heard even when your family is asleep.
- Keep detectors at least 15 feet away from fuel-burning appliances to avoid false alarms.
- Do not place them in humid areas like bathrooms or near windows and vents.
- Install them according to manufacturer guidelines, which may specify wall or ceiling placement.
Can I Use Rechargeable Batteries in My CO Detector?
Most manufacturers strongly advise against using rechargeable batteries in carbon monoxide detectors. Standard alkaline or lithium batteries provide a consistent and reliable power source, and their power depletion is predictable, which allows the low-battery warning to function correctly. Rechargeable batteries can lose their charge more suddenly and may not trigger the low-battery chirp in time, potentially leaving your home unprotected without warning. Always use the battery type specified in the user manual.
What Should I Do if My Carbon Monoxide Alarm Goes Off?
If the CO alarm sounds with a loud, continuous siren (not a chirp), you must act immediately. This indicates the presence of dangerous levels of carbon monoxide.
- Immediately get everyone out of the house and into fresh air.
- Call 911 or your local fire department from outside.
- Do not re-enter the home until emergency responders have declared it safe.
- Try to account for everyone who was in the home.
Do not assume it is a false alarm. It is always better to be safe.
Conclusion
Keeping your home and family safe from the dangers of carbon monoxide is a responsibility that requires minimal but crucial effort. That annoying chirp from your detector is a helpful reminder, not a nuisance to be ignored. By following the simple steps outlined in this guide, you can confidently handle this important task. Regular testing and yearly battery changes ensure that your first line of defense against this invisible threat is always active and reliable. Now that you know how to change battery in carbon monoxide detector, you can take control of your home’s safety and enjoy the peace of mind that comes with it.

