
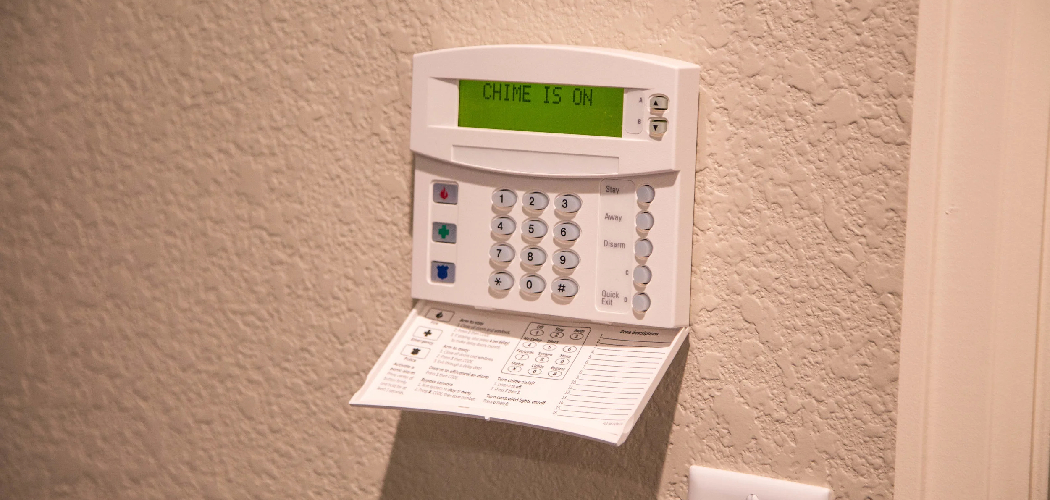
Securing your home provides peace of mind that is truly invaluable, yet many homeowners feel intimidated by the complex control panels on their walls. Whether you have just installed a new security setup or moved into a house with an existing one, learning the basics is essential for protecting your family and property. Modern security technology is designed to be user-friendly, so there is no need to worry about false alarms or confusing codes once you understand the process.
In this guide, we will walk you through everything you need to know about activating your home protection. We will break down the terminology, explain the safety checks, and show you exactly how to arm an alarm system correctly every single time. By the end of this article, you will feel confident managing your home security, ensuring that your living space remains a safe haven for you and your loved ones.
Why Knowing How to Arm Your System Matters
Understanding the mechanics of your home security goes beyond simply punching in a four-digit code. It is about maximizing the effectiveness of the tools you have invested in to protect your household. Many burglaries are crimes of opportunity, often occurring because a system was installed but left inactive due to the homeowner’s uncertainty or fear of triggering a false siren. When you fully grasp the arming process, you ensure that your perimeter sensors, motion detectors, and cameras are actually working for you rather than sitting idle.
Furthermore, knowing the different modes—such as “stay” versus “away”—allows you to customize your protection based on your current activity. You can keep the perimeter secure while moving freely inside, or lock down everything when you leave for vacation. Proper knowledge prevents accidental dispatches of emergency services, saves you from potential fines, and ultimately ensures that your security investment provides the comprehensive safety net it was designed to offer.
7 Step Methods Guide on How to Arm an Alarm System
Step 1: Secure All Entry Points and Windows
Before you even approach the keypad, you must physically secure the perimeter of your home. This is the most crucial prerequisite because modern security panels are designed to reject an arming request if a sensor detects an open circuit. Walk through your house and firmly close every exterior door, including the garage entry and sliding patio doors. Check that all ground-floor windows are shut and locked tight. If you have sensors on upper-level windows, ensure those are secured as well.
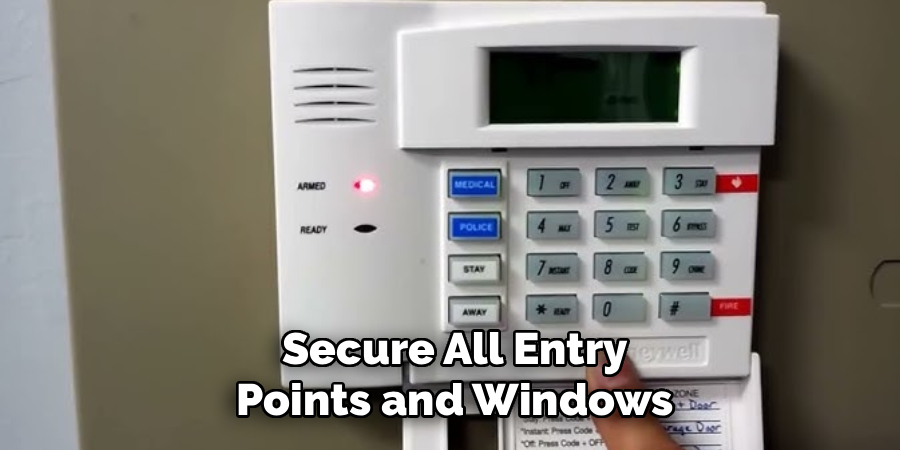
Leaving a window slightly ajar for a breeze might seem harmless, but it will prevent the system from creating a complete protective loop. Most control panels will display a “Not Ready” or “Zone Open” message if you skip this step. Taking a few minutes to physically verify that your home is sealed tight ensures that the electronic sensors can do their job without interruption or error.
Step 2: Check the Control Panel Status
Once your physical perimeter is secure, approach your main control panel or keypad to inspect its current status. You are looking for a visual indicator that the system is ready to receive a command. Typically, this is a green light or a text message on an LCD screen explicitly stating “Ready to Arm.” If you see a red light or a message indicating a fault, you need to investigate which zone is causing the issue before proceeding.
This step acts as a digital confirmation of your physical check. Sometimes, a door might look closed but hasn’t fully latched, preventing the sensor magnet from aligning with its contact. The panel will tell you exactly where the problem lies. Do not attempt to bypass this check or force the system to activate, as ignoring a fault could leave a vulnerable entry point completely unmonitored while you believe your home is safe.
Step 3: Choose Your Arming Mode
Modern security interfaces usually offer two primary distinct modes: “Stay” and “Away.” Selecting the correct mode is vital for avoiding false alarms. Use the “Stay” mode (sometimes called “Home”) when you are remaining inside the house, such as at night. This activates the perimeter sensors on doors and windows but bypasses interior motion detectors, allowing you to walk to the kitchen or bathroom without triggering the siren.
Conversely, use the “Away” mode when the house will be empty. This activates everything, including interior motion sensors. Making this distinction is a critical part of learning how to arm an alarm system effectively. If you choose “Away” while you are home, simply walking down the hallway could set off the loud siren and alert the monitoring company. Take a moment to deliberately select the button that matches your current plans to ensure seamless security.
Step 4: Enter Your Security Code
After selecting the appropriate mode, the system will likely prompt you for your user code. This is typically a four-digit numeric password that authorizes the command. Enter your code carefully and deliberately. If you make a mistake, do not panic; most keypads allow you to press a “Clear” or “Reset” button so you can start over. It is important to keep this code private and to change it periodically for enhanced security.
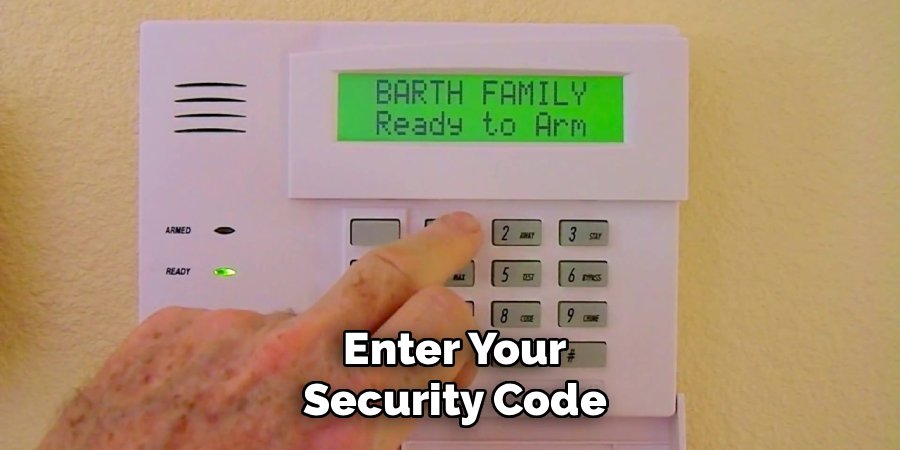
Some newer, smart-home integrated panels may not require a code for arming—only for disarming—or might use a single-touch button for quick exit. However, traditional setups almost always require this authorization. Ensure that everyone in the household who is old enough to manage the system has their own code or has memorized the master code. Entering the correct sequence confirms to the central processor that an authorized user is initiating the protection sequence.
Step 5: Wait for the Exit Delay Countdown
As soon as the code is accepted, the keypad will begin a countdown sequence, usually accompanied by an audible beeping sound. This is known as the “Exit Delay.” Its purpose is to give you enough time to leave the house and close the door behind you without triggering the alarm yourself. The duration of this delay is programmable, often ranging from 30 to 60 seconds, depending on your installer’s settings.
During this time, you must move efficiently toward the exit. Do not linger to check mail or look for keys. If you are arming in “Stay” mode, the beeping might be silent or significantly quieter since you aren’t leaving. If you are in “Away” mode, the beeping will likely speed up during the last ten seconds to warn you that the system is about to go live. Respecting this countdown is essential to prevent false alarms caused by exiting too slowly.
Step 6: Exit and Secure the Final Door
If you have chosen the “Away” mode, step out of the house and firmly close the main entry door before the countdown timer hits zero. It is critical that this door latches completely. If the door drifts open after the timer expires, the siren will immediately sound because the circuit was broken while the system was armed. Give the handle a quick pull to double-check that it is locked and secure.
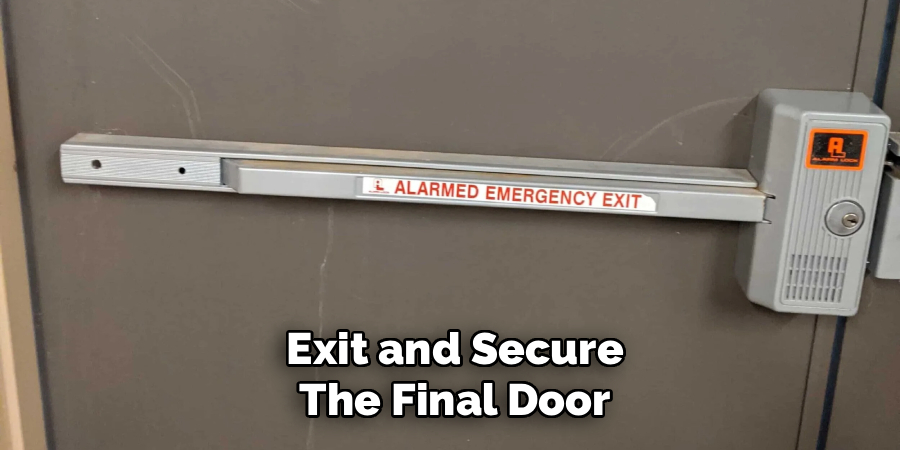
Once the door is shut and the time expires, the system enters its fully armed state. You might hear a final long beep or see an exterior indicator light turn red, confirming that the house is secure. At this point, any breach of a sensor will trigger the entry delay or an immediate alarm. Ensuring that final physical latch is secure is the last human action required to hand over protection duties to your electronic system.
Step 7: Verify via Mobile App (Optional)
In the age of smart technology, many homeowners have the added benefit of remote management apps connected to their security setup. After you have left the premises, it is a great habit to open your provider’s mobile app to verify the system status. The app should display a clear icon or text indicating that your home is “Armed Away” or “Armed Stay.” This provides a secondary layer of confirmation and immense peace of mind.
If you forgot to arm the panel before leaving, most apps allow you to do so remotely with a single tap. This step bridges the gap between physical hardware and digital convenience. While not strictly necessary for older hardwired setups, utilizing the app ensures you are never left wondering if you remembered to set the alarm five miles down the road. It transforms your smartphone into a portable control panel for ultimate flexibility.
Frequently Asked Questions
What Is the Difference Between Stay and Away Modes?
The main difference lies in which sensors are active.
- Stay Mode: Activates perimeter sensors like doors and windows but turns off interior motion detectors. This allows you to move freely inside the house while keeping intruders out.
- Away Mode: Activates all sensors, including interior motion detectors. This is for when the house is completely empty.
How Long Do I Have to Leave After Arming?
This duration is called the “Exit Delay” and is programmable.
- Standard delays are usually between 30 and 60 seconds.
- Your keypad will typically beep to count down the time.
- If you need more time, you can ask your alarm company to extend the duration to suit your needs better.
Can I Arm the System With a Window Open?
generally, no. Most systems have a “forced arm” prevention feature.
- The panel will show a “Not Ready” status if a zone is open.
- You must close the window or manually “bypass” that specific zone.
- Bypassing means that specific window will not be protected, leaving a vulnerability in your security perimeter.
What Happens If I Accidentally Trigger the Alarm?
Remain calm and act quickly.
- Go to the keypad immediately and enter your disarm code.
- If the monitoring center calls, provide your verbal password to cancel the dispatch.
- Do not leave the house; stay near the phone to ensure authorities are not sent unnecessarily.
Why Is My Keypad Beeping When I Try to Arm?
Beeping usually indicates a trouble condition or an open zone.
- Check for open doors or windows first.
- Look for a “Low Battery” or “Tamper” message on the screen.
- If the system has lost power or connection to the phone line, it may beep to alert you to the fault before arming.
Conclusion
Taking control of your home security is one of the most empowering steps you can take as a homeowner. By following these clear steps, you move from uncertainty to confidence, ensuring that your technology works effectively to protect what matters most. Remember to always secure your perimeter first, choose the right mode for your activity, and respect the exit delay times. Consistent practice will make this routine second nature, blending safety seamlessly into your daily life.
We encourage you to test your new knowledge today. Walk through the steps, familiarize yourself with the keypad, and teach other family members the proper procedures. When everyone understands how to arm an alarm system, your home becomes a significantly safer place. Don’t let your system sit idle—put it to work and enjoy the peace of mind that comes with true security.

About
Robert D is a distinguished figure in the world of Safety Systems and Risk Management, with a decade of expertise creating innovative and sustainable workplace solutions. His professional focus lies in merging traditional safety protocols with modern digital monitoring techniques, fostering environments that are both practical and hazard-conscious. As the lead author of SafetyRift, Robert delves into the art and science of risk mitigation, inspiring safety officers and industry professionals alike to bridge the gap between compliance and culture.
Education
RMIT University (Melbourne, Australia)
Associate Degree in Design (Industrial Safety)
-
Focus on sustainable safety infrastructure, industry-driven risk assessments, and practical implementation.
-
Gained hands-on experience with traditional hazard identification and digital monitoring tools, such as IoT safety sensors and predictive analytics software.
Nottingham Trent University (United Kingdom)
Bachelor’s in Occupational Health and Safety (Honors)
-
Specialized in systemic design with a focus on blending human behavior psychology with modern safety production techniques.
-
Participated in industry-wide projects, working with global logistics and manufacturing firms to gain real-world insights into large-scale safety deployments.
Publications and Impact
In SafetyRift, Robert shares his insights on safety design processes, protective materials, and strategies for efficient, accident-free production. His writing bridges the gap between foundational safety knowledge and modern industrial needs, making it a must-read for both budding safety coordinators and seasoned risk management professionals.
