
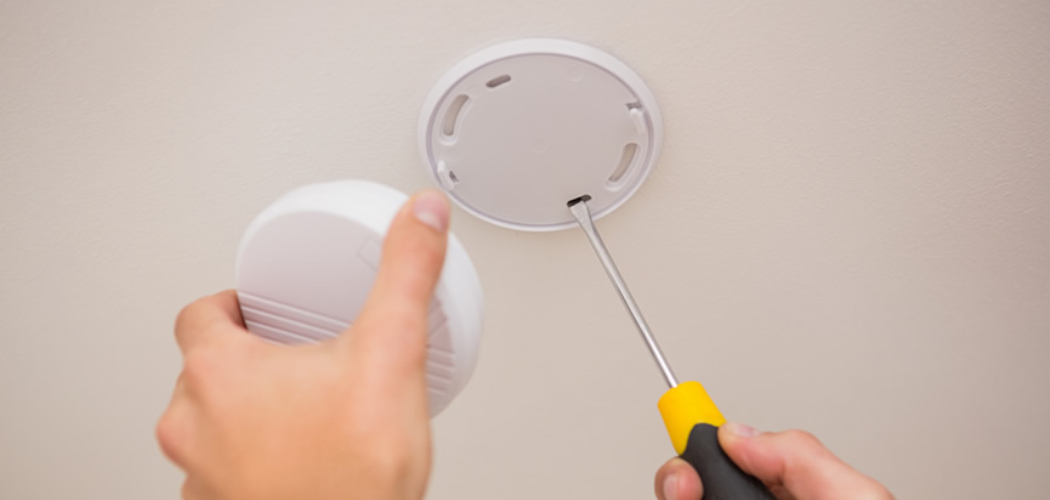
Ensuring your home is equipped with functional smoke detectors is a non-negotiable part of home safety. These small devices are your first line of defense, providing crucial early warnings in the event of a fire. However, the thought of drilling into pristine walls or ceilings can be a major deterrent for many people, especially renters or those who aren’t comfortable with power tools.
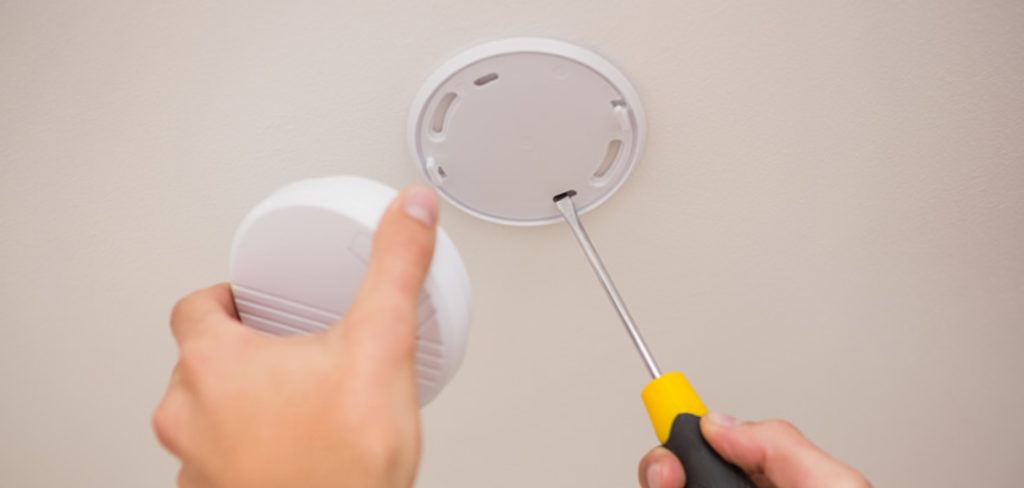
Fortunately, there is a simple and effective solution. This guide will walk you through how to install smoke detector without drilling, using strong adhesives that provide a secure, long-lasting hold. This damage-free method is perfect for anyone looking for a quick, easy, and reliable installation process that protects both their home and their family.
Why Install a Smoke Detector Without Drilling?
Opting for a drill-free installation method offers several significant advantages, making it a popular choice for homeowners and renters alike. The most obvious benefit is the prevention of damage to your walls and ceilings. You avoid creating permanent holes that need to be patched and painted later, which is especially important for those living in rental properties with strict rules about alterations. This method is also incredibly fast and requires no special tools or skills, making it accessible to everyone. By using a strong adhesive or magnetic mount, you can have your smoke alarm securely in place in minutes, without the noise, dust, and hassle associated with drilling. It’s a clean, simple, and effective way to enhance your home’s safety.
7 Step-by-Step Guide on How to Install Smoke Detector Without Drilling
Step 1: Choose the Right Smoke Detector
Before you begin, select a smoke detector that is suitable for adhesive mounting. Most modern, lightweight smoke alarms, particularly battery-operated models, are perfect for this method. Heavier, hardwired units may be too cumbersome for an adhesive to support safely over time.
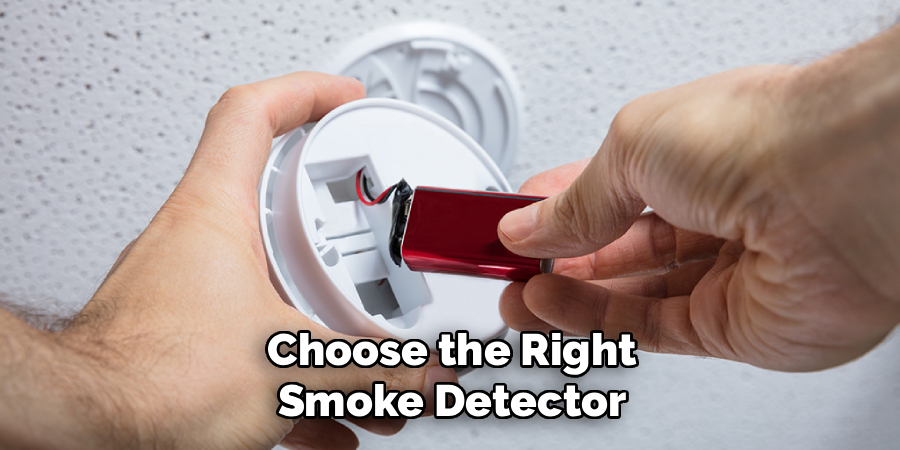
Check the manufacturer’s packaging and instructions for the device’s weight and any recommendations regarding mounting options. Opting for a model with a broad, flat base will provide a larger surface area for the adhesive to bond with, resulting in a more secure and reliable attachment to your ceiling or wall.
Step 2: Select a High-Quality Adhesive or Magnetic Mount
The success of your drill-free installation hinges on the quality of your chosen adhesive. Look for heavy-duty, double-sided mounting tape or adhesive pads specifically designed to hold significant weight. Brands that specialize in picture-hanging strips or general-purpose mounting tape are excellent choices. Another fantastic option is a magnetic smoke detector mount. These kits come with two self-adhesive magnetic plates: one attaches to the ceiling, and the other attaches to the smoke detector. This not only makes installation simple but also allows for easy removal of the detector for battery changes.
Step 3: Identify the Optimal Location
Proper placement is critical for a smoke detector to function effectively. The National Fire Protection Association (NFPA) recommends installing alarms inside each bedroom, outside every sleeping area, and on every level of the home, including the basement. For ceiling installations, place the detector in the center of the room, at least four inches away from any walls or corners. If you must mount it on a wall, position it between 4 and 12 inches from the ceiling. Avoid placing detectors near kitchens, bathrooms, or heating appliances, as steam, cooking fumes, and drafts can trigger false alarms.
Step 4: Prepare the Mounting Surface
A clean surface is essential for achieving a strong, lasting bond. Before applying any adhesive, thoroughly clean the spot on the ceiling or wall where you plan to install the detector. Use a cloth dampened with rubbing alcohol to wipe away any dust, grease, or grime. The alcohol will effectively remove residues without leaving a film that could weaken the adhesive’s grip. Allow the area to air-dry completely for a few minutes. Do not use household cleaners or soaps, as they can leave behind a slick residue that will prevent the adhesive from sticking properly.
Step 5: Attach the Adhesive to the Smoke Detector
Once the surface is clean and dry, you can prepare the smoke detector. Take your double-sided adhesive pad or magnetic plate and peel the backing off one side. Firmly press the sticky side onto the back of the smoke detector’s mounting bracket or base.
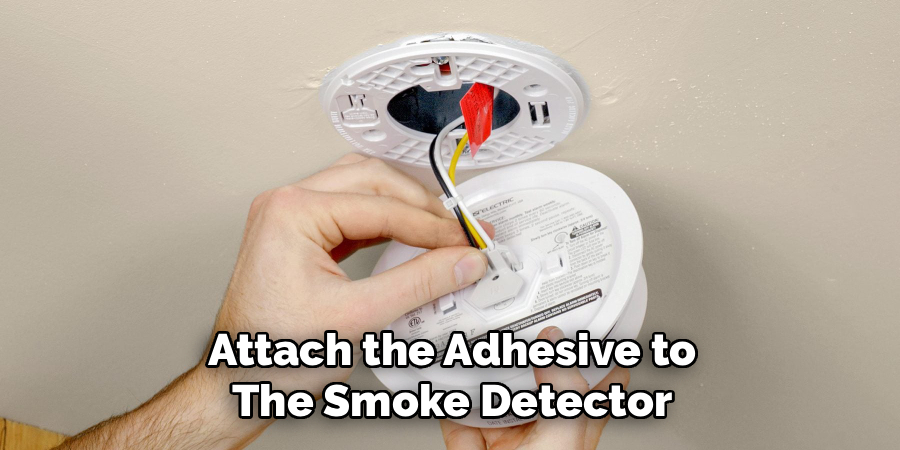
Apply even, firm pressure for at least 30 to 60 seconds to ensure a strong bond forms between the adhesive and the plastic. Make sure the adhesive is centered on the device to provide balanced support. This initial bond is crucial for the overall stability of the installation.
Step 6: How to Install a Smoke Detector on the Ceiling
With the adhesive attached to the detector, it’s time for the final step of the installation. Carefully peel the remaining protective liner from the adhesive pad. Position the smoke detector in your chosen, pre-cleaned location on the ceiling or wall. Press it firmly into place, holding it there with steady pressure for at least 60 seconds. This allows the adhesive to fully bond with the surface. If you are using a magnetic mount, you will first attach the ceiling plate in this manner, then simply click the detector plate into place.
Step 7: Test the Smoke Detector
After mounting the device, the final and most important step is to test it. Press and hold the test button on the smoke detector until the alarm sounds. This confirms that the internal circuitry, power source, and siren are all working correctly. Performing this test ensures the device is operational and ready to protect you. The process of how to install smoke detector without drilling is now complete, but remember to test your alarm monthly and replace the batteries at least once a year to maintain its reliability and keep your home safe.
Regular Maintenance and Inspection
To ensure your smoke detector remains fully functional, perform regular maintenance and inspections. Dust or debris can accumulate over time, which may affect the detector’s performance. Gently clean the exterior with a soft brush or a vacuum cleaner attachment. Additionally, check for any signs of wear or damage, such as cracks in the casing or loose components. Staying proactive about maintenance will help your smoke detector protect you and your household effectively.
Test Your Smoke Detector Regularly
Regular testing is essential to ensure your smoke detector is functioning properly. Use the test button on your device to check its alarm sound and responsiveness. This process should be carried out at least once a month.
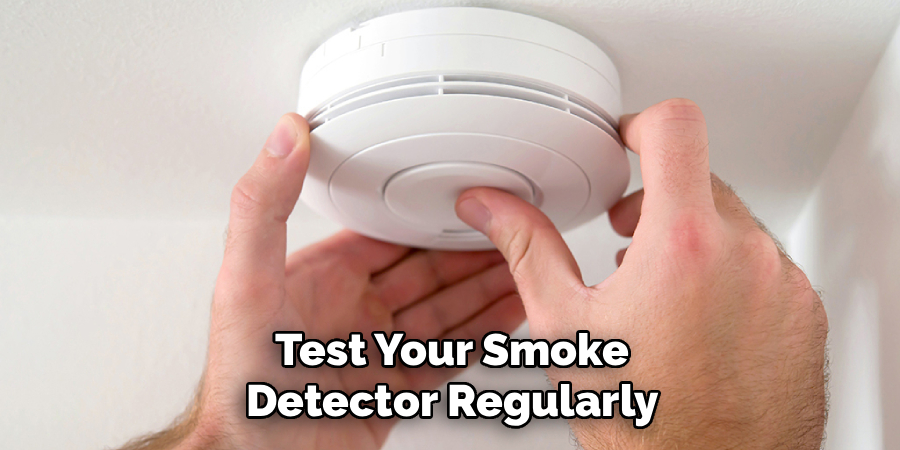
If the alarm does not sound during the test, replace the batteries immediately and retest. If the issue persists, the device may need to be replaced. Routine testing helps ensure that your smoke detector is ready to alert you in case of an emergency.
Frequently Asked Questions
Is It Safe to Mount a Smoke Detector With Adhesive Tape?
Yes, it is safe as long as you use the right product. Use high-quality, heavy-duty double-sided mounting tape or adhesive pads rated to hold at least a few pounds. This ensures the tape can easily support the weight of a lightweight, battery-operated smoke detector. Always clean the surface properly before application to guarantee a strong, long-lasting bond.
How Often Should I Replace the Adhesive on My Smoke Detector?
High-quality mounting adhesives are designed for long-term use and should last for several years without issue. However, it is a good practice to check the bond whenever you change the batteries in your smoke detector. Gently tug on the device to ensure it is still secure. If you notice any loosening, it is best to replace the adhesive immediately for continued safety.
Can I Use This Method on Textured Ceilings?
This method can work on lightly textured ceilings, but its effectiveness may be reduced. The texture creates less surface area for the adhesive to bond with. For these surfaces, a magnetic mounting kit is often a better choice, as its adhesive is typically stronger. Alternatively, apply a small, smooth patch of spackle to the ceiling first, let it dry, and then apply the adhesive to that flat surface.
What Is the Best Location for a Smoke Detector?
For maximum protection, install smoke detectors on every level of your home, inside each bedroom, and outside sleeping areas. On ceilings, place them in the center of the room. If wall-mounting is necessary, position the detector high up, between 4 and 12 inches from the ceiling line. Avoid areas near windows, fans, or vents where drafts could interfere with smoke detection.
Will Adhesive Mounts Damage My Paint or Drywall?
Most modern mounting tapes and adhesive strips are designed to be removed cleanly without damaging surfaces. When it’s time to remove the detector, you can typically soften the adhesive with a hairdryer on low heat and then slowly peel it away. Some products also include special tabs for damage-free removal. Always check the product’s instructions for the proper removal technique.
Conclusion
Protecting your home and loved ones from the threat of fire is a top priority, and installing smoke detectors is a simple yet powerful step. As this guide has shown, you don’t need power tools or handyman skills to get the job done right. By using high-quality adhesives or magnetic mounts, you can secure these life-saving devices quickly and without leaving a single mark on your walls or ceilings. This approach is not only effective but also accessible to everyone, regardless of their DIY experience. Now that you know how to install smoke detector without drilling, you can confidently and easily enhance your home’s safety in just a few minutes.

About
Robert D is a distinguished figure in the world of Safety Systems and Risk Management, with a decade of expertise creating innovative and sustainable workplace solutions. His professional focus lies in merging traditional safety protocols with modern digital monitoring techniques, fostering environments that are both practical and hazard-conscious. As the lead author of SafetyRift, Robert delves into the art and science of risk mitigation, inspiring safety officers and industry professionals alike to bridge the gap between compliance and culture.
Education
RMIT University (Melbourne, Australia)
Associate Degree in Design (Industrial Safety)
-
Focus on sustainable safety infrastructure, industry-driven risk assessments, and practical implementation.
-
Gained hands-on experience with traditional hazard identification and digital monitoring tools, such as IoT safety sensors and predictive analytics software.
Nottingham Trent University (United Kingdom)
Bachelor’s in Occupational Health and Safety (Honors)
-
Specialized in systemic design with a focus on blending human behavior psychology with modern safety production techniques.
-
Participated in industry-wide projects, working with global logistics and manufacturing firms to gain real-world insights into large-scale safety deployments.
Publications and Impact
In SafetyRift, Robert shares his insights on safety design processes, protective materials, and strategies for efficient, accident-free production. His writing bridges the gap between foundational safety knowledge and modern industrial needs, making it a must-read for both budding safety coordinators and seasoned risk management professionals.
