
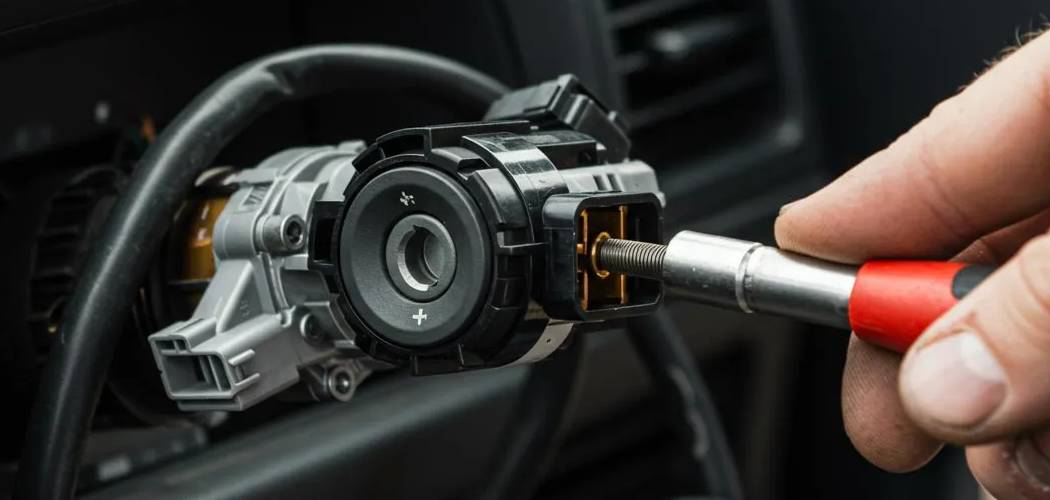
Dealing with a faulty ignition lock cylinder can be a major headache, leaving you stranded and unable to start your vehicle. When the key no longer turns or the mechanism is completely jammed, one effective but delicate solution is to learn how to drill out ignition lock cylinder.
This process involves carefully removing the internal components of the lock to bypass the jammed mechanism, allowing you to turn the ignition and start the car. While it might sound intimidating, this guide will walk you through the process with clear, beginner-friendly steps. With the right tools and a little patience, you can tackle this task yourself and get back on the road.
Why This Skill Is Important
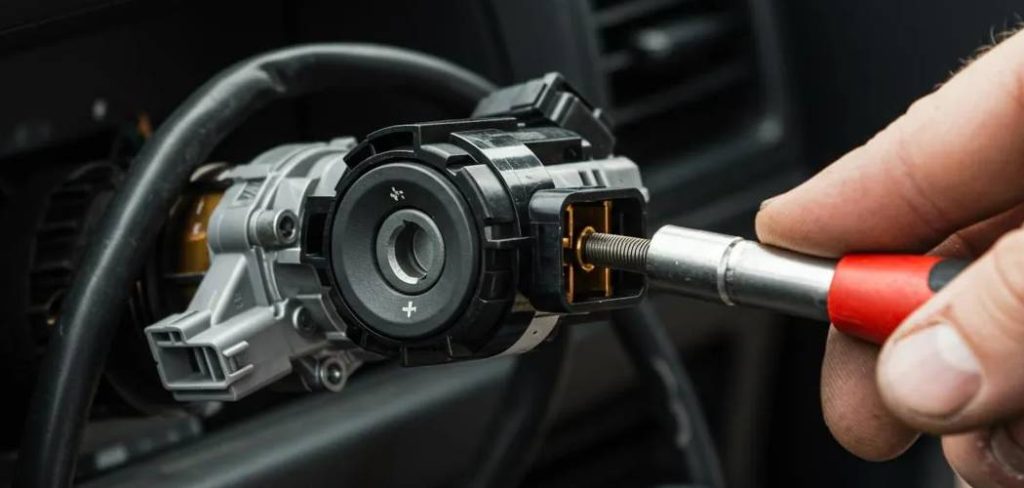
Knowing how to handle a failed ignition lock cylinder is a valuable skill for any car owner. Ignition systems can fail without warning due to wear and tear, a broken key fragment lodged inside, or an attempted theft. Being stranded with a car that won’t start can be stressful and expensive, often leading to a costly tow and a significant repair bill from a mechanic or dealership.
By learning this procedure, you gain a degree of self-sufficiency. It empowers you to handle an emergency situation, potentially saving hundreds of dollars and the inconvenience of being without your vehicle. This guide provides a safe and methodical approach, ensuring you can perform the task without causing further damage to your steering column or ignition housing.
8 Steps Guide on How to Drill Out Ignition Lock Cylinder
Step 1: Gather Your Tools and Safety Gear
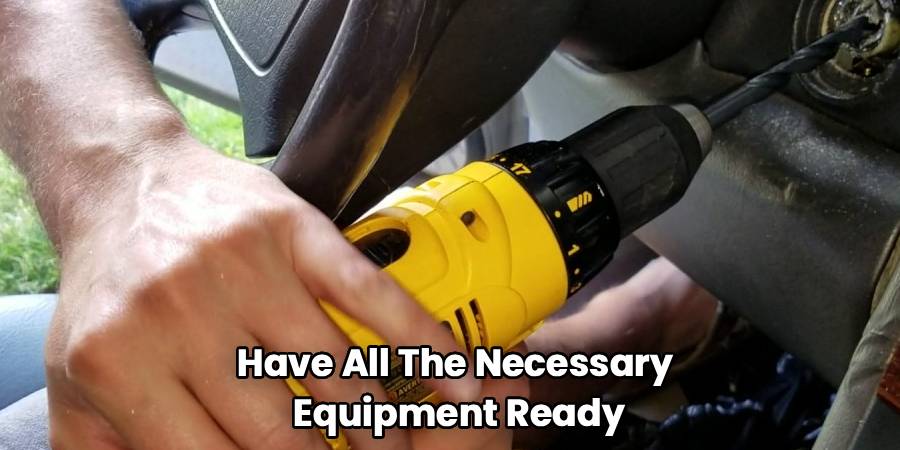
Before you start, it’s essential to have all the necessary equipment ready. You will need a reliable power drill with a set of sharp drill bits in various sizes, including a smaller pilot bit and progressively larger ones. A center punch and a hammer are crucial for creating a starting point for your drill bit, preventing it from slipping. You’ll also want a flathead screwdriver and a pair of needle-nose pliers for removing internal components later. Most importantly, protect yourself by wearing safety glasses to shield your eyes from metal shavings and a pair of work gloves to protect your hands.
Step 2: Disconnect the Vehicle’s Battery
Safety is the top priority. To prevent any electrical shorts or accidental engine starts while you work, you must disconnect the vehicle’s battery. Locate the battery, which is typically in the engine bay but sometimes found in the trunk. Use a wrench to loosen the nut on the negative terminal, which is usually marked with a minus sign (-) and has a black cable. Once loosened, slide the terminal clamp off the battery post and tuck it away to ensure it doesn’t make contact. This simple step deactivates the car’s electrical system, creating a safe environment for your repair.
Step 3: Access the Ignition Lock Cylinder
Now, you need to gain clear access to the ignition lock cylinder. In many vehicles, this involves removing the plastic shrouds surrounding the steering column. These covers are typically held in place by several Phillips head or Torx screws. You may need to look for screws on the underside of the column and sometimes behind small plastic caps. Once you have removed all the fasteners, carefully pry the upper and lower halves of the shroud apart. They often clip together, so gentle pressure is key. With the covers off, the entire ignition lock cylinder assembly will be exposed and accessible.
Step 4: Use a Center Punch to Mark Your Drilling Point
Creating a precise starting point for your drill is critical to avoid damaging surrounding components. Your goal is to drill directly into the center of the key slot. Take your center punch and place its sharp tip right in the middle of where you would insert your key. Give the end of the center punch a firm tap with a hammer. This will create a small indentation in the metal face of the lock. This divot serves as a guide for your drill bit, preventing it from “walking” or slipping across the smooth surface when you begin drilling, ensuring your hole is centered and accurate.
Step 5: Begin Drilling with a Small Pilot Bit
Start the drilling process with a small drill bit, often around 1/8 inch in size. This is your pilot hole. Secure the bit into your power drill and place the tip directly into the indentation you made with the center punch. Begin drilling at a slow, steady speed. Apply firm, consistent pressure, but do not force the drill. Let the bit do the work. The goal of this initial hole is to create a clean path for larger bits to follow. Drilling through the lock’s hard metal pins takes patience, so proceed slowly to avoid overheating the bit or the lock itself.
Step 6: How to Drill Out Ignition Lock Cylinder with Larger Bits
After creating the pilot hole, it’s time to widen the opening. Switch to a slightly larger drill bit and repeat the process, following the path you just created. Continue to increase the drill bit size incrementally until the hole is wide enough to destroy the internal locking pins and tumblers. A common final size is around 1/2 inch, but this can vary by vehicle. As you drill, you will feel the bit breaking through the multiple layers of pins inside the cylinder. This is the core of the how to drill out ignition lock cylinder method, as it effectively destroys the mechanism preventing the lock from turning.
Step 7: Clear Out the Internal Components
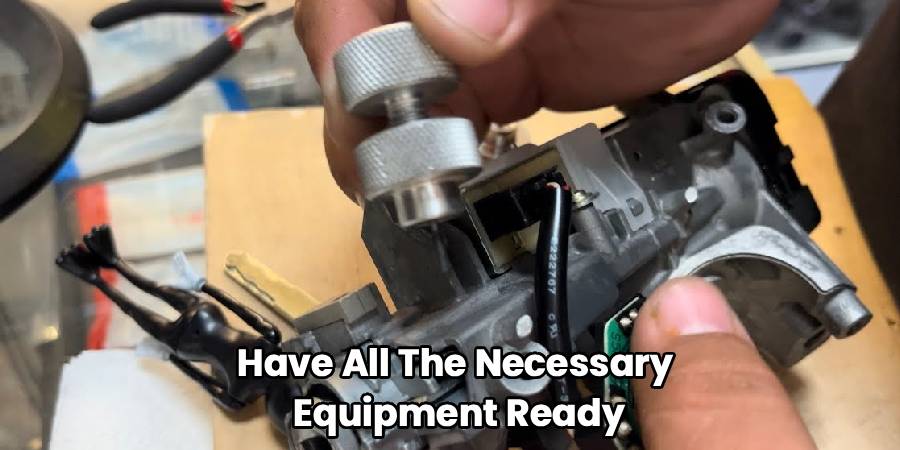
Once you have drilled through the core of the lock cylinder, the internal mechanisms will be destroyed. Use a flathead screwdriver or a similar slender tool to break up and remove any remaining metal fragments and broken pins from inside the cylinder housing. You may need to use needle-nose pliers to pull out stubborn pieces. The objective is to completely clear the pathway so that you can turn the ignition switch mechanism that sits behind the lock cylinder. Be thorough in this step to ensure nothing is left to jam the switch.
Step 8: Turn the Ignition Switch and Start the Car
With the lock cylinder’s internal pins and tumblers removed, you can now access the ignition switch itself. Insert a large flathead screwdriver into the now-hollowed-out cylinder housing. You should be able to engage the slot on the ignition switch located at the back of the housing. Turn the screwdriver just as you would a key—first to the “On” or “Accessory” position, and then further to the “Start” position. The engine should now crank and start. You can use this method to operate the vehicle until you can install a replacement lock cylinder.
Frequently Asked Questions
What Are the Risks of Drilling Out an Ignition Lock Cylinder?
The main risks include damaging the ignition switch, steering column housing, or internal wiring if the drill is not handled carefully. Slipping with the drill can scratch or gouge plastic trim or metal components. There’s also a risk of the drill bit breaking inside the lock. To mitigate these risks, always use a center punch, start with a pilot hole, use sharp drill bits, and apply slow, steady pressure. Disconnecting the battery is also a critical safety step to prevent electrical damage.
Can I Replace the Ignition Lock Cylinder Myself After Drilling It Out?
Yes, replacing the ignition lock cylinder is a manageable DIY project for many car owners. Once the old cylinder is removed, the new one typically slides into the housing and clicks into place. However, the exact procedure varies by vehicle make and model. Some may require you to turn the new key to a specific position to engage a release pin. It’s best to consult a vehicle-specific repair manual or online tutorial for instructions tailored to your car.
Will Drilling Out the Lock Cylinder Affect My Car’s Anti-Theft System?
This depends on your vehicle’s security system. For cars with a simple mechanical lock, drilling it out will not affect other systems. However, many modern cars have a transponder chip in the key that communicates with the car’s computer (ECU). In these cases, simply replacing the lock cylinder is not enough. The new key and cylinder will need to be programmed by a dealer or a qualified locksmith to be recognized by the vehicle, or the car will not start.
What Tools Do I Absolutely Need for This Job?
At a minimum, you will need a power drill, a set of high-quality drill bits (including various sizes), a center punch, a hammer, and safety glasses. A flathead screwdriver and needle-nose pliers are also essential for clearing out the drilled cylinder and turning the ignition switch. Having a good set of screwdrivers (Phillips and Torx) is also important for removing the steering column covers. Do not attempt this job without proper eye protection.
Is It Better to Call a Locksmith Instead?
Calling a locksmith is a valid and often safer alternative. A professional locksmith has specialized tools and experience to remove a faulty ignition cylinder without drilling, potentially preserving the surrounding components. They can also cut and program a new key on-site. While this option is more expensive than a DIY approach, it eliminates the risk of causing costly damage to your vehicle, making it a worthwhile consideration if you are not confident in your mechanical skills.
Conclusion
Facing a jammed ignition is frustrating, but you now have a comprehensive understanding of how to resolve it. This guide has shown you that with the right preparation, tools, and a methodical approach, the task is entirely achievable. By following these steps, you can safely access, drill, and bypass the faulty mechanism to get your car started.
This knowledge not only saves you from a potentially expensive repair bill but also gives you the confidence to handle unexpected car troubles. Now that you know how to drill out ignition lock cylinder, you are better prepared for this uncommon but disabling vehicle issue.

