
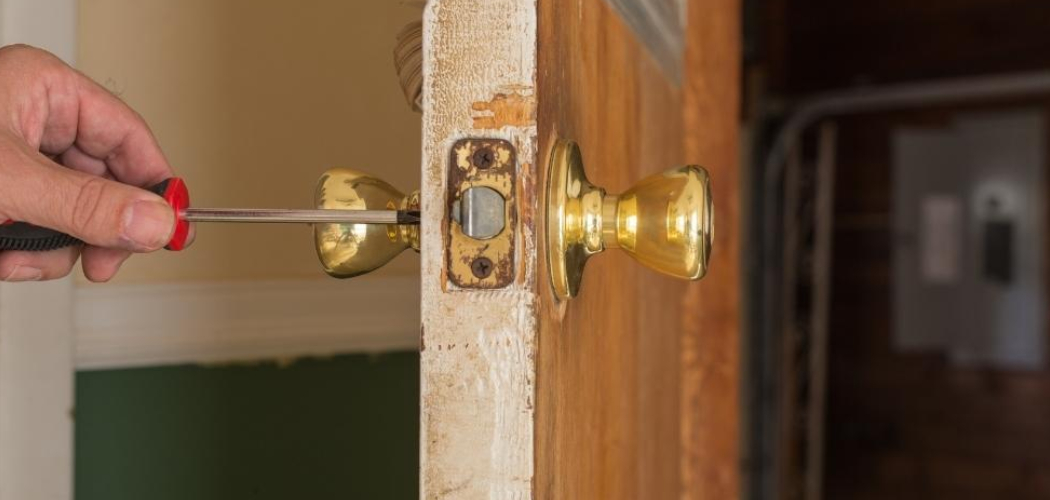
A droopy door handle is more than just a minor annoyance; it can be a sign that the internal mechanism is wearing out, potentially leading to you getting locked out of a room unexpectedly. Many homeowners ignore a wobbly handle until it completely falls off, but addressing the issue early is simple and effective.
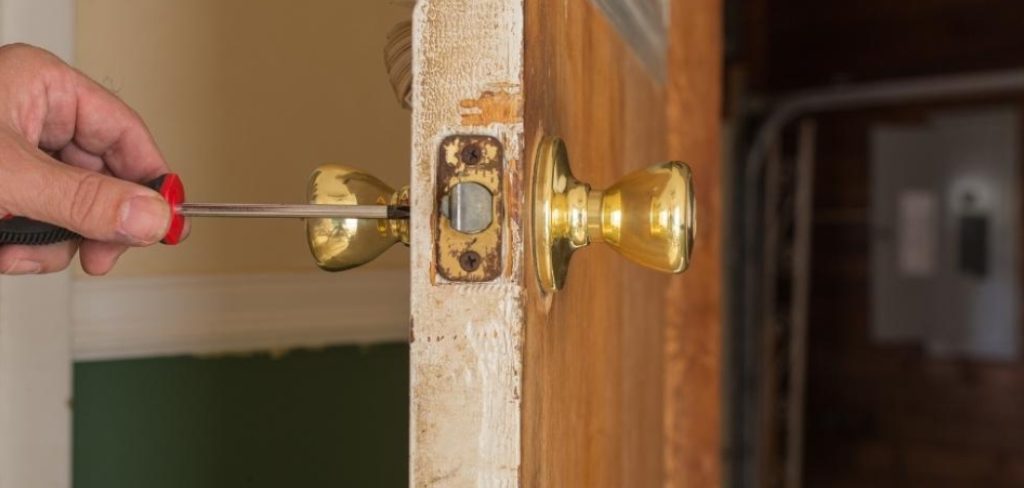
You do not need to be a professional locksmith or spend a fortune on a handyman to tighten things up. With just a few basic tools like a screwdriver and an Allen key, you can restore your door’s functionality in under an hour. This guide is designed to empower you with the knowledge and confidence to tackle this common household repair. We will walk you through exactly how to fix a loose lever door handle, ensuring your home remains secure and your hardware lasts for years to come.
Fixing Your Door Handle Matters
Ignoring a loose door handle often seems harmless, but small mechanical failures can quickly escalate into larger problems. When a lever handle becomes loose, it puts unnecessary stress on the internal latch mechanism and the spindle connecting the two sides. Over time, this extra strain can strip the internal screws or break the spring that allows the handle to return to its horizontal position. If the mechanism fails completely, you might find yourself unable to open the door, which poses a significant safety risk during emergencies.
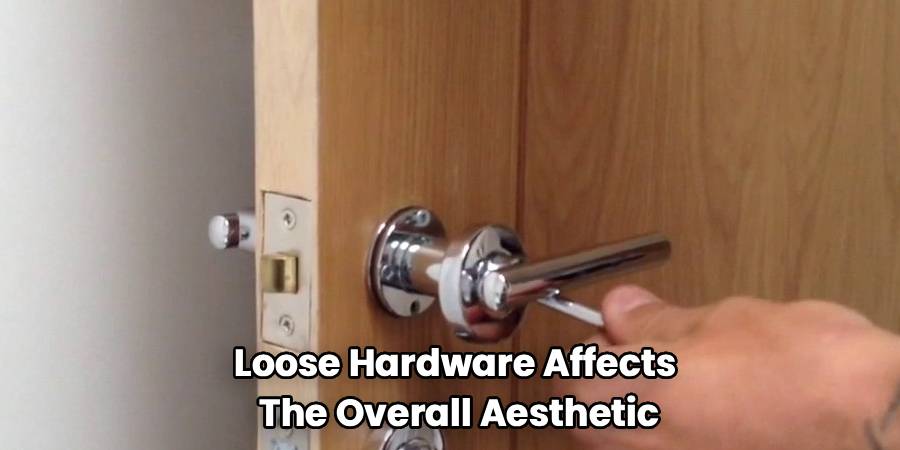
Furthermore, loose hardware affects the overall aesthetic and feel of your home. A sturdy, well-functioning door handle conveys a sense of quality and maintenance, while a jiggly one suggests neglect. Fixing it promptly not only prevents lockouts but also saves money by extending the life of your existing hardware. Instead of replacing the entire lockset, a simple adjustment is often all that is needed to make the door function like new again.
8 Step Methods Guide on How to Fix a Loose Lever Door Handle
Step 1: Identify the Type of Screw Fasteners
Before you begin any repair work, you need to determine exactly how your door handle is attached to the door. Most lever handles fall into two categories: those with exposed screws and those with hidden screws. Look closely at the faceplate or the rose, which is the round plate against the door surface.
If you see screw heads, your job will be straightforward. However, modern handles often conceal these fasteners for a cleaner look. In this case, you will likely need to look for a small slot or a tiny set screw hole, usually located on the bottom or side of the handle shaft. Identifying the fastener type early prevents you from forcing parts open and scratching the finish. Take a moment to inspect the hardware thoroughly so you can select the correct screwdriver or Allen wrench for the job ahead.
Step 2: Remove the Cover Plate or Rose
If your door handle has hidden screws, your next move is to carefully remove the decorative cover plate that conceals the mounting hardware. Look for a small notch on the edge of the circular plate where it meets the door. You will need a small flathead screwdriver to gently pry this cover off. Insert the tip of the screwdriver into the slot and twist slowly to pop the plate loose without damaging the wood or paint on your door.
Some models might require you to unscrew the plate by hand or use a special tool provided with the lockset. Once the cover is removed, you will expose the mounting screws that hold the handle mechanism together. Proceed with patience during this step, as rushing can lead to bent plates or scratched surfaces that are difficult to repair later.
Step 3: Tighten the Mounting Screws
Once the mounting screws are visible, check to see if they are loose. This is the most common cause of a wobbly handle. Using a Phillips head screwdriver, tighten these screws firmly but be careful not to over-tighten them, which can strip the threads or crack the mechanism. You want the handle to be secure against the door, but the internal mechanism still needs to move freely. Test the handle as you tighten to ensure it springs back correctly.
If the screws just spin without tightening, the screw holes in the door may be stripped, or the internal posts might be broken. In many cases, simply giving these screws a few solid turns solves the problem entirely. This simple adjustment realigns the hardware and secures the latch assembly, restoring the solid feel you expect when opening the door.
Step 4: Locate and Tighten the Set Screw
Many lever handles utilize a small set screw, sometimes called a grub screw, to secure the handle to the spindle shaft. This tiny screw is often located on the side or bottom of the lever itself. If this screw becomes loose, the handle will wiggle even if the mounting plate is tight against the door. You will typically need a hex key or Allen wrench to tighten this specific fastener.
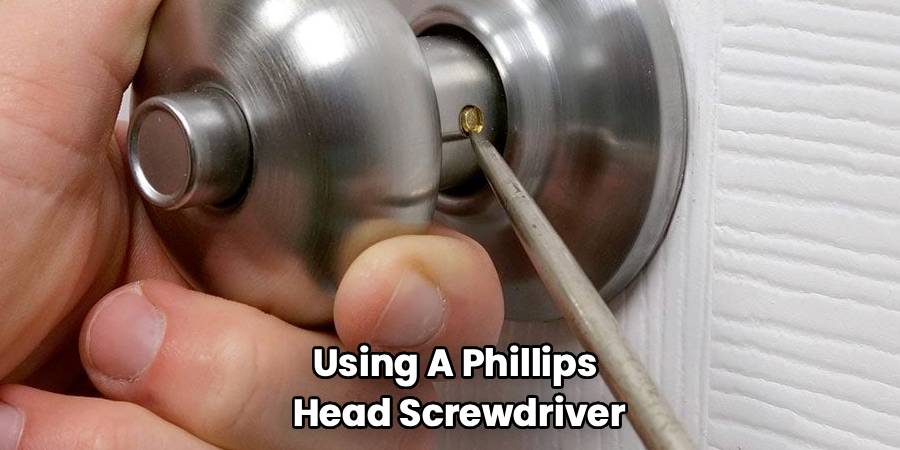
Insert the tool into the screw head and turn it clockwise until you feel resistance. Learning how to fix a loose lever door handle often comes down to finding this elusive little screw. Ensure it bites firmly into the spindle, as this connection is crucial for transferring the turning motion to the latch. If the set screw is missing entirely, you will need to take the handle to a hardware store to find a matching replacement.
Step 5: Check the Internal Spindle for Wear
If tightening the external screws does not solve the wobble, you may need to inspect the internal spindle. The spindle is the metal rod that passes through the door and connects the two handles. Remove the handles completely by unscrewing the mounting screws and pulling the levers apart. Examine the spindle for signs of wear, such as rounded edges or deep grooves.
A worn spindle can prevent the handle from gripping securely, leading to that annoying loose feeling. If the spindle looks damaged, it is best to replace it. You can find universal spindles at most hardware stores. Sometimes, the spindle is simply too long or too short for the door thickness, causing a poor fit. Ensuring this component is in good condition is vital for the mechanical integrity of the lockset.
Step 6: Inspect the Return Spring Mechanism
Often, a drooping handle is caused by a broken or worn-out return spring inside the handle assembly. This spring is responsible for bringing the lever back to a horizontal position after you let go. With the handle removed from the door, look at the back of the faceplate to locate the spring cassette or mechanism. If the spring appears broken, dislodged, or rusted, it needs to be addressed.
Some high-quality locksets allow you to replace just the spring cassette, while cheaper models might require replacing the entire handle unit. Apply a small amount of grease to the spring if it looks intact but feels stiff. This maintenance step ensures smooth operation and prevents future wear. A functioning spring is essential for keeping the handle level and preventing it from sagging over time.
Step 7: Apply Thread Locker to Prevent Future Loosening
Once you have identified the loose screws or components, you want to ensure they stay tight. A great pro tip is to use a thread-locking fluid, such as blue Loctite, on the screws before reinserting them. This liquid hardens into a tough plastic that prevents the screws from backing out due to vibration or daily use. Apply a small drop to the threads of the mounting screws and the set screw.
Do not use the red permanent version, as you may need to remove the handle again in the future. This simple addition makes your repair much more durable. It acts as an insurance policy against the repetitive motion of opening and closing the door, which naturally works screws loose over time. Allow the fluid to cure for the time specified on the bottle before heavy use.
Step 8: Reassemble the Handle and Cover Plate
After tightening all screws and inspecting the internals, it is time to put everything back together. Align the handles on either side of the door, ensuring the spindle passes through the latch mechanism correctly. Insert the mounting screws and tighten them by hand first to avoid cross-threading. Once they are started, use your screwdriver to secure them firmly. If your handle has a decorative cover plate that you removed earlier, snap it back into place.

Listen for a distinct click to ensure it is seated properly against the door surface. Check that the cover plate is flush and does not interfere with the handle’s movement. Proper reassembly is key to a professional-looking finish. Take your time to align everything perfectly so the handle operates smoothly without scraping against the rose or the door itself.
Test the Handle Operation
Now that the handle is reassembled, you must test it thoroughly. Operate the lever up and down several times to ensure it moves smoothly and returns to the horizontal position without assistance. Open and close the door to verify that the latch bolt extends and retracts fully. The handle should feel solid and responsive, with no wiggle or play.
If it still feels loose, you may need to revisit the mounting screws or the set screw. Also, check that the lock functions correctly if it is a privacy or entry handle. Testing is crucial to ensure safety and convenience. You do not want to find out the repair failed when you are in a rush. A properly fixed handle should feel as good as new, providing secure and reliable access to the room.
Clean and Maintain the Hardware
The final step in the process is to clean the handle and establish a maintenance routine. Fingerprints, dust, and grime can accumulate on the hardware, potentially causing corrosion over time. Wipe down the handle and the surrounding area with a soft, damp cloth. Avoid harsh chemical cleaners that could strip the protective coating on the metal.
For the internal mechanism, a quick spray of dry lubricant like graphite or silicone spray into the latch can keep things moving freely. Regular maintenance checks, perhaps once a year, will help you catch loose screws before they become a problem again. Taking pride in the appearance and function of your door hardware enhances your home’s value and ensures you will not have to repeat this repair anytime soon.
Frequently Asked Questions
Can I Fix a Droopy Door Handle Without Replacing It?
Yes, you can often fix a droopy handle without buying a new one. The issue is usually caused by a worn-out spring or a loose set screw. If you open the handle mechanism and find the spring is broken, many manufacturers sell replacement spring cassettes. Alternatively, simply tightening the mounting screws or the set screw on the side of the lever can restore tension. However, if the internal metal parts are severely worn or cracked, replacing the entire unit might be the most cost-effective and safest long-term solution.
What Tools Do I Need to Tighten a Door Handle?
You need very few tools for this repair. The primary tool is usually a Phillips head screwdriver for the main mounting screws. If your handle has a small set screw on the side, you will need the appropriate Allen key (hex wrench), which often comes with the original hardware or in a standard set. A small flathead screwdriver is also useful for prying off decorative cover plates (roses) that hide the screws. Occasionally, a pair of pliers might help if a screw is stuck, but generally, basic hand tools are sufficient.
Why Does My Door Handle Keep Coming Loose?
Door handles frequently come loose due to the repetitive vibration and stress of daily use. Every time you push down on the lever, it exerts force on the screws and the internal spindle. Over time, this motion causes the screws to back out slightly. Poor initial installation or stripped screw holes in the door can also be culprits. To prevent this from recurring, apply a thread-locking fluid (like blue Loctite) to the screws. This creates a stronger bond that resists vibration while still allowing you to remove the screws with tools if necessary.
How Do I Access Hidden Screws on a Door Handle?
Handles with hidden screws have a decorative cover plate, called a rose, that snaps over the mounting hardware. To access the screws, look for a small notch or slot on the edge of this plate, usually at the bottom. Insert a small flathead screwdriver into this slot and gently twist or pry to pop the cover off. Be careful not to scratch the door’s finish. Once the cover is removed, the mounting screws holding the two sides of the handle together will be exposed and accessible for tightening or removal.
Is Fixing a Door Handle Safe for a Beginner?
Absolutely, fixing a door handle is an excellent project for beginners. It involves simple mechanical parts and requires no electrical knowledge or heavy power tools. As long as you proceed slowly and keep track of the screws you remove, there is very little risk involved. The worst-case scenario is usually just needing to buy a new handle if the old one is broken beyond repair. It is a great way to learn basic home maintenance skills, save money on locksmith fees, and improve the security of your home environment.
Conclusion
Taking the time to repair your door hardware is a small effort that yields significant rewards in safety and comfort. A functioning door handle is essential for privacy and security, and ensuring it is in top condition prevents the frustration of being locked out or trapped in a room. By following the steps outlined above, you have likely saved money on a replacement and gained valuable DIY experience. Remember that regular maintenance is key; a quick check of your screws once a year can prevent the issue from returning. We hope this guide on how to fix a loose lever door handle has been helpful and empowers you to tackle other small repairs around your home with confidence.

