
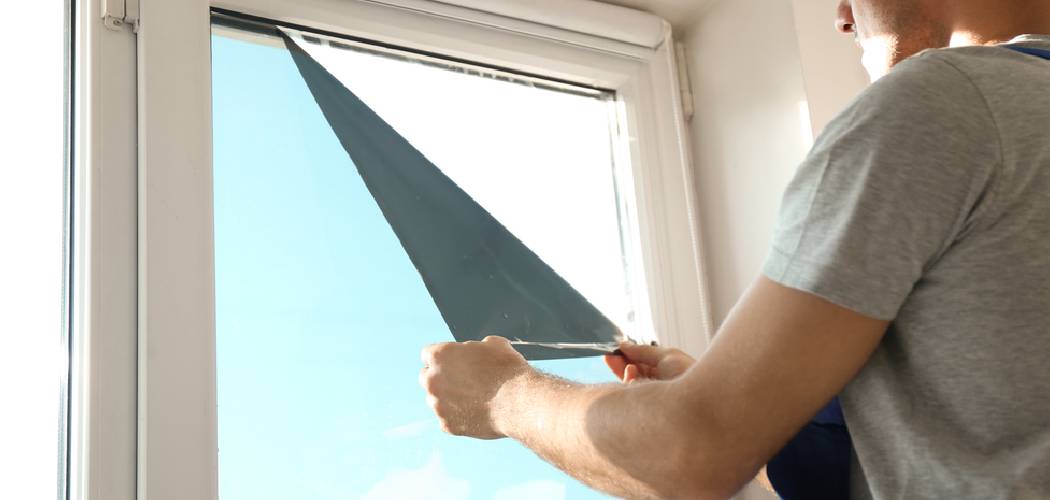
Over time, home window tint can start to peel, bubble, or fade, diminishing its appearance and effectiveness. Whether you’re upgrading to a newer film, preparing to sell your home, or simply want a clearer view, knowing how to remove home window tint is a valuable DIY skill. While it might seem like a daunting task reserved for professionals, with the right tools and a bit of patience, you can achieve clean, streak-free results on your own. This guide will walk you through the entire process, providing clear, step-by-step instructions to help you restore your windows to their original, pristine condition without causing any damage.
Why You Might Need to Remove Window Tint
There are several reasons why you might decide to remove the existing film from your windows. The most common reason is age. Over years of exposure to sunlight, window tint can degrade, leading to unsightly bubbling, cracking, or a purple discoloration. This not only detracts from your home’s curb appeal but also reduces the film’s ability to block UV rays and heat. You might also be moving into a new home where the previous owner’s choice of tint doesn’t match your style or is too dark for your preference. Finally, if the tint was installed improperly, it could have imperfections like trapped dirt or creases that you want to eliminate.
7 Step-by-Step Guide on How to Remove Home Window Tint
Step 1: Gather Your Supplies
Before you begin, gathering all the necessary materials will make the process much smoother and prevent interruptions. You will need a few basic items, most of which you may already have. Prepare a spray bottle filled with a solution of warm water and a few drops of dish soap. You’ll also need a hairdryer or a heat gun, a sharp razor blade or scraper (preferably a plastic one to avoid scratching the glass), and some clean microfiber cloths. Having a bucket of warm water and some paper towels on hand is also a good idea for cleanup. Protective gloves are recommended to keep your hands clean from the sticky adhesive.
Step 2: Prepare Your Work Area
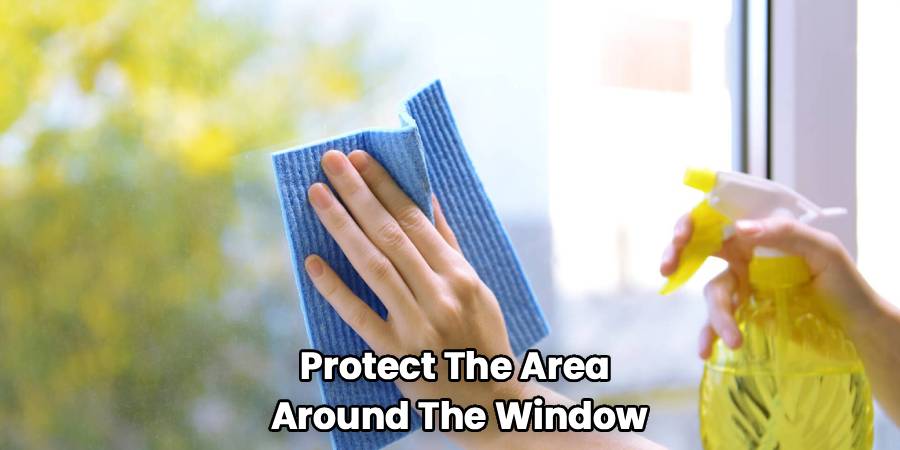
Protecting the area around the window is crucial to prevent water damage to your windowsill, walls, and flooring. Lay down old towels or a plastic drop cloth at the base of the window to catch any dripping water or soap solution. This simple preparation saves you significant cleanup time later and protects your home’s surfaces. If you are working near furniture or electronics, consider moving them or covering them securely. Taping the edges of the window frame with painter’s tape can also provide an extra layer of protection against water seepage and potential scratches from your tools.
Step 3: Heat the Window Tint Film
The key to easy removal is to loosen the adhesive holding the film to the glass. A hairdryer or a heat gun is perfect for this task. Set your device to a medium or high heat setting and hold it about two to three inches away from the window surface. Begin at one of the top corners and move the heat source slowly and evenly across the film. Avoid keeping the heat concentrated on one spot for too long, as this could potentially damage the glass. As you heat the tint, you will notice it start to lift or bubble slightly, which is a sign that the adhesive is softening.
Step 4: Peel a Corner of the Film
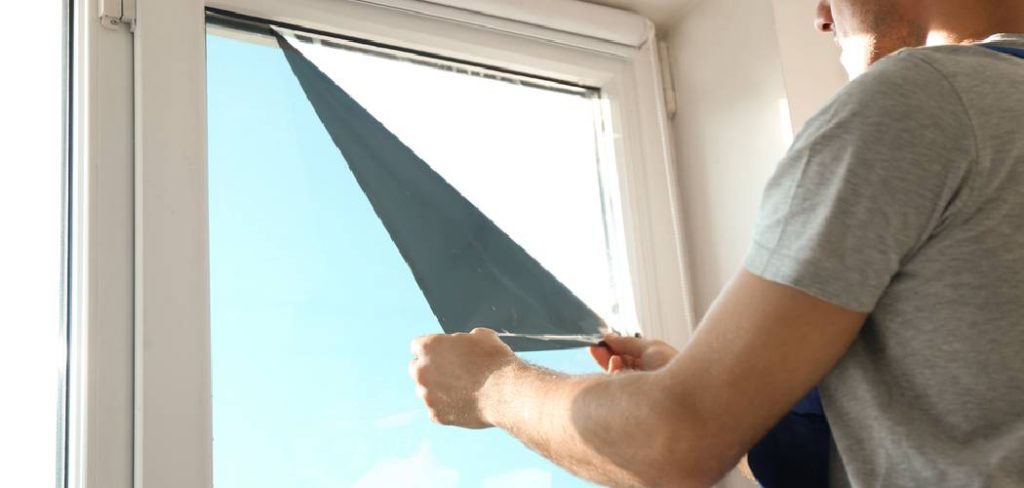
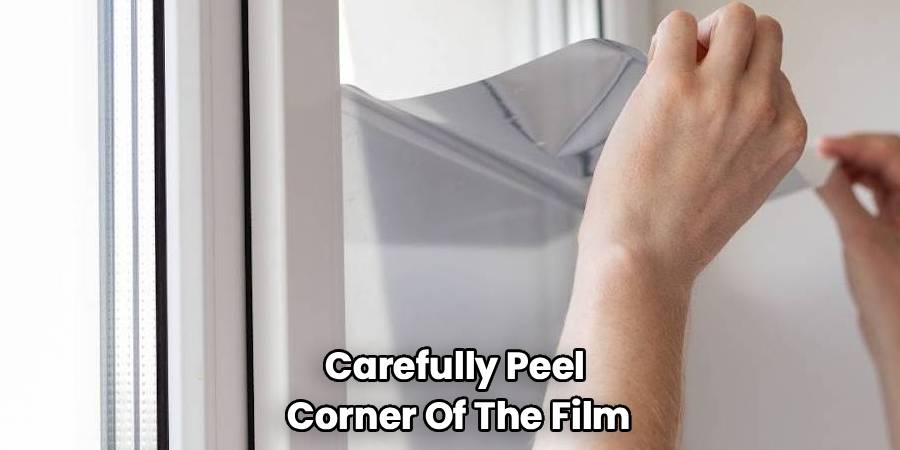
Once you have sufficiently heated a corner of the window, you can begin the peeling process. Use your fingernail or a plastic razor blade to carefully lift the edge of the tint. Be gentle to avoid tearing the film into small, frustrating pieces. The goal is to create a large enough flap that you can grip securely with your fingers. If the film doesn’t lift easily, apply a bit more heat to that specific area. Patience is key here; rushing can lead to the film ripping, making the rest of the removal process more difficult.
Step 5: Slowly Pull the Film Downward
With a firm grip on the corner you’ve just lifted, begin to pull the tint downward. Apply steady, even pressure as you peel. The best technique is to pull at a slight angle, which helps the film come off in one large sheet. As you pull, continue to apply heat just ahead of the area you are peeling. This combination of pulling and heating is the most effective method for how to remove home window tint cleanly. If the film does tear, simply heat the new edge and start the process again.
Step 6: Spray and Scrape the Remaining Adhesive
After removing the film, you will likely find a sticky layer of adhesive residue left on the glass. This is completely normal. Take your spray bottle filled with the soap and water solution and generously spray the entire window, ensuring all the remaining adhesive is thoroughly soaked. Let the solution sit for a few minutes to break down the glue. Then, take your razor blade or plastic scraper and, holding it at a 45-degree angle, begin to scrape the adhesive off the glass. Work in sections from top to bottom, reapplying the soapy solution as needed to keep the surface lubricated.
Step 7: Clean the Window Thoroughly
Once all the adhesive has been scraped away, it’s time for the final cleaning. Use your soapy water solution one last time to wash the window. Wipe away all the loosened residue with a microfiber cloth or a squeegee for a streak-free finish. After the initial wash, it’s a good idea to go over the glass with a standard glass cleaner to remove any remaining soap film or smudges. Dry the window completely with a fresh, clean microfiber cloth. Step back and inspect your work from different angles to ensure you haven’t missed any spots.
Dispose of Any Waste Properly
Once your windows are sparkling clean, take a moment to clean up your workspace. Dispose of any paper towels, used cloths, or other disposable materials in the appropriate waste or recycling bins. Empty the soapy water and rinse your bucket thoroughly to prevent any residue build-up. Proper cleanup ensures that your tools are ready for use next time and helps maintain an organized and eco-friendly cleaning routine.
Frequently Asked Questions
Can I Use a Steamer to Remove Window Tint?
Yes, a fabric steamer is an excellent alternative to a hairdryer or heat gun. The steam works very effectively to soften the adhesive without the risk of applying excessive, concentrated heat that could potentially crack the glass. Hold the steamer head close to the film and move it evenly across the surface until the tint begins to peel away easily. This method is often preferred by professionals for its efficiency and safety.
What Is the Easiest Way to Remove Stubborn Adhesive?
For particularly stubborn adhesive, you may need a stronger solvent than soapy water. Isopropyl alcohol or a commercial adhesive remover can be very effective. Apply the solvent to a cloth and rub it onto the residue, letting it sit for a few minutes to dissolve the glue. Always test the product on a small, inconspicuous area first and ensure the room is well-ventilated when using chemical-based removers.
Will a Razor Blade Scratch My Window Glass?
A metal razor blade can scratch glass if not used carefully. To minimize risk, always keep the glass surface wet with your soapy water solution while scraping. Hold the blade at a low angle (around 30-45 degrees) and use smooth, even strokes. A plastic razor blade is a much safer alternative that provides good scraping power without the high risk of scratching, making it a better choice for beginners.
How Long Does It Take to Remove Window Tint?
The time it takes can vary depending on the size of the window and the age and condition of the tint. For a standard-sized window, you can expect the process to take between 30 minutes to an hour. Older, brittle film that tears frequently will take longer to remove than newer film that comes off in a single sheet. Planning ahead and having all your tools ready will help streamline the process.
Can I Reuse Window Tint After Removing It?
No, window tint cannot be reused once it has been removed. The removal process inevitably stretches and damages the film, and the adhesive layer is compromised. If you are removing the old tint, you will need to purchase and install a new film. Fortunately, modern window films are more durable and offer better performance than older versions, so the upgrade is often worthwhile.
Conclusion
Removing old window tint is a manageable project that can significantly improve the look and feel of your home. By carefully following the steps outlined—from gathering your supplies and preparing your workspace to heating, peeling, and cleaning—you can achieve professional-quality results. The key is to work patiently and methodically, allowing the heat and cleaning solutions to do most of the work for you. Now that you know how to remove home window tint, you can confidently tackle this task and enjoy the satisfaction of crystal-clear, beautiful windows.

About
Robert D is a distinguished figure in the world of Safety Systems and Risk Management, with a decade of expertise creating innovative and sustainable workplace solutions. His professional focus lies in merging traditional safety protocols with modern digital monitoring techniques, fostering environments that are both practical and hazard-conscious. As the lead author of SafetyRift, Robert delves into the art and science of risk mitigation, inspiring safety officers and industry professionals alike to bridge the gap between compliance and culture.
Education
RMIT University (Melbourne, Australia)
Associate Degree in Design (Industrial Safety)
-
Focus on sustainable safety infrastructure, industry-driven risk assessments, and practical implementation.
-
Gained hands-on experience with traditional hazard identification and digital monitoring tools, such as IoT safety sensors and predictive analytics software.
Nottingham Trent University (United Kingdom)
Bachelor’s in Occupational Health and Safety (Honors)
-
Specialized in systemic design with a focus on blending human behavior psychology with modern safety production techniques.
-
Participated in industry-wide projects, working with global logistics and manufacturing firms to gain real-world insights into large-scale safety deployments.
Publications and Impact
In SafetyRift, Robert shares his insights on safety design processes, protective materials, and strategies for efficient, accident-free production. His writing bridges the gap between foundational safety knowledge and modern industrial needs, making it a must-read for both budding safety coordinators and seasoned risk management professionals.
