
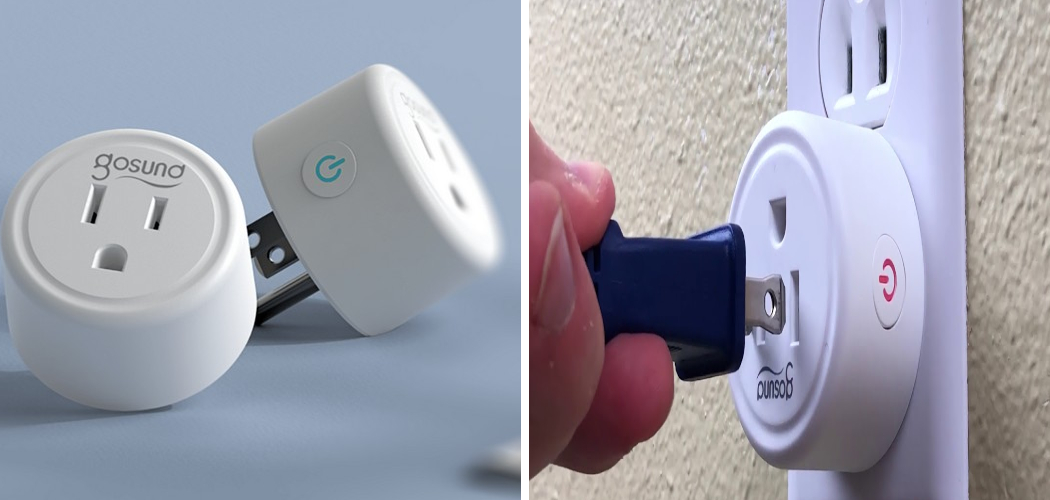
Welcome to the world of smart home automation, where convenience is usually king until a device suddenly stops responding. If you are experiencing connectivity issues or simply moving your devices to a new network, learning how to reset Gosund smart plug is an essential skill for any modern homeowner. These handy little gadgets are generally reliable, but like all technology, they occasionally need a fresh start to function correctly.
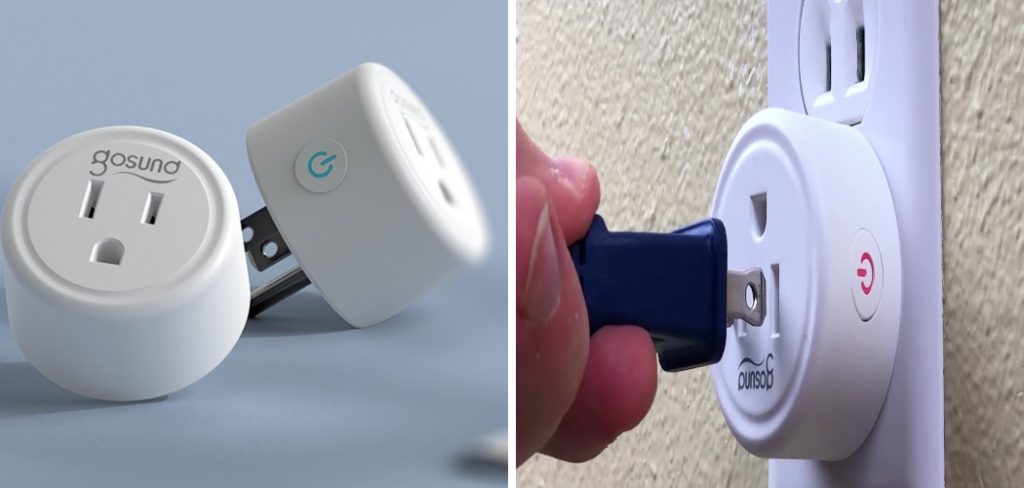
Don’t worry if you are not technically inclined; the process is straightforward and designed with safety in mind. Whether your device has gone offline, you have changed your Wi-Fi password, or you are gifting the plug to a friend, a factory reset is the standard solution. This guide walks you through the entire procedure using simple language, ensuring you feel confident handling your electrical devices. By following our instructions, you will have your smart lights and appliances back up and running in no time.
Resetting Your Gosund Smart Plug is Important
Understanding the importance of a factory reset goes beyond just fixing a broken connection; it is a fundamental aspect of maintaining a secure and efficient smart home ecosystem. Over time, smart devices can accumulate minor software glitches or cache errors that might slow down their response time or cause intermittent drops in connectivity. Performing a reset clears these temporary files and restores the device to its original out-of-the-box state, effectively wiping the slate clean for a fresh installation.
Furthermore, network security is a critical reason to master this process. If you change your internet service provider or update your router’s security settings, your smart plugs will lose their connection to the cloud. You cannot simply update the Wi-Fi details on the fly; the device must be reset to enter pairing mode again. Additionally, if you ever decide to sell or donate your smart plugs, a full reset ensures that your personal network credentials and usage data are completely removed from the device memory, protecting your digital privacy.
8 Step-by-Step Guide on How to Reset Gosund Smart Plug
Step 1: Ensure Electrical Safety and Preparation
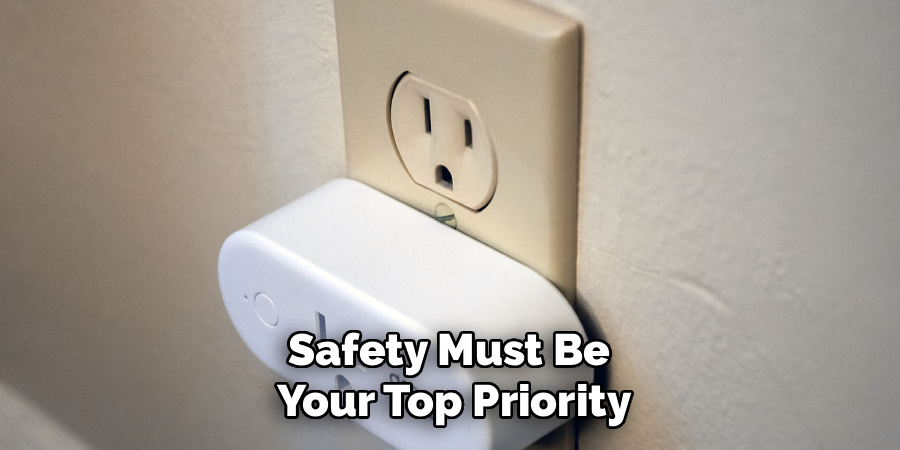
Before you begin handling any electrical device, safety must be your top priority. Ensure that your hands are completely dry to prevent any risk of electric shock. Locate the wall outlet where the smart plug is currently installed and make sure the area is clear of obstructions. It is highly recommended to unplug any appliance that is currently connected to the smart plug itself, such as a lamp, fan, or toaster.
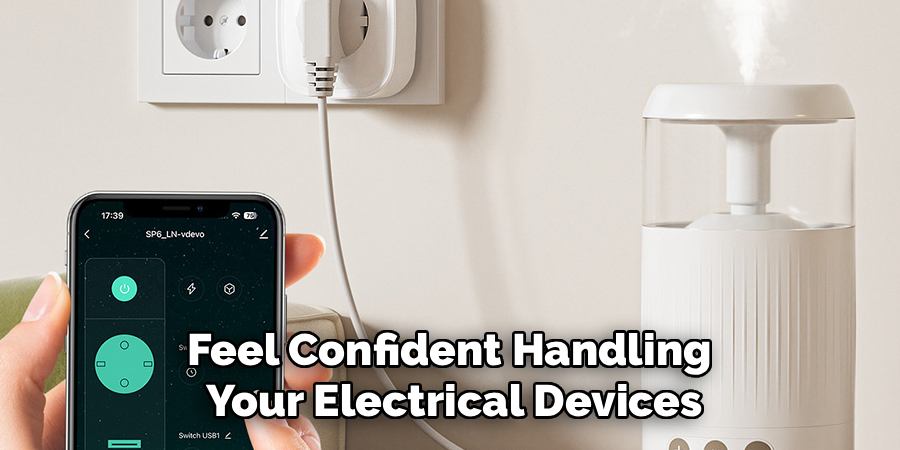
Removing the secondary appliance ensures that when the smart plug reboots, it does not accidentally turn on a device you intended to keep off. Once the load is removed, verify that the smart plug is securely inserted into the wall outlet and is receiving power. You should see some form of LED light activity, or if the device is frozen, it may appear unresponsive. Ensuring the device has a steady power supply is critical for the reset sequence to initiate correctly.
Step 2: Locate the Physical Control Button
Every Gosund smart plug is equipped with a physical control button that serves multiple purposes. In daily use, this button acts as a manual on-off switch, allowing you to control power without using your smartphone. However, for troubleshooting purposes, this same button is the key to the factory reset mechanism. Depending on your specific model—whether it is the round mini plug or the rectangular power strip variant—the button might be located on the side or the face of the device.
Take a moment to inspect the exterior casing of the plug carefully. The button is usually tactile and slightly raised or recessed. Familiarizing yourself with this button’s location is necessary because you will need to press and hold it for a specific duration in the next step. Ensure you have comfortable access to this button while the device remains plugged into the live outlet.
Step 3: Execute the Primary Reset Action
Now that you have prepared the device and located the button, you are ready to perform the physical reset. Reach out and press the power button firmly. You must hold this button down continuously without lifting your finger. You need to maintain this pressure for approximately five to ten seconds. During this time, you might hear a faint click of the internal relay, which is normal.
It is important not to release the button too early, as a short press will simply toggle the power on or off rather than initiating the reset protocol. As you hold the button, keep your eyes on the LED indicator light. This manual interaction triggers the internal firmware to drop its current configuration and prepare for a new setup. If you are researching how to reset Gosund smart plug, this long-press action is the universal method used across almost all their device models.
Step 4: Verify the Rapid Blinking Indicator
After holding the button for the required duration, the LED status light on the smart plug should change its behavior significantly. You are looking for a rapid blinking blue light. This light should flash quickly, roughly two times per second. This specific blinking pattern indicates that the device has successfully entered what is known as “Easy Mode” or “EZ Mode.”
This is the standard pairing mode that allows the app to find the device automatically via Bluetooth or Wi-Fi broadcasting. If the light is solid or off, you likely did not hold the button long enough, and you should repeat the previous step. The rapid flashing confirms that the old network credentials have been wiped and the device is broadcasting its availability to be paired with a new controller. Do not proceed to the app until you clearly see this rapid blinking pattern.
Step 5: Understanding AP Mode (Slow Blink)
Sometimes, the rapid blinking mode fails to connect due to specific router configurations. In this case, you might need to access “AP Mode,” which acts as a secondary backup connection method. To access this, you will need to perform the reset action a second time while the light is already blinking rapidly. Press and hold the power button again for another five to ten seconds.
The LED indicator should shift from a fast flash to a slow, deliberate blink—typically one flash every two or three seconds. This slow blink signifies that the plug is hosting its own temporary Wi-Fi hotspot that your phone can connect to directly. Understanding the difference between the fast blink and the slow blink is crucial when troubleshooting stubborn connections. While most users will succeed with the fast blink, knowing how to toggle to the slow blink gives you a powerful alternative if the first attempt fails.
Step 6: Prepare Your Smartphone and Network
With your smart plug now in the correct pairing mode, turn your attention to your smartphone. Ensure that your phone is connected to a 2.4GHz Wi-Fi network. This is a critical detail because most smart home devices, including Gosund plugs, do not function on the faster 5GHz frequency bands used by modern routers. If you have a dual-band router, you may need to go into your phone’s settings and manually select the 2.4GHz network.
Additionally, make sure that Bluetooth and Location Services are enabled on your smartphone. These services assist the app in scanning for nearby devices and verifying that the phone and the plug are in the same physical environment. Having these settings correct before opening the application prevents frustration and ensures the pairing process goes smoothly without cryptic error messages appearing later.
Step 7: Initiate the Pairing Process in the App
Launch the Gosund app or the Smart Life app, depending on which platform you prefer to use for your home automation. Both applications work identically for this hardware. On the main home screen of the app, look for the “plus” icon usually located in the top right corner to add a new device. Select “Socket (Wi-Fi)” or the specific model of your plug from the list of device categories.
The app will prompt you to confirm the status of the indicator light on your device. Since you have already verified that the light is blinking rapidly in the earlier steps, you can confidently confirm this on the screen. This step bridges the physical hardware reset with the software configuration. Following the instructions on the screen carefully is vital to completing the process of how to reset Gosund smart plug successfully.
Step 8: Input Wi-Fi Credentials Securely
Once the app has identified the device type, it will ask for your Wi-Fi password. This is the moment where the app passes your network credentials over to the smart plug so it can join your home network independently. Type your Wi-Fi password carefully, paying close attention to capitalization and special characters, as a single typo will cause the connection to fail at the very end of the process.
Remember that this must be the password for the 2.4GHz network you identified earlier. The application transmits this data securely to the plug. You will see a progress circle on your screen indicating the status of the connection. During this time, keep your phone close to the smart plug to ensure a strong signal transfer between the two devices. The progress bar will typically move from detecting the device to registering it on the cloud.
Finalize Setup and Test Functionality
When the progress bar reaches 100%, the app will display a success message indicating that the device has been added. You will now have the option to rename the smart plug. It is best practice to give it a descriptive name based on its location or the appliance it controls, such as “Living Room Lamp” or “Kitchen Coffee Maker.” Once renamed, click “Done” to return to the main dashboard.
To ensure the reset was truly successful, test the plug immediately. Tap the on-screen power button to toggle the plug on and off. You should hear the internal relay click and see the physical light on the plug change instantly. If the app control works without delay, you have successfully reset and reconfigured your smart plug. You can now plug your appliance back in and resume normal usage.
Frequently Asked Questions
Step 1: Why is my Gosund plug not connecting after the reset?
There are several reasons why a connection might fail even after a reset. The most common culprit is using a 5GHz Wi-Fi network instead of a 2.4GHz one. Smart plugs generally cannot communicate over 5GHz bands. Double-check your router settings. Additionally, ensure your Wi-Fi password was entered correctly without typos. Finally, make sure your phone is close to the device during the pairing process to prevent signal timeout errors.
Step 2: What is the difference between EZ Mode and AP Mode?
EZ Mode is the default pairing method indicated by a rapidly blinking light, where the app automatically discovers the device. It is faster but requires a simple network setup. AP Mode, indicated by a slow blink, creates a temporary hotspot that you manually connect your phone to. AP Mode is more reliable for complex network environments or dual-band routers where EZ Mode fails to establish a stable handshake.
Step 3: Does resetting the plug delete my schedules and timers?
Yes, performing a factory reset wipes the local memory of the device. This means that any automation, timers, or schedules stored specifically on that plug will be removed. However, if your schedules were set up through “Scenes” or “Automations” within the Smart Life or Gosund app cloud, those configurations remain in your account. You will simply need to re-add the newly reset device to those existing automation routines.
Step 4: Can I reset the Gosund plug without the physical button?
If the physical button is broken, resetting the device is difficult. However, some users have success by removing the device from the app. Open your Gosund or Smart Life app, long-press the device icon, and select “Remove Device.” Following this, unplug the device from the wall and leave it unplugged for a few minutes. When you plug it back in, it may default to pairing mode, though the button method is always preferred.
Step 5: Is it safe to reset the plug while an appliance is plugged in?
While it is technically possible, it is not recommended for safety reasons. When the smart plug reboots, it may default to an “ON” state, which could instantly power up a heater, iron, or other sensitive appliance unexpectedly. To ensure maximum safety for both you and your electronics, always unplug the secondary appliance from the smart plug before performing the reset and configuration process.
Conclusion
Mastering the simple process of resetting your smart devices empowers you to troubleshoot issues without frustration or the need for expensive technical support. By following the steps outlined above, you can resolve connectivity glitches, safely transfer devices to new owners, or update your network security with ease. We hope this guide has demystified the technology and given you the confidence to manage your smart home ecosystem effectively.
Now that you know how to reset Gosund smart plug, you can ensure your home automation runs smoothly and reliably. Remember that technology serves you best when it is maintained correctly. Don’t hesitate to perform a reset whenever your devices seem sluggish or unresponsive—it is often the quickest path to a solution. Enjoy the convenience of your revived smart home setup.

