

A reliable set of outdoor lights provides both security and convenience, illuminating pathways and deterring unwelcome visitors. When the motion sensor that controls these lights begins to fail, it can be a frustrating experience. Perhaps your lights stay on constantly, or worse, they don’t turn on at all. The good news is that you often don’t need to replace the entire fixture. Learning how to replace a motion sensor for outdoor lights is a straightforward project that can save you time and money. With a few basic tools and a little bit of care, you can restore your outdoor lighting system to perfect working order. This guide will walk you through everything you need to know.

Step-by-Step Guide to Replacing Your Motion Sensor
Replacing a motion sensor might seem daunting, especially if you’re not an experienced electrician. However, the process is quite manageable for most homeowners. The key is to prioritize safety and follow the instructions carefully. Before you begin any work, make sure you have a new, compatible motion sensor ready to go. Check the specifications of your existing light fixture to ensure the replacement sensor will work with it.
Step 1: Prioritize Safety by Turning Off the Power
Before you touch a single wire, your absolute first priority is to ensure the power to the light fixture is completely off. Working with electricity is dangerous and requires caution.
To do this, locate your home’s main electrical panel, often found in a garage, basement, or utility closet. Find the circuit breaker that controls the outdoor light you’ll be working on. It should be labeled, but if it’s not, you may need to do some testing. Flip the corresponding breaker to the “OFF” position.
To be certain the power is disconnected, go back to the light switch that controls the outdoor fixture and flip it on. The light should not turn on. For an extra layer of safety, use a non-contact voltage tester. Simply hold the tip of the tester near the light fixture and its wires. If it beeps or lights up, there is still power running to the fixture. In that case, return to the breaker box and try again. Do not proceed until you are 100% confident the power is off.
Step 2: Remove the Old Light Fixture
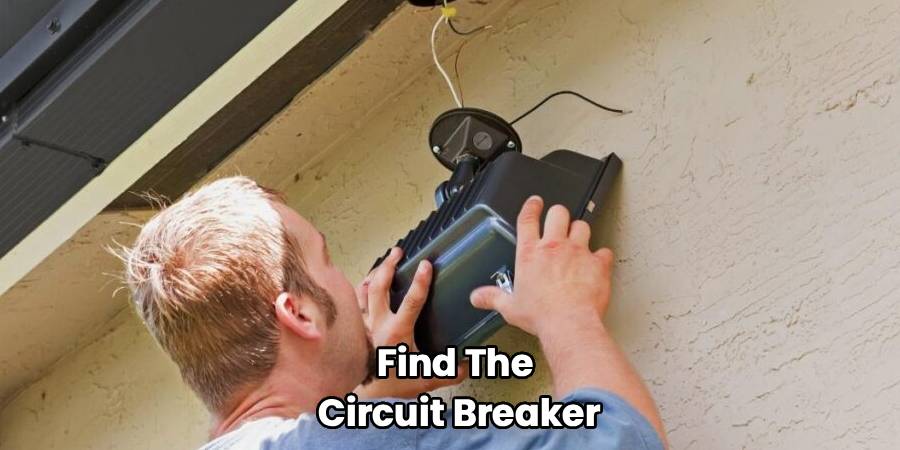
With the power safely disconnected, you can now remove the entire light fixture from the wall or eave it’s mounted on. Most outdoor fixtures are held in place by one or two decorative nuts or screws on the base plate.
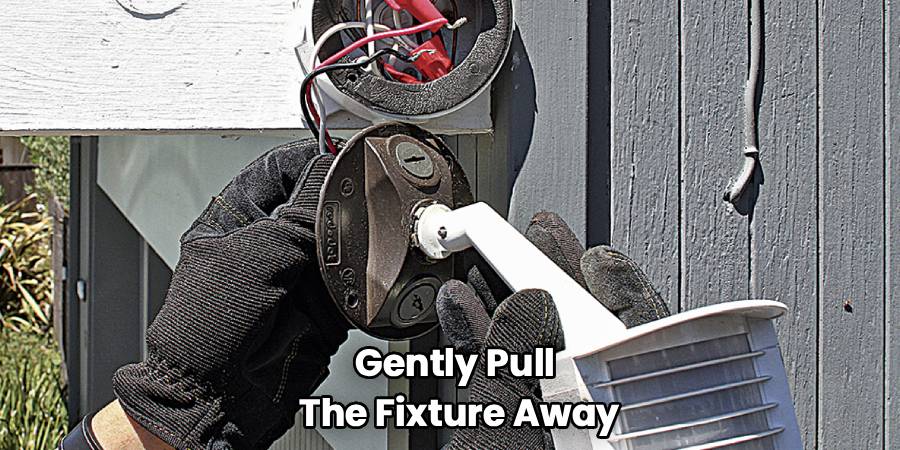
Use a screwdriver or a nut driver to loosen these fasteners. Be prepared to support the weight of the fixture as you remove the last screw, as it could fall. Gently pull the fixture away from the wall to expose the wiring box and the electrical connections inside. You will typically see three wires connecting the fixture to your home’s electrical system: a black (hot) wire, a white (neutral) wire, and a green or bare copper (ground) wire. They will be connected with wire nuts.
Step 3: Detach the Old Motion Sensor
Now that you have access to the wiring, you can focus on detaching the old, faulty motion sensor. The sensor is usually connected to both the house wiring and the light sockets themselves. Its wires will be bundled with the main power connections inside the junction box or the fixture base.
Carefully observe how the sensor is wired before you disconnect anything. Taking a quick photo with your phone can be a helpful reference. Typically, the sensor’s black wire is connected to the house’s black wire, its white wire is connected to the house’s white wire, and a third wire (often red) from the sensor connects to the black wire leading to the light sockets.
To disconnect the wires, simply twist the wire nuts counterclockwise until they come off. Gently separate the wires. Once the wires are disconnected, you can physically remove the old sensor from the light fixture. It is often attached by a threaded stem and a locknut. Unscrew this nut to release the sensor.
Step 4: How To Replace A Motion Sensor For Outdoor Lights and Install the New One
It’s time for the outdoor motion sensing light replacement. Start by physically attaching the new sensor to the light fixture. Feed its wires through the mounting hole and secure it in place using the locknut provided with the new unit. Tighten it so the sensor is stable but avoid overtightening.
Next, you will connect the wires. Your new sensor will come with an instruction manual and a wiring diagram—always follow it precisely. In a standard setup, you will:
- Connect the neutral wires: Take the white wire from the new sensor, the white wire from the house, and the white wire from the light sockets. Hold the exposed copper ends together and screw on a wire nut clockwise until it is tight. Give a gentle tug on each wire to ensure it’s secure.
- Connect the hot wires: Take the black wire from the new sensor and connect it to the black wire coming from the house. Secure them with a wire nut.
- Connect the load wire: Take the remaining wire from the sensor (usually red or sometimes black with a white stripe) and connect it to the black wire that leads to the light sockets. This wire is what delivers power to the lights when motion is detected. Secure it with a wire nut.
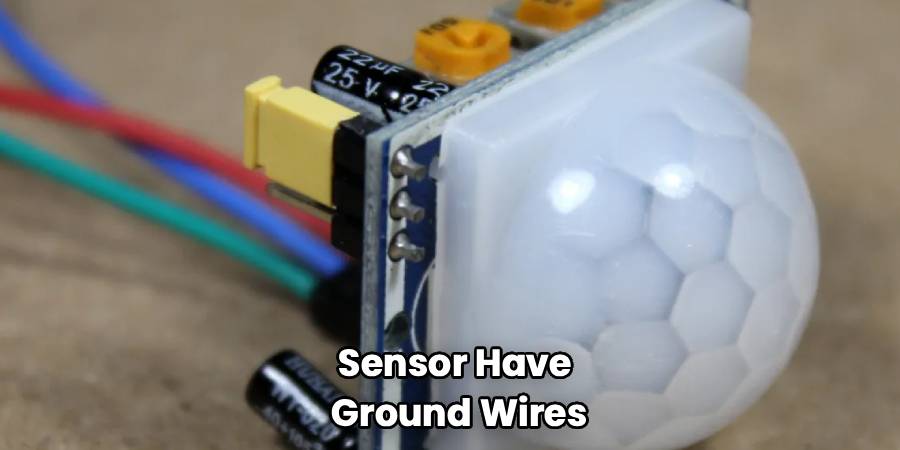
- Connect the ground wires: If your fixture and sensor have ground wires (green or bare copper), connect them all to the house’s ground wire and the grounding screw in the junction box.
Tuck all the wires neatly back into the junction box or fixture base.
Step 5: Re-install the Fixture and Test Your Work
With the new sensor wired in, you are ready to put everything back together. Position the light fixture back against the wall, aligning the mounting screws with the holes in the base plate. Secure it by tightening the decorative nuts or screws you removed earlier. Ensure the fixture is snug against the wall to prevent moisture from getting inside.
Now, it’s time for the moment of truth. Go back to your electrical panel and flip the circuit breaker back to the “ON” position.
The light may turn on immediately for a short period as the new sensor calibrates. This is normal. After a minute or two, it should turn off. Now, you need to configure the settings. Most motion sensors have at least two adjustments: one for sensitivity (range) and one for duration (how long the light stays on). Some also have a setting for daylight sensing (LUX) so it only operates at night.
Adjust these settings according to your preference. Then, walk into the sensor’s detection zone to test it. The light should turn on. Wait for it to turn off according to the duration you set, then test it again. Your successful repair of the motion sensor light is complete.
Frequently Asked Questions
Even with a step-by-step guide, questions can arise. Here are answers to some common queries about replacing outdoor light motion sensors.
Can you just replace the motion sensor on a light?
Yes, in most cases, you can. Many outdoor light fixtures are designed with a modular approach, allowing for the motion sensor to be replaced independently of the light sockets and housing. This is a much more cost-effective solution than replacing the entire unit. Before buying a replacement, check if your fixture’s sensor is attached with a simple nut and has its own set of wires. If it does, a replacement is likely possible.
Why do motion sensors for outdoor lights fail?
Motion sensors can fail for several reasons. Exposure to the elements—sun, rain, snow, and extreme temperatures—is a primary cause. The sensitive electronic components and plastic lenses can degrade over time. Power surges from storms can also damage the internal circuitry. Sometimes, the internal relay that switches the light on and off simply wears out from use. Finally, moisture seeping into the housing is a common culprit that can short out the electronics.
Is it difficult to fix an outdoor light motion sensor?
For someone with basic DIY skills, it is not a difficult task. The most critical part of the process is ensuring the power is off before you begin. The wiring itself is usually straightforward, involving the connection of just a few color-coded wires with wire nuts. As long as you work slowly, take safety precautions, and follow the instructions included with the new sensor, the job is very manageable. If you are ever unsure or uncomfortable with electrical work, it is always best to hire a licensed electrician.
How much does it cost to replace a motion sensor?
The cost can vary. If you do the work yourself, your only expense is the cost of the replacement motion sensor, which typically ranges from $15 to $40. You may also need to purchase a pack of wire nuts and a voltage tester if you don’t already have them. If you choose to hire a professional electrician to perform the outdoor motion sensing light replacement, you can expect to pay for the part plus an hourly labor charge, which could bring the total cost to anywhere from $100 to $250 or more, depending on local rates.
Conclusion
Knowing how to replace a motion sensor for outdoor lights is a valuable skill for any homeowner, enabling you to maintain your home’s security and functionality without a costly service call. The process boils down to working safely, disconnecting the old unit, wiring in the new one, and testing your work. By following these steps, you can confidently tackle this project and enjoy the peace of mind that comes with a perfectly functioning outdoor lighting system. Remember that a well-maintained motion sensor not only provides light when you need it but also acts as an effective deterrent, keeping your property safer.

