
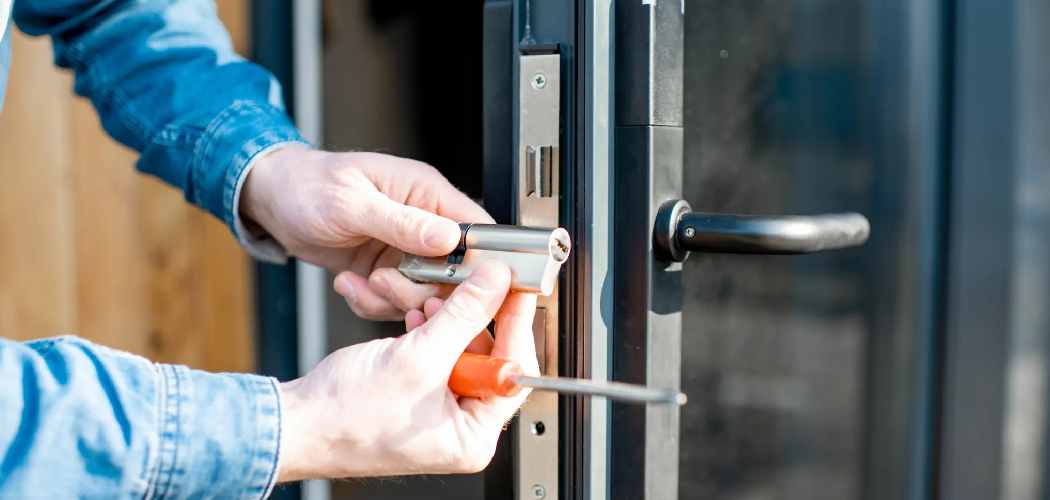
A sliding glass door offers a beautiful view and easy access to your outdoor spaces, but a faulty lock can compromise your home’s security and peace of mind. Whether your lock is stuck, loose, or completely broken, you might be tempted to call a professional immediately.
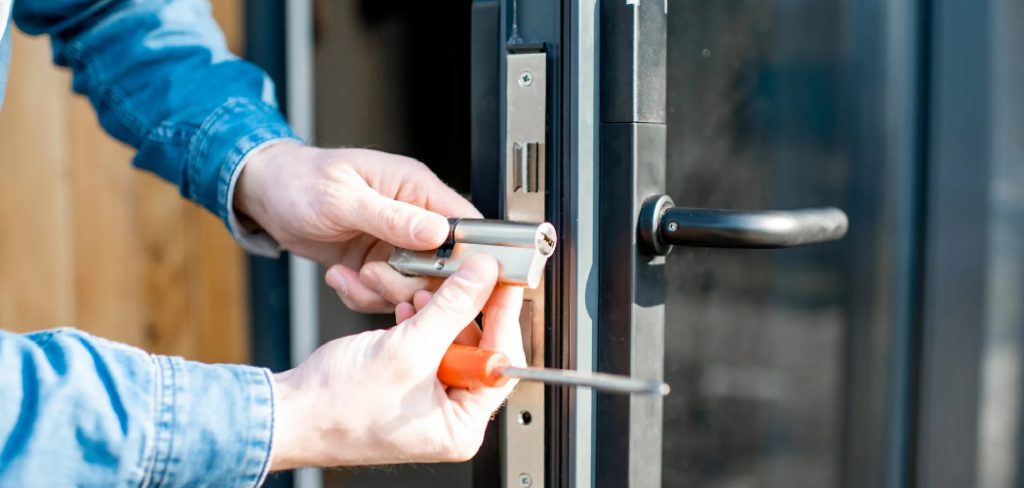
However, many common issues can be resolved with a few simple tools and a bit of patience. This guide is designed for beginners and will walk you through the process, showing you exactly how to fix sliding door lock mechanisms. By following these steps, you can restore your door’s security and save money on costly repairs.
Why a Secure Sliding Door Lock Matters
Ensuring your sliding door lock is fully functional is a critical aspect of home security. Sliding doors are often perceived by intruders as a potential weak point in a home’s defense. A malfunctioning or broken lock makes your home an easier target, increasing the risk of break-ins. Beyond security, a properly working lock ensures your door remains sealed, which contributes to better energy efficiency by preventing drafts. It also provides safety for households with small children, preventing them from wandering outside unsupervised. Taking the time to repair a faulty lock is a small investment that pays significant dividends in safety, security, and peace of mind for your entire family.
7 Step-by-Step Guide on How to Fix Sliding Door Lock
Step 1: Inspect the Lock and Door Frame
Before you begin any repairs, a thorough inspection is crucial. Start by examining the lock mechanism itself. Look for visible signs of damage, such as bent components, loose screws, or rust. Operate the lock several times to feel for any grinding, sticking, or looseness.
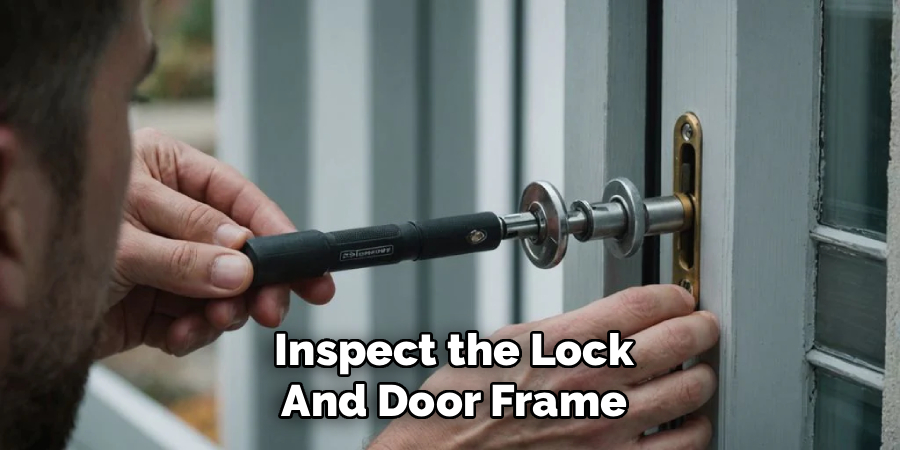
Next, check the door frame and the keeper, which is the part on the frame that the lock latches into. Ensure the keeper is securely fastened and hasn’t been bent or damaged. Misalignment between the lock and the keeper is a very common problem, so verify that they line up perfectly when the door is closed.
Step 2: Clean the Lock Mechanism
Dirt, dust, and debris are frequent culprits behind a malfunctioning sliding door lock. Over time, this buildup can jam the internal components and prevent them from moving smoothly. To clean the lock, use a can of compressed air to blow out any loose debris from the lock assembly and the keyhole. For a deeper clean, apply a small amount of a silicone-based lubricant or a specialized lock cleaner. Avoid using oil-based lubricants like WD-40, as they can attract more dirt over time. Work the key or thumb-turn back and forth to distribute the cleaner throughout the mechanism.
Step 3: Tighten All Visible Screws
Loose hardware is another simple yet common reason for a lock to fail. Grab a Phillips head screwdriver and carefully check every screw on the lock assembly, both on the interior and exterior handles. Tighten any that have become loose, but be careful not to overtighten, as this can strip the screw threads or warp the handle plate. Also, inspect and tighten the screws that hold the keeper in place on the door jamb. A secure lock and keeper are essential for proper alignment and function. This quick step alone can often resolve issues with a wobbly or misaligned lock.
Step 4: Check and Adjust the Door Rollers
The problem may not be with the lock at all but with the door’s alignment. If the door doesn’t hang straight, the lock won’t line up correctly with the keeper. This is often caused by worn or improperly adjusted rollers at the bottom of the door.
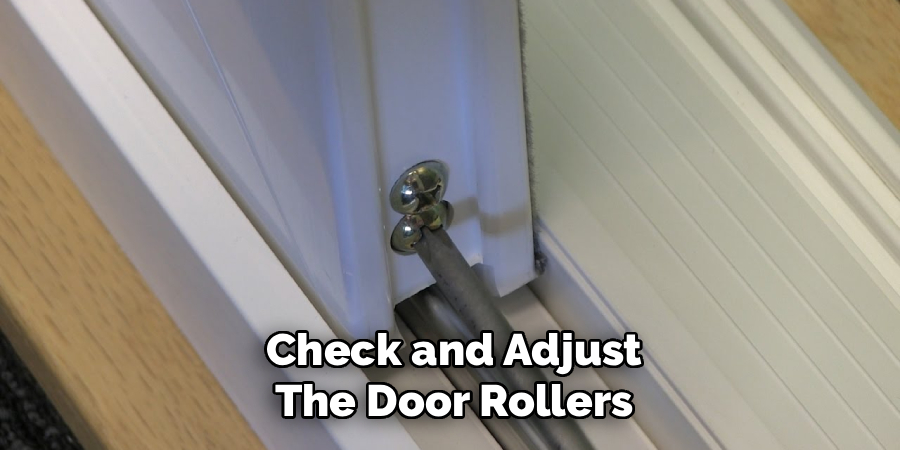
Look for small access holes on the bottom edge of the door frame. Inside these holes are adjustment screws for the rollers. Using a screwdriver, turn the screws to raise or lower each side of the door until it is perfectly level and glides smoothly along the track. A level door ensures the locking mechanism aligns precisely with the keeper.
Step 5: Reposition the Keeper or Strike Plate
If the lock bolt and the keeper (also known as the strike plate) are misaligned, the door will not lock. After ensuring the door is level, you may need to adjust the keeper’s position. Close the door and observe where the lock bolt hits the jamb. Loosen the screws holding the keeper and slide it up or down until it aligns perfectly with the lock. Once you find the correct position, tighten the screws securely. In some cases, you may need to file the opening of the keeper slightly to give the lock bolt a bit more room to engage.
Step 6: Assess the Mortise Lock Mechanism
Many sliding doors use a mortise lock, which is a self-contained unit set into a pocket in the door. If cleaning and alignment have not solved the problem, you may need to examine this mechanism. To do this, you will need to remove the door handles by unscrewing them from the frame. Once the handles are off, you should see two larger screws on the edge of the door holding the mortise lock in place. Remove these screws and carefully pull the lock assembly out of the door. This is a key step in understanding how to fix sliding door lock issues that are internal.
Step 7: Replace the Mortise Lock if Necessary
With the mortise lock removed, inspect it for broken springs, bent hooks, or other signs of irreversible damage. If the internal parts are clearly broken, the most effective solution is to replace the entire unit.
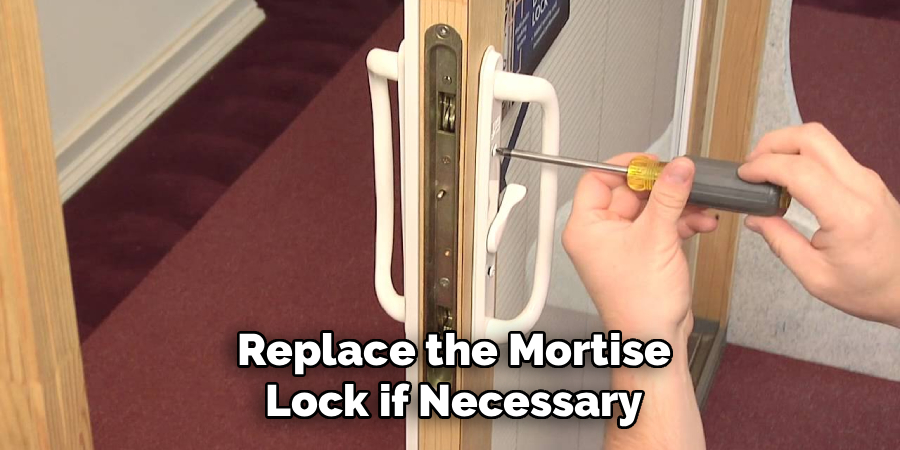
Take the old lock to a hardware store to ensure you purchase an identical replacement. Installing the new one is a straightforward process: simply slide the new mortise lock into the door pocket, secure it with its screws, and then reattach the door handles. This will give you a brand-new, fully functional locking mechanism.
Test the New Lock
Once the new mortise lock has been installed, it’s essential to test its functionality. Begin by turning the door handle to ensure it operates smoothly and retracts the latch without resistance. Next, use the key to lock and unlock the door multiple times, checking for any sticking or difficulty during operation. Lastly, shut the door fully and confirm that it latches securely and aligns correctly with the strike plate. If any adjustments are needed, make minor tweaks to the alignment before finalizing the installation. Proper testing ensures the lock is secure and reliable for everyday use.
Clean Up and Final Inspection
After completing the installation and testing, take a moment to clean up the workspace. Remove any tools, packaging materials, or debris left behind to ensure the area is tidy. Wipe down the door and hardware with a soft cloth to remove fingerprints or smudges. Next, perform a final inspection of the lock and door to confirm that all components are securely in place and functioning as expected. A thorough cleanup and inspection process not only enhances the appearance of the finished work but also assures optimal performance and longevity of the lock system.
Frequently Asked Questions (FAQ)
What Type of Lubricant Is Best for a Sliding Door Lock?
The best choice is a silicone-based or graphite lubricant. Unlike oil-based products, these lubricants do not attract dust and grime, which can gum up the lock’s internal components over time. Apply a small amount directly into the keyway and on the latch mechanism. Then, work the lock back and forth a few times to ensure the lubricant is evenly distributed. This simple maintenance can prevent sticking and extend the life of your lock.
How Do I Know if My Sliding Door Is Misaligned?
There are a few tell-tale signs. The door might be difficult to open or close, making a scraping sound as it moves along the track. Visually, you can check the gap between the door and the frame; it should be consistent from top to bottom. A misaligned door will often cause the lock latch to hit above or below the keeper on the jamb, preventing it from locking securely.
Can I Replace Just the Cylinder of a Sliding Door Lock?
In some cases, yes. If the lock mechanism itself is fine but the key is not working or the cylinder is damaged, you may be able to replace only the cylinder. This is often more cost-effective than replacing the entire mortise lock assembly. However, this depends on the brand and model of your lock. You will need to remove the existing cylinder and take it to a hardware store to find a compatible replacement.
What Tools Do I Need to Fix a Sliding Door Lock?
For most basic repairs, you will only need a few common household tools. A set of Phillips head screwdrivers is essential for tightening or removing screws. A can of compressed air and a silicone-based lubricant are necessary for cleaning the mechanism. If you need to adjust the door rollers or replace the entire lock, having a pry bar and a level can also be very helpful during the process.
When Should I Call a Professional Locksmith?
While many issues can be fixed with a DIY approach, it’s time to call a professional if you’ve tried all the steps and the lock still doesn’t work. If the lock mechanism is severely damaged, the door frame is warped, or you feel uncomfortable performing the repair yourself, a locksmith has the expertise and specialized tools to diagnose and fix the problem correctly and safely, ensuring your home remains secure.
Conclusion
Fixing a sliding door lock doesn’t have to be an intimidating task. By systematically inspecting, cleaning, and adjusting the various components, you can often solve the problem yourself. From tightening a few loose screws and cleaning the track to realigning the door rollers and replacing the mortise lock, each step brings you closer to a secure and smoothly operating door. Now that you have a better understanding of how to fix sliding door lock issues, you can confidently tackle this project, enhance your home’s safety, and enjoy the satisfaction of a successful DIY repair.

About
Robert D is a distinguished figure in the world of Safety Systems and Risk Management, with a decade of expertise creating innovative and sustainable workplace solutions. His professional focus lies in merging traditional safety protocols with modern digital monitoring techniques, fostering environments that are both practical and hazard-conscious. As the lead author of SafetyRift, Robert delves into the art and science of risk mitigation, inspiring safety officers and industry professionals alike to bridge the gap between compliance and culture.
Education
RMIT University (Melbourne, Australia)
Associate Degree in Design (Industrial Safety)
-
Focus on sustainable safety infrastructure, industry-driven risk assessments, and practical implementation.
-
Gained hands-on experience with traditional hazard identification and digital monitoring tools, such as IoT safety sensors and predictive analytics software.
Nottingham Trent University (United Kingdom)
Bachelor’s in Occupational Health and Safety (Honors)
-
Specialized in systemic design with a focus on blending human behavior psychology with modern safety production techniques.
-
Participated in industry-wide projects, working with global logistics and manufacturing firms to gain real-world insights into large-scale safety deployments.
Publications and Impact
In SafetyRift, Robert shares his insights on safety design processes, protective materials, and strategies for efficient, accident-free production. His writing bridges the gap between foundational safety knowledge and modern industrial needs, making it a must-read for both budding safety coordinators and seasoned risk management professionals.
