
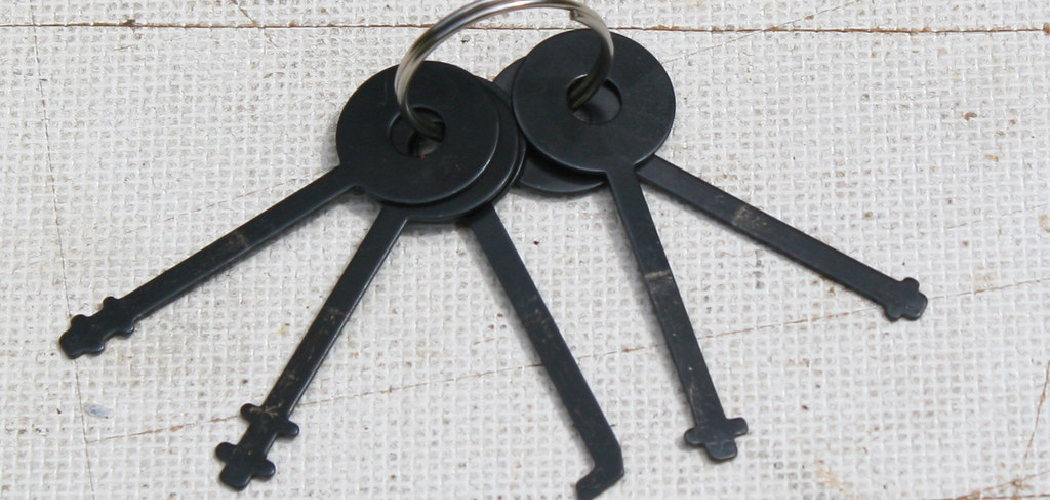
Have you ever found yourself locked out of a filing cabinet, a mailbox, or an older car door? These frustrating situations often involve a very common mechanism known as the wafer tumbler. Learning how to pick wafer lock cylinders is an incredibly useful skill for any hobbyist or homeowner.
Unlike more complex pin tumbler systems, wafer locks are generally more forgiving, making them the perfect starting point for beginners interested in locksport or emergency entry. This guide will walk you through the entire process safely and legally. By understanding the inner workings of these simple devices, you will gain the confidence to handle lockouts without needing to call an expensive locksmith.
Understanding the Value of Wafer Locks
Wafer locks serve a specific purpose in the world of security. You will typically find them on items where high security is not the primary concern but privacy and basic restriction are needed. Think about desk drawers, display cases, toolboxes, and many automotive doors. They are inexpensive to manufacture and durable against dirt and grime, which is why they are ubiquitous in outdoor applications like mailboxes.
Learning to manipulate these mechanisms isn’t just about getting through a locked door; it’s about understanding mechanical engineering on a small scale. When you grasp the interaction between the wafers and the springs, you develop a finer sense of touch and patience. This skill set translates well to other DIY projects around the home. Furthermore, knowing the vulnerabilities of these locks helps you make better decisions about what valuables you should—and shouldn’t—secure with them. If you are trusting a wafer lock with high-value items, you might want to reconsider your security strategy.
7 Step Methods Guide on How to Pick Wafer Lock
Step 1: Gather the Necessary Tools and Picks
Before you begin any lock picking attempt, you must assemble the correct toolkit. You do not need an expensive or elaborate set for this task. A simple tension wrench and a basic rake or ball pick will usually suffice. Wafer locks have wider keyways than pin tumblers, which gives you plenty of room to maneuver your tools.
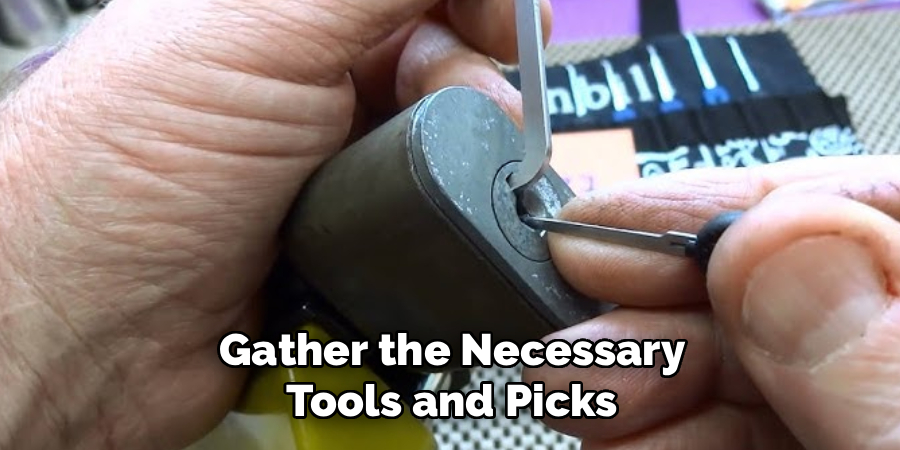
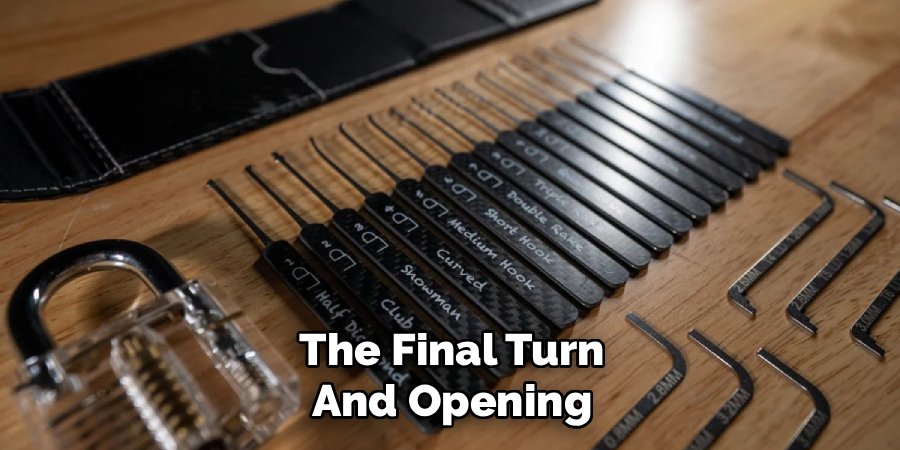
Many beginners find success using a standard “snowman” or double-ball pick because its shape mimics the movement of the wafers effectively. Ensure your tension tool fits snugly into the bottom or top of the keyway without slipping. Having reliable tools prevents damage to the lock mechanism and ensures you can feel the subtle feedback necessary for success. If you are improvising, even a sturdy paperclip can sometimes work, though professional tools are always preferred for learning.
Step 2: Apply Slight Tension to the Cylinder
The secret to opening almost any lock lies in the tension. Insert your tension wrench into the keyway, usually at the bottom, and apply a very light rotational pressure. You want to turn the cylinder in the direction the key would normally turn to open it. It is crucial not to apply too much force here. Over-tensioning causes the wafers to bind too tightly against the cylinder wall, making it impossible to move them. You are looking for a sweet spot where the cylinder wants to turn but is stopped by the wafers. If your finger starts turning white from pressing the wrench, you are pushing far too hard. Start with the weight of a feather and only increase pressure incrementally if you feel absolutely no resistance from the internal components.
Step 3: Insert Your Pick into the Keyway
With your tension set, take your chosen pick and slide it all the way to the back of the lock. Do this gently to avoid jamming any wafers into a fixed position prematurely. As you insert the tool, try to visualize the interior of the lock. In a wafer lock, the locking components are flat plates (wafers) rather than pins. These plates are spring-loaded and need to be moved either up or down (or both, in double-sided locks) to align with the shear line. Your goal during this insertion phase is simply to establish the depth of the lock and get a feel for the springiness of the wafers. You should feel them bouncing back slightly against your pick. This tactile feedback is your roadmap to successfully navigating the mechanism.
Step 4: Locate the Binding Wafer
Now the real work begins. While maintaining that steady, light tension, slowly pull your pick back out while gently probing the wafers. You are searching for the “binding” wafer—the one that resists movement more than the others. Due to manufacturing tolerances, the holes in the cylinder are never perfectly aligned. One wafer will always rub against the cylinder wall first when tension is applied.
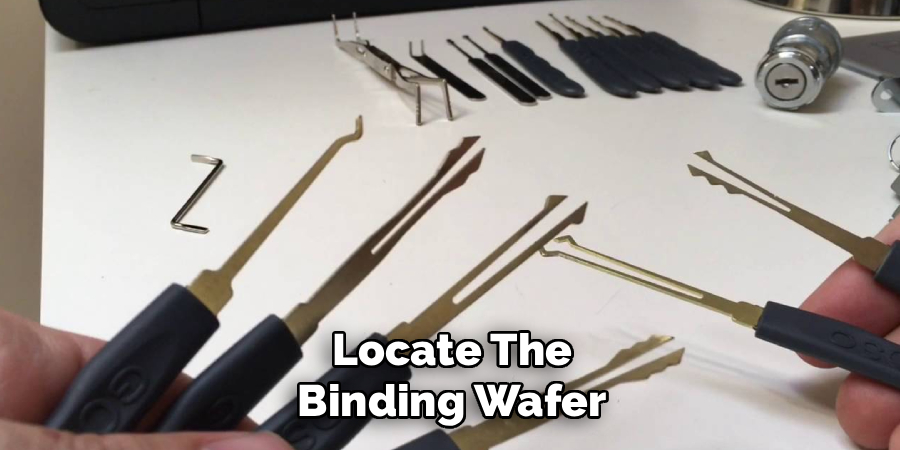
When you push on a non-binding wafer, it will feel springy. When you push on the binding wafer, it will feel stiff or solid. Identifying this specific component is critical because it is the first domino that needs to fall. If you just push random wafers, they will simply spring back into their locked positions.
Step 5: Set the First Wafer
Once you have identified that stiff, binding wafer, apply steady pressure to it with your pick. You want to push it until you feel a distinct “click” or feel a tiny rotation of the cylinder. This sensation indicates that the wafer has been pushed to the correct height and is no longer blocking the shear line. The cylinder turns slightly because that specific obstruction is cleared, and now the next wafer in the sequence begins to bind. It is a subtle shift, often felt rather than heard. Be careful not to over-set the wafer; if you push it too far, it will protrude out the other side of the cylinder and lock the mechanism again. If this happens, you must release tension and start over.
Step 6: Repeat the Process for Remaining Wafers
After setting the first wafer, continue probing the remaining plates to find the next one that is binding. You will repeat the process: find the stiff resistance, apply pressure, and listen for the click. As you learn how to pick wafer lock cylinders, you will notice that the order is random. You might set the back wafer first, then the front one, then a middle one. You must let the lock dictate the order. Maintain your tension throughout this entire process. If you let up on the tension wrench even for a second, the springs will snap all the set wafers back into their original positions, and you will have to begin from scratch. Patience is your best ally here; rushing leads to mistakes and frustration.
Step 7: Utilizing the Jiggling or Raking Technique
If single-wafer picking proves difficult or tedious, you can try “jiggling” or “raking.” Wafer locks are notoriously susceptible to this method because of their lower tolerances. Insert a rake pick or a jiggler key into the keyway. While applying varying amounts of tension, move the tool rapidly back and forth, and up and down. This action relies on probability; you are essentially bouncing the wafers around in hopes that they will momentarily jump into the correct position while your tension tool catches them there. It is less precise than single-pin picking but is often incredibly fast on filing cabinets and older car doors. The motion should be fluid, like scrubbing a stain, rather than forceful or aggressive.
The Final Turn and Opening
Eventually, you will set the final wafer. You will know this moment has arrived because the resistance on your tension wrench will suddenly disappear. The cylinder will rotate freely, allowing the cam to retract the latch or bolt. It is a satisfying feeling of release. Continue turning the tension wrench until the mechanism is fully open.
If the lock turns a significant amount but doesn’t open, you may be caught on a secondary locking mechanism or simply need to turn it further. Once open, verify that the lock still functions correctly with the original key. This ensures you haven’t bent any springs or damaged the wafers during your practice session. Congratulations, you have successfully bypassed the lock!
Frequently Asked Questions
Is It Legal To Pick Wafer Locks?
Generally, owning lock picking tools and picking locks is legal in most jurisdictions, provided you abide by two golden rules. First, you must own the lock you are picking, or have explicit permission from the owner. Second, you should never pick a lock that is currently in use for active security. Laws vary significantly by country and state, so you must check your local statutes. In some areas, carrying lock picks without a locksmith license can be considered “possession of burglary tools” if intent to commit a crime is suspected. Always practice ethically and responsibly at home.
Can I Damage The Lock While Picking It?
Yes, it is possible to damage a lock, which is why rule number one of locksport is “never pick a lock you rely on.” Beginners often use too much tension or force their picks against the wafers aggressively. This can bend the delicate springs or deform the soft brass wafers. If a spring breaks, the wafer may drop permanently into the keyway, rendering the key useless. Additionally, scratching the inside of the keyway can make the key stick. Stick to practice locks or old padlocks that aren’t securing your front door or your vehicle to avoid costly repairs.
Why Are Wafer Locks Easier To Pick Than Pin Tumblers?
Wafer locks are generally considered easier because they have wider tolerances and simpler mechanics. In a pin tumbler lock, you must align two separate pins (driver and key pin) perfectly at the shear line. In a wafer lock, you are moving a single flat plate. Furthermore, the keyway is usually wider and less restrictive, giving you ample room to move your tools. They are also highly susceptible to “raking” or “jiggling,” techniques that don’t require setting individual components. This low security makes them excellent confidence builders for beginners just starting their journey into the hobby.
What Tools Are Best For Picking Wafer Locks?
While you can use standard hook picks designed for pin tumblers, tools specifically designed for wafer locks often work better. “Ball” picks, “snowman” picks, and “wave” rakes are particularly effective. These shapes are designed to glide over the wafers and depress them as you move the tool in and out. “Jiggler keys” or “try-out keys” are also fantastic for automotive wafer locks; they mimic the general shape of a key and work by rocking them in the cylinder. For tension, a standard bottom-of-the-keyway tension wrench is usually sufficient for most furniture and cabinet locks.
How Do I Know If I Am Applying Too Much Tension?
Tension control is the hardest skill to master. If your tension wrench is bending, your finger is turning white, or you feel like you are fighting the pick, you are using too much force. The feedback from the lock will be deadened; you won’t feel the subtle clicks or springiness of the wafers. The wafers will bind so tightly against the cylinder wall that they won’t move at all. If you can’t move a wafer, release tension slightly until it moves. The ideal amount is often described as the amount of pressure required to press a key on a computer keyboard.
Conclusion
Mastering the manipulation of simple locking mechanisms opens up a fascinating world of mechanical puzzles. We have covered the essential tools, the physics behind the wafers, and the tactile techniques required to bypass them. Remember that patience and a light touch are far more effective than brute force. Start with simple drawer locks or practice cylinders before attempting anything more challenging. As you practice how to pick wafer lock systems, you will develop a newfound appreciation for security design and manual dexterity. Grab your tension wrench, find an old practice lock, and start exploring the satisfying hobby of locksport today

About
Robert D is a distinguished figure in the world of Safety Systems and Risk Management, with a decade of expertise creating innovative and sustainable workplace solutions. His professional focus lies in merging traditional safety protocols with modern digital monitoring techniques, fostering environments that are both practical and hazard-conscious. As the lead author of SafetyRift, Robert delves into the art and science of risk mitigation, inspiring safety officers and industry professionals alike to bridge the gap between compliance and culture.
Education
RMIT University (Melbourne, Australia)
Associate Degree in Design (Industrial Safety)
-
Focus on sustainable safety infrastructure, industry-driven risk assessments, and practical implementation.
-
Gained hands-on experience with traditional hazard identification and digital monitoring tools, such as IoT safety sensors and predictive analytics software.
Nottingham Trent University (United Kingdom)
Bachelor’s in Occupational Health and Safety (Honors)
-
Specialized in systemic design with a focus on blending human behavior psychology with modern safety production techniques.
-
Participated in industry-wide projects, working with global logistics and manufacturing firms to gain real-world insights into large-scale safety deployments.
Publications and Impact
In SafetyRift, Robert shares his insights on safety design processes, protective materials, and strategies for efficient, accident-free production. His writing bridges the gap between foundational safety knowledge and modern industrial needs, making it a must-read for both budding safety coordinators and seasoned risk management professionals.
