
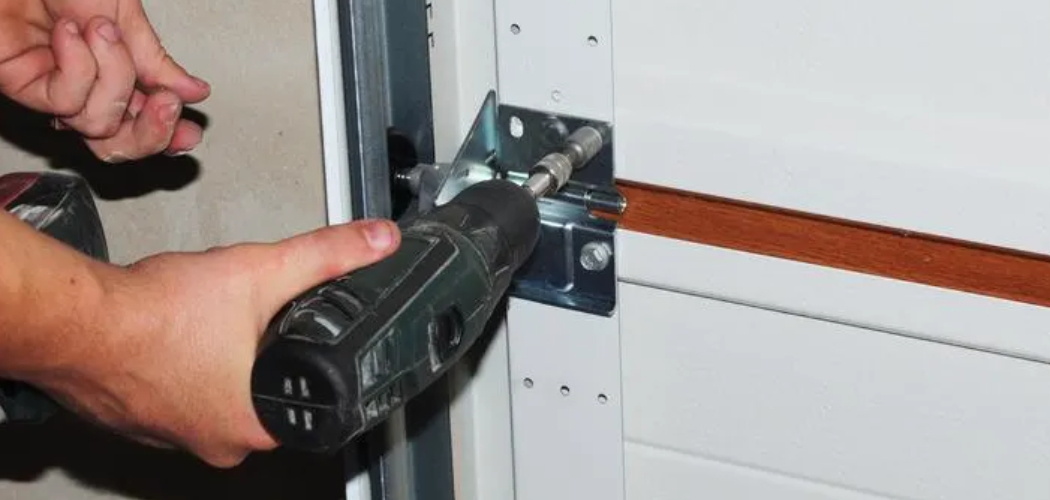
Your home’s security often relies on the strength of its entry points, and the garage is frequently the most vulnerable area. Many homeowners overlook this critical access point until a key breaks or they move into a previously owned house. Taking control of your home safety means ensuring every lock is secure and functioning correctly. Replacing an old or broken mechanism is a fantastic project for beginners because it requires minimal tools and offers immediate peace of mind.
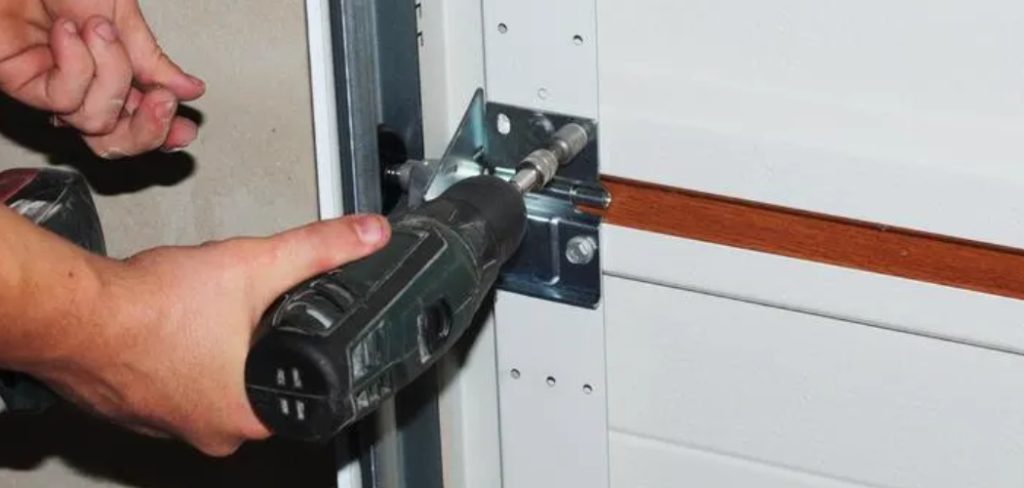
While the hardware might look intimidating at first glance, the internal assembly is actually quite straightforward. You do not need to be a professional mechanic to upgrade your security. By following a clear process, you can save money on locksmith fees and ensure your property is protected. In this guide, we will walk you through exactly how to change garage door lock assemblies so you can sleep soundly knowing your home is safe.
Why Improving Your Garage Security Matters
Maintaining the integrity of your garage entry is about more than just keeping a door closed; it is about protecting the barrier between the outside world and your personal sanctuary. Over time, metal components can rust, springs can wear out, and keys can become brittle. A malfunction here can either leave your home exposed to intruders or trap your vehicle inside when you need it most. Furthermore, if you have recently purchased your home, you have no way of knowing how many duplicate keys from the previous owner are still in circulation.
Upgrading this hardware gives you a fresh start and total control over who has access to your property. It also allows you to upgrade to more modern, secure locking systems that are resistant to drilling or picking. Taking the initiative to swap out this hardware is a proactive step toward comprehensive home safety. It ensures that your largest entryway is just as secure as your front door.
10 Step Methods Guide: How to Change Garage Door Lock
Step 1: Identify the Type of Locking Mechanism
Before you unscrew anything, you must determine exactly what kind of hardware is currently installed on your door. Most residential garages utilize either a T-handle lock, which is located in the center of the door, or a side-mounted deadbolt that snaps into the track. You should closely examine the exterior handle and the interior assembly to see how they connect.
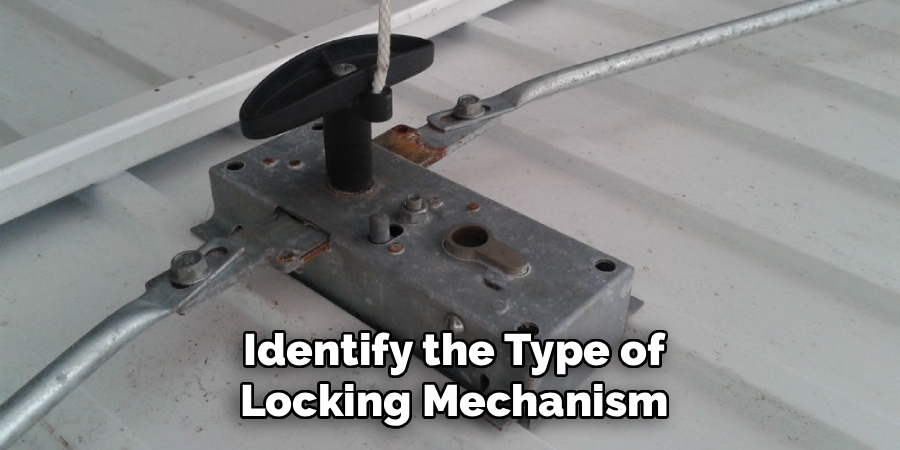
Take several clear photos of the current setup from different angles, paying close attention to how the locking bars or cables attach to the center mechanism. These photos will serve as a crucial reference point later if you get confused during reassembly. Once you know the specific style, you can purchase the correct replacement kit from your local hardware store to ensure a perfect fit.
Step 2: Gather the Necessary Tools and Safety Gear
Preparation is the key to a smooth do-it-yourself project, so you should gather all your supplies before starting the work. For this specific task, you will primarily need a standard Phillips-head screwdriver, but having a flat-head screwdriver on hand is also helpful for prying off stubborn faceplates. You might also need a pair of pliers to help manipulate the tension cables or locking bars that run to the sides of the door. A small adjustable wrench can be useful if your assembly uses nuts and bolts instead of screws. Since you will be working with metal parts that may have sharp edges or rust, wearing a pair of sturdy work gloves is highly recommended. Ensure you have adequate lighting in the garage, perhaps using a headlamp, so you can see the small components clearly inside the mechanism.
Step 3: Secure the Door and Prepare the Work Area
Safety is paramount when working on heavy garage doors, so you must ensure the environment is stable before removing any parts. You should close the garage door completely and unplug the automatic garage door opener if you have one connected. This prevents anyone from accidentally activating the door while you are working on the manual lock, which could result in serious injury or damage to the door. If your door is strictly manual, ensure it is fully lowered and resting firmly on the ground. Clear away any clutter near the work area so you have plenty of room to move around and place your tools. Laying down a small cloth or magnetic tray to catch screws is a smart move, as losing a small screw on a concrete floor can halt your progress immediately.
Step 4: Disconnect the Interior Locking Cables or Bars
Now you are ready to begin dismantling the old hardware from the inside of the garage. Locate the center assembly where the handle shaft comes through the door. You will likely see two spring-loaded latches or long metal bars that extend to the tracks on either side. These are responsible for physically locking the door.
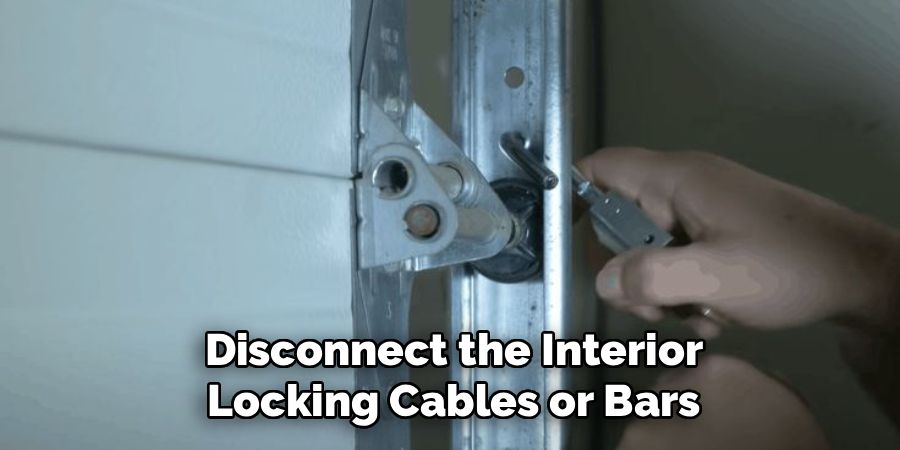
Carefully detach these bars or cables from the center mechanism. If they are held in place by screws, loosen them just enough to free the bars. If they use a spring clip, use your pliers to gently compress and remove the clip. As you learn how to change garage door lock systems, you will find that treating these connecting parts with care is vital, as you will likely need to reattach them to the new assembly later.
Step 5: Remove the Retaining Screws and Interior Plate
With the locking bars disconnected, you can focus on removing the main body of the lock from the door panel. Locate the screws that hold the interior mounting plate against the door. Typically, there are two or four heavy-duty screws securing this plate to the exterior handle. Use your screwdriver to turn them counterclockwise, maintaining firm pressure to avoid stripping the screw heads. As you remove the final screw, be sure to support the exterior handle with your other hand or have a helper hold it from the outside. If you do not support it, the heavy handle could fall out and damage your driveway or the handle itself. Place all the old screws and the interior plate aside, keeping them separate from your new hardware to avoid mixing old, worn parts with the fresh ones.
Step 6: Extract the Exterior Handle and Cylinder
Once the interior screws are completely removed, the connection between the inside and outside components is severed. You can now walk to the outside of the garage door and gently pull the handle assembly straight out. It should slide out easily, but if the door is old, it might be stuck due to paint or rust.
If it resists, give it a gentle wiggle or tap it lightly with the handle of your screwdriver to loosen the bond. Do not force it aggressively, as you do not want to dent the door panel. Once removed, inspect the hole in the door for any debris, rust, or old caulk. Cleaning this area now ensures that your new lock will sit flush against the surface, providing a better weather seal and a more secure fit for the new mechanism.
Step 7: Install the New Exterior Handle Assembly
Take your new exterior handle and ensure the key cylinder is positioned correctly according to the manufacturer’s instructions. Slide the shaft of the new handle through the hole in the garage door from the outside. You must make sure the handle is in the correct orientation, usually horizontal or vertical depending on the locked position.
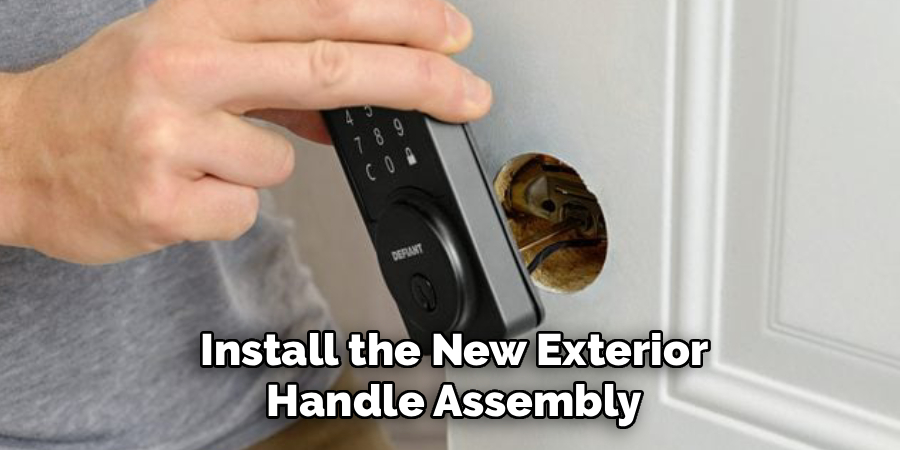
Hold it firmly against the door face. If you are working alone, you can use a piece of painter’s tape to hold the exterior handle in place while you move back to the interior side. This is a handy trick that saves you from needing a second pair of hands. Ensure the spindle protrudes through to the inside far enough to engage with the interior locking mechanism you are about to install.
Step 8: Attach the Interior Plate and Secure Hardware
Return to the inside of the garage and pick up the new interior mounting plate. Align the center hole of the plate with the spindle or shaft coming through from the outside handle. You need to line up the screw holes on the plate with the threaded posts on the exterior handle.
Insert the new machine screws provided with your kit and begin tightening them by hand first to ensure they are not cross-threaded. Once they are started, use your screwdriver to tighten them down. You want them to be snug so the lock doesn’t wiggle, but be careful not to over-tighten, which could crush the door panel foam or warp the metal skin. The handle should feel solid and stationary when you grab it.
Step 9: Reconnect the Locking Bars and Verify Action
The final mechanical step involves reconnecting the side locking bars or cables to the new center assembly. This restores the functional security of the door. Slide the ends of the locking bars into the designated slots or holes on the new interior mechanism. If your system uses cables, thread them through the eyelets and pull them taut.
Secure them with the screws or clips you removed earlier, or use the new ones provided in the kit. When you understand how to change garage door lock mechanisms thoroughly, you realize that the tension here is critical. The bars should retract fully when the handle is turned and extend fully when locked. Check that the bars engage deeply enough into the track slots to prevent the door from being forced open.
Step 10: Test the Mechanism and Final Adjustments
Before you consider the job done, you must perform a comprehensive test of the new system. Stand inside the garage and turn the latch to lock the door. Visually confirm that the side bars slide into the track lock openings. Unlock it and ensure they retract completely so the door can travel up and down freely. Next, test the key from the outside.
It should turn smoothly without binding or grinding. If the key is difficult to turn, you may have tightened the interior screws too much, or the bars might be slightly misaligned. Loosen the screws slightly to adjust the position if necessary. Once everything operates smoothly, lubricate the keyway with a little graphite spray to ensure long-term performance and wipe down the door to remove any fingerprints.
Frequently Asked Questions
Can I Rekey The Lock Instead Of Replacing It?
You can rekey the cylinder in some cases, but it depends on the specific brand and model of your handle. Usually, purchasing a complete replacement kit is cheaper and faster than hiring a locksmith to rekey the old cylinder. Furthermore, replacing the entire unit ensures that all internal springs and moving parts are fresh, which reduces the risk of mechanical failure in the near future.
What Should I Do If The Screw Holes Don’t Align?
If the new lock’s mounting posts do not line up with the existing holes in your garage door, do not panic. This is common with older doors. You can typically drill new holes through the door panel using the new mounting plate as a template. Just be sure to use a metal-appropriate drill bit and measure twice to ensure the exterior handle will cover any old, unused holes.
Is It Necessary To Lubricate The New Lock?
Yes, lubricating the new mechanism is a great idea for longevity. While the new lock comes factory-greased, adding a small amount of dry lubricant, like graphite or a silicone-based spray, to the keyway and the moving internal latch parts helps prevent rust and stiffness. Avoid using oil-based products like WD-40, as they tend to attract dust and dirt that can eventually gum up the internal workings.
How Long Does It Take To Change A Garage Lock?
For most beginners, the entire process usually takes between 30 to 45 minutes. This timeframe includes removing the old hardware, cleaning the surface, and installing the new kit. If you encounter rusted screws that are difficult to remove or need to drill new holes, the project might take up to an hour. It is a quick weekend project that provides significant security benefits for a small time investment.
Can I Replace A T-Handle With A Smart Lock?
You can upgrade to a smart lock, but it often requires specific modification. Most standard garage T-handles are purely mechanical, while smart locks require batteries and electronic components. There are specialized smart deadbolts designed for garage doors, but you may need to drill larger holes or modify the mounting area. Always check the manufacturer’s compatibility guide before buying a smart lock to ensure it fits your door’s thickness and style.
Conclusion
Securing your home is one of the most rewarding DIY tasks you can undertake. By following these instructions, you have successfully mastered the art of garage security and saved yourself the hassle of coordinating with service professionals. Regular maintenance and periodic checks of your new hardware will ensure it serves you well for years to come. Do not wait for an emergency to address a faulty handle; take action today to protect your valuables and your family. Now that you know how to change garage door lock assemblies, you can confidently tackle other door security projects around your home with ease.

About
Robert D is a distinguished figure in the world of Safety Systems and Risk Management, with a decade of expertise creating innovative and sustainable workplace solutions. His professional focus lies in merging traditional safety protocols with modern digital monitoring techniques, fostering environments that are both practical and hazard-conscious. As the lead author of SafetyRift, Robert delves into the art and science of risk mitigation, inspiring safety officers and industry professionals alike to bridge the gap between compliance and culture.
Education
RMIT University (Melbourne, Australia)
Associate Degree in Design (Industrial Safety)
-
Focus on sustainable safety infrastructure, industry-driven risk assessments, and practical implementation.
-
Gained hands-on experience with traditional hazard identification and digital monitoring tools, such as IoT safety sensors and predictive analytics software.
Nottingham Trent University (United Kingdom)
Bachelor’s in Occupational Health and Safety (Honors)
-
Specialized in systemic design with a focus on blending human behavior psychology with modern safety production techniques.
-
Participated in industry-wide projects, working with global logistics and manufacturing firms to gain real-world insights into large-scale safety deployments.
Publications and Impact
In SafetyRift, Robert shares his insights on safety design processes, protective materials, and strategies for efficient, accident-free production. His writing bridges the gap between foundational safety knowledge and modern industrial needs, making it a must-read for both budding safety coordinators and seasoned risk management professionals.
