
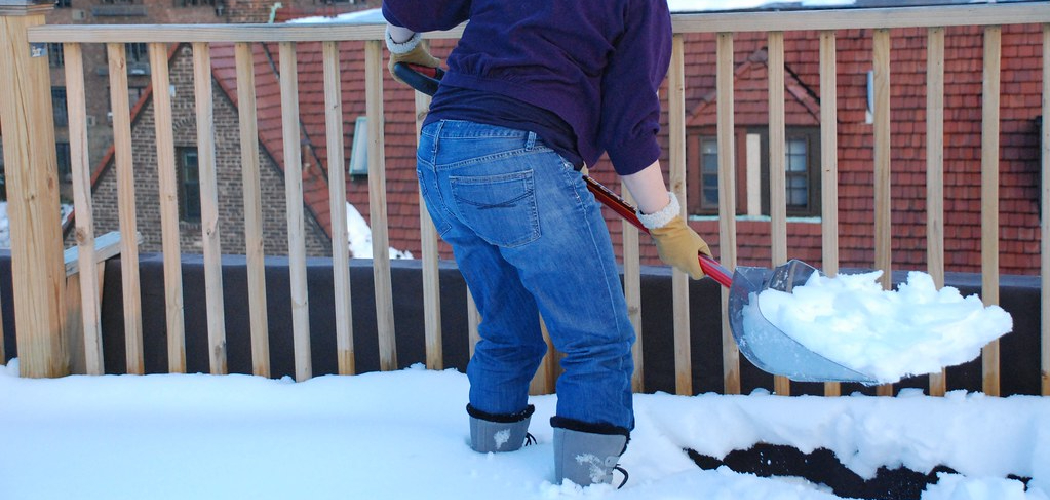
You wake up to a hushed, white morning. Beautiful, right? Then you hear it — a slow creak from somewhere above your head.
That’s your roof, carrying more weight than you realize.
A foot of wet snow can pile thousands of pounds onto your home. And when it starts to melt and refreeze at the edges, it forms ice dams that push water up under your shingles and into your ceilings.
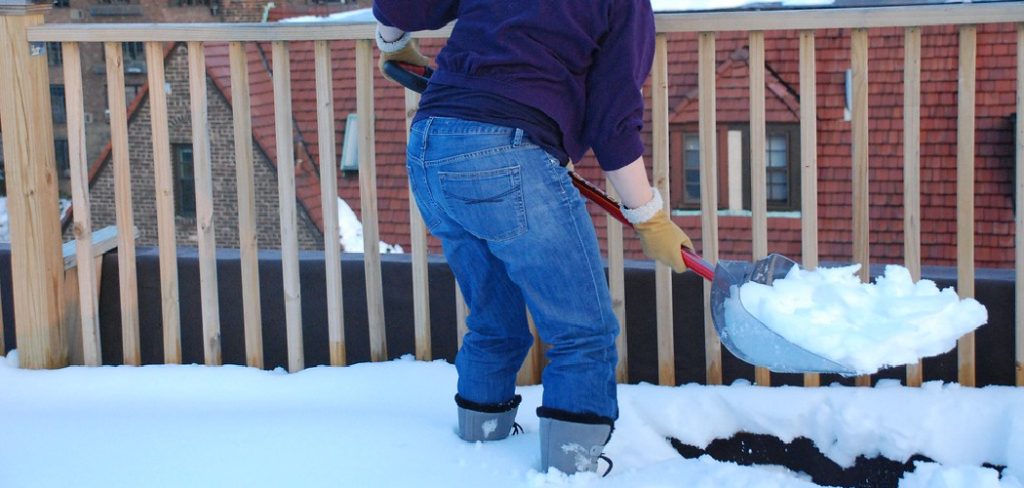
That’s the real cost of ignoring snow on your roof: not a pretty winter scene, but soggy insulation, stained ceilings, and repairs that drain your savings.
Here’s the good news. You can clear most of it safely from the ground, without ever climbing a ladder.
In this guide, you’ll learn what tools you need, exactly how to get snow off roof step by step, which method fits your roof type, and the mistakes that turn a simple job into an emergency.
Why Roof Snow Removal Matters
Snow looks light. It isn’t.
Fresh, fluffy snow weighs around 7 pounds per square foot per foot of depth. Wet, packed snow can weigh four times that. Stack a few storms on top of each other, and your roof carries a load it was never meant to hold long-term.
Here’s what that weight does when you leave it too long:
- Structural strain: Rafters bow, and in rare cases, roofs collapse.
- Ice dams: Melting snow refreezes at cold eaves, trapping water that seeps under shingles.
- Leaks: That trapped water finds its way into your attic, walls, and ceilings.
Ice dams are the sneaky one. Your roof looks fine from outside while water quietly ruins the inside.
In short: removing snow from your roof protects the structure of your home and stops leaks before they start.
Know When to Clear Your Roof
You don’t need to run outside after every flurry. Clearing too often just wastes energy and risks damaging your shingles.
Watch for these signs instead:
- More than 6 inches of heavy, wet snow has built up.
- A full foot or more of light, dry snow is sitting up there.
- You see icicles forming along the eaves — an early sign of ice dams.
- Your doors stick or you notice cracks in interior drywall (a warning of roof strain).
- Another storm is coming and snow is already piled high.
One more rule that matters most.
Warning: If you ever hear loud creaking or popping, or see the roof sagging, leave the house and call a professional immediately. That’s a structural emergency, not a DIY job.
In short: clear your roof when snow gets deep or heavy, or when ice starts forming at the edges.
What You’ll Need
Good news — roof snow removal doesn’t take much gear. Most of it works from the ground.
Gather these before the storm hits, because they sell out fast once snow falls.
- A roof rake — a wide, flat blade on a long telescoping pole (your main tool)
- Extension poles to reach higher sections
- A plastic shovel (if you must go on a low, flat roof)
- Calcium chloride ice melt — safe for roofs, unlike rock salt
- Roof melt tablets or socks for ice dams
- Warm, waterproof gloves and boots with solid grip
- Safety glasses to keep falling snow out of your eyes
- A helper to watch for falling snow and spot you
Warning: Never use a metal shovel or metal rake on your roof. Metal scrapes off protective shingle granules and can crack tiles. Plastic is your friend here.
In short: a plastic roof rake and safe ice melt handle most jobs — skip anything metal.
Roof Snow Removal Tools Compared
Not sure which tool fits your situation? This table breaks it down fast.
| Tool | How It Works | Best For | Safety Level | Cost Range |
| Roof rake | Pull snow down from the ground with a long pole | Sloped roofs, most homes | High (feet stay on ground) | $30–$70 |
| Plastic shovel | Manually push and lift snow on the roof | Low, flat roofs only | Low (requires climbing) | $10–$25 |
| Calcium chloride ice melt | Chemically melts ice at the eaves | Ice dams, edges | High (thrown or placed) | $15–$40 |
| Roof melt tablets/socks | Slow-release melt laid across ice dams | Stubborn, existing ice dams | High | $20–$50 |
| Heated roof cables | Preventive wiring that stops ice forming | Long-term ice dam prevention | High (installed once) | $100–$300 |
Notice the pattern. The safest methods keep you on the ground.
In short: choose the roof rake for most homes, and save climbing for low, flat roofs only.
5 Step-by-Step: How to Get Snow Off Roof
Here’s exactly how to clear snow off a roof safely, from start to finish. Take it slow — rushing is how people get hurt.
Always start from the ground. Only climb if there’s truly no other way.
Step 1: Check Your Surroundings
Before you touch the snow, look up and around.
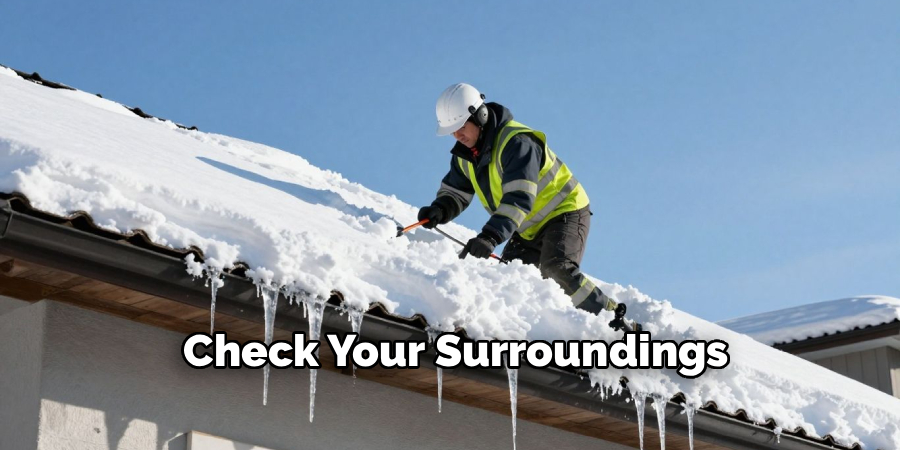
- Spot power lines near your roof. Never rake or reach near them.
- Clear the area below where snow will fall — move cars, grills, and anything breakable.
- Warn family members to stay away from the roofline while you work.
Step 2: Set Up Your Roof Rake
- Attach the extension poles to reach the roof’s edge comfortably.
- Stand a few feet back from the house, not directly under the snow.
- Angle the rake so the blade rests flat against the snow.
Step 3: Rake From the Edge Up
This is the core of the job.
- Start at the roof’s edge (the eaves) and work upward.
- Pull the snow straight down toward you in slow, steady strokes.
- Work in strips, clearing about 3 to 4 feet up from the edge across the whole roofline.
- Step back as snow slides down so it doesn’t land on you.
You don’t need to clear the entire roof. Clearing the bottom 3 to 4 feet relieves most of the weight and prevents ice dams at the eaves. That’s where the damage starts.
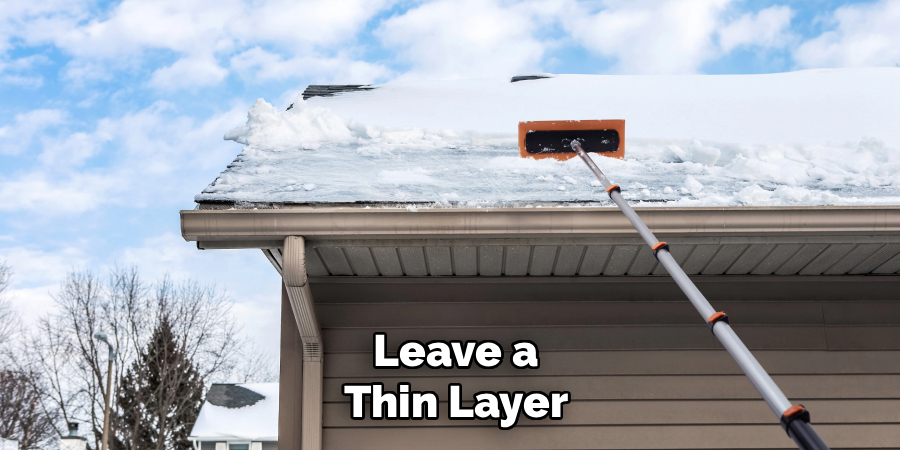
Step 4: Leave a Thin Layer
Here’s a tip most people miss.
Don’t scrape down to the bare shingles. Leave an inch or so of snow to protect the roof surface from your rake. Getting greedy here scratches shingles and shortens your roof’s life.
Step 5: Tackle Ice Dams (If Any)
If ice has already formed at the edges, don’t chip at it. Chipping cracks shingles.
- Fill a fabric sock with calcium chloride ice melt.
- Lay it vertically across the ice dam, hanging over the gutter.
- Wait. It slowly melts a channel that lets trapped water drain.
Warning: Never use a hammer, ax, or metal tool to break ice dams. You’ll do more damage to your roof than the ice ever could.
In short: rake from the edge upward, leave a thin protective layer, and melt ice dams instead of chipping them.
Methods for Different Roof Types
Not every roof clears the same way. Match your method to your roof.
Steep, Sloped Roofs
These shed some snow on their own, but not all of it.
- Use a roof rake from the ground — never climb a steep roof in winter.
- Focus on the lower edges where snow packs and ice dams form.
- Let the slope do part of the work as you clear the bottom sections.
Low-Slope or Flat Roofs
Common on modern homes, additions, and garages. These hold snow evenly and can’t shed it.
- A roof rake often can’t reach the middle. You may need to go up.
- If you must climb, use a plastic shovel and push snow toward the edges.
- Never pile snow in one spot — spread the load as you clear.
- Work with a spotter and only in safe, non-icy conditions.
Metal Roofs
Slick by design, so they release snow in sudden sheets.
- Clear the ground below first — sliding snow can bury a doorway fast.
- Rake gently to avoid scratching the finish.
- Watch for snow letting go all at once above entryways.
Tile or Slate Roofs
Beautiful but brittle in cold weather.
- Be extra gentle. Cold tiles crack under pressure.
- Use a roof rake with a soft wheel or roller edge to keep the blade off the tile.
- Skip the shovel entirely — the risk of cracking isn’t worth it.
In short: rake sloped and metal roofs from the ground, take extra care with fragile tile, and only climb flat roofs when you must.
Common Mistakes & Troubleshooting
Plenty of people grab a rake, feel confident, and quietly make things worse. Here are the mistakes that cause the most damage — and how to fix each one.
1. Climbing Onto the Roof Unnecessarily
Why it happens: It feels faster and more thorough to get up there and shovel it all off.
How to fix it: Stay on the ground with a roof rake whenever you can. Icy roofs are deadly slick, and falls are the number one winter roof injury. Clearing the bottom few feet from below relieves most of the weight anyway. Save climbing for low, flat roofs — and only with a spotter.
2. Scraping Down to Bare Shingles
Why it happens: You want the roof spotless, so you rake until you hit the surface.
How to fix it: Leave about an inch of snow behind. Raking against bare shingles strips away the protective granules that keep your roof waterproof. A thin snow cushion protects the surface while still removing the dangerous weight.
3. Chipping at Ice Dams
Why it happens: The ice looks like the problem, so you attack it with a hammer or ax.
How to fix it: Never chip ice off a roof. You’ll crack shingles and create the exact leaks you’re trying to prevent. Use calcium chloride in a fabric sock instead, laid across the dam. It melts a drainage channel slowly and safely.
4. Using the Wrong Ice Melt
Why it happens: Rock salt is cheap and sitting in the garage, so you reach for it.
How to fix it: Skip rock salt (sodium chloride). It corrodes metal flashing, gutters, and damages shingles. Use calcium chloride, which melts ice at lower temperatures and is far gentler on roofing materials.
5. Dumping Snow Near the Foundation
Why it happens: You rake it down and let it pile wherever it lands.
How to fix it: Move the snow away from your walls as you go. Big piles against the foundation melt slowly and push water toward your basement. Spread the snow out so it drains away from the house.
6. Working Alone in Bad Conditions
Why it happens: The storm just passed and you want it done now.
How to fix it: Wait for daylight and calmer weather, and bring a helper. A spotter warns you when snow is about to slide and can get help fast if something goes wrong. No roof is worth clearing in the dark during a storm.
Frequently Asked Questions
How much snow is too much on a roof?
Most roofs handle about 20 to 40 pounds per square foot. That’s roughly 4 feet of fresh snow or 2 feet of wet, packed snow. Clear it once you pass 6 inches of heavy snow or a foot of light snow, especially if more storms are coming.
Should I remove all the snow from my roof?
No. You only need to clear the bottom 3 to 4 feet from the edges, where weight and ice dams cause the most trouble. Leave a thin layer to protect your shingles, and let steep roofs shed the rest naturally.
Can I use hot water to melt snow off my roof?
It’s not a good idea. Hot water melts snow briefly, then refreezes fast in cold air and creates worse ice dams. Use calcium chloride ice melt in a fabric sock instead — it drains water safely without the refreeze risk.
Is a roof rake worth it?
Absolutely. A roof rake lets you clear snow off a roof from the ground, which is far safer than climbing. For $30 to $70, it prevents ice dams, roof strain, and expensive leaks — easily paying for itself after one bad winter.
When should I call a professional for roof snow removal?
Call a pro if your roof is steep, very high, or already showing strain — sagging, loud creaking, or cracked interior walls. Also call one for large flat roofs or thick, established ice dams. Their gear and training handle risks you shouldn’t take on alone.
Wrapping Up
That creaking roof doesn’t have to keep you up at night.
You now know how to get snow off your roof the safe way — watch for heavy buildup, grab a plastic roof rake, clear the bottom few feet from the ground, leave a thin protective layer, and melt ice dams instead of chipping them. Match your method to your roof type, dodge the common mistakes, and call a pro when the job turns dangerous.
Stay on the ground, take it slow, and your home stays dry all winter long.
Ready for the next cold-weather task? Check out our guide on [how to prevent ice dams before winter hits].

About
Robert D is a distinguished figure in the world of Safety Systems and Risk Management, with a decade of expertise creating innovative and sustainable workplace solutions. His professional focus lies in merging traditional safety protocols with modern digital monitoring techniques, fostering environments that are both practical and hazard-conscious. As the lead author of SafetyRift, Robert delves into the art and science of risk mitigation, inspiring safety officers and industry professionals alike to bridge the gap between compliance and culture.
Education
RMIT University (Melbourne, Australia)
Associate Degree in Design (Industrial Safety)
-
Focus on sustainable safety infrastructure, industry-driven risk assessments, and practical implementation.
-
Gained hands-on experience with traditional hazard identification and digital monitoring tools, such as IoT safety sensors and predictive analytics software.
Nottingham Trent University (United Kingdom)
Bachelor’s in Occupational Health and Safety (Honors)
-
Specialized in systemic design with a focus on blending human behavior psychology with modern safety production techniques.
-
Participated in industry-wide projects, working with global logistics and manufacturing firms to gain real-world insights into large-scale safety deployments.
Publications and Impact
In SafetyRift, Robert shares his insights on safety design processes, protective materials, and strategies for efficient, accident-free production. His writing bridges the gap between foundational safety knowledge and modern industrial needs, making it a must-read for both budding safety coordinators and seasoned risk management professionals.
