
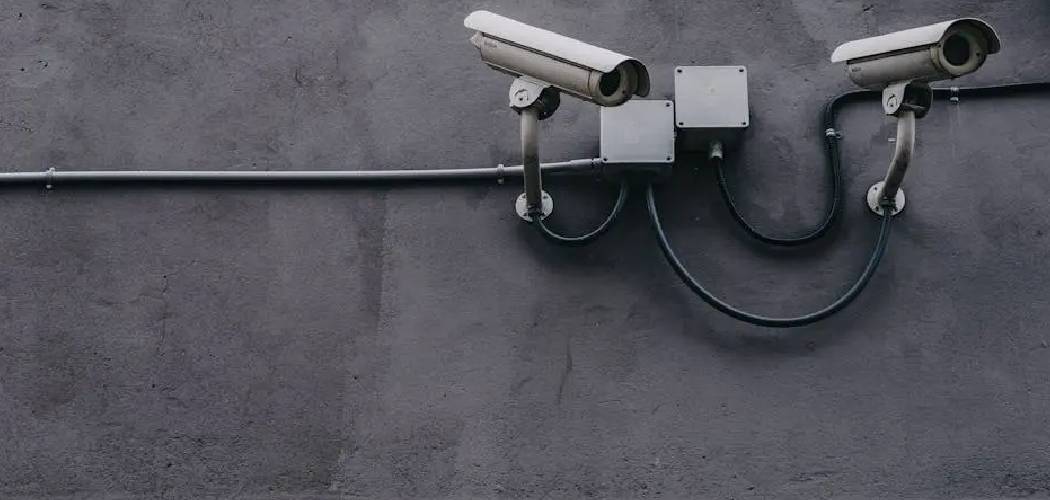
Securing your home brings incredible peace of mind, and installing wired cameras is one of the most reliable ways to protect your property. While wireless options exist, wired connections offer uninterrupted feeds and generally better video quality without relying on WiFi signal strength. For many homeowners, the most daunting part of the installation process is figuring out the cabling logistics. However, with a little planning and the right tools, this project is entirely manageable for a DIY enthusiast.
In this guide, we will walk you through the entire process, ensuring your installation looks professional and functions perfectly. You don’t need to be a professional electrician to get this right. By the end of this article, you will know exactly how to run security camera wires outside safely and efficiently, protecting your home for years to come.
Proper Exterior Wiring Matters for Home Security
Installing security cameras isn’t just about mounting a device on the wall; it is about creating a reliable surveillance system that withstands the elements. The way you handle the cabling dictates the longevity of your entire setup. If wires are exposed to rain, UV rays from the sun, or physical tampering, your cameras will likely fail when you need them most. Poor wiring can lead to short circuits, signal degradation, or even water damage entering your home through drilled holes.
Taking the time to route your cables correctly ensures that your investment pays off. A neat installation not only looks better on the exterior of your house but also prevents potential vandals from easily cutting the feed. Furthermore, proper weatherproofing protects the sensitive electronic components of your system. This section sets the foundation for a project that blends security with durability.
7 Step-by-Step Guide on How To Run Security Camera Wires Outside
Step 1: Plan Your Camera Locations and Cable Path
Before you pick up a drill, you must meticulously plan where every piece of equipment will go. Walk around the perimeter of your house and decide where the cameras will offer the best vantage points. You want to cover entryways, driveways, and secluded corners. Once the camera spots are marked, visualize the path the cables will take to reach your central recording device or router inside the house.
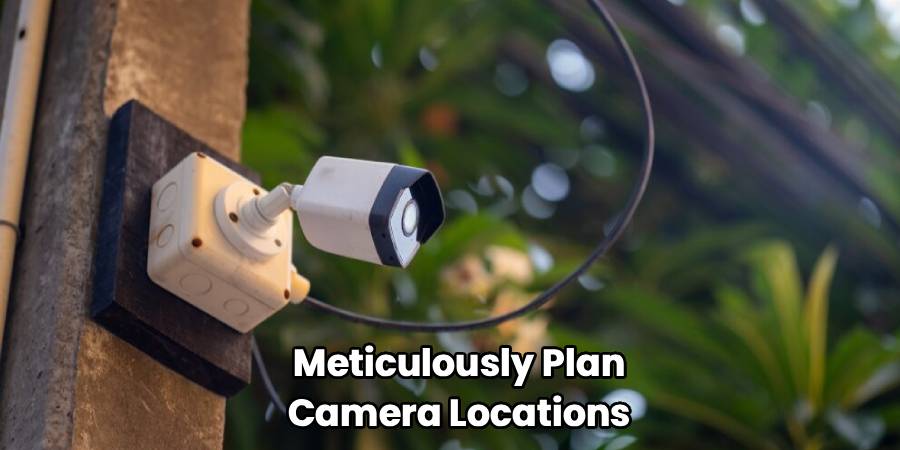
You need to identify potential obstacles like thick brick walls, metal siding, or areas with no attic access. Sketching a simple diagram can save you hours of frustration later. This planning phase ensures you purchase the correct length of cables and avoid unsightly mistakes during the actual installation process.
Step 2: Gather Necessary Tools and Materials
Having the right equipment on hand is crucial for a smooth installation experience. You will need a power drill with extra-long masonry bits if you are going through brick or stucco. You also need a ladder, cable clips, a stud finder, silicone sealant, and perhaps conduit pipes if you plan to bury wires or run them along exposed walls.
Make sure you have the correct type of Ethernet (Cat5e or Cat6) or Siamese cables depending on your system type. Using outdoor-rated cables is essential because standard indoor cables will degrade quickly under UV exposure and moisture. Checking your inventory twice prevents mid-project trips to the hardware store and keeps your momentum going strong throughout the day.
Step 3: Drill Pilot Holes from the Inside Out
When it is time to create the entry points for your cables, it is generally safer to drill from the inside of your home toward the outside whenever possible. This technique gives you more control over exactly where the cable enters a room, ensuring you don’t accidentally drill into electrical wiring or plumbing pipes hidden in the walls.
Use a stud finder to locate a clear spot between the framing. If you must drill from the outside in, be extremely careful to measure precisely. Angle your drill bit slightly upward as you drill through the exterior wall. This slight angle acts as a natural drip loop, preventing rainwater from following the cable directly into your home’s interior.
Step 4: Protect Cables with Conduit or Guards
Leaving wires exposed on the side of your house looks messy and leaves them vulnerable to weather and vandalism. To solve this, you should feed your cables through PVC conduit or metal piping, especially for the vertical runs that go up the side of the building. Measure the distance from the entry hole to the camera location and cut your conduit to size.
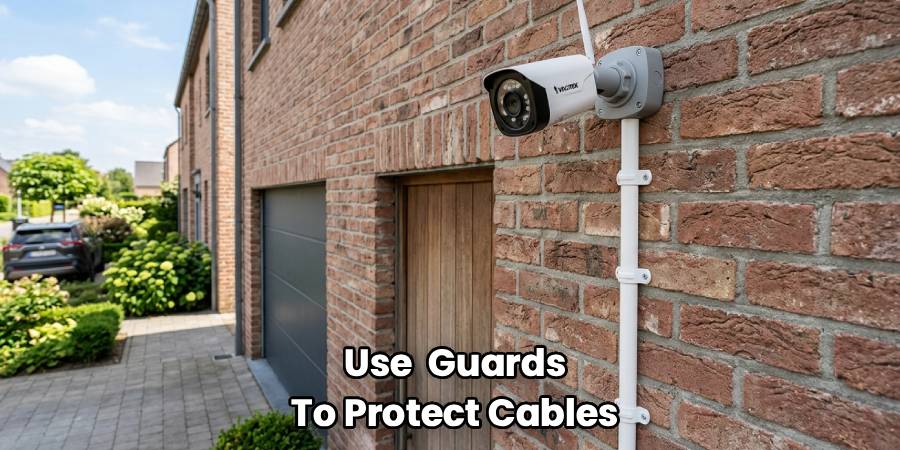
If using conduit isn’t feasible for the entire run, at least use it for the lower sections accessible from the ground. This adds a robust layer of physical protection. This step is critical when learning how to run security camera wires outside because it transforms a temporary-looking DIY job into a professional-grade security installation.
Step 5: Fish the Wires Through Walls and Attics
This is often the most physically demanding part of the project, requiring patience and perhaps a helper. Attach your cable to a fish tape or a stiff wire coat hanger to guide it through the holes you drilled. If you are running wires through an attic, be careful where you step, staying only on the joists.
Pull the cable from the outside in, or push it from the inside out depending on your access. Leave plenty of slack at both ends—you don’t want to be short a few inches when connecting the camera. Labeling the ends of your cables is a smart move here, so you know which cable corresponds to which camera location when you plug them into the recorder.
Step 6: Mount the Junction Boxes and Cameras
A junction box provides a weatherproof enclosure for the cable connections, protecting them from rain and corrosion. Mount the junction box over the hole where the wire exits the house or comes out of the conduit. Feed the cable through the back of the box, then connect it to the camera’s pigtail cable inside the protected space.
Screw the camera onto the junction box lid or the wall surface securely. This setup not only hides the bulky connectors but also makes future maintenance much easier. If you ever need to replace a camera, you can access the connections without pulling new wire through the wall. Ensure all screws are tight to prevent the camera from shifting during high winds.
Step 7: Seal All Entry Points With Silicone
Water intrusion is the enemy of any home improvement project involving exterior walls. Once your cables are run and your cameras are mounted, you must seal the holes you drilled. Use a high-quality, outdoor-rated clear silicone caulk. Apply a generous amount around the cable where it enters the wall and around the base of the junction box or camera mount.
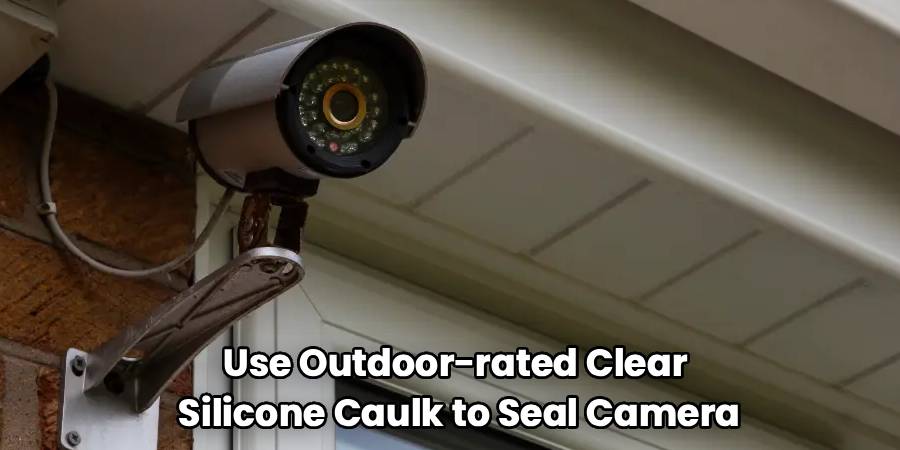
If you didn’t use a junction box and the wire goes directly into the wall, create a “drip loop”—a small U-shape in the wire before it enters the hole—so water drips off the bottom of the loop rather than running down the wire into the wall. This small detail is vital for long-term weatherproofing.
Connect to the DVR/NVR and Test
With the hard exterior work finished, head back inside to connect the other ends of your cables to your recording unit or network switch. Strip the wire ends if necessary and attach the appropriate connectors, or simply plug them in if using pre-made cables. Power up your system and check the video feed on your monitor or smartphone app.
You may need to adjust the angle of the cameras slightly to get the perfect view. Check for any interference or signal loss. It is much easier to make these adjustments now while you still have your ladder out. Once you confirm a clear picture, tidy up the interior cables using zip ties or cable organizers for a clean finish.
Frequently Asked Questions
What Type Of Cable Is Best For Outdoor Security Cameras?
The best cable depends on your specific system, but generally, outdoor-rated Cat6 Ethernet cable is the gold standard for modern IP camera systems. These cables have a specialized UV-resistant jacket that prevents the sun from making the casing brittle and cracking over time. If you have an older analog system, you will need RG59 Siamese cable, which combines power and video in one line. Always verify the cable is rated for direct burial if you plan to put it underground.
Can I Run Security Camera Wires Through A Window?
While running a flat cable through a window is technically possible, it is not recommended for a permanent security solution. Passing wires through a window prevents it from closing and locking securely, which creates a significant security risk for your home. Furthermore, the constant pressure of the window frame can pinch and damage the internal wiring, leading to signal failure. It is far better to drill a proper hole through the wall or soffit for a secure and weather-tight installation.
Do I Need Conduit For All Outdoor Camera Wires?
You do not strictly need conduit for every inch of wiring, but it is highly recommended for any section of cable that is accessible from the ground or exposed to direct sunlight. Conduit protects the wires from physical damage, such as weed whackers, animals chewing on them, or potential intruders trying to cut the feed. If the wire is tucked high up under a soffit or eaves where it is protected from the elements, simple cable clips may be sufficient.
How Deep Should I Bury Security Camera Wires?
If you need to run wires underground to a detached garage or a gate, you should bury them to avoid accidental damage from lawn maintenance or erosion. If you are using PVC conduit, a depth of 18 inches is standard code in many areas to ensure safety. If you use specialized direct-burial cable without conduit, you should still aim for at least 12 to 18 inches deep. Always check your local building codes and call 811 to check for utility lines before digging.
How Do I Hide Security Camera Wires Outside?
Hiding wires improves aesthetics and security. The best way to hide them is to run cables through the attic or crawlspace so they only exit the house right behind the camera mount. If you must run wires along the exterior surface, try to tuck them along the trim, under soffits, or behind downspouts where they blend in naturally. Painting the cables or conduit to match the color of your siding is another effective trick to make them virtually invisible from a distance.
Conclusion
Installing your own wired security system is a rewarding project that significantly boosts your home’s safety profile. While the process involves some drilling and ladder work, the result is a robust, always-on surveillance system that doesn’t depend on batteries or fluctuating WiFi signals. By following the steps outlined above—planning your route, protecting your cables, and sealing your entry points—you ensure that your hard work stands the test of time and weather.
Remember, the goal isn’t just to get an image on a screen, but to create a secure perimeter that you can rely on. Don’t rush the planning phase, and invest in quality outdoor-rated materials. Now that you understand how to run security camera wires outside, you are ready to take control of your home security. Grab your tools, plan your path, and enjoy the confidence that comes with a job well done.

About
Robert D is a distinguished figure in the world of Safety Systems and Risk Management, with a decade of expertise creating innovative and sustainable workplace solutions. His professional focus lies in merging traditional safety protocols with modern digital monitoring techniques, fostering environments that are both practical and hazard-conscious. As the lead author of SafetyRift, Robert delves into the art and science of risk mitigation, inspiring safety officers and industry professionals alike to bridge the gap between compliance and culture.
Education
RMIT University (Melbourne, Australia)
Associate Degree in Design (Industrial Safety)
-
Focus on sustainable safety infrastructure, industry-driven risk assessments, and practical implementation.
-
Gained hands-on experience with traditional hazard identification and digital monitoring tools, such as IoT safety sensors and predictive analytics software.
Nottingham Trent University (United Kingdom)
Bachelor’s in Occupational Health and Safety (Honors)
-
Specialized in systemic design with a focus on blending human behavior psychology with modern safety production techniques.
-
Participated in industry-wide projects, working with global logistics and manufacturing firms to gain real-world insights into large-scale safety deployments.
Publications and Impact
In SafetyRift, Robert shares his insights on safety design processes, protective materials, and strategies for efficient, accident-free production. His writing bridges the gap between foundational safety knowledge and modern industrial needs, making it a must-read for both budding safety coordinators and seasoned risk management professionals.
